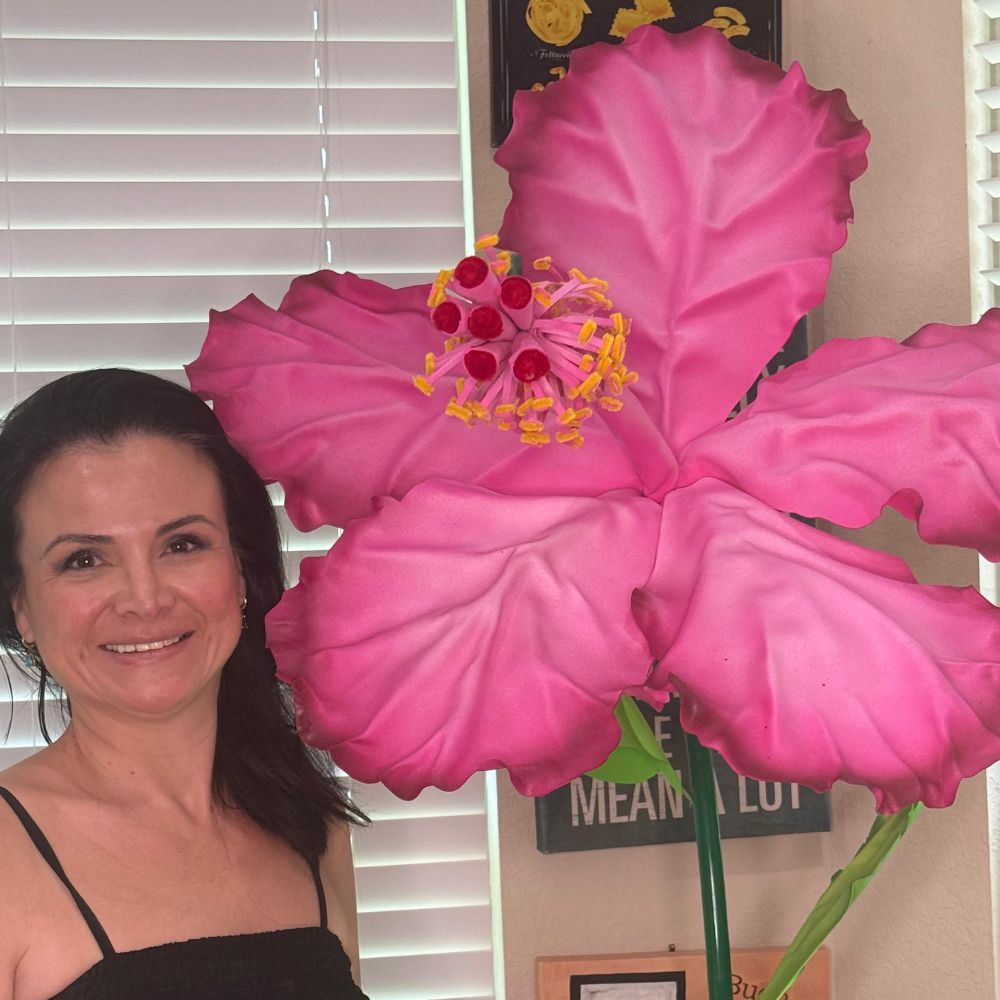
Your Guide to Flawless Foam Board Paint Finishes

Quick answer: For foam board (foam core or poster board), always use water-based acrylic or latex paint — they deliver vibrant, even coverage without melting the surface. If you prefer spray paint, choose only cans labeled "foam-safe" and apply a water-based primer first. Solvent-based spray paints will dissolve both foam core and EVA craft foam on contact.
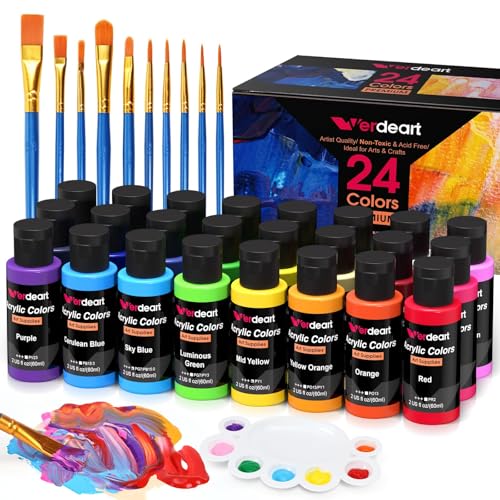
When it comes to painting foam, the golden rule is simple: water-based paint is your best friend. This means using water-based acrylics or latex paints. These paints deliver vibrant, even coverage and are essential for a professional look. The best part? They won't melt or dissolve the foam — a common issue with solvent-based paints. For a truly professional outcome, always start with a water-based primer.

Standing in the paint aisle can be overwhelming, but picking the right paint is the most critical decision for your project. The wrong choice can destroy hours of work. Let's explore the best foam board paint options that ensure your project is a success — whether you're working with foam core poster board or EVA craft foam for giant flowers.
Why Paint Choice Matters for Foam Projects
Selecting the correct paint for your foam project isn't just about color — it's about achieving a durable, professional finish that holds up through events, photo shoots, and handling. Here are the key benefits of using the right paint from the start:
- No melting or pitting: Water-based formulas contain no harsh solvents, so your foam surface stays smooth and intact.
- Better adhesion: Acrylics and latex paints grip foam surfaces well, especially over a primer coat, reducing peeling and flaking.
- Richer, truer color: A sealed, primed surface lets pigment sit on top rather than soaking in, so colors look exactly as vibrant as they do in the bottle.
- Faster cleanup: Water-based paints rinse off brushes and tools with soap and water — no solvents needed.
- Safer workspace: No harsh fumes, making them ideal for indoor crafting studios and workshops.
These benefits apply to both foam core (foam board / poster foam board) and EVA craft foam. However, EVA foam — the material used in our giant flower kits at Amazing Giant Flowers — is denser and less porous than foam core, so it behaves slightly differently under paint. I'll call out those differences as we go. You can also read more about the types of foam for giant flowers to understand which material you're working with before you open a single paint can.
Comparing the Best Paint Types for Foam
For large-scale floral creations and foam board projects, you have four primary options to consider. The one paint to always avoid is standard aerosol spray paint — the solvents in most regular spray cans are too harsh and will damage or completely dissolve delicate foam surfaces.
Here's a full side-by-side comparison so you can choose the right product for your specific foam and your specific project:
| Paint Type | Best For | Safe on Foam? | Notes |
|---|---|---|---|
| Water-based acrylic | Detail work, custom color mixing, EVA foam petals, foam core signage | ✅ Yes — both foam core and EVA foam | Dries quickly; thin with water for smoother brush strokes; best for fine details and gradients |
| Latex paint (water-based house paint) | Large base coats on foam core boards, backdrops, oversized EVA flower petals | ✅ Yes — both foam core and EVA foam | Excellent coverage; can be custom-mixed to Pantone codes at most paint stores; slightly thicker than craft acrylic |
| Foam-safe spray paint | Smooth, uniform base coats on EVA foam giant flower petals and foam core props | ✅ Yes — when labeled "foam-safe" or "craft-safe" | Great time-saver for large batches; always check the label; apply over a water-based primer for best results |
| Regular solvent-based spray paint | Hard surfaces like wood, metal, plastic — NOT foam | ❌ No — will melt and pit both foam core and EVA foam | The solvents dissolve foam on contact; even a brief spray can ruin an entire petal or panel — avoid completely |
Ultimately, many projects benefit from a combination of these paints. You might use latex for a durable base coat, acrylics for adding fine details, and a foam-safe spray for that perfect, uniform finish on a tricky petal. For a deeper dive into technique, my post on painting on foam core covers application methods in detail.
Preparing Your Foam Before You Paint
You've heard that a great paint job is 90% preparation, and with foam, it's more like 99%. Getting your foam pieces ready before painting is the most important part of the process. Raw foam is porous and will absorb your foam board paint, leading to a patchy finish. Proper prep saves time, paint, and frustration.
Step-by-Step: Creating the Perfect Canvas
Your goal is to turn raw, absorbent foam into a flawless, non-porous base. This helps the paint adhere properly and makes the color look as rich as it does in the bottle. These steps apply to both foam core board and EVA foam giant flower petals.
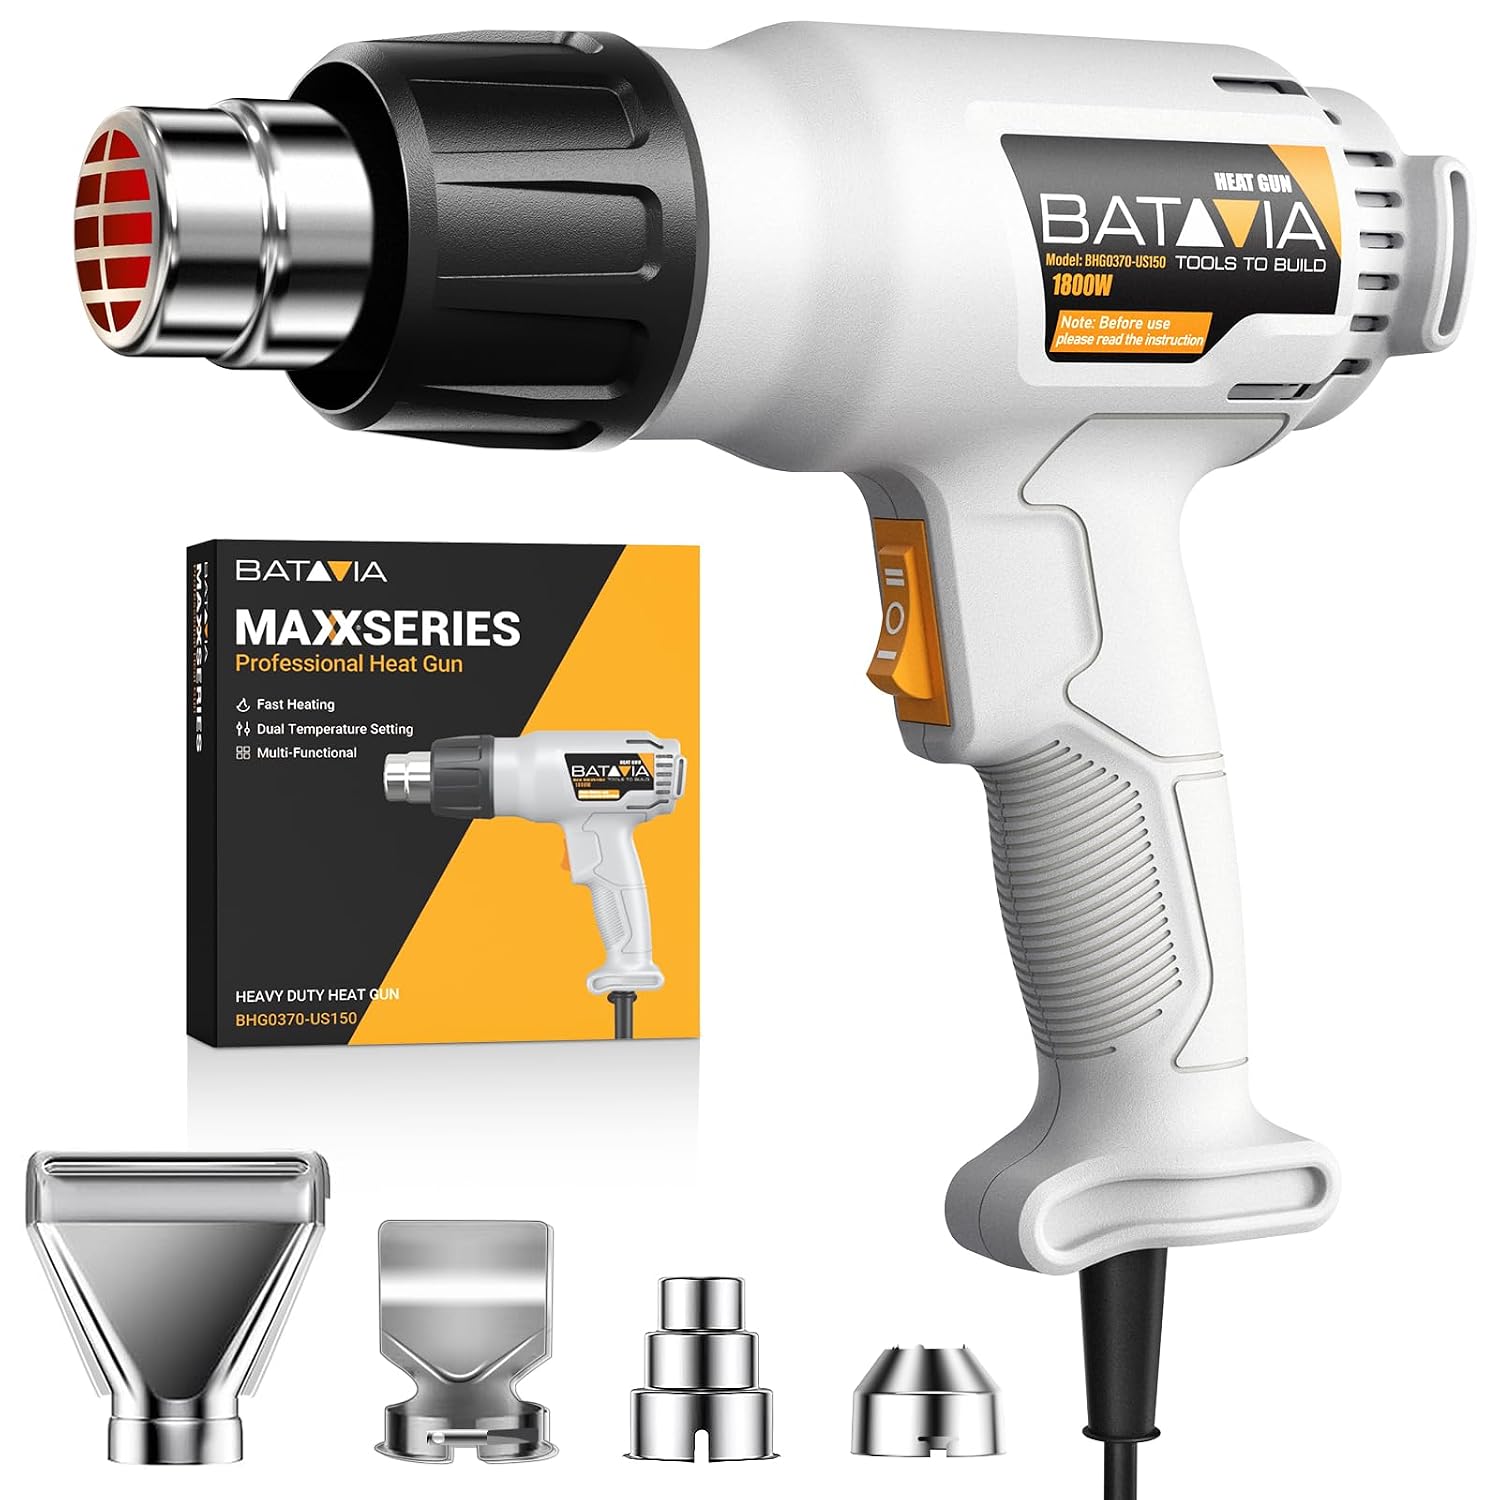
- Cut and shape first: For foam core, score and cut all your pieces to final shape before painting. For EVA foam giant flower petals, shape them with a heat gun or iron before any paint touches the surface — paint can crack if you try to reshape after it's applied.
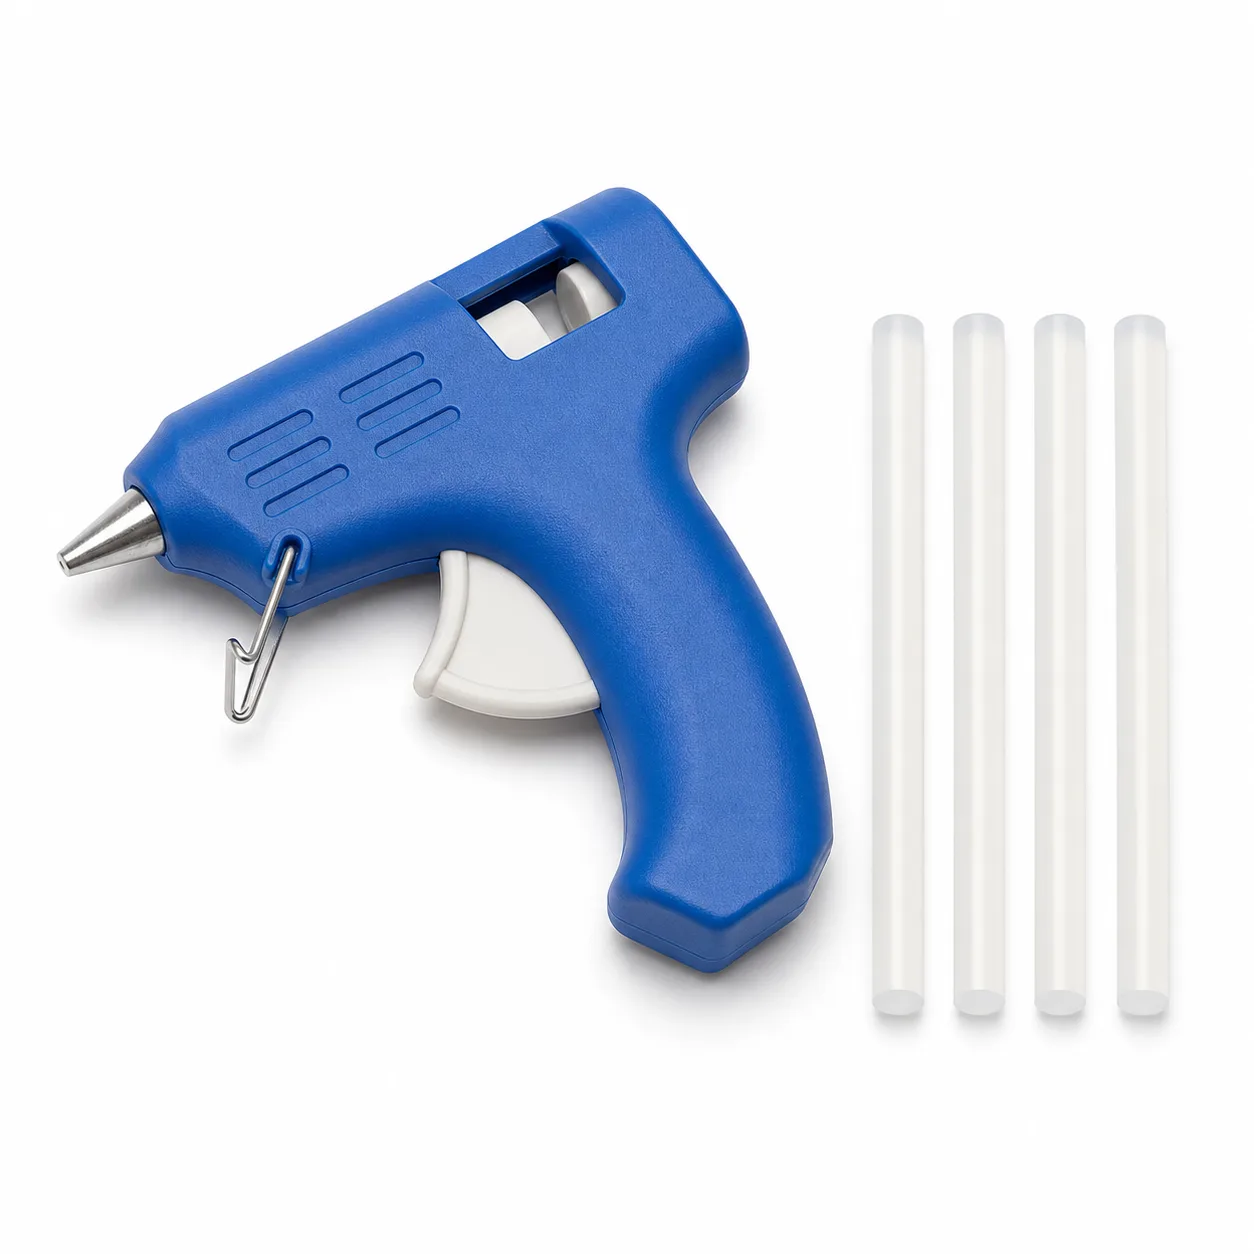
- Clean the surface: Wipe away any dust, fingerprints, or glue residue. Even a thin layer of hot glue on the surface will cause paint to peel. We use 369 glue or a hot glue gun with silicone sticks for assembly — make sure any squeeze-out is trimmed clean before painting.
- Sand foam core edges (if needed): Foam core board can have rough or torn paper edges. Lightly sand these smooth so paint doesn't catch and lift.
- Apply a water-based primer: This is the single most important prep step — covered in detail right below.
- Let the primer dry fully: Don't rush. Allow the primer to cure completely before laying down your first color coat.
Why Priming Is Non-Negotiable
If there's one step to never skip, it's priming. Priming is what separates amateur work from a professional result. A good water-based primer seals the microscopic pores in the foam — whether that's the paper face of foam core board or the slightly textured surface of EVA foam.
I can't stress this enough: priming is the single best thing you can do to guarantee your paint job looks incredible. It seals the foam so it won't soak up your expensive paint, meaning you'll use less paint, need fewer coats, and get a much richer, more even color. For EVA foam giant flower petals specifically, a primer coat also helps acrylic paint flex slightly with the material rather than cracking at the edges.
Applying Paint: Techniques for a Flawless Finish
Alright, your foam pieces are prepped and primed — now for the fun part. This is where your giant flowers and foam board projects truly come to life. The application technique you choose is just as crucial as the paint itself for achieving a flawless finish.
The best way to apply paint depends on your desired final look. Do you want a solid, uniform color, or do you need realistic gradients? Here are your main options:
- Foam brush or flat brush: Best for foam core board panels and EVA foam petals where you want smooth, even coverage with no texture. Use thin coats and brush in one consistent direction. Slightly thin acrylic paint with water or a flow-aid medium to reduce visible stroke marks.
- Foam roller: Ideal for large flat foam core panels — backdrops, signage, or base layers. Rollers cover fast and leave a very smooth finish with minimal effort.
- Foam-safe spray paint: A massive time-saver when painting large batches of EVA foam petals. Hold the can at a consistent distance, use sweeping side-to-side motions, and apply multiple thin coats rather than one heavy coat.
- Airbrush: The professional's choice for realistic shading, gradients, and ombre effects on giant flower petals. Requires more equipment and practice, but the results are stunning. For large jobs using airless sprayers, knowing how to find the right airless sprayer repair kit can save you a lot of headaches mid-project.
- Dry brushing: A technique where you load a brush with a small amount of paint and drag it lightly across the surface. Great for adding highlights and texture to EVA foam petals to mimic the look of real flower veining.
Most large-scale projects benefit from a hybrid approach. For example, I might spray a base coat on all the EVA foam petals, then use an airbrush for shading and highlights, and finish with a fine brush for any detail work. You can find more of my thoughts on specific techniques in my post on painting on foam core.
Assembly-Line Painting for Large Batches
A little pro tip: when painting a large batch of petals, I set them up assembly-line style. I apply one thin coat to every petal, let them dry, and then repeat for the second coat. This guarantees every piece has the exact same color depth and a uniform finish — critical when you're building a full giant flower installation with dozens of petals that all need to match.
Drying and Sealing for a Long-Lasting Finish
You've laid down the perfect coat of paint. Don't stop now! The final steps — drying and sealing — are what separate an amateur prop from a professional masterpiece. Patience is key. While acrylics might feel dry to the touch in an hour, they are still curing. Give them at least 24 hours to fully harden before handling them or sealing.
A good sealant is your flower's best defense against scratches, moisture, and UV rays — essential for outdoor events. The finish you choose also impacts the final look:
- Matte sealant: Gives a soft, natural look that reads beautifully in photos. Great for life-size Real Touch craft flowers and any installation where you want a realistic, non-shiny finish.
- Satin sealant: A middle ground — subtle sheen without being flashy. Works well for most giant EVA foam flower installations and foam core backdrops.
- Gloss sealant: High shine that catches light dramatically. Stunning for statement pieces and outdoor giant flowers where you want petals to gleam. Also provides the most robust moisture protection.
Here are the steps I follow for a perfect sealant application:
- Wait for full cure: Allow paint to harden for at least 24–48 hours. Sealing over uncured paint traps moisture and can cause cloudiness or peeling.
- Choose a foam-safe sealant: Use a clear, non-yellowing acrylic or polyurethane sealant. Always check that it's water-based and foam-safe — the same rule applies here as with paint.
- Apply in thin coats: Hold the spray can or brush lightly and build up protection slowly. Two to three thin coats are far better than one heavy coat, which can drip or cloud.
- Dry between coats: Allow each coat to dry completely before applying the next to prevent a tacky or streaky finish.
- Final cure time: Let the sealed piece sit undisturbed for at least 24 hours before packing, transporting, or installing.
Real-world example — An Outdoor Art Festival: We were commissioned to create giant poppies for an outdoor festival. After painting, we applied three light coats of a gloss polyurethane sealant. When a surprise storm rolled through, the water just beaded up and rolled off the petals. The sealant saved the project and kept our work looking perfect.
Color Matching and Swatch Testing
When creating giant flowers for a brand activation or wedding, "close enough" isn't good enough. Nailing a specific Pantone color is what makes clients trust you with their most important events. The secret is a solid testing process. Always start with test swatches on scrap pieces of the exact same foam you're using — because acrylic paint behaves differently on foam core paper facing versus EVA foam's smooth surface.
The Swatch Testing Process
This prep work eliminates guesswork and is your best insurance against an unhappy client. Follow these steps for guaranteed color accuracy:
- Get the color code: Obtain the specific Pantone, HEX, or CMYK code from your client. Most paint stores can mix a custom latex or acrylic paint to match.
- Prime your scraps: Prime your scrap foam pieces just as you would the main flower to ensure the test color is accurate. An unprimed swatch will look darker and patchier than the real thing.
- Paint and label: Apply at least two solid coats of your custom paint to each swatch. Once dry, write the color code and paint formula on the back for future reference.
- Test your sealant on the swatch too: Some sealants — especially gloss finishes — can shift the perceived color slightly. Always seal a test swatch before committing to the full project.
- Compare against the reference: Hold your swatch next to the client's brand color reference card or fabric swatch in natural light before mixing your full batch of paint.
Don't Forget About Lighting
A color that looks perfect in your studio can look completely different under event hall spotlights or in the bright sun.
Always test your final color swatch in different lighting conditions that mimic the final event location. Take it from your workshop to a shaded spot outside, and then into direct sunlight. This check reveals how the color shifts and lets you make adjustments before it's too late.
A beautiful Tiffany Blue mixed in a workshop might look grayish in photos taken outdoors. Testing beforehand allows you to tweak the paint mix to compensate, ensuring the color pops perfectly on event day. Mastering these details is what it takes to create impactful corporate event decoration ideas that clients rave about.
Your Questions About Foam Board Paint Answered
Here are answers to the most common questions I receive about painting foam, based on years of building and painting giant flowers and foam board projects here in Houston.
What is the best paint that won't melt foam board?
The best and safest option is any water-based paint — high-quality acrylics or latex paints are your top choices. They provide rich, vibrant color without any risk of melting or pitting the foam surface. If you prefer spray paint for a smooth finish, use only cans specifically labeled "foam-safe" or "craft-safe," and always apply a water-based primer first to create a protective barrier between the foam and the aerosol.
Does EVA foam need a different paint than foam core board?
The same paint types work safely on both — water-based acrylics, latex, and foam-safe sprays are all fine for EVA foam and foam core. The main difference is surface texture: foam core has a paper facing that absorbs primer and paint more readily, while EVA foam is denser and smoother, so paint sits more on the surface. EVA foam also benefits from a flexible primer or a light sanding before priming, so the paint doesn't crack when the petal is handled or shaped.
Do I really need to prime foam board before painting?
Yes — priming is a non-negotiable step for a professional finish. Raw foam is like a sponge and will absorb paint unevenly, leaving you with a blotchy, dull result no matter how good your paint is. A quick coat of water-based primer seals the foam, creating a smooth canvas so your color goes on rich, even, and true. Skipping primer is a classic mistake that costs you more paint, more time, and more frustration in the long run.
How can I make my painted foam flowers waterproof?
Making your giant flowers weather-resistant is all about the final sealing coat. Allow your paint to fully cure for at least 24–48 hours, then apply two to three light coats of a clear, non-yellowing waterproof sealant — acrylic or polyurethane spray sealants work great. Let each coat dry completely before applying the next. This process locks in your paint job and creates a protective shield that holds up against moisture, humidity, and light rain at outdoor events.
Can I use regular house paint on foam board?
Yes — as long as it's water-based latex house paint, it works beautifully on foam core board and EVA foam. Latex paint is actually one of my favorites for large base coats because it covers quickly, can be custom-mixed to any Pantone color at a paint store, and is very durable once sealed. Just avoid oil-based or alkyd house paints, which contain solvents that will damage foam.
How do I avoid brush strokes when painting foam board?
The key is thin coats and the right tools. Use a high-quality foam brush or foam roller rather than a bristle brush, which is more likely to leave marks. Slightly thin your acrylic paint with a small amount of water or a flow-aid medium — this helps the paint level out as it dries. Always brush in one consistent direction, and resist the urge to overwork the paint once it starts to set. Two or three thin coats will always look smoother than one thick coat.
I hope this guide takes the guesswork out of choosing and applying foam board paint — whether you're working on a simple foam core sign or a full giant flower installation. If you're ready to put these techniques to work, I'd love for you to explore our DIY giant flower kits, life-size Real Touch craft kits, EVA foam, flower molds, templates, and everything else we offer at Amazing Giant Flowers. Every kit comes with the materials and guidance you need to create something truly show-stopping. Come visit us at https://www.amazinggiantflowers.com and let's build something beautiful together.
Ready to start your own? Everything I use for projects like this is in the shop. A great place to begin is the Glue Gun + Sticks and the EVA Foam Material. Have questions while you build? Reach out anytime. I can't wait to see what you create!
Shop the supplies
Everything You Need for This Project


Written by
Adriana WellsFounder & CEO of Amazing Giant Flowers
Adriana Wells is the founder and creative force behind Amazing Giant Flowers, a Texas-based company specializing in handcrafted giant foam flowers, luxury floral installations, and DIY flower-making supplies.
More about Adriana →Ready to Create Something Amazing?
Browse our collection of giant flower kits and start your next project today.