Beginner Foam Flower Kit: Your First Bloom in an Afternoon
So you've been scrolling through gorgeous flower walls and stunning backdrops online, and somewhere in the back of your mind a little voice is saying "I could make that." Guess what? You absolutely can. And a beginner foam flower kit is exactly where that journey starts — not with a YouTube rabbit hole, not with a craft store panic attack, just with a box of pre-cut petals and a mold that basically does the thinking for you.
When I first started making life-size foam flowers, I was a total mess. I was cutting petals freehand with scissors, guessing at shapes, and wondering why my roses looked like crumpled napkins. I wish someone had handed me a kit back then. Seriously. It would have saved me about six hours and a minor meltdown.
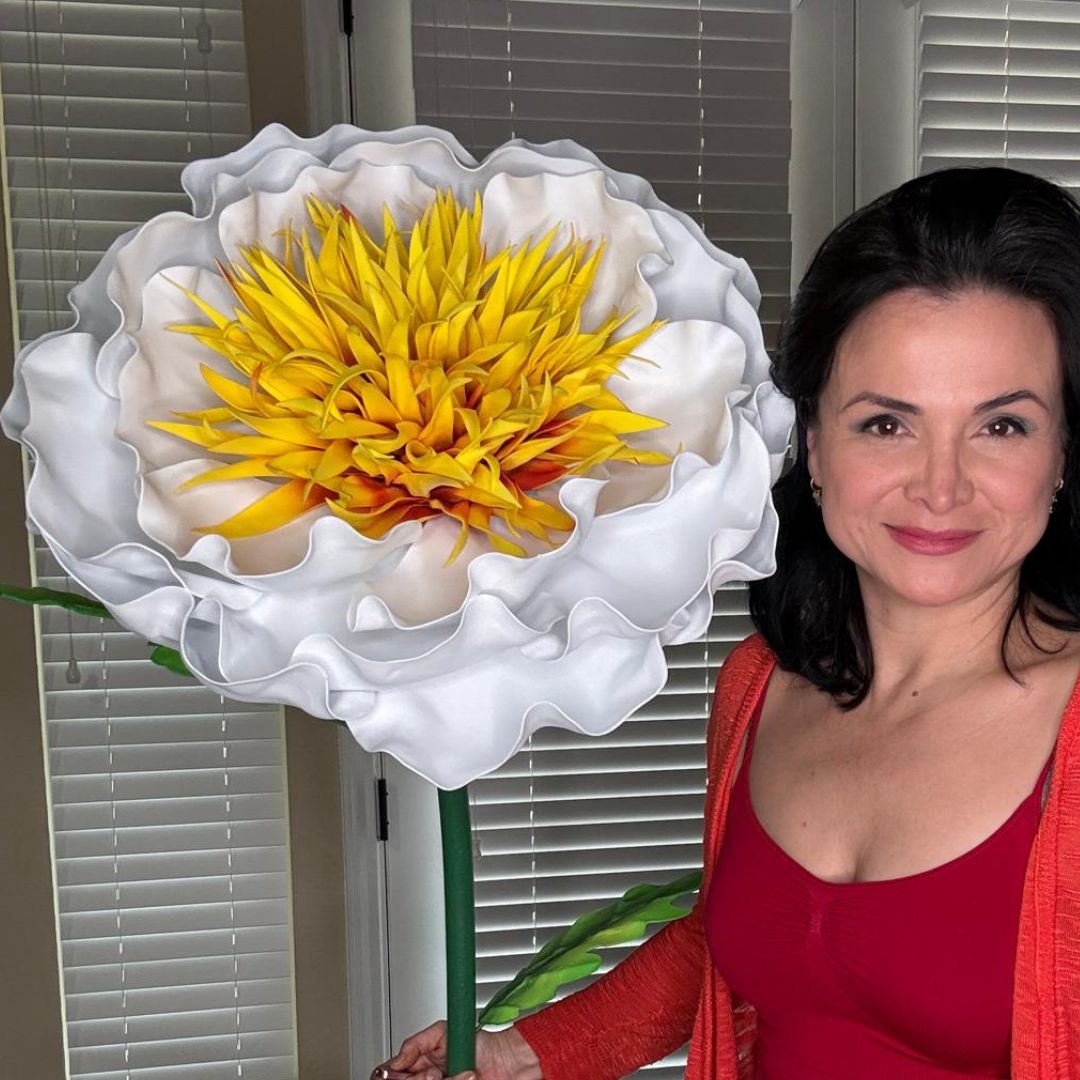
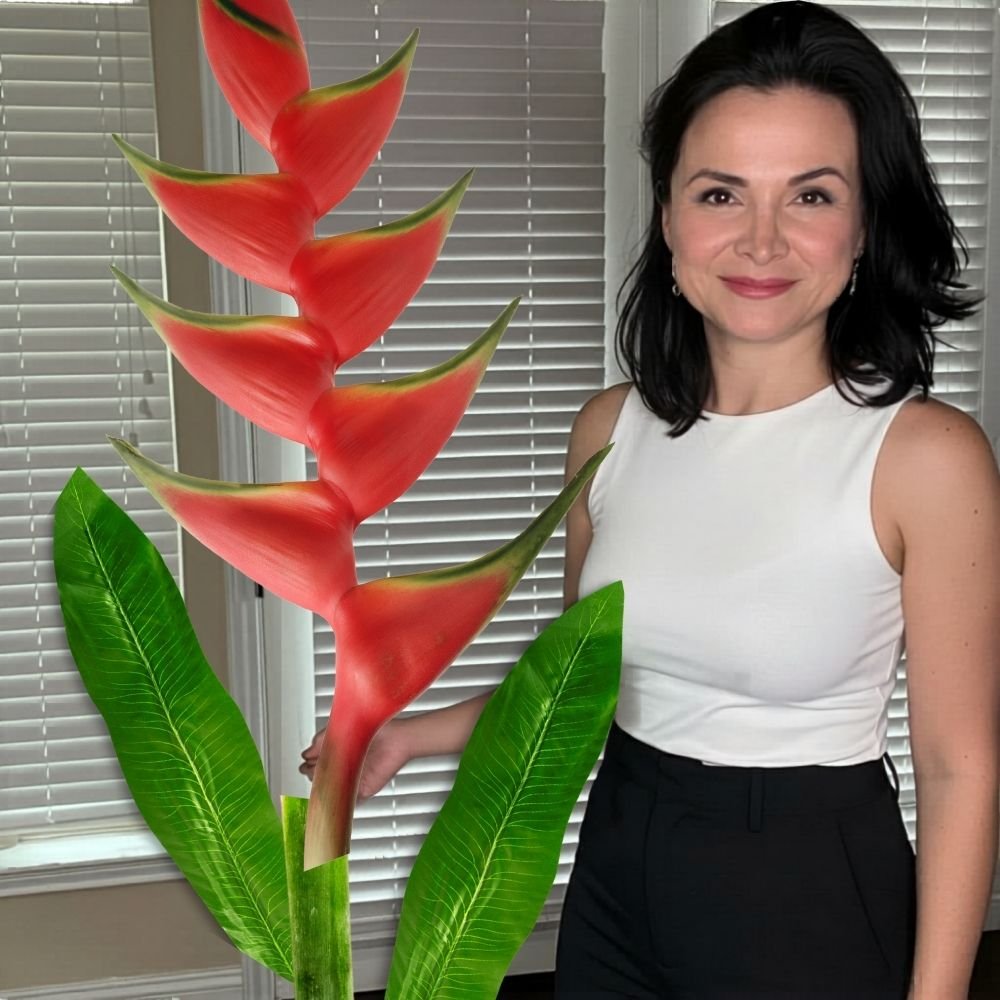
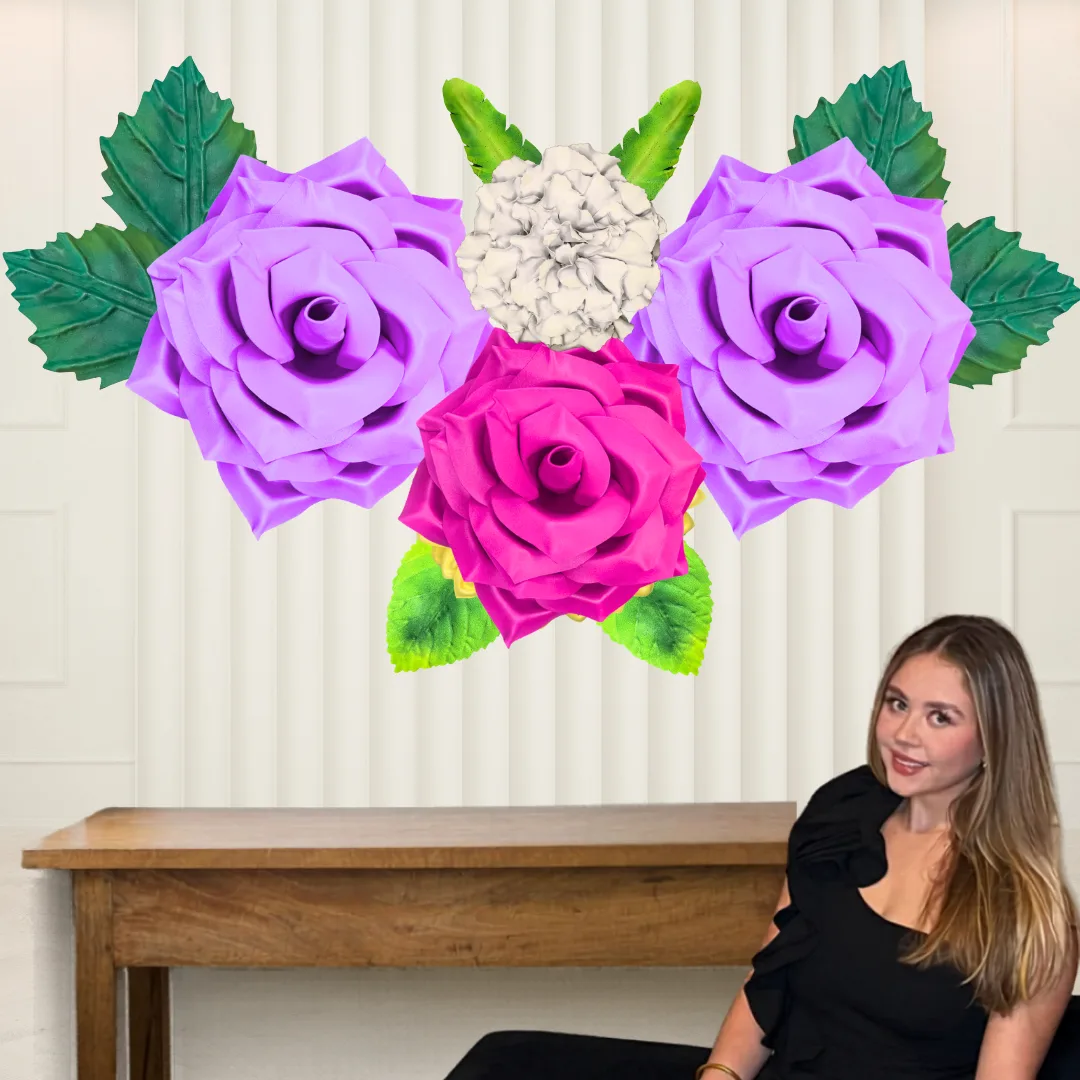
That's exactly why I created our Life-Size Foam Flower Kits — to give you that first satisfying win in an afternoon, not a weekend. Let me walk you through everything you need to know before you dive in.
Key Takeaways
Ok, let me just open the box with you right now — metaphorically speaking.
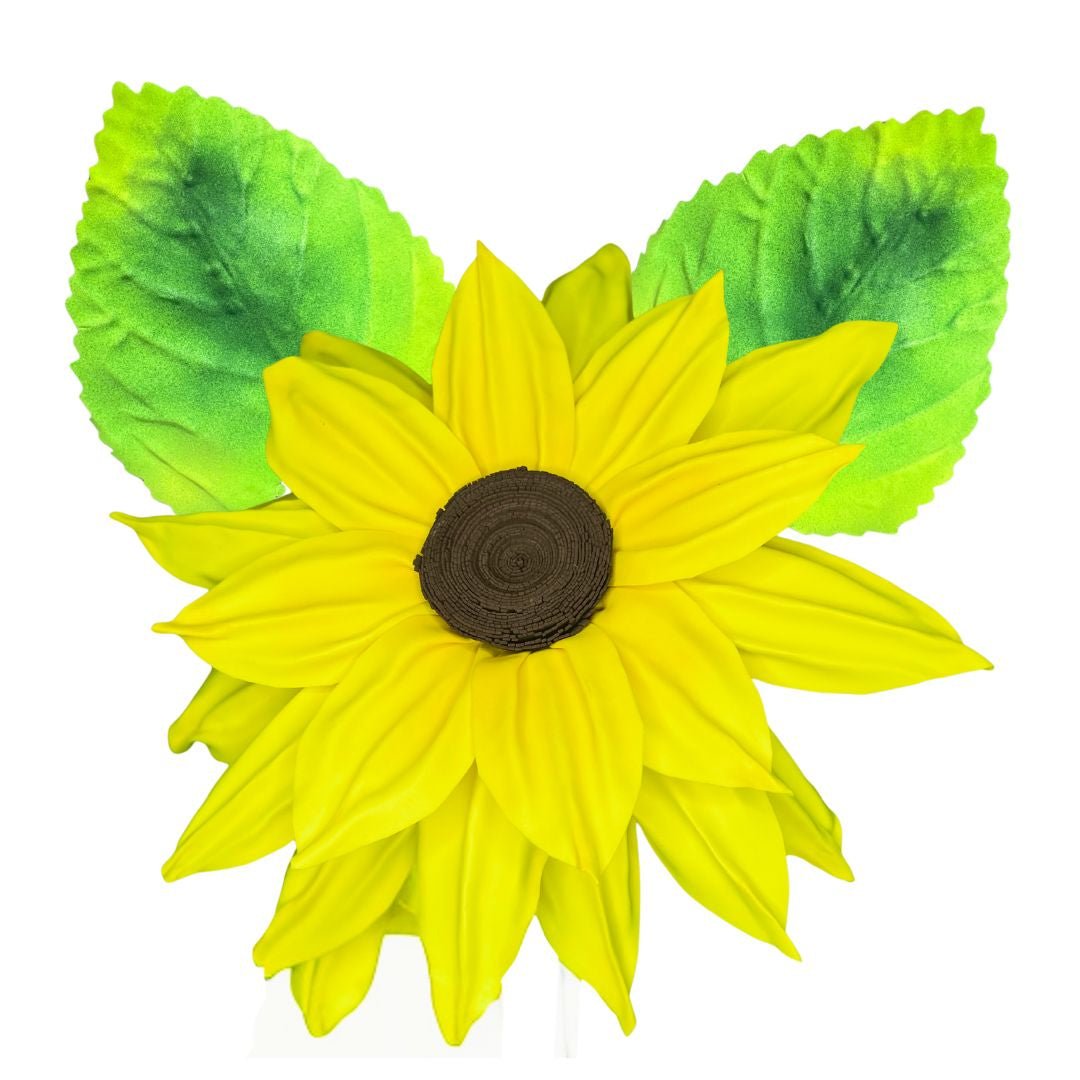
Our Life-Size Foam Flower Kits (Crafter Line) come with pre-cut foam petals in multiple sizes, a shaping mold, and step-by-step instructions. That's the holy trinity of beginner success right there.
Pre-Cut Petals — The Game Changer
The single biggest barrier for beginners is cutting. Foam is forgiving in some ways, but getting consistent petal shapes by hand? That takes practice. Our kits skip that step entirely. Every petal is already cut to the exact shape and size you need. You open the bag and they're ready to go.
The foam itself has a real-touch finish — meaning it has that slight texture and softness that makes people reach out and touch your flowers because they genuinely can't tell if they're real. I love watching that moment happen at events.
This is where the magic happens. The mold shapes each petal into a natural, curved form. You press the petal in, apply a little heat (a heat gun works beautifully — more on that in a sec), and the foam holds that curve permanently. No artistic skill required. The mold does the work.
If you want to geek out on petal shaping technique, I wrote a whole post on heat gun techniques for shaping foam flower petals that's worth bookmarking for when you're ready to level up.
💡 Pro Tip
You don't need an expensive heat gun to start. A basic craft heat gun in the $20–$30 range works perfectly for shaping foam petals. Hold it about 3–4 inches away and keep it moving — you're warming the foam, not melting it.
Why Foam Beats Paper for Your First Project
Real talk? I love paper flowers. They're beautiful. But for a beginner who wants a quick, satisfying win, foam wins every time. Here's why.
Paper tears. Foam doesn't. If you mess up a curl or a fold with paper, you're starting that petal over. With foam, you can reheat and reshape as many times as you need. It's incredibly forgiving, which makes it perfect when you're still learning.
Paper flowers are stunning but fragile. One humid Houston afternoon and they're wilting. Foam flowers are waterproof and UV-resistant — I've had foam pieces used at outdoor weddings in July Texas heat that still looked incredible. You make it once, you use it for years.
Our real-touch foam has a velvety, organic texture that paper simply can't replicate. When you're done and you step back to look at your first bloom, it genuinely looks like something that just came from a garden. That feeling? That's the win I want you to have.
I actually wrote a full breakdown comparing the two if you want to dig deeper: Foam Flowers vs Paper Flowers: Which Is Better for Events? — but for now, just trust me on this one.
I get asked this constantly. So let me just lay it out clearly so you can make the best choice for your project.
Alright, here's where it gets really fun. Let me walk you through the process so you know exactly what to expect when your kit arrives.
Open your kit and sort your petals by size. Most of our kits include 3–4 petal sizes — smaller ones for the center, larger ones for the outer layers. Lay them out on your work surface so you can see everything at once. This is also a great moment to just appreciate how pretty the foam color is. I'm not even sorry for saying that.
Place a petal into the mold and apply your heat gun for 3–5 seconds. The foam will soften and take the shape of the mold. Hold it for a few seconds while it cools. That's it. That's the whole technique. Do this for all your petals before you start assembling — it's way easier to shape them all at once.
Start with your smallest petals and hot glue them together at the base, fanning them inward to create the flower's heart. Then layer medium petals around that, and finally your largest petals on the outside. Work in a spiral pattern and overlap each petal slightly. The flower will start to look real very quickly — and that's the moment beginners always gasp a little.
Gently bend and adjust any petals that need a little more curve. You can go back in with your heat gun for final shaping even after assembly. Add a foam circle or button center if your kit includes one, and you're done. Seriously. Done.
💡 Pro Tip
Hot glue strings are the bane of every crafter's existence. Keep a silicone finger cap or a piece of tape nearby to quickly pull them off before they cool. It saves so much cleanup time at the end.
Ok so you've made your first bloom. Now what? Honestly, the possibilities are kind of overwhelming in the best way.
🌸 Ready to make your first bloom?
Browse our full Life-Size Foam Flower Kit collection — kits start at $34.99 and everything you need is included.
Choosing the Right Beginner Foam Flower Kit for Your Project

Not all kits are created equal, and the right one depends on what you want to make. Here's how I'd break it down.
If You Just Want to Try It Out
Go with one of our smaller kits starting at $34.99 — they make 2–3 flowers and give you everything you need to learn the technique without a big investment. Perfect for testing the waters.
If You Have an Event Coming Up
Look at our larger kits in the $44.99–$49.99 range that yield 4–6 flowers per kit. If you're building a backdrop or arch, you'll want to grab a few kits in coordinating colors. And don't forget to check out our flower molds if you want to expand into custom shapes down the line.
If You Want to Go Deeper
Once you've made your first few flowers, you might want to start cutting your own custom petals from sheets. Our EVA foam sheets are perfect for that next step — and I have a full guide on every type of foam for life-size flowers to help you choose the right material.
- Beginner (2–3 flowers): Start at $34.99 — great for learning and home décor
- Mid-range (4–6 flowers): $44.99–$49.99 — ideal for small events and backdrops
- Multiple kits: Stack kits in different colors for large installations like arches and walls
- Add-ons: Pair with additional molds for more petal shapes and variety
Frequently Asked Questions
Do I need any special tools to use a beginner foam flower kit?
The kit includes your pre-cut petals and mold, so the main tools you'll want to have on hand are a heat gun and a hot glue gun. Both are widely available at craft stores for under $30 each. That's genuinely all you need to make a beautiful finished flower.
If you don't have a heat gun yet, a hair dryer on its highest setting can work in a pinch for very light shaping — but a heat gun gives you much more control and faster results. Trust me, it's worth the investment.
Ready to Create Something Amazing?
Browse our collection of giant flower kits and start your next project today.
Ready to Create Something Amazing?
Browse our collection of giant flower kits and start your next project today.