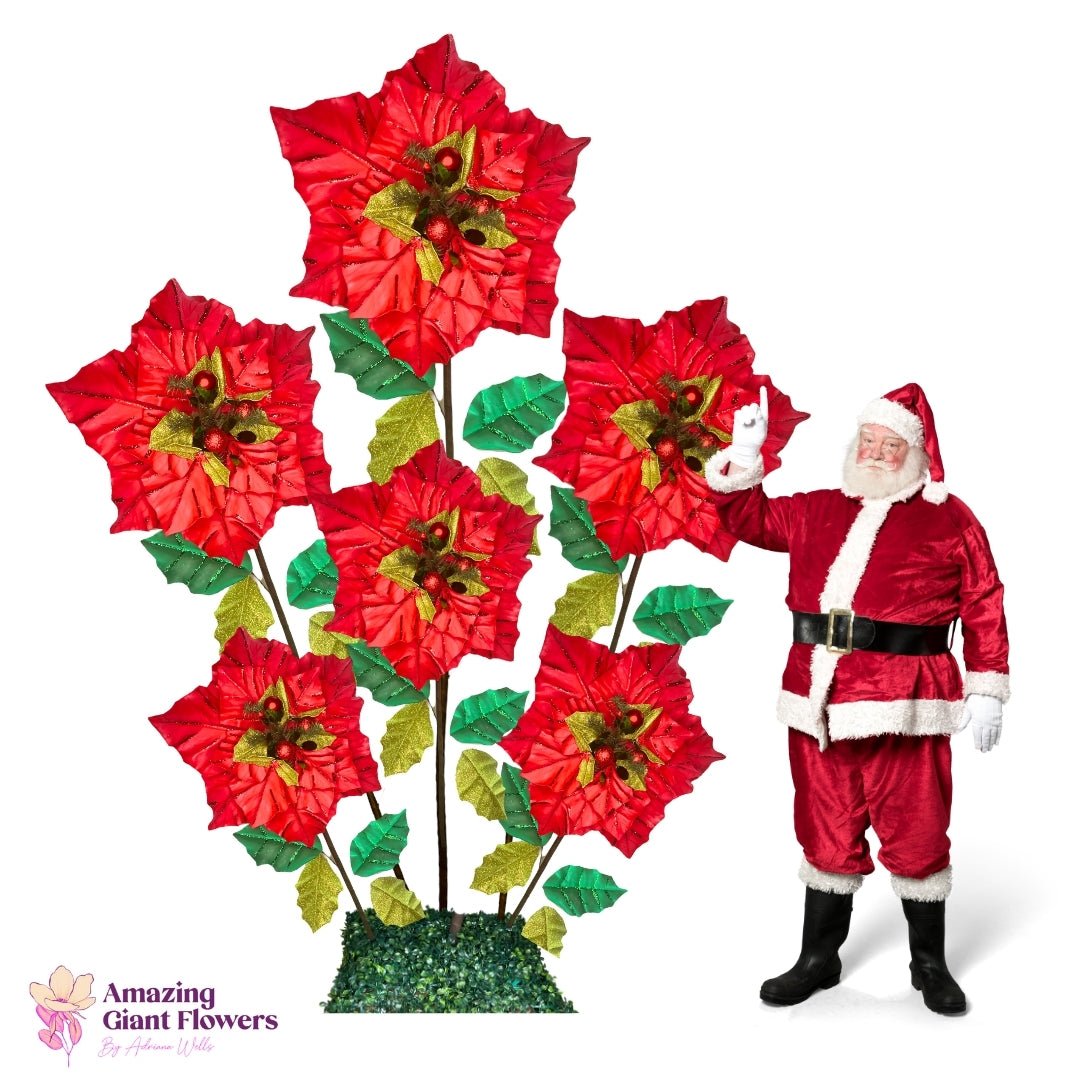
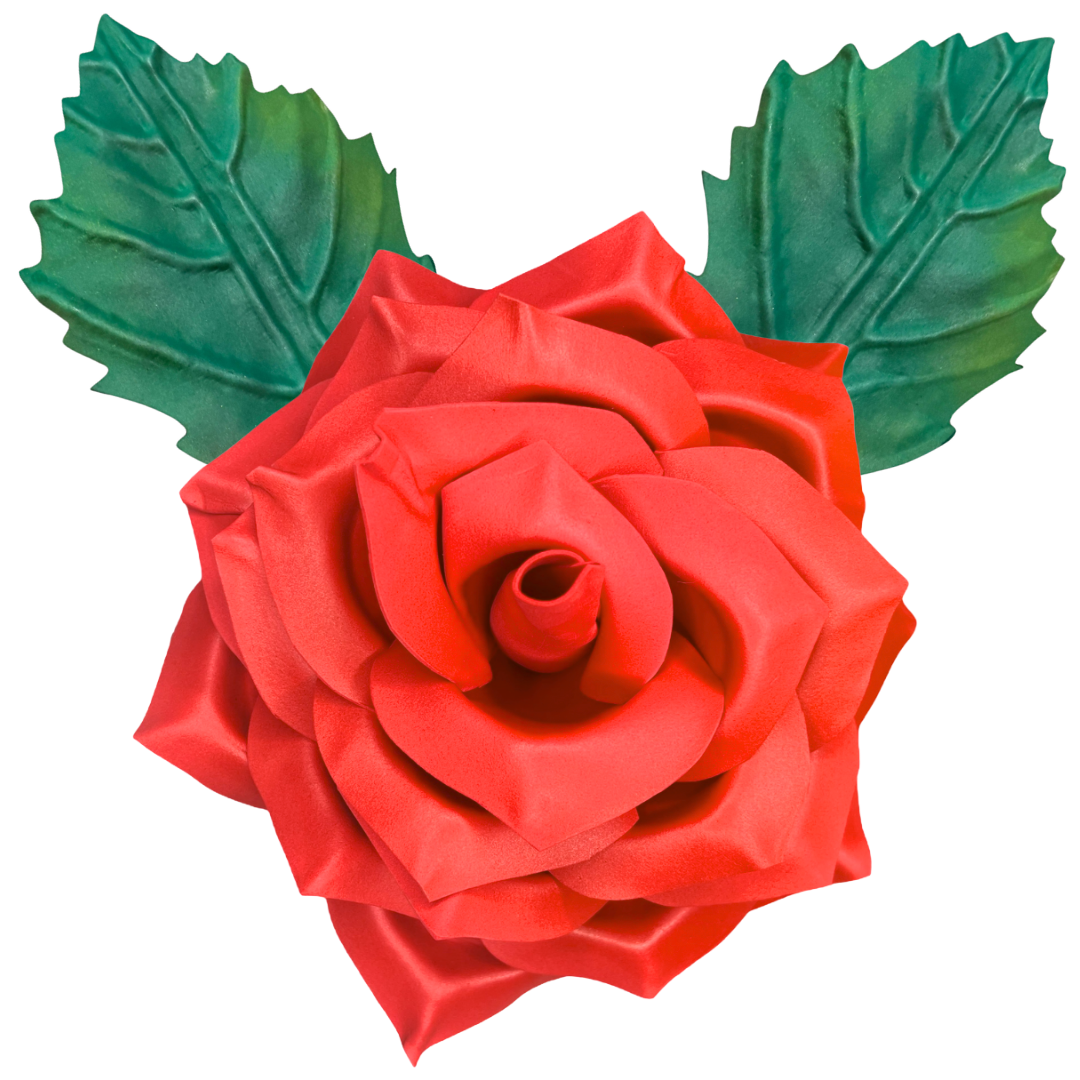
DIY a Stunning Rose Flower Wall — Choose Your Size: 18", 24" or 30"


Few things transform a room as fast as flower wall decor. A single wall of oversized roses behind a dessert table or headboard reads as "someone hired a designer" — even when you built it yourself over a weekend. And with a diy flower wall kit, that designer look costs a fraction of a fresh-floral install.
I'm Adriana, and the Classic Rose Wall Statement Kit is one of the pieces I'm proudest of. It comes in three finished sizes so you can scale from a subtle accent to a full photo backdrop. Here are five ways to use it — plus exactly how to choose your size.
Over the years I've watched brides, party planners, and shop owners all reach for the same thing: a backdrop that looks expensive but doesn't behave like fresh flowers. Fresh florals wilt within hours, they can't be transported without stress, and a single wall install from a florist can run into four figures. A reusable diy flower wall kit flips that math on its head. You build it once, you photograph it a hundred times, and it folds flat into a closet between events. That is the whole promise of this collection — the drama of a florist's wall, on a crafter's budget, with none of the wilting.
The other thing I love about a rose wall is how forgiving it is. You do not need a design degree or a single power tool. The petals arrive pre-cut and pre-shaped, so your job is simply shaping, layering, and mounting. If you can arrange flowers in a vase, you can build one of these walls — and the finished piece looks every bit as polished as an install that cost ten times as much.
Choosing Your Rose Size
The Classic Rose Wall kit is sold by finished bloom diameter. Bigger blooms cover a wall faster and read from farther away; smaller blooms give you tighter, more detailed clusters. Here's how I steer people toward the right pick.
| Size | Best For | Price |
|---|---|---|
| 18" | Accent clusters, nursery corners, sign backdrops | from $37.99 |
| 24" | Dessert tables, headboards, photo areas | $54.99 |
| 30" | Full statement walls, ceremony backdrops | $69.99 |
My rule of thumb: for a full backdrop, mix a few 30" blooms with 24" and 18" fillers so the arrangement feels organic rather than uniform. Starting small? The 18" rose is the easiest, most affordable way to test the look — pricing starts at just $37.99.
Scale matters more than most people expect. A wall built from a single size reads as flat and repetitive, almost wallpaper-like, because your eye has nothing to travel across. When you vary the diameters, you create depth — the big 30" blooms become focal points, the 24" roses carry the middle, and the 18" fillers tuck into the gaps the way real garden roses cluster. That variation is the difference between "nice" and "where did you get that?" Think of the large blooms as your anchors and the smaller ones as the connective tissue that makes the whole thing feel grown rather than assembled.
If budget is your first concern, start with the 18" size and build outward over time. Because the collection is modular, you can add a few blooms before each new event instead of buying everything at once. Many of my customers started with a single cluster for a baby shower and grew it into a full ceremony backdrop over a year of celebrations.
"A flower wall doesn't have to fill an entire room to steal the show — it just has to sit exactly where the cameras point."
5 Ways to Style Your Rose Flower Wall
- 1. Bridal or baby shower backdrop: a blush rose wall behind the dessert table becomes every guest's photo backdrop.
- 2. Nursery statement wall: a soft cluster above the crib adds warmth that grows with the room.
- 3. Reusable event branding: mount your logo or a neon sign over the blooms for pop-up shops and launches.
- 4. Headboard alternative: a permanent 3D wall of roses instead of a traditional headboard.
- 5. Seasonal refresh: swap colors for holidays — the kit is reusable, so you re-style instead of re-buy.
Tip from Adriana: Mount blooms on a lightweight foam board or directly to the wall with removable strips. That way your entire backdrop lifts off in one piece and stores flat.
Want the step-by-step for assembling a full backdrop? My 5-step flower wall backdrop guide walks through layout and mounting in detail.
Build a Rose Wall That Gets Photographed All Night
- Pre-cut petals in your choice of 9 colors
- Three sizes — mix for a natural, layered look
- Reusable and lightweight — restyle for every event
Classic Rose Wall Statement Kit — from $37.99
Shop the Rose Wall KitBrowse All Wall KitsColors & Flower Pairings
The rose comes in nine colors, from soft blush to bold magenta. But you don't have to stop at roses — the whole wall collection is built to mix. Add a sunny sunflower for a garden party, a water lily for a serene spa feel, or a dahlia for texture.



For more room-by-room inspiration, my home decor ideas using wall flower kits post shows how these look in real living spaces.
How to Mount Your Rose Wall So It Lasts
The mounting stage is where a flower wall either looks professional or looks improvised — so it's worth slowing down here. My favorite approach for renters and event spaces is to build the entire arrangement on a lightweight foam board first, off the wall, laid flat on a table. That lets you play with layout, step back, and rearrange before anything is committed. Once you love it, the whole board hangs as a single unit and lifts off in seconds when the event ends.
For a permanent installation — a nursery, a headboard, a shop feature wall — removable adhesive strips let you mount blooms directly to the surface without nails or damage. Start from the center and work outward, placing your largest roses first and filling gaps with smaller ones. Keep a slightly irregular spacing; perfectly even rows read as artificial, while a little organic drift reads as lush. Step back every few blooms to check the silhouette from across the room, because a flower wall is almost always seen from a distance before anyone gets close.
Because the blooms are foam, they weigh almost nothing, so you're never fighting gravity the way you would with fresh florals or ceramic pieces. That low weight is also what makes the wall genuinely reusable — you can take it down, store it flat, and rebuild it in a new color story for the next celebration without a single petal wilting in between.
Frequently Asked Questions
How many blooms do I need for a backdrop?
For a standard 6-8 ft photo backdrop, plan on roughly 12-18 mixed-size blooms. Start with a few 30" roses as anchors and fill around them.
How do the flowers attach to the wall?
Most people use removable mounting strips or pin them to a foam board. Both let you take the whole wall down and reuse it.
What's the smallest size sold?
Our publicly listed rose wall sizes start at 18" — pricing from $37.99. Smaller diameters are reserved for our curated bundles.
Are the colors the same across flowers?
Colors vary a little by flower type, but the palette is designed to coordinate so you can mix roses, sunflowers, lilies, and dahlias confidently.
How long does it take to build a full wall?
Most people finish a 6-8 ft backdrop over a relaxed weekend afternoon. The shaping goes quickly once you find your rhythm, and mounting is the fastest part if you've pre-arranged on a board.
Can I reuse the wall for different themes?
Absolutely — that's the point. Because nothing wilts, you can restyle the same blooms with new accents, mix in a different flower, or simply re-hang them in a new layout for each event.
A flower wall is the rare decor piece that photographs beautifully, packs away flat, and comes back for the next celebration. Pick your size, pick your palette, and build the backdrop everyone remembers.
Ready to build? Shop the Wall Flower Kit collection →
Ready to Create Something Amazing?
Browse our collection of giant flower kits and start your next project today.