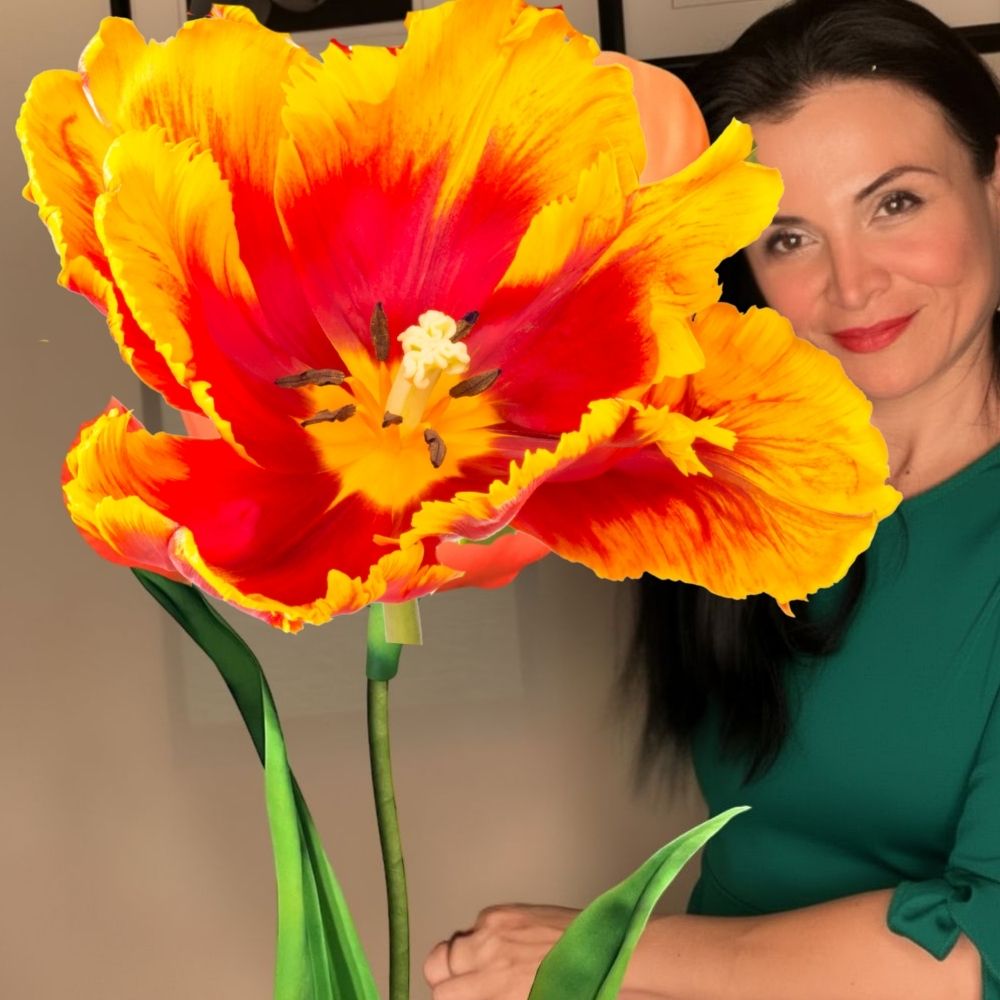
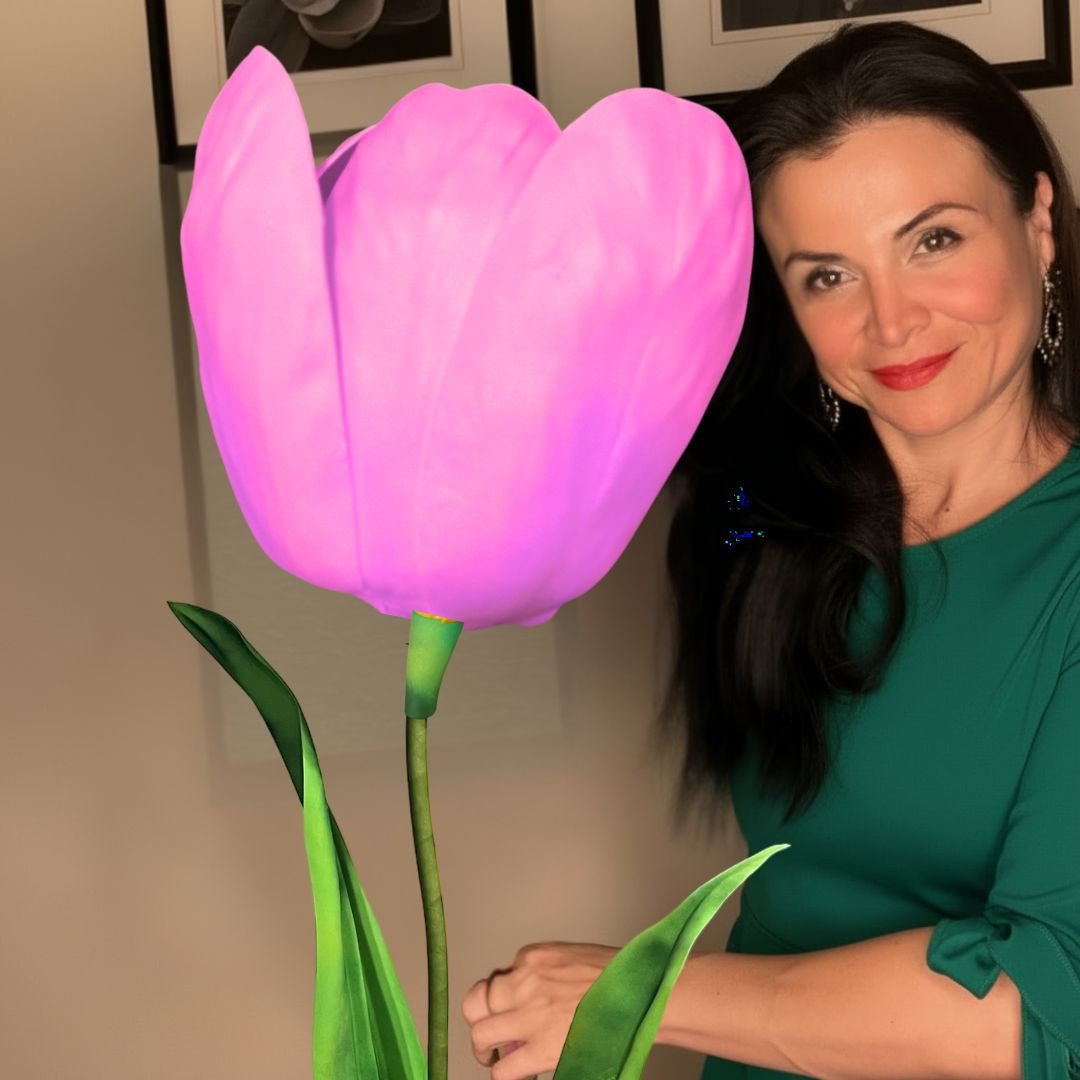
How to Make a Giant Flower Wall Backdrop in 5 Steps (No Fresh Flowers)

You walk into the venue two days before the event, look at the blank wall behind the head table, and your stomach drops. That empty wall is the first thing every guest will photograph — and right now it's beige nothing.
I've stood exactly where you're standing. Here's the good news: you don't need a florist, a ladder full of fresh stems, or a five-figure budget to fix it. A giant flower wall backdrop made from pre-cut EVA foam blooms goes up in an afternoon, survives the whole weekend without wilting, and packs away to reuse at your next event.
A flower wall isn't decoration — it's the photo every single guest takes home. So it's really your event's logo for the day.
If you'd rather skip the trial-and-error, our Designer Backdrop Wall Flower Kit Bundle arrives pre-cut with 11 blooms and video tutorials — you just shape, glue, and hang. I'll show you both paths below.
What you'll need
Every giant flower wall comes down to the same short supply list. You can gather these yourself, or let a kit hand you most of them pre-cut:
- EVA foam petals — the soft, bendable foam that holds shape and won't wilt. Pre-cut kits save hours of tracing.
- A flat iron or heat tool — a regular hair straightener curls petals in seconds.
- Hot glue gun — for joining petals into blooms.
- Hanging hardware — command strips, floral wire, or a grid backdrop stand.
- A color plan — three to five shades that photograph beautifully.
Step 1: Choose your blooms and color story
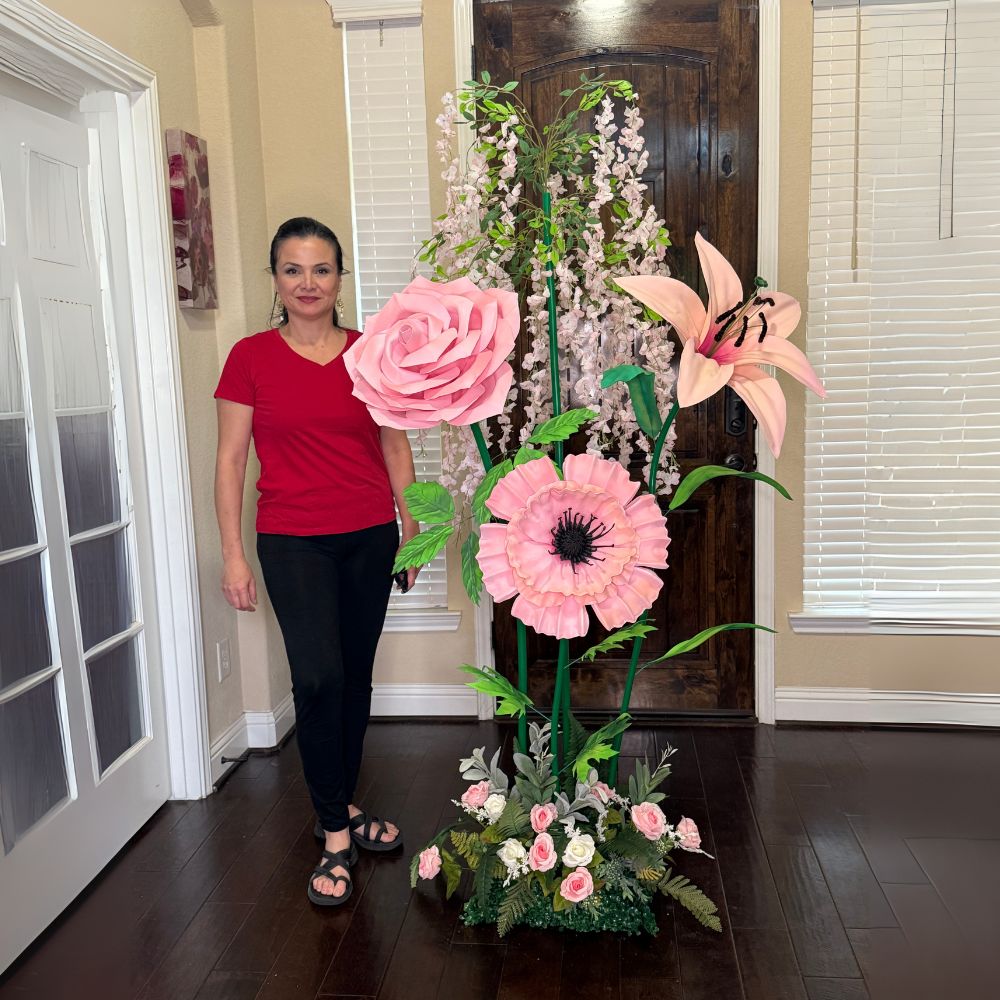
Before you cut or shape anything, decide what the wall should feel like. A soft blush-and-cream wall reads romantic — perfect for weddings and bridal showers. A bold sunflower-and-poppy wall feels joyful and photographs loud in the best way.
I recommend picking one hero bloom and two supporting shapes. Mixing sizes — 24-inch statement flowers next to 18-inch fillers — is what makes a wall look designed instead of flat.
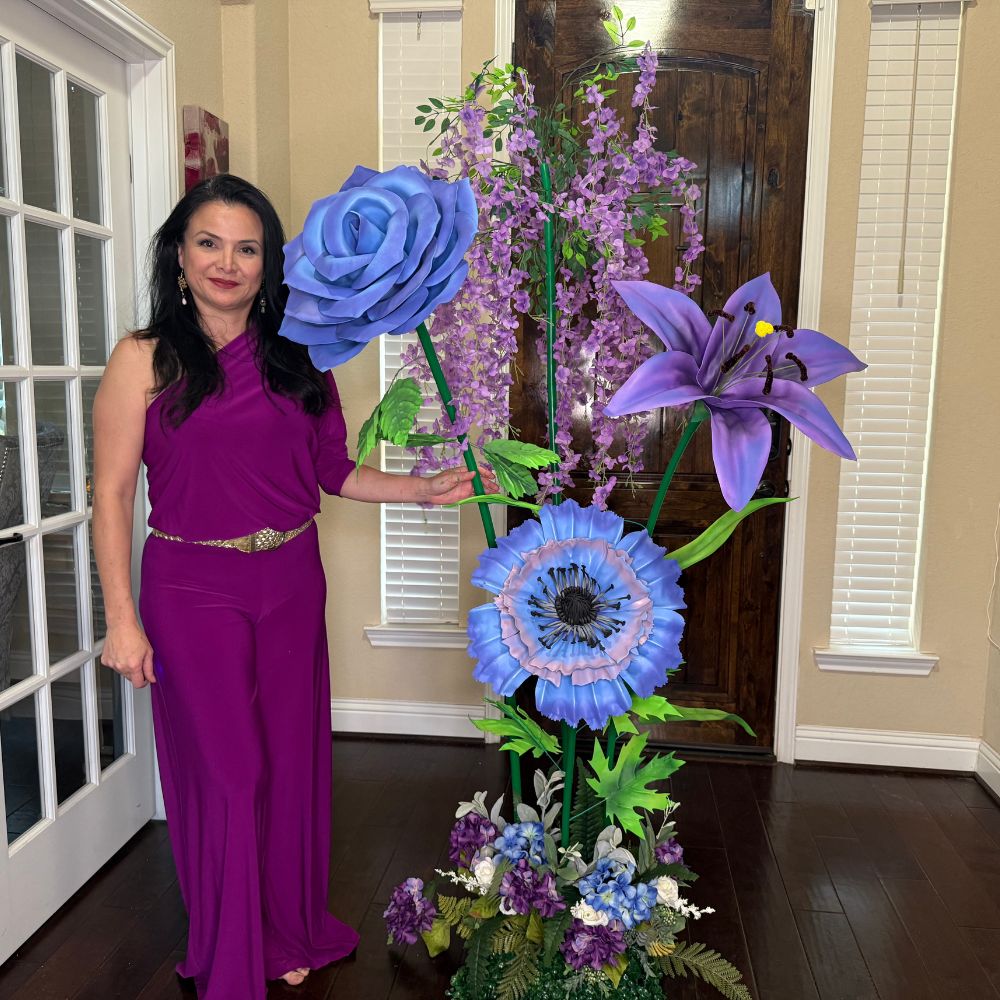
A few of my most popular starting points:
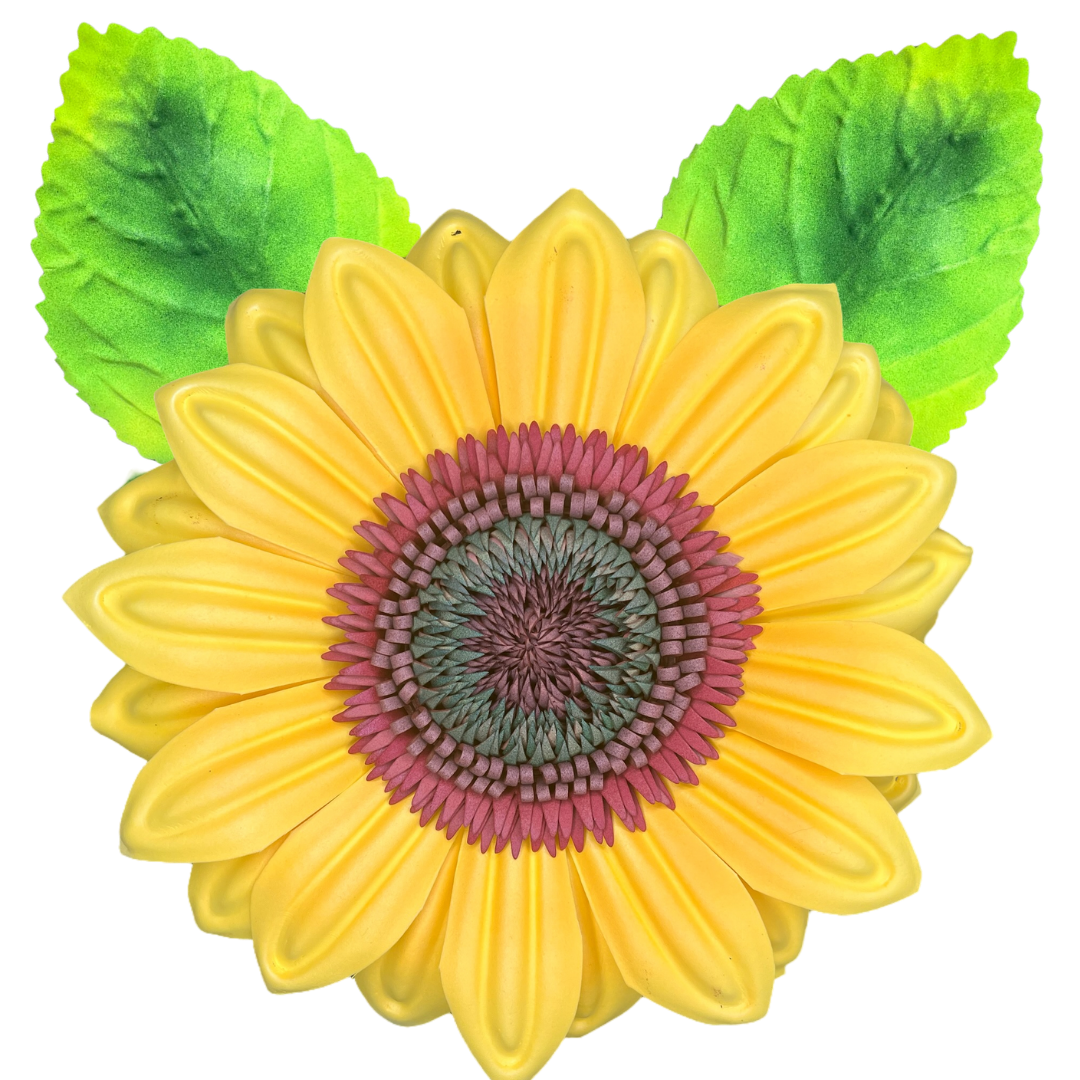
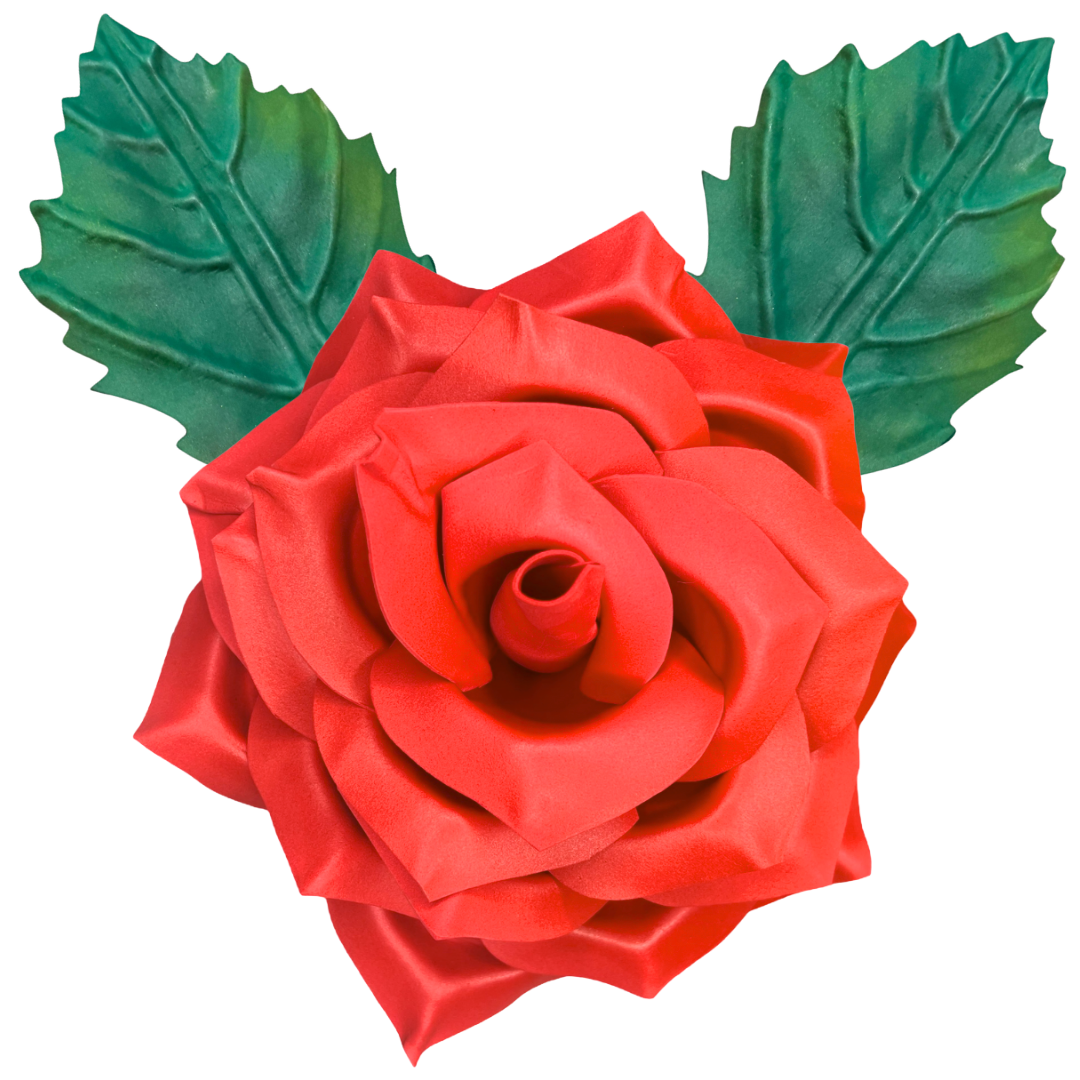
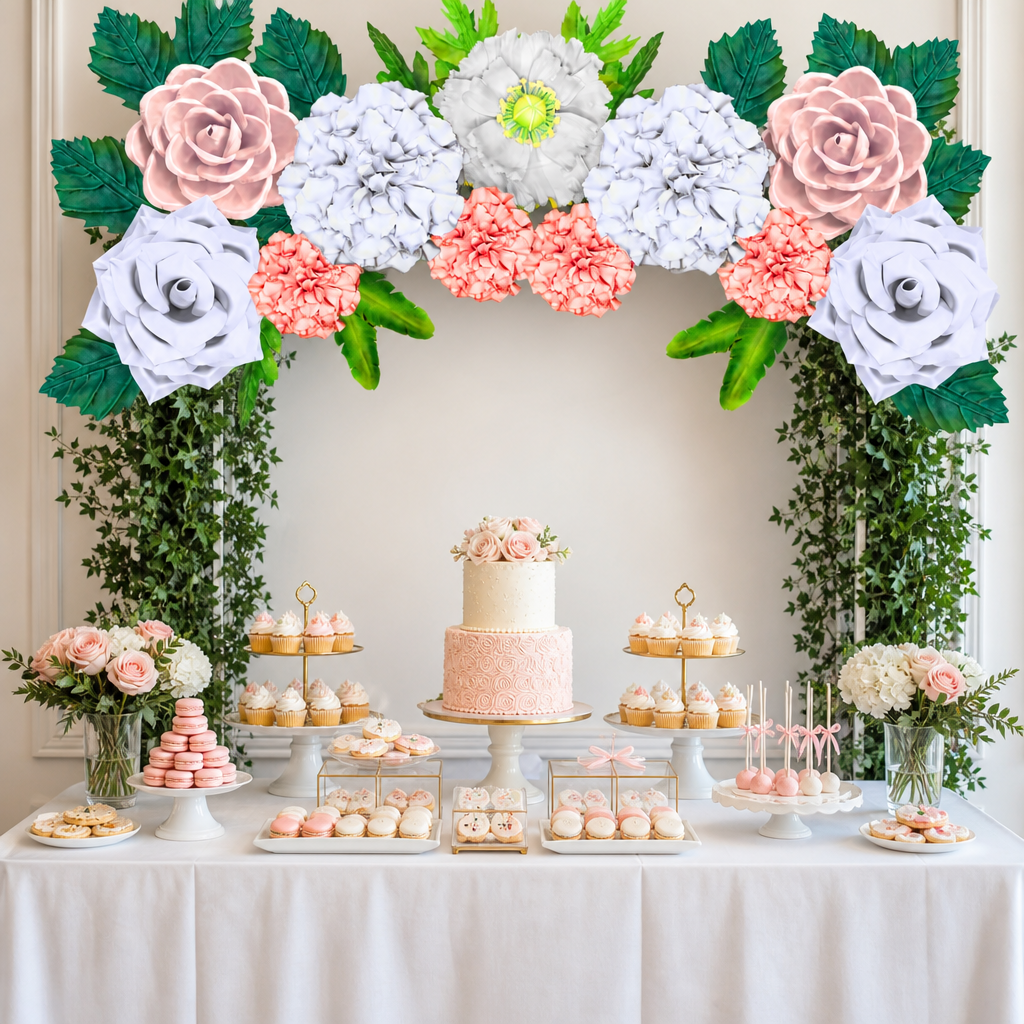
Browse the full range on the Wall Flower Kits collection page and mix until the palette makes you smile.
Step 2: Shape every petal
This is the step everyone rushes — and it's the one that separates a wow wall from a flat one. A petal straight off the sheet looks like paper. A shaped petal looks alive.
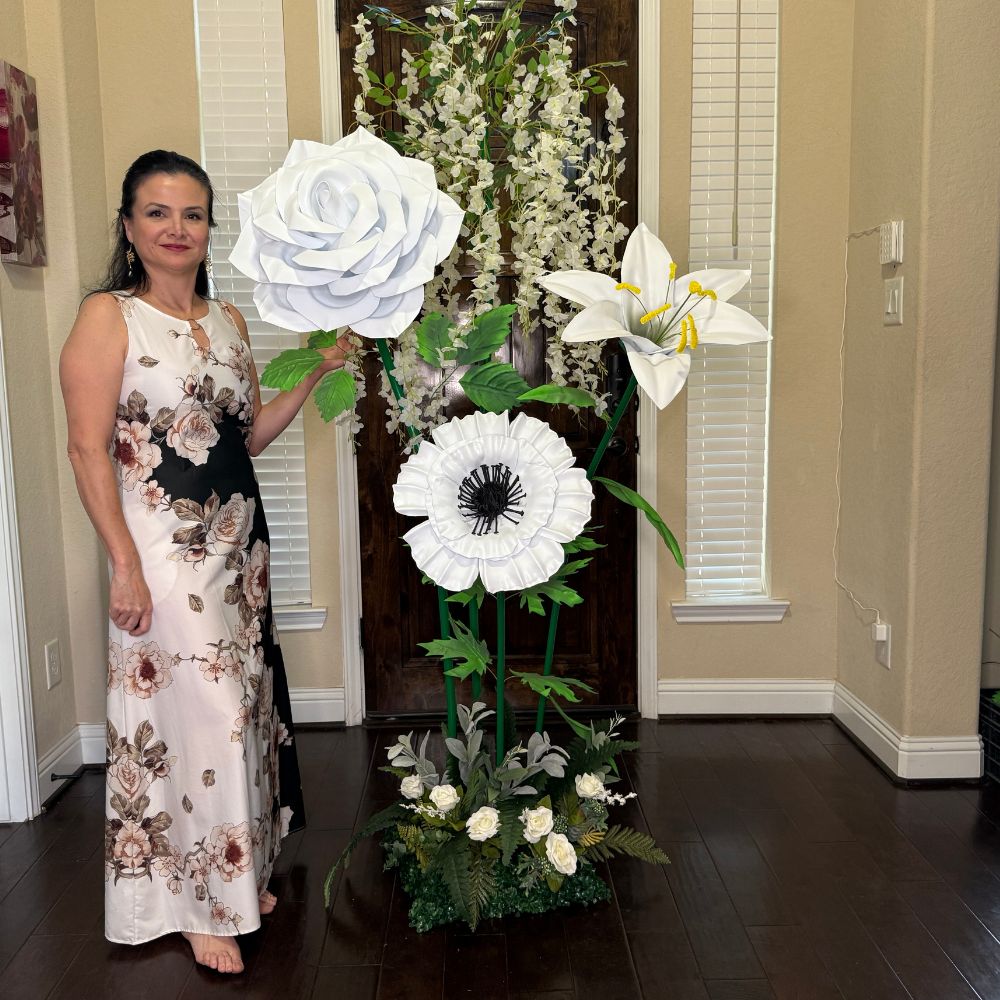
Warm the base of each petal against a flat iron for a second or two, then gently press a curve with your fingers. The foam remembers the shape the moment it cools.
Curl the tips outward for open, blooming flowers and inward for tight buds.
Work through your whole stack before assembling — it's faster to shape all petals at once than to stop and start.
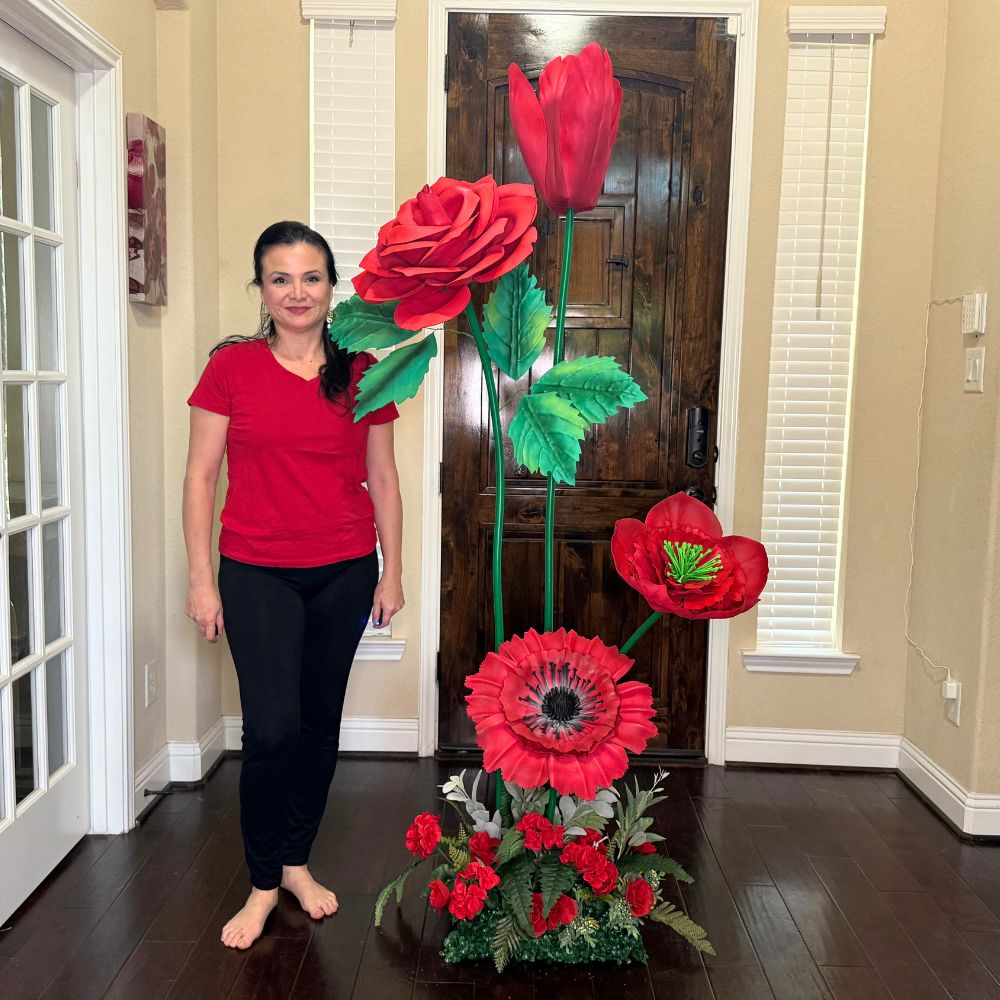
The magic isn't the foam. It's the thirty seconds you spend giving each petal a curve.
Step 3: Assemble each flower
Now the fun part. Start from the center and work outward, gluing petals in rings and overlapping each row slightly. Smaller petals go in the middle; the largest form the outer edge.
Keep a light hand with the hot glue — a small dot at the petal base is plenty. Add a few leaves at the back to hide seams and give the bloom a finished look.
Step 4: Plan your wall layout

Lay your finished flowers on the floor first and arrange them before anything touches the wall. This is your dress rehearsal.
Cluster your biggest blooms slightly off-center, then let medium and small flowers trail outward like they're growing. Leave breathing room between some flowers and overlap others — perfectly even spacing looks like a store display; organic clustering looks like art.
✨ Skip the guesswork: the Designer Backdrop Bundle
A full flower wall in one box — designed to hang, not to figure out.
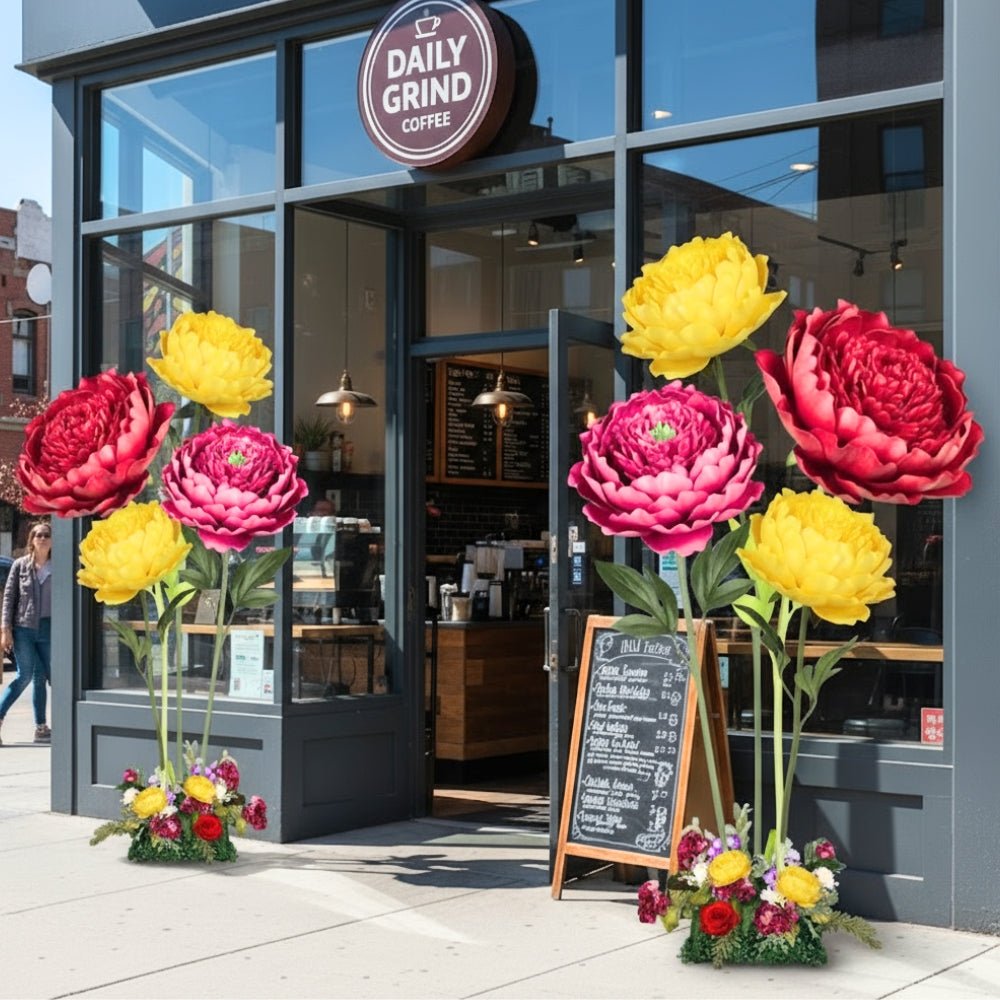
WHAT'S IN THE BOX
- 11 pre-cut wall flower kits (24", 18" sizes)
- Premium EVA foam petals & leaves
- Printed shaping templates
- Step-by-step video tutorials
THE MATH
Buy kits individually: ~$414
Bundle price: $351.81
You save 15%
Prefer a smaller start? Single wall flower kits from $37.99.
Step 5: Mount it on the wall
Because EVA foam is so light, you have options:
- Rented venue? Command strips protect the wall and peel off cleanly.
- Freestanding look? Attach flowers to a fabric-covered grid or pipe-and-drape stand.
- Permanent display? Small nails or hooks give the most secure hold.
Start mounting from your center cluster and work outward, matching the layout you rehearsed on the floor. Step back every few flowers to check balance from across the room — that's where the camera will be.
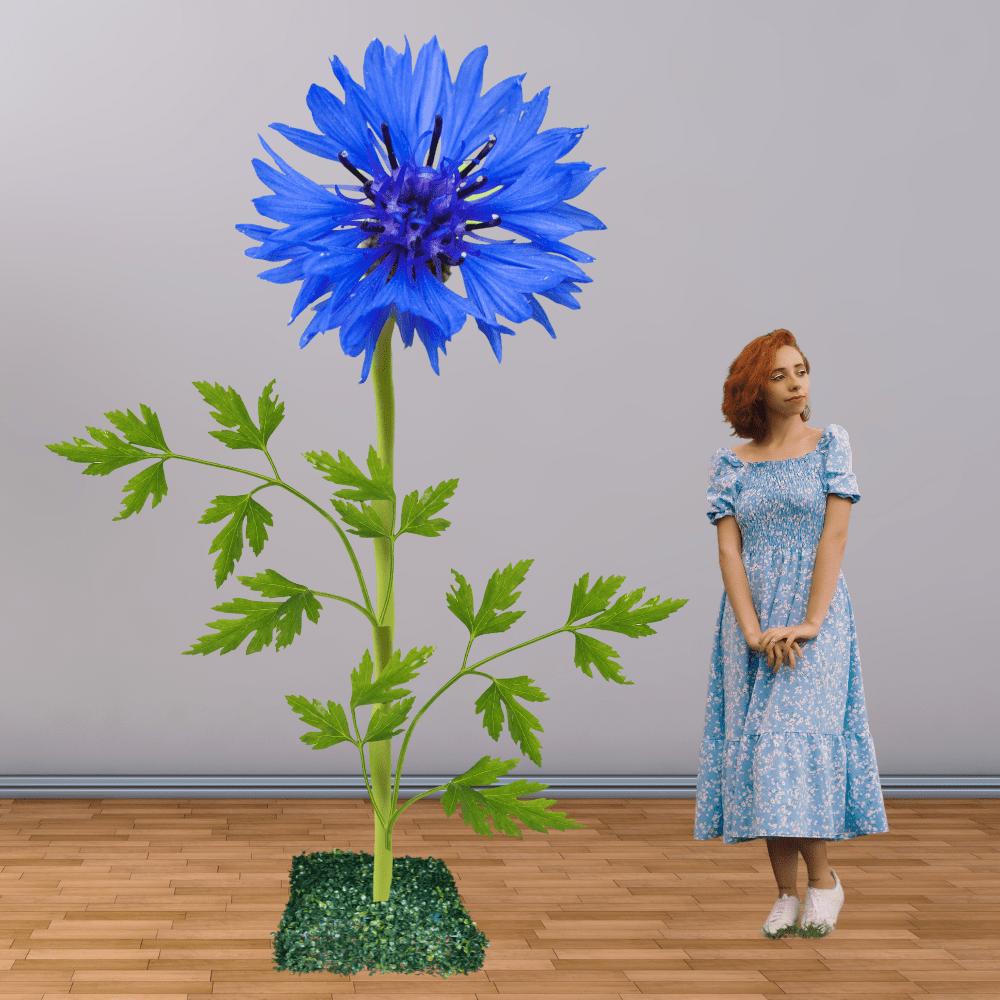
Foam walls weigh almost nothing. A full backdrop can hang on a few command strips — no drilling, no stress.
4 common mistakes (and easy fixes)
❌
Skipping petal shaping
Flat petals photograph flat. Always curl them — it takes seconds and changes everything.
❌
Using too much glue
Big blobs show and add weight. A small dot at the base holds fine.
❌
Spacing flowers evenly
Even grids look like a store shelf. Cluster and overlap for an organic, high-end look.
❌
Going all one size
Mix 24", 18", and filler blooms so the wall has depth instead of reading like wallpaper.
Flower wall backdrop FAQ
How long does it take to make a giant flower wall?
With pre-cut kits, most people shape and assemble a single giant bloom in about 45 minutes. A full backdrop of 9 to 11 flowers is a relaxed weekend afternoon — faster with a friend and a good playlist.
Do giant foam flowers look real?
From a few feet away — which is where every guest and camera sits — they read as beautifully oversized blooms. The shaped petals catch light and cast soft shadows, so they look dimensional and intentional, not paper-flat.
Can I reuse a foam flower wall?
Yes, and that's the best part. EVA foam doesn't wilt, brown, or drop petals. Store the flowers flat or loosely boxed and they'll come out ready for the next event — making the cost-per-use tiny compared with fresh florals.
Can I use a flower wall outdoors?
You can. EVA foam is water-resistant, so a little weather won't ruin it — just secure it well against wind and bring it in from prolonged direct sun to keep colors vivid.
Your blank wall is about to become the best photo of the day
The flower wall is where everyone stops, smiles, and pulls out a phone. You don't need a florist or a big budget to make that happen — you need shaped petals, a little clustering, and blooms that won't wilt before the cake is cut.
Start with a couple of wall flower kits to test your palette, or grab the full Designer Backdrop Bundle and have your entire wall in one box — pre-cut, video-guided, and 15% below buying kit-by-kit.
Planning a bigger event? See the Photo Booth Step & Repeat backdrop set for a full step-and-repeat wall.
Ready to Create Something Amazing?
Browse our collection of giant flower kits and start your next project today.