Flower Wall Layout: How to Space Blooms for a Full, Even Look

If you've ever stood back and looked at a finished flower wall and thought something feels off — you're not alone. Getting your flower wall backdrop spacing layout planning right is honestly the difference between a backdrop that looks like a million bucks and one that looks like you just hot-glued flowers to a board and hoped for the best. I've been there. I've made every mistake. And now I'm going to save you from all of them.
This is the tutorial I wish I had when I first started building giant flower walls. We're going to talk about spacing, layout, density, size mixing, and all the little tricks that make a backdrop look intentional, lush, and professional. Whether you're building for a wedding, a baby shower, a brand activation, or just because you want something gorgeous on your wall — this guide is for you.
By the end of this, you'll know exactly how to plan your layout before you ever grab a hot glue gun. Trust me, a little planning upfront saves a LOT of heartbreak later.
Key Takeaways
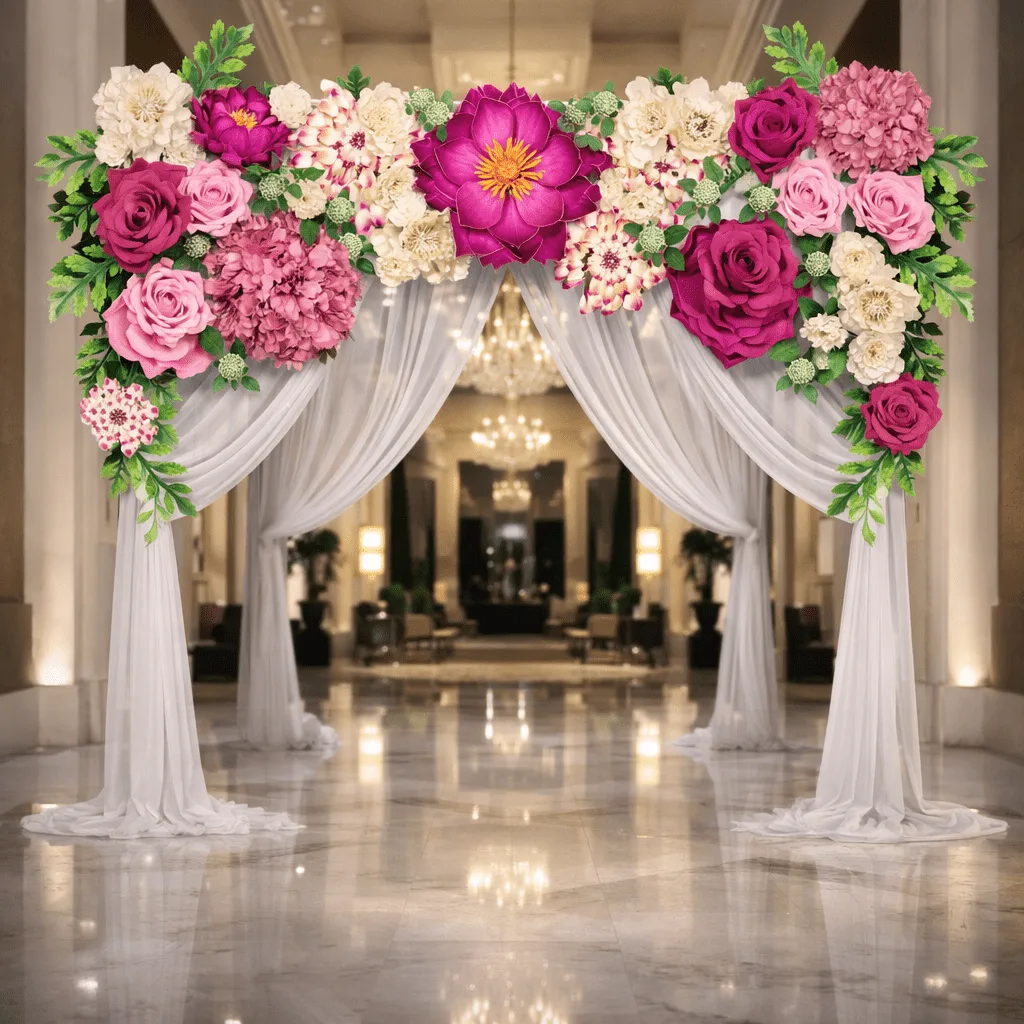
For a full, lush look, your focal flowers (36–60 inches) should be placed roughly 24–30 inches apart from center to center. Mid-size flowers fill the gaps between them, spaced about 18–24 inches apart. Accent flowers and fillers go in last wherever gaps remain. The goal isn't uniform spacing — it's visual balance.
If you're going for a more airy look, you can increase those gaps by 6–8 inches and let some of the background show through intentionally.
For a fully covered 8x8 foot wall, plan on 10–12 focal flowers, 12–15 mid-size flowers, 15–20 accent flowers, and 30–45 filler pieces. That puts your total around 70–90 individual elements. Sounds like a lot — but many of those filler pieces are small and quick to make or attach.
If budget is a concern, you can achieve a beautiful look with fewer flowers by going for a cascade or organic layout that intentionally incorporates some negative space.
Materials and Tools You'll Need Before You Start
Before we dive into layout strategy, let's make sure you have everything on hand. Nothing derails a build session faster than realizing mid-project that you're missing a key supply. Here's what I recommend having ready:
- Giant EVA foam flower kits — these come pre-cut so you're not starting from scratch. Choose freestanding or wall-mount styles depending on your display needs.
- EVA foam sheets — for cutting additional filler petals, leaf shapes, and rosette clusters to fill gaps.
- Flower templates or molds — incredibly helpful for keeping your filler pieces consistent in shape and size.
- Heat gun — your primary shaping tool for giant EVA foam flowers. A flat grill or iron also works beautifully for shaping petals with a smooth, curved result.
- 369 glue or a hot glue gun with silicone sticks — both are sold separately and each has its strengths. I use 369 glue when I want a longer open time and hot glue when I need a fast, firm bond.
- A base or stand — if you're building a freestanding display, remember that bases are sold separately from the kits. Plan for this ahead of time so you're not scrambling the day of your event.
- Graph paper and a pencil — for sketching your layout before anything gets glued.
- Painter's tape — for mapping out your flower positions directly on the wall or panel before committing.
- A tape measure and level — because eyeballing it almost always leads to a crooked row you'll notice in every photo.
Having all of this ready before your build day means you can move through the process smoothly and focus on the creative decisions rather than running to find supplies.
Plan Your Flower Wall Layout
Absolutely — this is the most important step in the whole process. Sketch your layout on graph paper first, then transfer it to your wall using painter's tape circles before you commit to gluing anything. This dry-run step takes about 30 minutes and saves hours of rework.
According to HGTV's DIY design guides, pre-planning your layout is the number one factor that separates professional-looking DIY installations from amateur ones.
Here's how I walk through the planning process step by step:
- Measure your surface. Know the exact width and height of your panel, frame, or wall section. Write it down.
- Draw it to scale on graph paper. Let each square represent a set unit of measurement. This gives you a bird's-eye view of the whole space.
- Place your focal flowers first. Mark their center points on your sketch, spacing them evenly across the surface. These are your anchors — everything else builds around them.
- Add mid-size flowers in the gaps. Nestle them between the focal flowers, slightly overlapping edges where needed for a lush look.
- Scatter accent flowers. These go in the remaining open areas, helping to bridge the visual distance between larger blooms.
- Note where fillers will go. You don't need to plan every single filler piece — just mark the zones where you know gaps will appear (corners, edges, between clusters).
- Transfer to the wall with painter's tape. Use small loops of tape to mark each flower's center point. Step back and look before you glue a single thing.
That last step — stepping back — is non-negotiable. What looks balanced up close often looks lopsided from across the room. Give yourself that distance before you commit.
What's the best layout style for a wedding flower wall?
Best Layout Styles For Weddings
For weddings, I almost always recommend the organic layout — flowers placed in flowing diagonal clusters rather than a strict grid. It looks romantic, natural, and photographs beautifully from every angle. If you want something more dramatic, the cascade layout (dense at the top, lighter at the bottom) is stunning for ceremony backdrops.
Here's a quick breakdown of the most popular layout styles and when I recommend each one:
- Organic/Flowing: Clusters of flowers arranged in soft diagonal lines. Best for weddings, baby showers, and any event where you want a romantic, garden-party feel. This style is the most forgiving for beginners because slight imperfections just read as natural.
- Cascade: Dense at the top, gradually thinning toward the bottom with intentional negative space. Dramatic and editorial — perfect for ceremony arches, stage backdrops, and brand activations where you want visual impact from a distance.
- Grid: Flowers placed in uniform rows and columns. Clean, modern, and great for corporate events and retail displays. Requires the most precise planning but delivers a very polished, intentional result.
- Half-wall or corner accent: Flowers concentrated in one corner or along one edge, fading out toward the center. A great option when you want to stretch your materials further while still creating a lush focal point.
How do I avoid gaps in my flower wall?
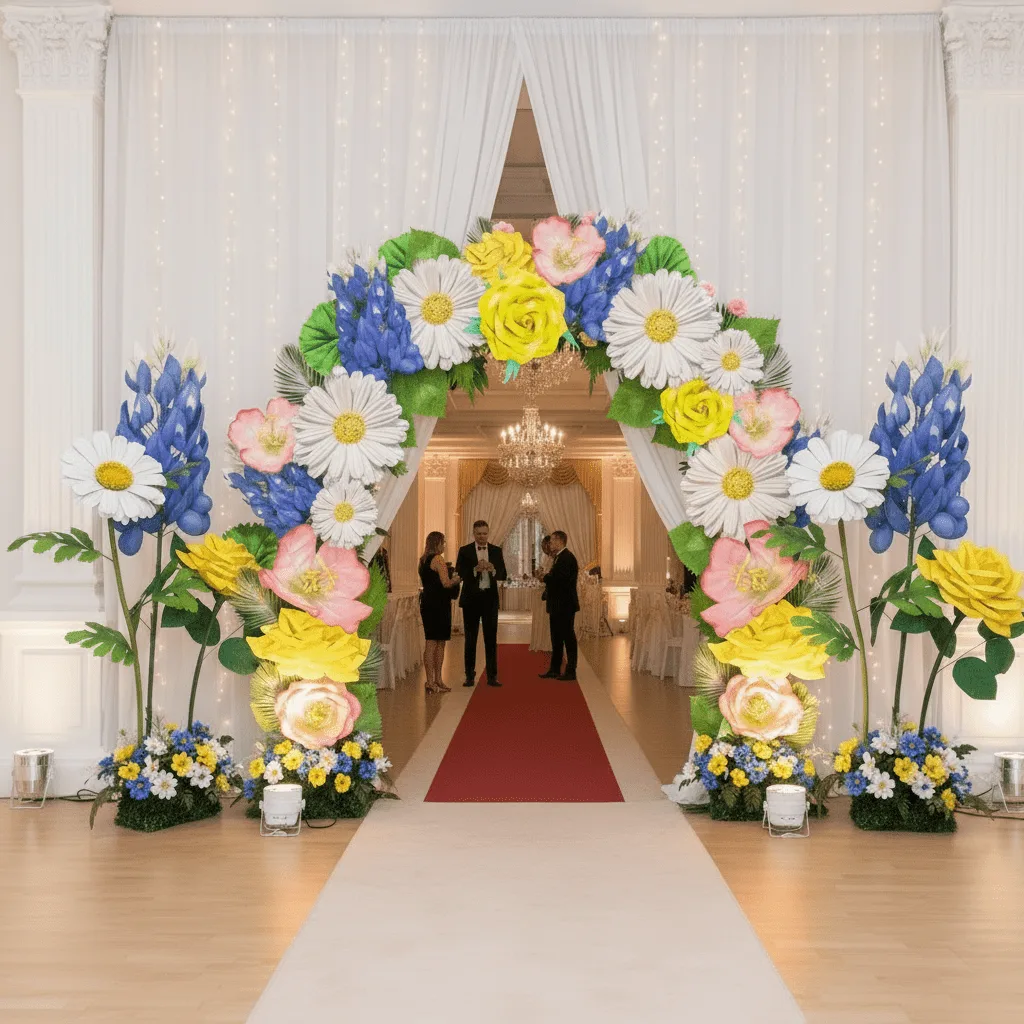
Filling Gaps For A Seamless Look
The secret is filler flowers and foliage. After you've placed all your focal, mid-size, and accent flowers, step back and identify any gaps larger than about 6 inches. Fill those with small rosette clusters, leaf shapes, or bud accents cut from 2mm EVA foam. Also make sure you're paying attention to the edges and corners — those spots go sparse most often.
A few specific techniques that help me close gaps without making the wall look overcrowded:
- Layer petals, not whole flowers. Sometimes a gap doesn't need an entire bloom — just a few loose petals fanned out and glued flat can bridge the space beautifully.
- Use leaf shapes strategically. Cut simple leaf forms from EVA foam, shape them slightly with your heat gun, and tuck them between flowers. They add depth and a natural feel.
- Overlap intentionally. Don't be afraid to let the outer petals of one flower slightly overlap the base of another. This is how real floral arrangements look, and it reads as lush rather than cluttered.
- Work the edges last. The perimeter of your wall is where gaps are most visible in photos. Give the border a dedicated pass after you've filled the interior.
Common Mistakes to Avoid When Planning Your Layout
I've seen these mistakes happen over and over — in my own early builds and in photos people send me asking why their wall doesn't look quite right. Here's what to watch for:
- Using only one flower size. A wall made entirely of same-size blooms looks flat and repetitive. The layering of focal, mid-size, and accent flowers is what creates that rich, dimensional look.
- Placing flowers in perfectly symmetrical rows. Unless you're intentionally going for a grid layout, avoid lining flowers up in obvious rows. Stagger them. Offset every other column by half a unit.
- Gluing before stepping back. I cannot stress this enough. Tape everything first. Walk across the room. Look at it from the angle your guests or camera will see it from. Then glue.
- Neglecting the corners. Corners are the first place a wall looks sparse. Plan to place at least one mid-size flower in each corner, with fillers surrounding it.
- Skipping the filler layer entirely. Some people build with just focal and mid-size flowers and wonder why there are so many gaps. Fillers are not optional — they're what ties everything together.
- Not accounting for the base or stand. If you're building a freestanding display, remember that the base is sold separately. Factor that into your setup plan so you're not surprised on install day.
Design and Placement Tips for Events and Businesses
If you're creating a flower wall for a client, a brand activation, or a recurring event setup, there are a few extra considerations that go beyond basic spacing.
Think about the photo angle first. Where will guests stand? Where will the photographer be? Design your densest, most intentional section at eye level and centered within that frame. Everything else supports it.
Match your color palette to the event brand. For corporate clients and production companies, I always ask for brand color references before recommending foam colors. EVA foam takes paint well, so you have a lot of flexibility — but plan this before you build, not after.
Consider the viewing distance. A wall that will be seen from across a large venue needs bigger focal flowers and bolder color contrast. A wall in a small studio or boutique can work beautifully with more delicate, intricate detail.
For businesses using walls as permanent or semi-permanent displays — retail shops, salons, restaurants, showrooms — build in sections that can be removed and refreshed individually. This way you can update the look seasonally without rebuilding the entire installation.
For Houston-area clients who need a professional installation without the DIY process, our Done For You service and our event rental option (delivered within the Houston area) are both worth exploring. We handle the build and delivery so you can focus on the rest of your event.
Can I reuse a giant foam flower wall for multiple events?
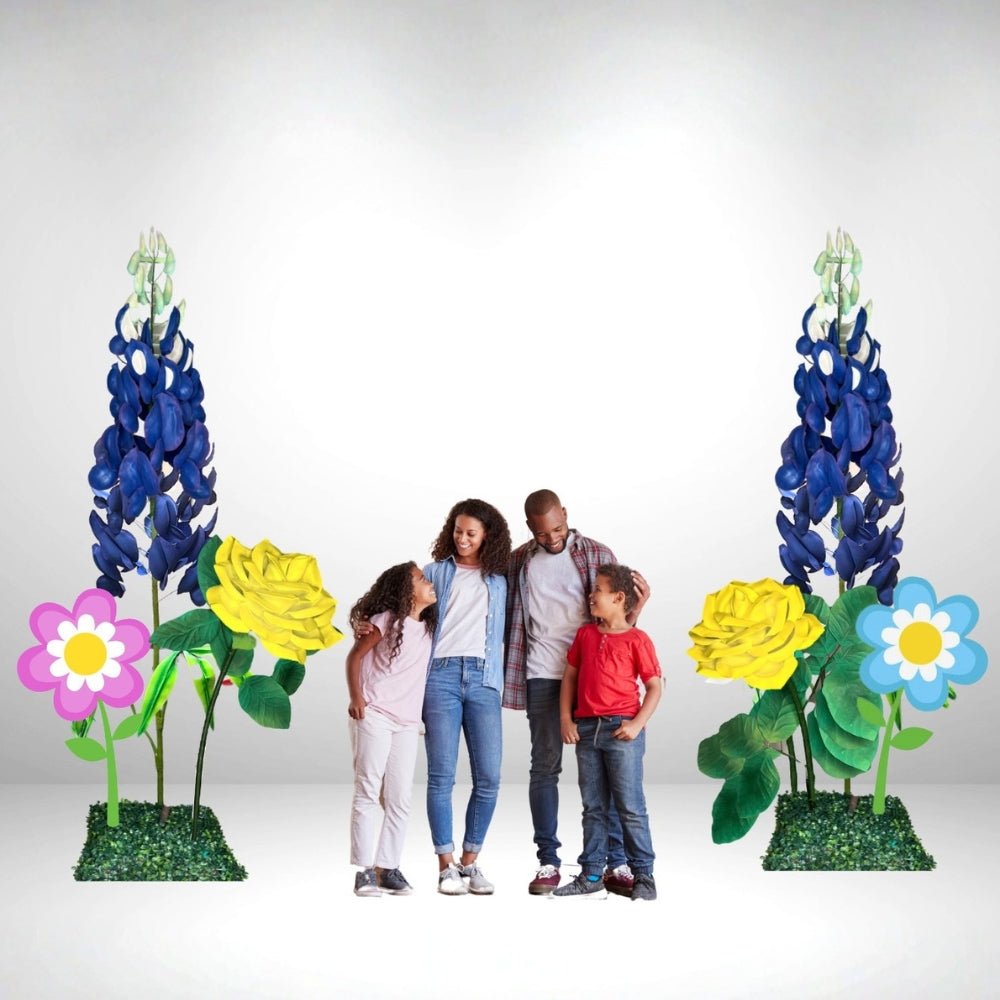
Reusing Foam Flower Walls
Yes — and this is one of the biggest advantages of EVA foam flowers over fresh florals. A well-built foam flower wall can be disassembled, stored flat, and reinstalled multiple times. According to IBISWorld, the US floral industry is worth billions annually — and event rental businesses using reusable foam flower walls are capturing a growing slice of that market.
Store your flowers in flat boxes or bins by size, and they'll last for years with minimal care.
Care and Storage for Long-Lasting Flower Walls
One of the questions I get most from event planners and rental businesses is how to keep foam flower walls looking fresh after repeated use. The good news is that EVA foam is genuinely durable — but a little care goes a long way.
- Store flat, not stacked under heavy weight. Foam can compress and warp if heavy items are stored on top of it for extended periods. Use shallow bins or flat boxes and layer flowers with tissue paper or thin foam sheets between them.
- Keep away from prolonged direct sunlight during storage. UV exposure over time can fade colors. Store in a cool, shaded area when not in use.
- Dust gently between uses. A soft cloth or a gentle burst from a can of compressed air keeps petals looking fresh. Avoid anything wet or abrasive.
- Re-shape petals as needed. If a petal gets slightly bent or flattened during transport, your heat gun can gently coax it back into shape. Work slowly and keep the heat moving — EVA foam responds quickly.
- Label your storage bins by flower size and color. This sounds basic, but when you're setting up for an event and need to find your accent flowers fast, labeled bins are a lifesaver.
- Inspect glue bonds after each use. Before re-installing, check that all petals are still firmly attached. A quick touch-up with your hot glue gun and silicone sticks takes seconds and prevents mid-event surprises.
Frequently Asked Questions
How many flowers do I actually need for a full flower wall?
It depends on the size of your wall and how dense you want the coverage, but as a general guide, a fully covered 8x8 foot wall typically calls for a mix of focal, mid-size, accent, and filler pieces that adds up to somewhere in the range of 70–90 individual elements. If you're going for a more open, airy look with intentional negative space, you can work with significantly fewer. I always recommend sketching your layout first so you can count your placements before you order materials — that way you're not guessing.
What's the best glue to use for attaching foam flowers to a wall panel?
I use two options depending on the situation. For a fast, firm bond, a hot glue gun with silicone sticks is my go-to — it sets quickly and holds well. For applications where I need a little more working time to adjust placement, 369 glue gives me that flexibility. Both are available separately. What I don't recommend is standard craft glue or spray adhesive — they don't hold up reliably on EVA foam, especially for larger, heavier blooms.
Can I mix giant EVA foam flowers with life-size Real Touch craft flowers on the same wall?
You can, and it can look really interesting as a design choice — but I'd approach it thoughtfully. Giant foam flowers and life-size craft flowers have very different scales, so mixing them works best when the giant blooms are used as dramatic focal points and the life-size flowers fill in around them as mid-size or accent elements. Make sure your color palette ties them together cohesively, and the contrast in scale will feel intentional rather than mismatched.
Do I need a special frame or backing to build a flower wall?
Not necessarily — it depends on whether your wall is permanent, semi-permanent, or a freestanding display. For a wall-mounted installation, you can attach flowers directly to a foam board, wooden panel, or PVC grid frame. For freestanding displays, you'll need a base or stand, which is sold separately from our kits. I always recommend planning your mounting solution before you start building so your flower placement can account for any hardware or attachment points.
Is the Done For You service available outside of Houston?
Our rental and Done For You delivery service is currently available in the Houston area — we deliver directly to your venue or event space. If you're outside of Houston, our giant flower kits and life-size craft kits ship to you so you can build your own display with the help of our included video tutorials. If you have questions about what's right for your location and project, reach out through our contact page and I'll help you figure out the best path forward.
You've got everything you need to build a flower wall that actually looks the way you imagined it. Planning your flower wall backdrop spacing layout isn't complicated — it just takes a little intentionality before you start. Sketch it. Tape it. Step back. Adjust. Then build.
If you're ready to get started, head over to our shop and check out our giant flower kits — they come pre-cut with video tutorials so you can focus on the fun part. And if you have questions about how to plan your specific layout, drop them in the comments. I read every single one, and I genuinely love helping you figure this stuff out. Whether you're a first-time crafter, a seasoned event planner, or a production company building something truly spectacular — I'm here for all of it. Let's build something beautiful together.
Shop the supplies
Everything You Need for This Project
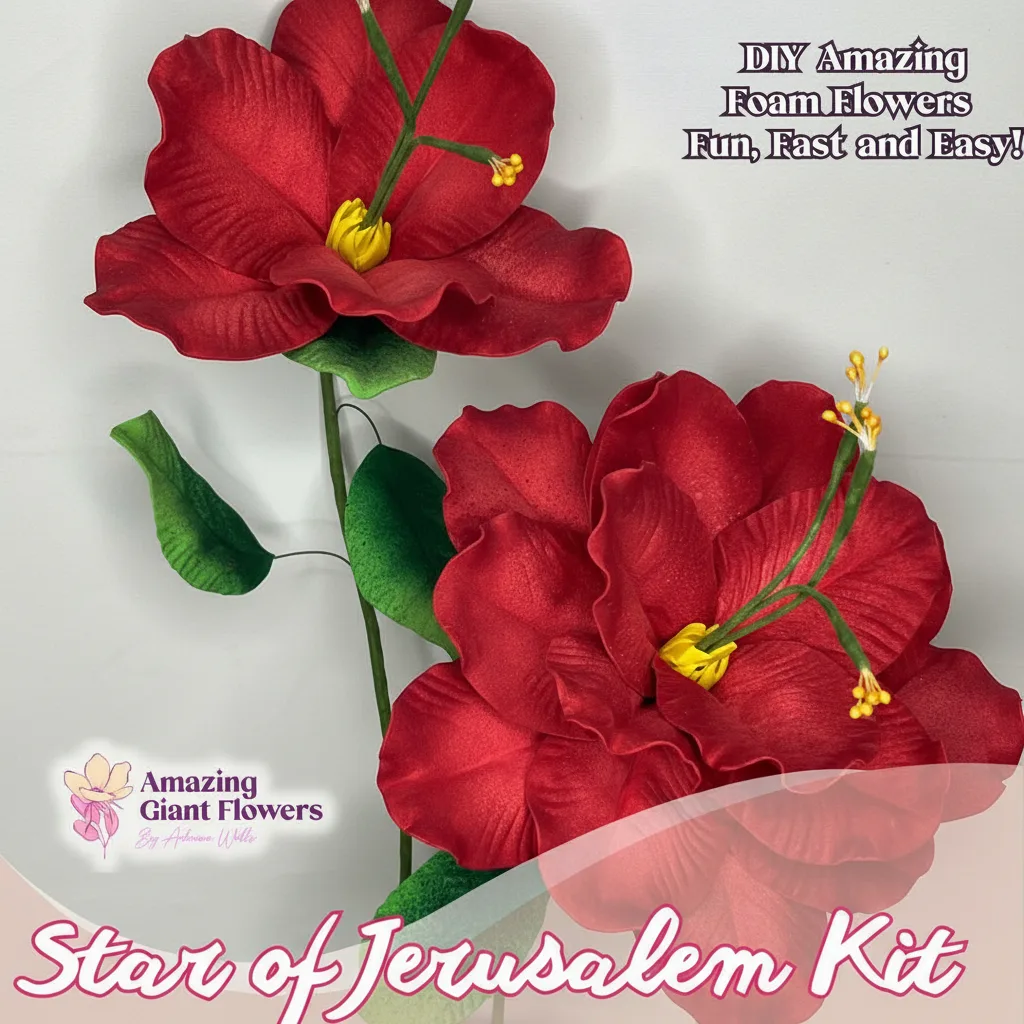
Real Touch Star of Bethlehem Foam Flower Kit — Large Tropical DIY Blooms (Star of Jerusalem) with Golden Pistils, Reusable Mold & Pre-Cut Petals
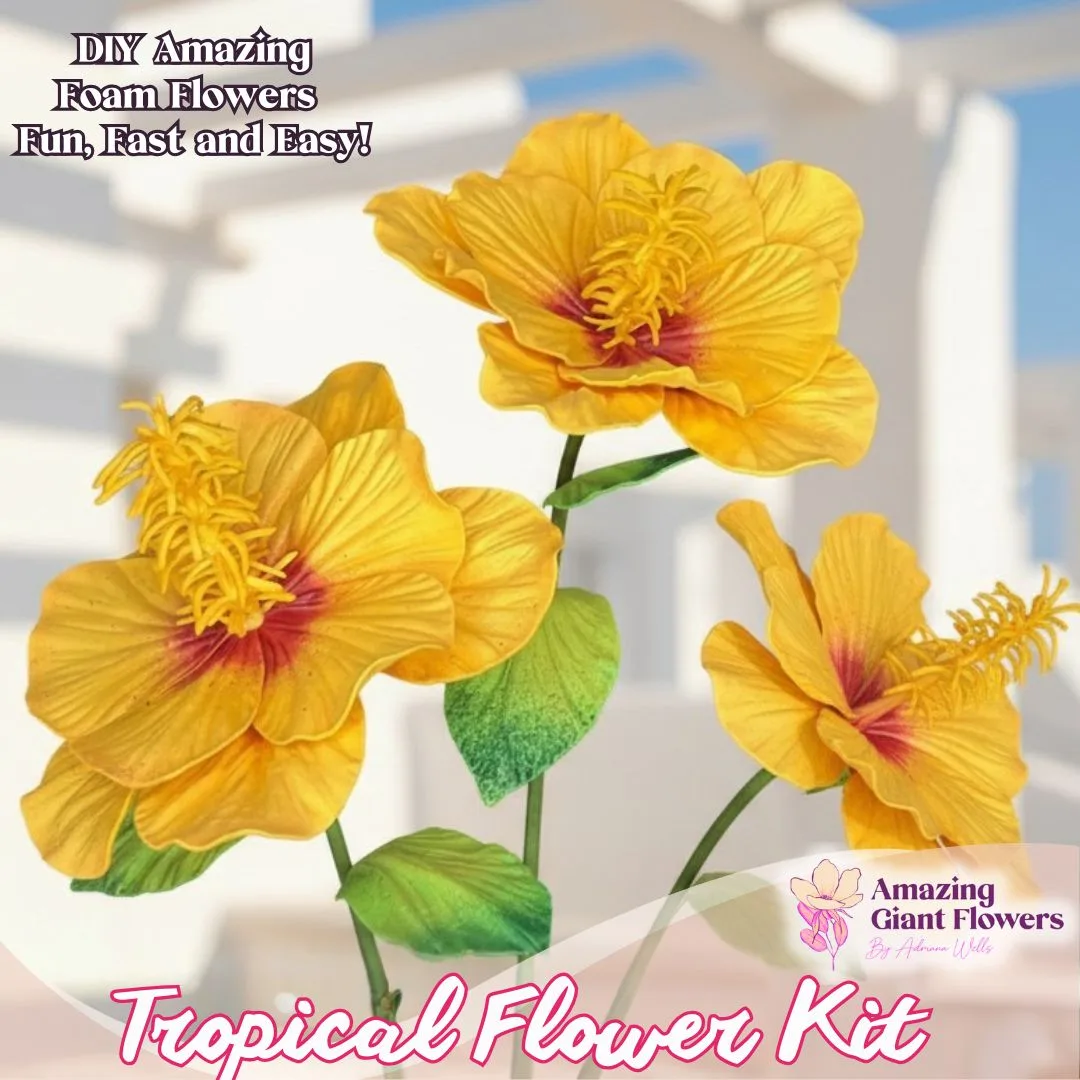
Real Touch Tropical Flower Foam Kit — Large DIY Hibiscus Blooms with Reusable Double-Sided Mold, Pre-Cut Petals, Bud & Leaves
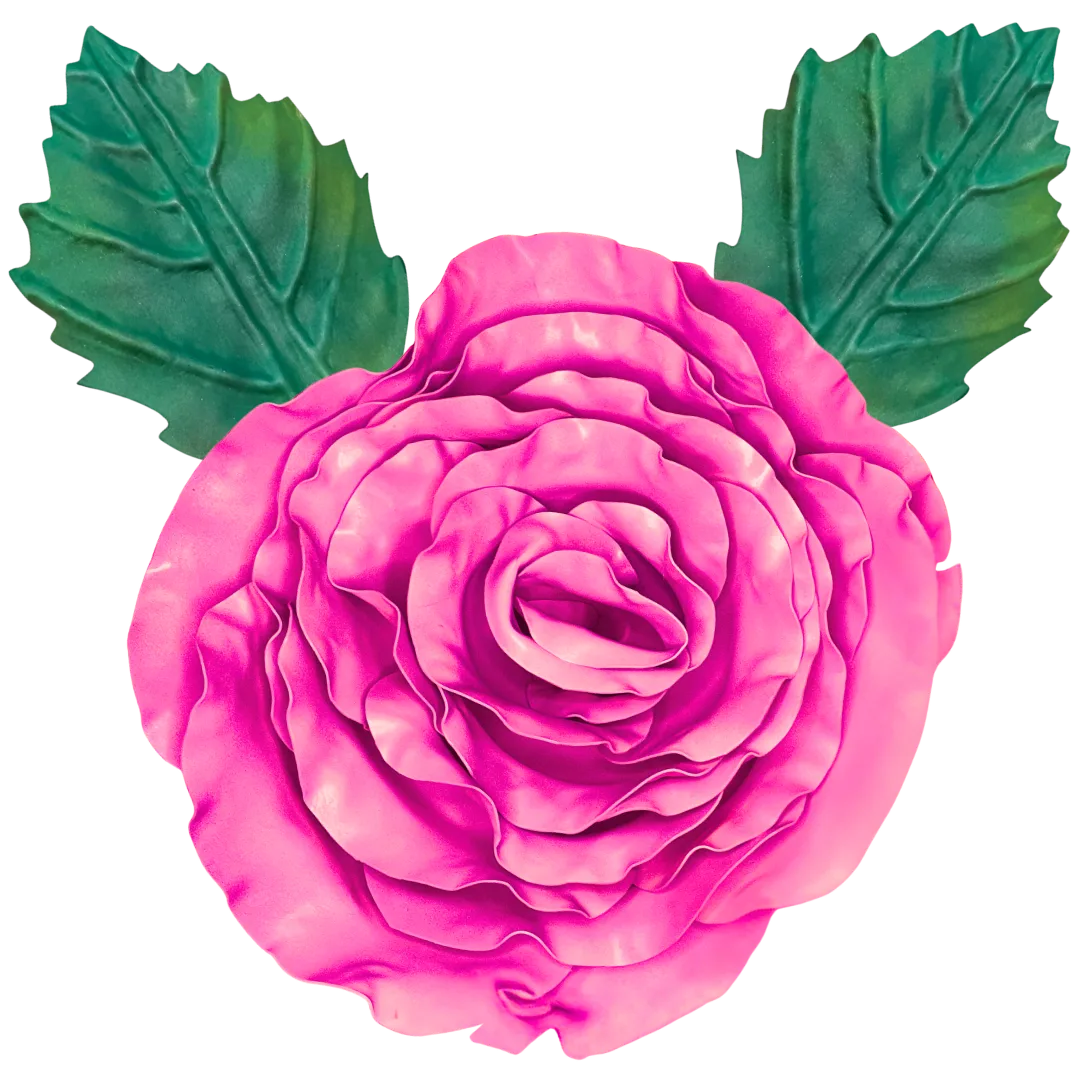
Old Garden Rose Wall Statement Kit - Bloom & Shape
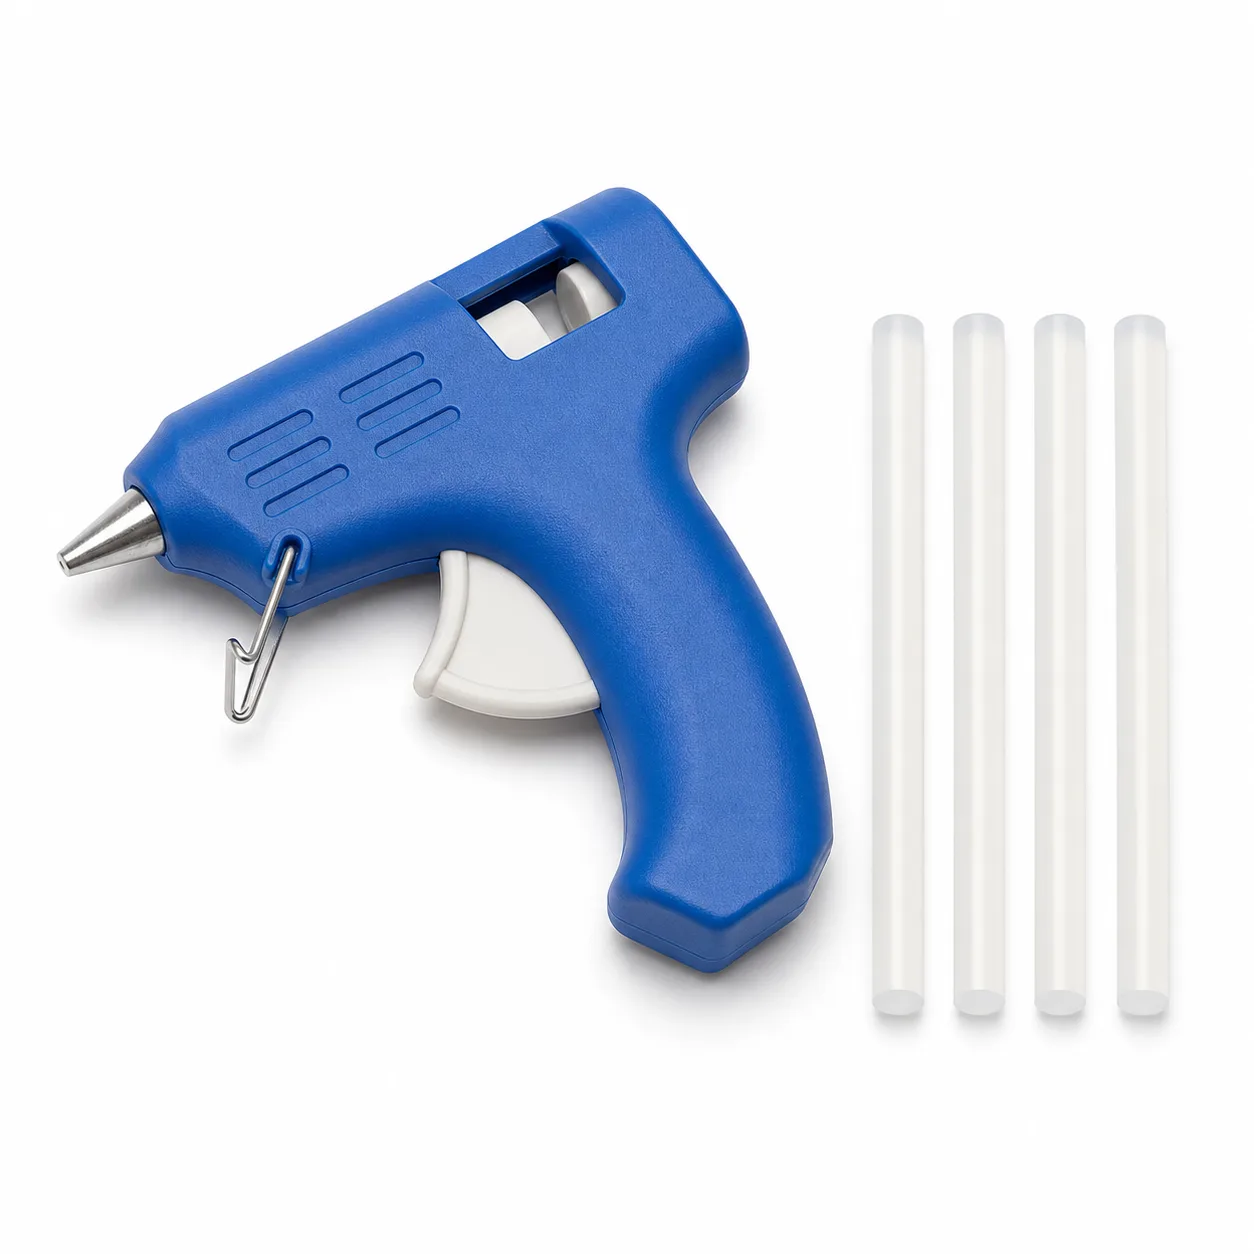
Hot Glue Gun + 4 Silicone Glue Sticks — Fast, Strong Petal Assembly

Written by
Adriana WellsFounder & CEO of Amazing Giant Flowers
Adriana Wells is the founder and creative force behind Amazing Giant Flowers, a Texas-based company specializing in handcrafted giant foam flowers, luxury floral installations, and DIY flower-making supplies.
More about Adriana →Ready to Create Something Amazing?
Browse our collection of giant flower kits and start your next project today.