Giant Flower Wall Kits for Bridal Showers: A Setup Checklist
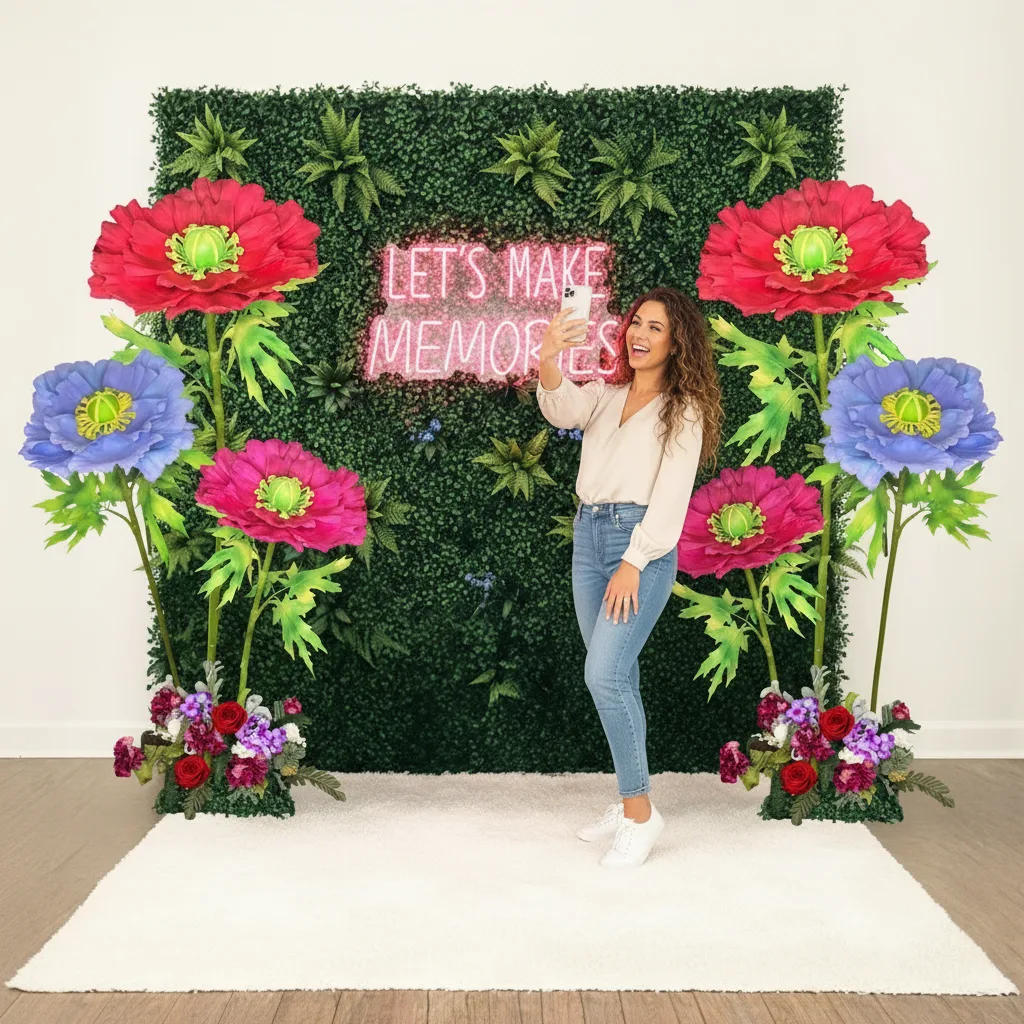
If you've been hired to style a bridal shower and the client wants something that absolutely stops people in their tracks, a giant flower wall bridal shower backdrop is honestly one of the best moves you can make. It photographs beautifully, it wows guests the second they walk in, and — here's the part I love — it's completely reusable. You build it once, you use it again and again.
I've been making giant flowers for years now, and bridal showers are genuinely one of my favorite events to design for. The color palettes are usually dreamy, the clients are emotional and excited, and a big lush flower wall just fits that energy perfectly. But I also know that if you're an event pro setting this up on a deadline, you need a real checklist — not just pretty inspiration photos.
So that's exactly what this is. A practical, no-fluff guide to planning, building, and installing a giant flower wall for a bridal shower using our Wall Flower Kits. Let's get into it.
Key Takeaways
Real talk? Bridal shower clients don't always have a huge budget for florals. Fresh flowers are gorgeous but they wilt, they're expensive, and they're gone by the end of the night. A giant foam flower wall gives you that same lush, romantic impact at a fraction of the cost — and it lasts.
One of my clients — a Houston event planner named Veronica — told me she used the same flower wall backdrop for three different bridal showers in one season. Three events. One investment. That's the kind of ROI that makes sense for a working event pro.
The Visual Impact Is Unmatched
When you walk into a room and there's a full wall of oversized blooms behind the gift table or the bride's seat, it immediately sets the tone. Guests start taking photos before they even say hello to the host. That's the power of scale.
And unlike a balloon wall or a paper backdrop, foam flowers have texture, dimension, and weight that reads beautifully on camera. No flat, lifeless look. Every photo pops.
Our Wall Flower Kits are designed to mount directly to walls — command strips, foam tape, or small nails depending on the venue. No bulky frame to haul in. No assembly crew required. Just you, your flowers, and a plan.
This is where most people skip ahead and regret it later. Before you touch a single kit, you need to know your wall. Exactly.
Once you have those numbers, sketch a rough grid on paper. I literally use grid paper and draw circles to represent each flower. It sounds old-school but it works perfectly.
Our Wall Flower Kits come in 18", 24", and 30" sizes. Here's how I think about mixing them for a bridal shower wall:
A good rule of thumb: for a 6-foot wide by 4-foot tall display area, you're looking at roughly 3–4 large flowers, 6–8 medium flowers, and 4–6 small flowers. But honestly, more is more with flower walls. Don't be shy.
💡 Pro Tip
Photograph your venue wall before the event and use it as a digital canvas. Drop in flower shapes (even just circles in Canva) to visualize your layout before you commit. It takes 10 minutes and saves so much guesswork on install day.
Color is everything for a bridal shower. And I mean everything. Get this right and the whole room feels cohesive. Get it wrong and even beautiful flowers can look off.
I'm seeing these combinations absolutely everywhere, and they all work beautifully with our foam flowers:
Color blocking — grouping similar shades together in sections — creates a bold, intentional look. Ombre — transitioning from light to dark across the wall — is more romantic and flowing. Random mix — scattering colors evenly — is the easiest to execute and still looks beautiful when the sizes are varied.
My personal favorite for bridal showers? Ombre. There's something about that gradual color shift that feels so perfectly bridal.
Step 3 — Assembling Your Wall Flower Kits
Ok, this is where it gets really fun. Opening up a box of flower kits and laying everything out is genuinely one of my favorite parts of the process.
Each kit includes pre-cut EVA foam petals and layers, ready to shape and assemble. The foam is lightweight, durable, and easy to work with — even if you're newer to giant flower making.
If you want to go deeper on working with foam, I wrote a full breakdown in A Crafter's Guide to Every Type of Foam for Giant Flowers — worth a read before your first big install.
💡 Pro Tip
Pre-assemble everything at your studio 1–2 days before the event. On install day, all you're doing is mounting. This alone cuts your on-site time in half and keeps you calm when the venue is chaotic.
Install day is where prep pays off. If you've done Steps 1–3 properly, this part should feel almost easy. Almost.
Start with your anchor flowers first — the big 30" blooms. Get those positioned exactly where you want them. Then work outward and fill in with your 24" flowers. Save the 18" flowers for last — they're your gap-fillers and edge-finishers.
Always work from the center out if you're doing a symmetrical design, or from one edge across if you're doing ombre or color blocking. Don't start in a corner — you'll throw off your whole balance.
"The secret to a stunning flower wall isn't perfection — it's intentional layering and the courage to go big."
Wall Flower Kit Size Comparison for Bridal Shower Walls
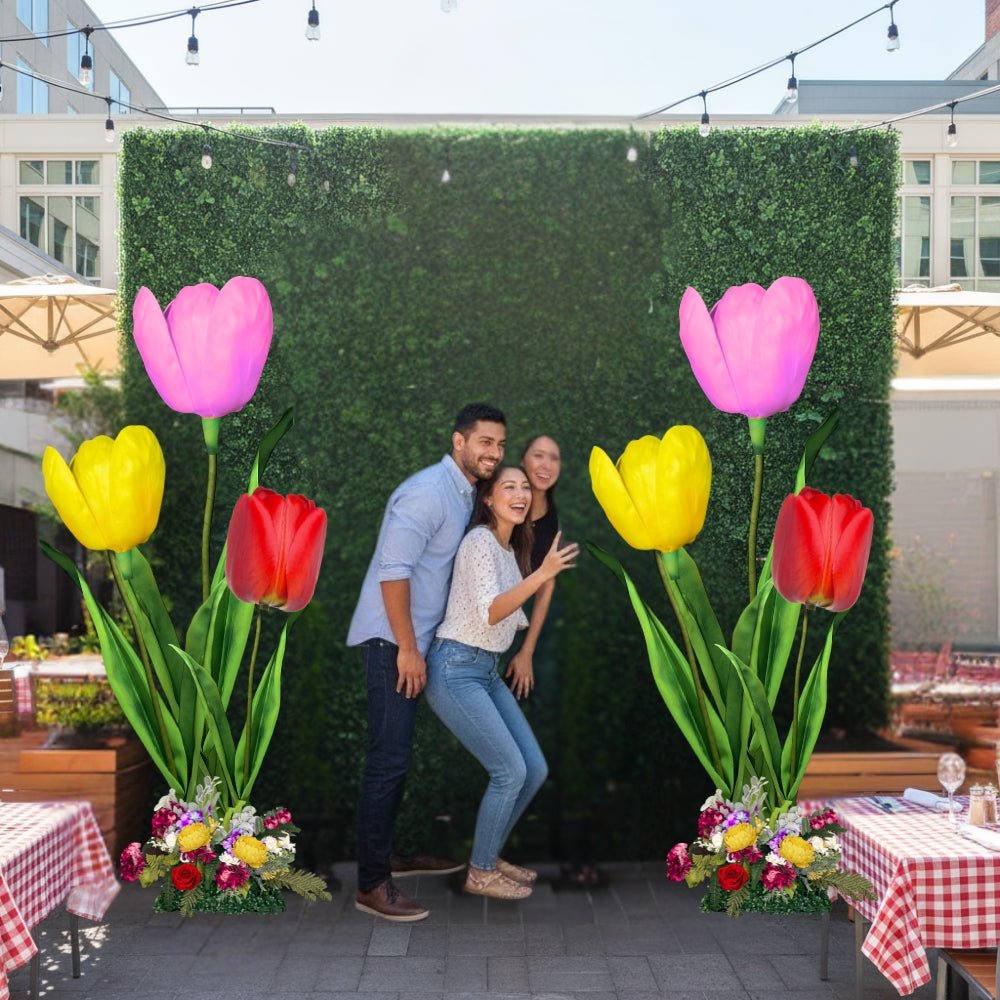
Not sure which sizes to order? Here's a quick breakdown to help you decide:
| Size | Best Role on the Wall | Coverage Area | Starting Price | Ideal For |
|---|---|---|---|---|
| 18" | Detail, gap-fill, edges | ~1.5 sq ft | From $37.99 | Smaller walls, accent sections |
| 24" | Mid-layer, main coverage | ~3 sq ft | From $37.99 | Most bridal shower walls |
| 30" | Anchor, statement blooms | ~5 sq ft | From $37.99 | Large walls, dramatic focal points |
🌸 Ready to get started?
Browse our Wall Flower Kits collection and find your perfect size — starting at just $37.99.
Step 5 — Styling the Full Scene Around Your Flower Wall
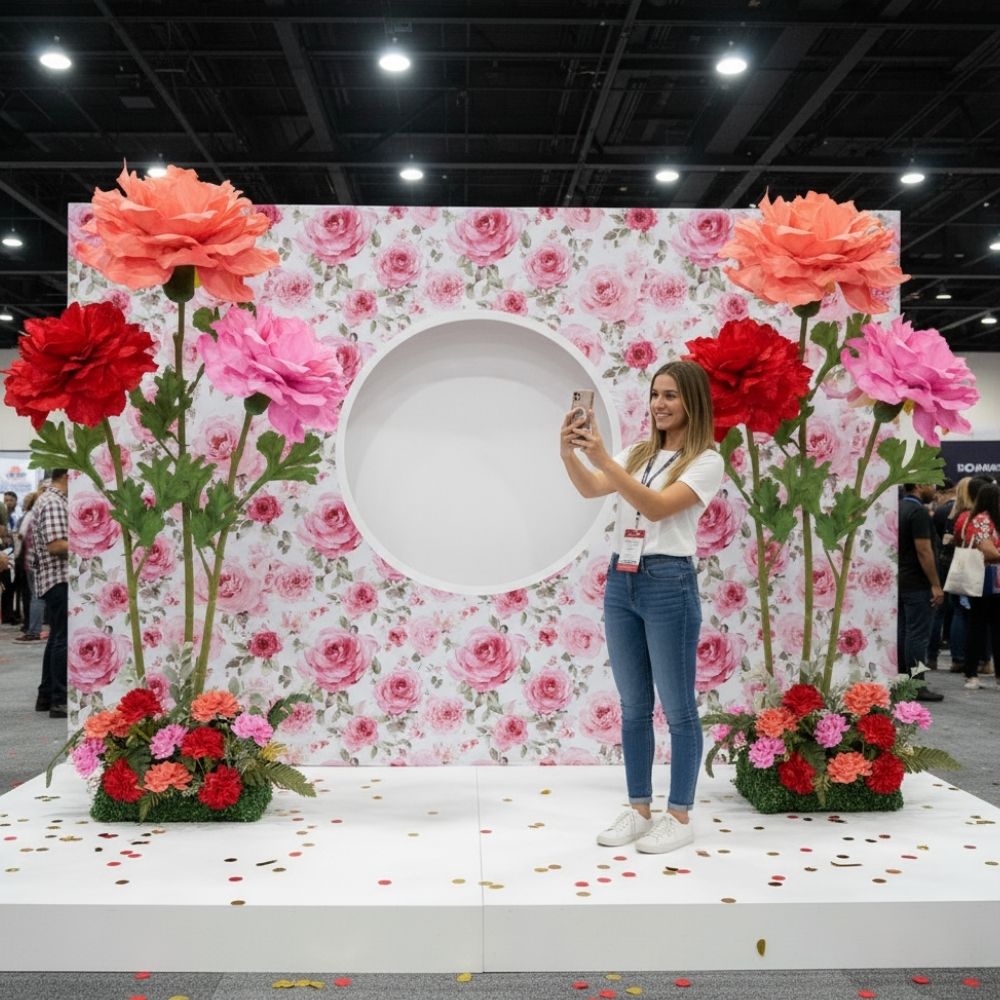
The flower wall is your anchor. But what you put in front of it — and around it — determines whether the whole setup looks intentional or just... pretty.
What to Place in Front of the Wall
- A sweetheart chair or loveseat for the bride — this creates the perfect photo moment
- A small accent table with florals, a monogram, or a welcome sign
- Balloon clusters in complementary colors — keep them low so they don't block the flowers
- A custom neon sign — "She Said Yes" or the bride's name adds a personal touch
Don't Forget the Floor Space
If you want to add even more dimension, consider pairing your wall flowers with some freestanding flower kits at floor level. Tall freestanding blooms flanking the sides of the wall create a full, immersive look that makes guests feel like they've stepped into a garden. I covered this in depth in my freestanding giant flower arrangements guide if you want the full breakdown.
Lighting Makes Everything Better
Warm string lights or uplighting behind or around the wall adds so much depth. Foam flowers catch light beautifully — the petals create natural shadows that look incredible in photos. If the venue allows it, always add lighting. Always.
Your Giant Flower Wall Bridal Shower Setup Checklist
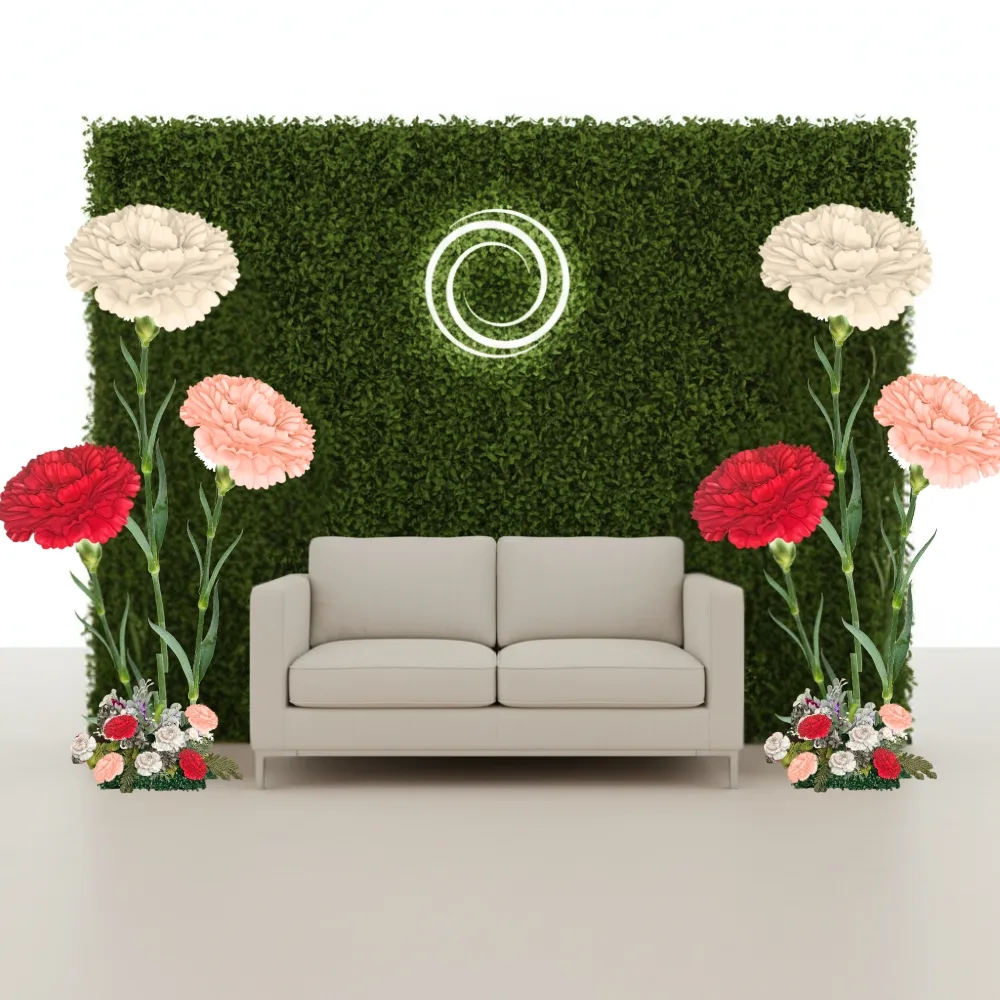
Print this out. Seriously. Tape it to your kit box.
- Before ordering: Measure wall dimensions, identify obstacles, confirm venue mounting rules
- When ordering: Choose size mix (18", 24", 30"), confirm color palette with client, order extra 18" for gap-filling
- At your studio (1–2 days before): Assemble all flowers, curl petals with heat gun, label each flower, photograph your layout plan
- Night before: Pack kit bag with tools, load flowers flat in transport bins, confirm venue access time
- Install day: Hang anchor flowers first, work outward, step back frequently to check balance, fill gaps with 18" flowers
- Final styling: Place furniture and props in front, add lighting, take your own photos before guests arrive
- After the event: Remove flowers carefully, store flat, document
Ready to Create Something Amazing?
Browse our collection of giant flower kits and start your next project today.