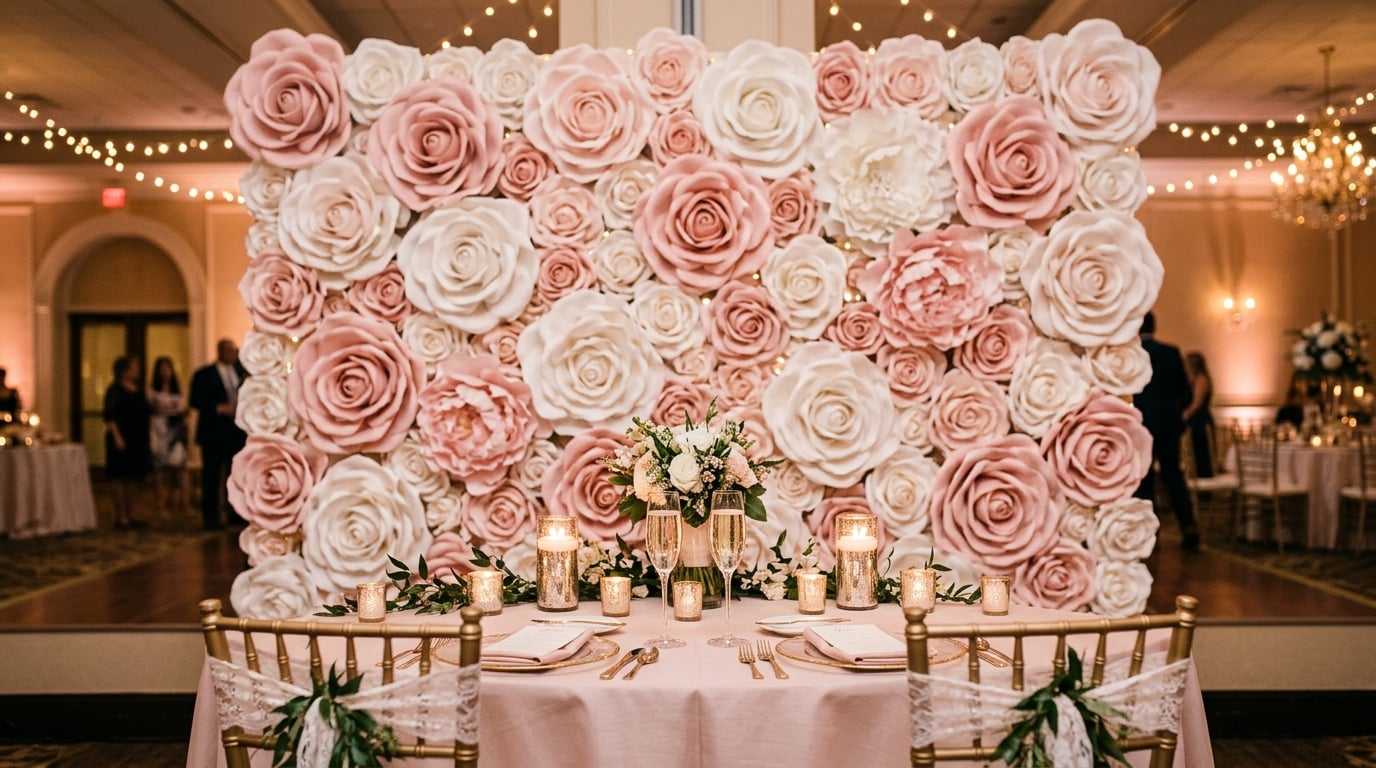
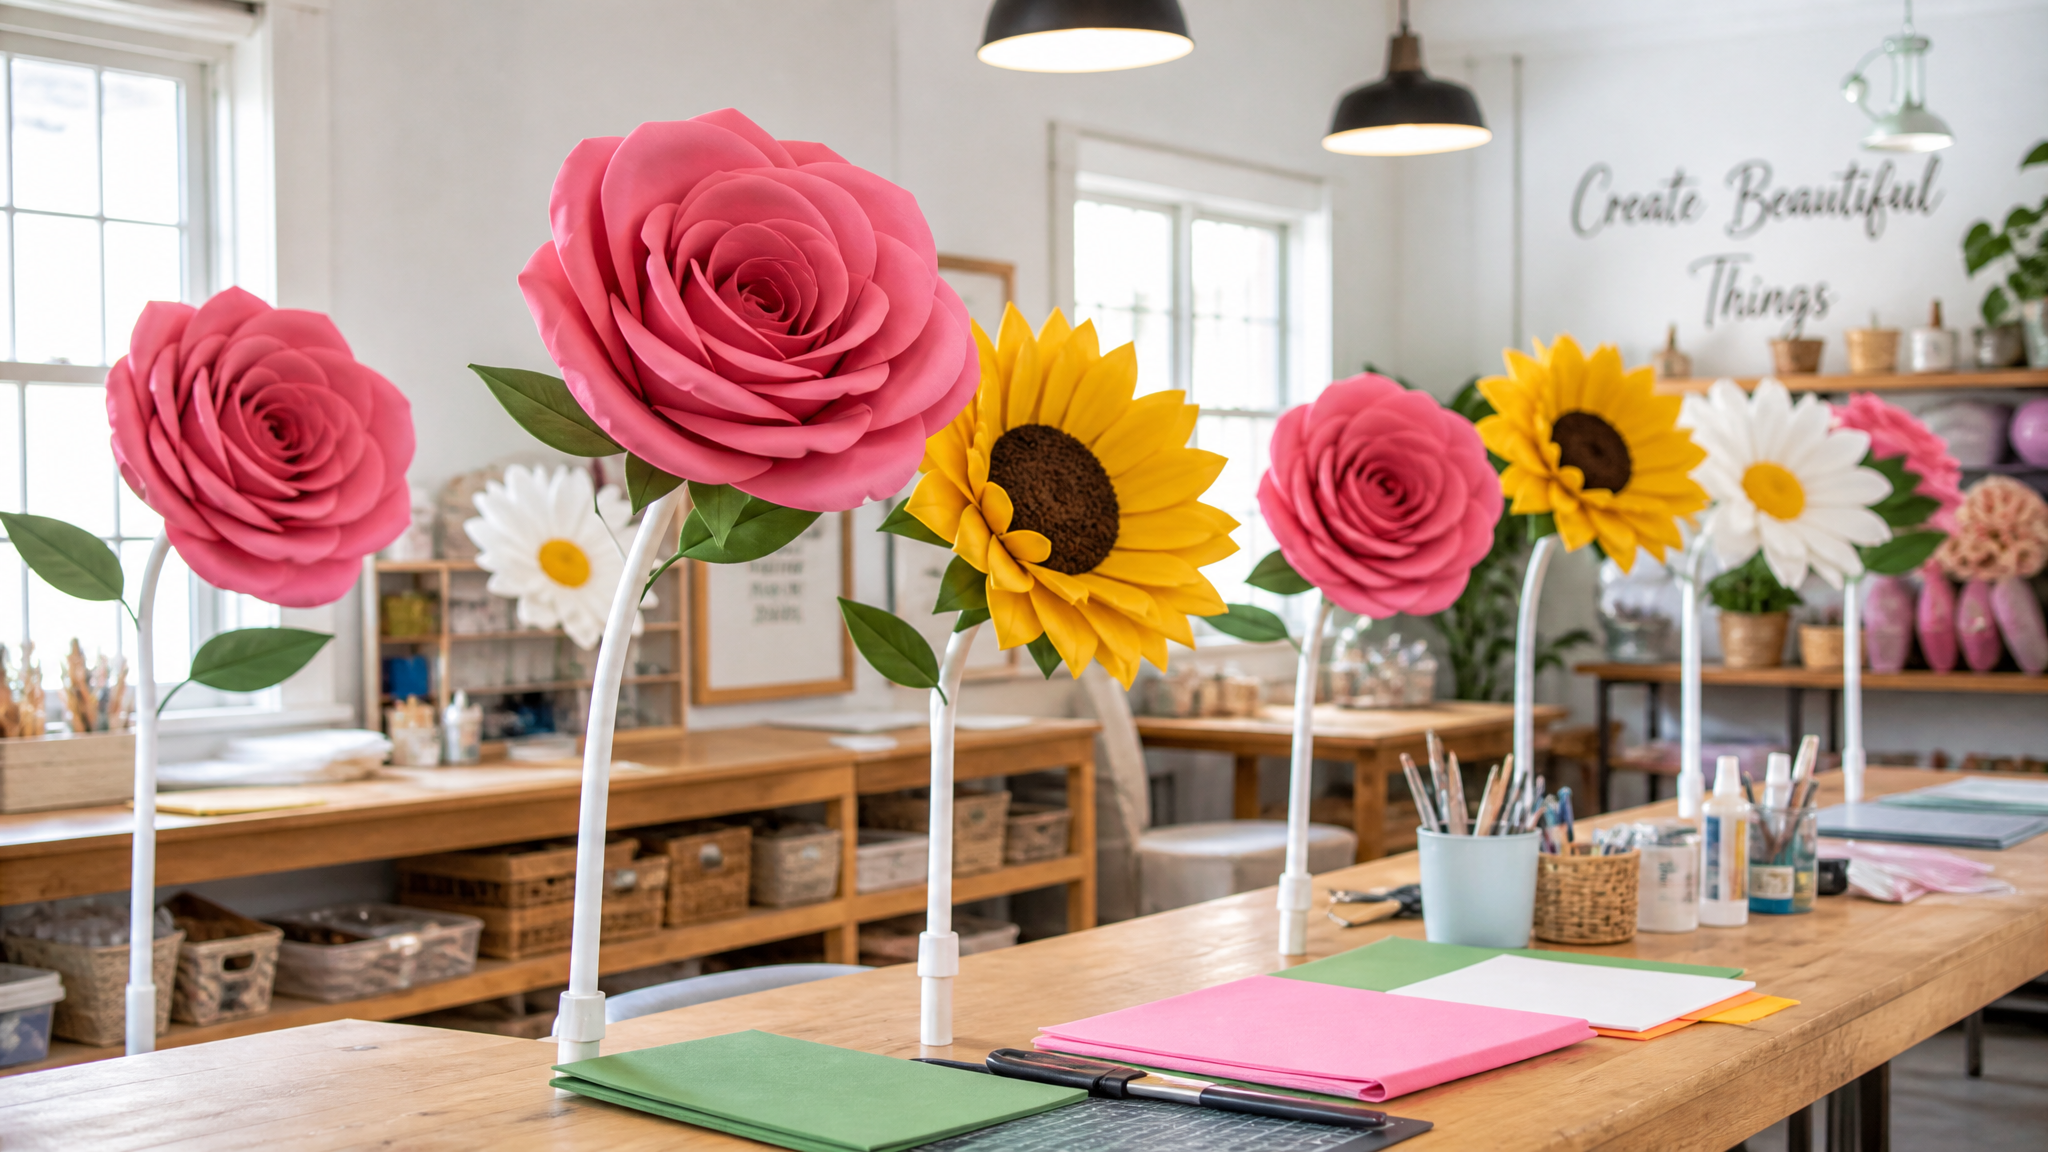
A Crafter's Guide to Giant Paper Flower DIY
Adriana Beaman March 8, 2026 14 min read

Ready to Create Something Amazing?
Browse our collection of giant flower kits and start your next project today.
Artist-Designed Kits·Pre-Cut — No Experience Needed·Step-by-Step Video Tutorials Included
Pre-Cut DIY Kits · No Experience Needed · Video Included
Browse our collection of giant flower kits and start your next project today.