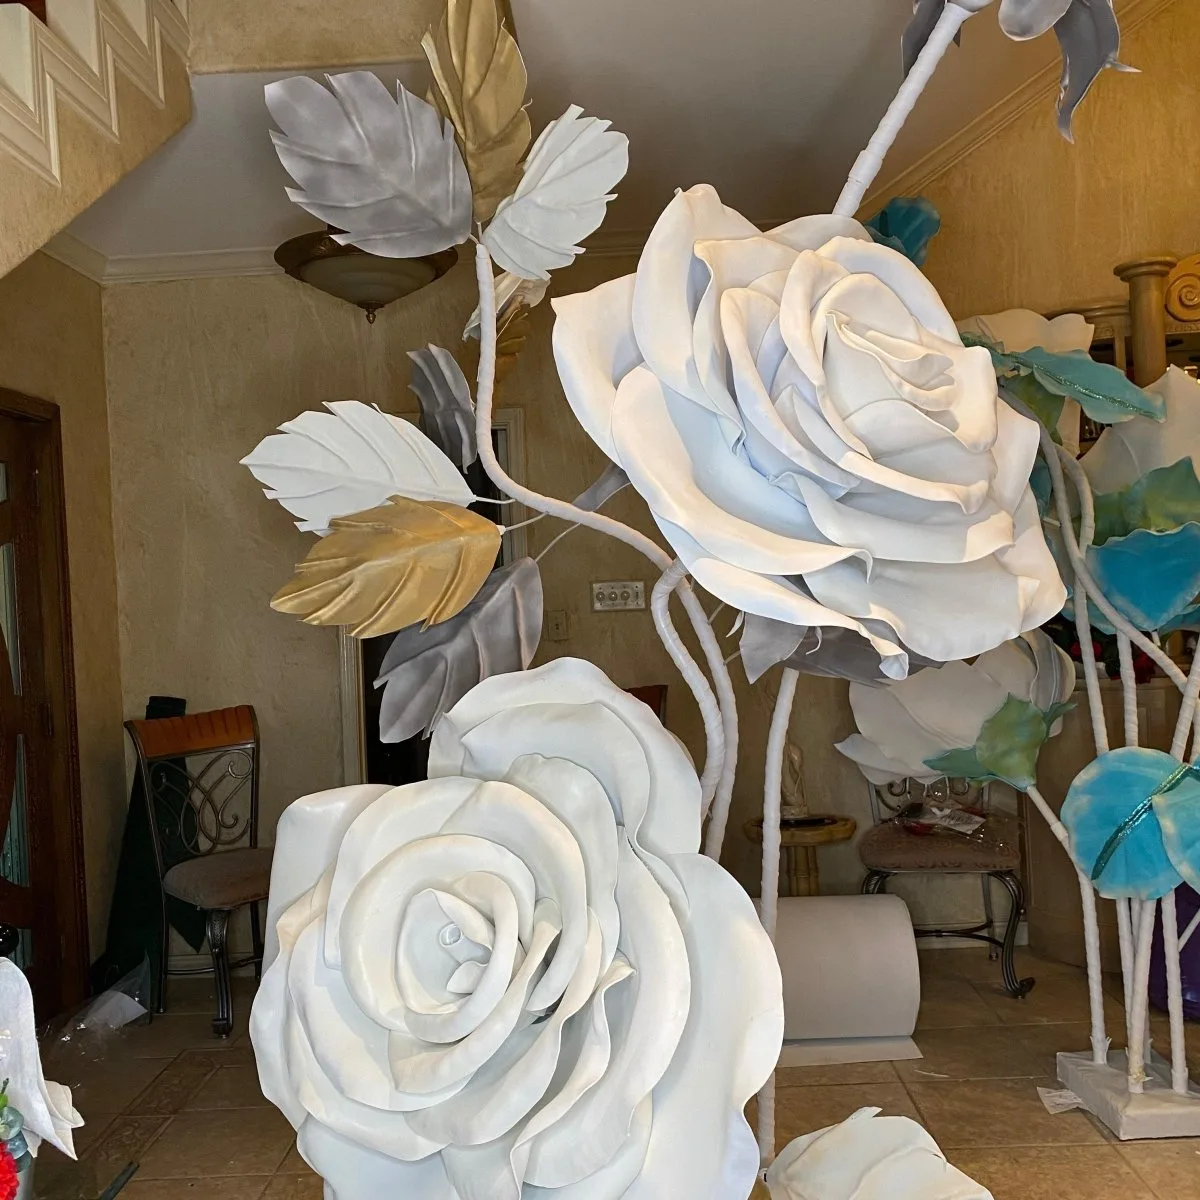
How to Cut & Trim Bendable Pipe to Any Height

If you've ever tried to cut bendable pipe and ended up with a janky edge, a pipe that's too short, or — worst case — a flower display that's leaning like the Tower of Pisa, I feel you. Been there. Done that. Cried a little.
Here's the good news: once you know the right way to do it, trimming your bendable pipes to a custom height is genuinely one of the fastest, most satisfying parts of building a giant flower display. We're talking 30 seconds per cut, clean edges, perfect height every single time.
I put this guide together specifically for DIYers — because you're the ones who deserve to know the "insider" stuff. The things I learned after ruining a few pipes and wasting time I didn't have before a big event. Let's get into it.
Key Takeaways
Real talk? The height of your stems is one of the biggest things that separates a "cute craft project" from a display that makes people stop and grab their phone for a photo.
When all your flowers are the same height, the arrangement reads as flat. But the moment you start staggering heights — a big bloom up high, a medium one mid-level, a smaller accent low — suddenly it looks intentional. It looks designed. It looks like you hired someone.
And that's exactly what cutting your bendable pipe to custom lengths gives you. Total control. No more being stuck with whatever pre-set height came in a kit.
The Height Ranges I Use Most
For freestanding floor arrangements, I typically work with stems between 24" and 60". For tabletop displays, I'll cut pipes as short as 8"–12". For arches and hanging installations, the pipe length depends on the drop you want — but having the ability to cut on-site is a game changer.
If you're building a freestanding giant flower arrangement for an event, I'd start with a range of at least three different heights. Trust me on this one.
You don't need a workshop full of power tools. Honestly, the supply list is short. But having the right tools makes the difference between a clean cut and a crushed, frayed edge that's going to bug you every time you look at it.
Honestly? Skip scissors that aren't heavy-duty. They'll crush the pipe wall instead of cutting it, and you'll end up with a deformed end that won't slide into your base properly. Same goes for trying to use a box cutter in one pass — you'll just frustrate yourself.
💡 Pro Tip
Wrap a strip of masking tape around the pipe where you want to cut. It gives you a perfectly straight guide line AND protects the pipe surface from scratches. Remove it after cutting and the edge is clean and ready to go.
Ok, this is where it gets really fun. Let me walk you through the exact process I use — whether I'm prepping for a wedding arch, a baby shower backdrop, or a corporate event installation.
Before you touch a single pipe, sketch out (even mentally) what heights you need. Write them down. For a typical 5-flower freestanding cluster, I might go: 48", 42", 36", 30", 24". That gives a beautiful cascading effect.
If you're doing a backdrop, you might want all stems the same length — and that's fine too. The point is to decide before cutting, not after.
Step 2 — Measure and Mark
Use a measuring tape and mark your cut point with a permanent marker. Then wrap that masking tape strip right over the mark. The tape edge becomes your cutting guide.
Hold the pipe steady — either between your knees if you're working on the floor, or clamped lightly in a vise if you have one. You don't need much force. Just enough that it doesn't roll around while you're cutting.
With a ratchet pipe cutter: position the blade on your tape line, tighten, and rotate around the pipe. Each rotation tightens the blade a little more. In 3–5 rotations, it's done. Clean, smooth, perfect.
With aviation snips: make your first cut, then rotate the pipe slightly and cut again, working your way around. Takes maybe 45 seconds. Edge might need a quick smoothing with sandpaper — totally optional.
Run your finger along the cut edge. If it feels sharp or rough, a quick pass with 120-grit sandpaper or an emery board smooths it right out. This matters especially if the pipe end is going to be visible or if little hands might touch it at a kid's party.
Slide the cut end into your base or connector. It should fit snugly. If you're using our freestanding flower kits, the pipe slots right in and you're ready to attach your bloom.
🌸 Ready to get started?
Browse our full Bendable Pipes collection and pick the gauge and length that fits your project perfectly.
Here's something I wish someone had told me early on: always buy longer than you think you need. You can always cut shorter. You cannot add length back.
Our bendable pipes come in several lengths. I usually recommend starting with the longest option available for your project type — especially if you're new to this. You'll have room to experiment with different heights without committing to a length you might regret.
Pipe Length by Project Type
| Project Type | Recommended Stem Heights | Starting Pipe Length | Notes |
|---|---|---|---|
| Floor freestanding cluster | 24"–60" | 60"+ pipe | Cut down to staggered heights |
| Tabletop centerpiece | 8"–18" | 24" pipe | One pipe can yield 2–3 stems |
| Wedding arch accent stems | 12"–30" | 36" pipe | Bend before OR after cutting |
| Hanging installation | 6"–24" drop | 36"–48" pipe | Measure drop from ceiling first |
| Photo booth backdrop | Varies — mostly uniform | 48" pipe | Cut all to same length for grid |
Speaking of photo booths — if you're building a backdrop for one, I have a whole guide on the best photo booth backdrops of 2026 that goes deep on structure and styling. Worth a read before you start cutting.
One thing I love about these pipes is that cutting doesn't affect their bendability at all. You can cut first, then bend — or bend first, then cut. Totally up to you and what your project needs.
For arches, I usually bend the pipe into a gentle curve first, then trim the ends to fit the mounting points. For freestanding stems, I cut to height first, then give the top a slight curve so the flower head tilts naturally — like a real flower leaning toward the light. It's a small detail that makes a huge difference in how organic the display looks.
💡 Pro Tip
If you're working with EVA foam flowers that are on the heavier side, keep your stem bend subtle — no more than 20–25 degrees. A sharp bend on a loaded stem can cause the flower to droop more than you want over time.
This is honestly one of my favorite things about bendable pipes. They're not a one-and-done supply. One of my customers — a party stylist in Dallas — told me she's been using the same set of pipes for two years across dozens of events. She bends them back straight, re-cuts if she needs a different height, and stores them in a tube bag between jobs.
That's the kind of ROI I love to hear about.
How to Store Cut Pipes
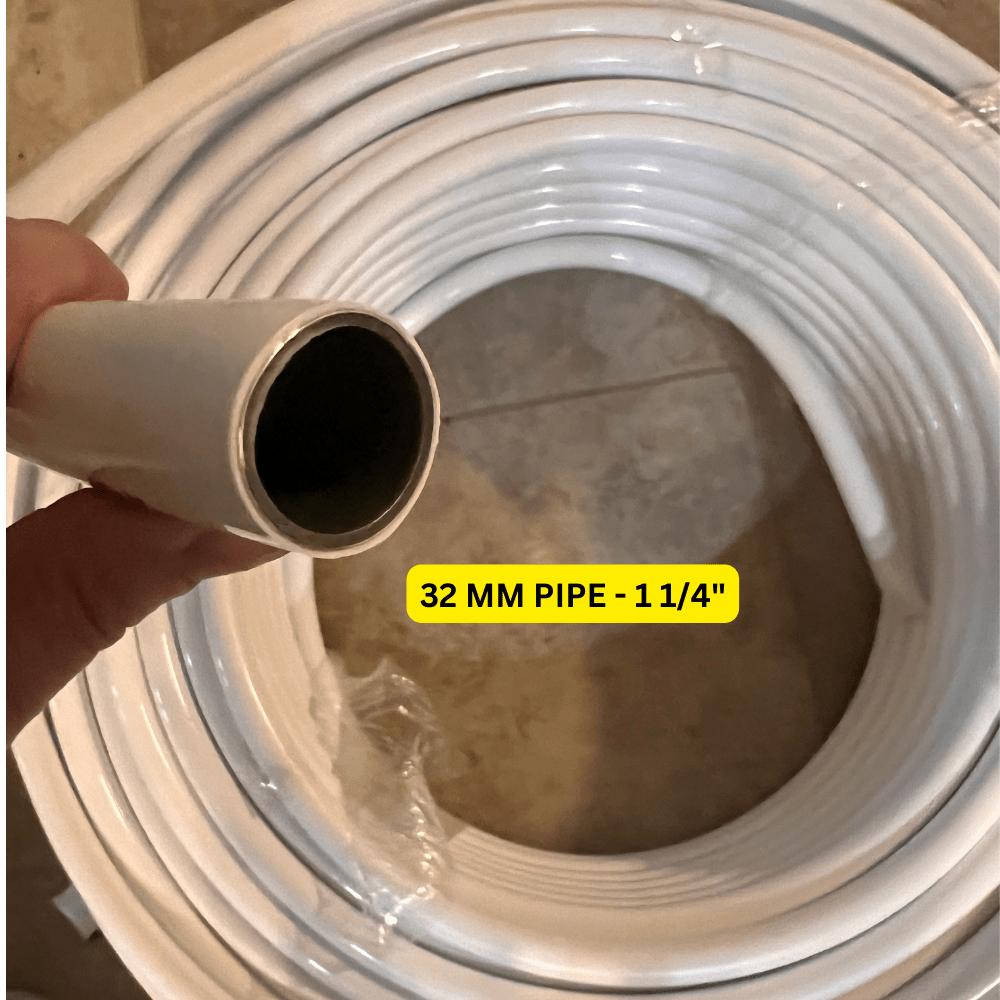
- Bundle by length: Use rubber bands or zip ties to keep same-length pipes together. Label with masking tape.
- Store vertically if possible: A tall bin or tube bag keeps them from getting bent out of shape in storage.
- Keep a "cut list" note: Write down which lengths you cut for which events. Saves so much time when you're prepping for a repeat client.
"Buy longer, cut shorter, reuse forever. That's the bendable pipe philosophy and it'll save you money every single event."
Frequently Asked Questions
Can I cut bendable pipe with regular scissors?
Regular craft scissors are not going to do a great job here. They're not designed for the material and you'll likely crush or deform the pipe wall rather than getting a clean cut. Heavy-duty shears, aviation snips, or a ratchet pipe cutter are your best bets. If scissors are all you have, use the heaviest pair you own and work slowly, rotating the pipe with each snip.
How short can I cut bendable pipe without losing stability?
For freestanding stems, I wouldn't go shorter than about 10"–12" if you want the pipe to hold its position in a base without wobbling. For pipes that are being attached to a structure (like an arch frame or backdrop grid), you can cut them much shorter — even 4"–6" — because the structure itself is providing the support.
Will cutting the pipe affect how well it bends?
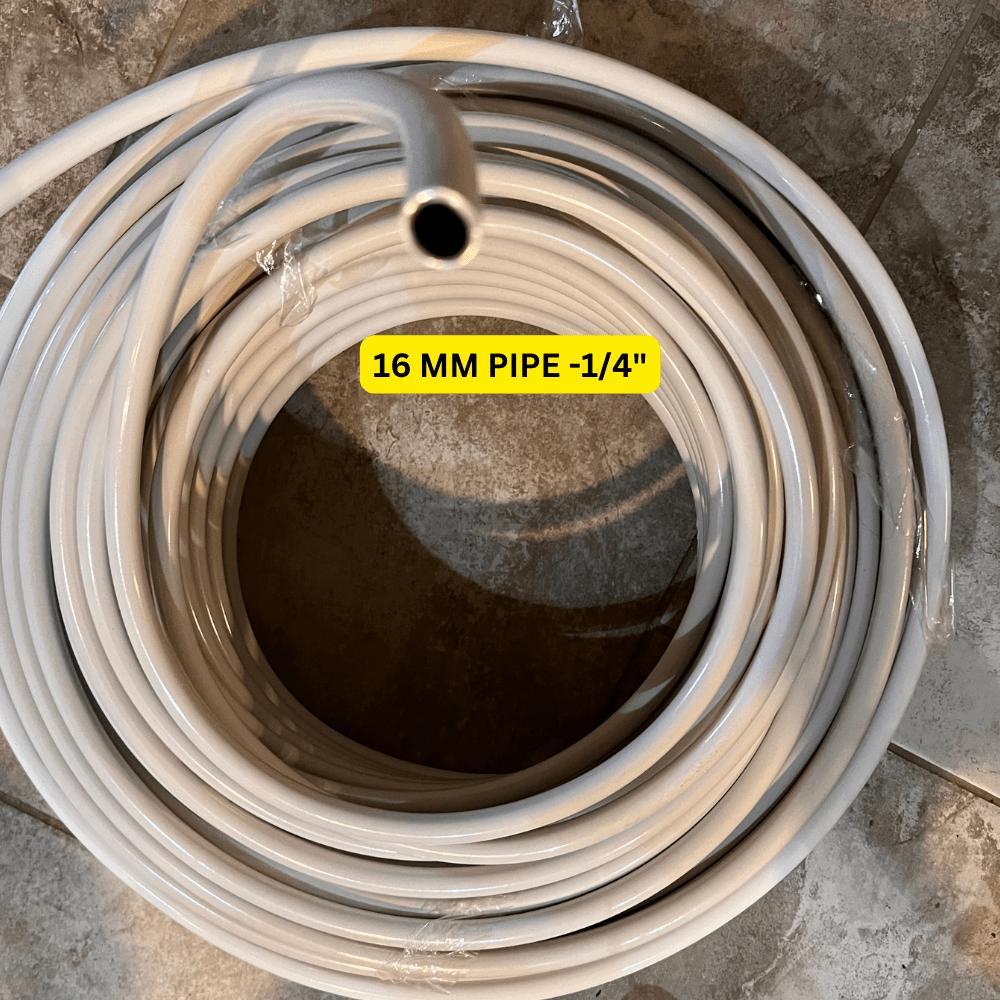
Nope! Cutting doesn't change the material properties at all. A cut pipe bends just as easily as an uncut one. You can bend before cutting, after cutting, or both — whatever works for your build process. The pipe holds its shape either way.
What if I cut my pipe too short by accident?
It happens — even to me, and I've been doing this for years. If a pipe ends up too short for its original purpose, repurpose it! A stem that was meant to be 36" and got cut to 30" becomes a mid-height accent flower. A really short piece can become a connector or a tabletop stem. Almost nothing goes to waste with bendable pipes.
Do I need different tools to cut different pipe gauges?
Thinner gauge pipes cut easily with heavy-duty shears. Thicker gauge pipes are much easier with a ratchet pipe cutter or hacksaw. If you're working with multiple gauges on the same project, I'd recommend having both tools on hand. It's a small investment that saves a lot of frustration on build day.
At the end of the day, learning to cut bendable pipe to custom heights is one of those skills that sounds small but completely transforms what you can create. It takes maybe five minutes to learn and it unlocks a level of creative freedom that pre-cut, fixed-length stems just can't give you.
Whether you're building your first DIY giant flower display for a backyard
Ready to Create Something Amazing?
Browse our collection of giant flower kits and start your next project today.