Mastering Jewelry Display DIY for Creative Setups

Creating a custom jewelry display DIY project is the perfect solution for organizing your collection and showcasing your favorite pieces. In about an hour, you can build a personalized organizer that tames clutter, saves you time, and turns your jewelry into stunning decor.

Moving from a tangled mess to a beautifully organized collection is much easier than you might think. While generic organizers are available, a DIY display allows you to create functional art tailored perfectly to your jewelry. Let's explore the key benefits.
A well-designed display offers more than just organization; it enhances your daily routine and protects your valuable pieces.
For a dose of visual ideas, check out this gallery of creative display concepts that blend function with artistry.
A great DIY display is versatile and can be adapted for various needs.
The difference between a DIY project that looks handmade and one that looks professional often comes down to preparation. Gathering and organizing all your supplies first makes the whole process smoother and more fun. You might be surprised by what you already have—upcycling old picture frames, wooden boxes, or even interesting branches is a fantastic, budget-friendly starting point.
When you’re ready to build from scratch, a few versatile materials work for almost any display idea you can dream up.
The market for jewelry organizers is expected to jump from $29.6 billion in 2025 to a massive $72.5 billion by 2035, according to FutureMarketInsights.com, showing a strong demand for beautiful and functional storage.
Choosing the right material is the first step, but don't be afraid to mix and match to create something that is truly your own.
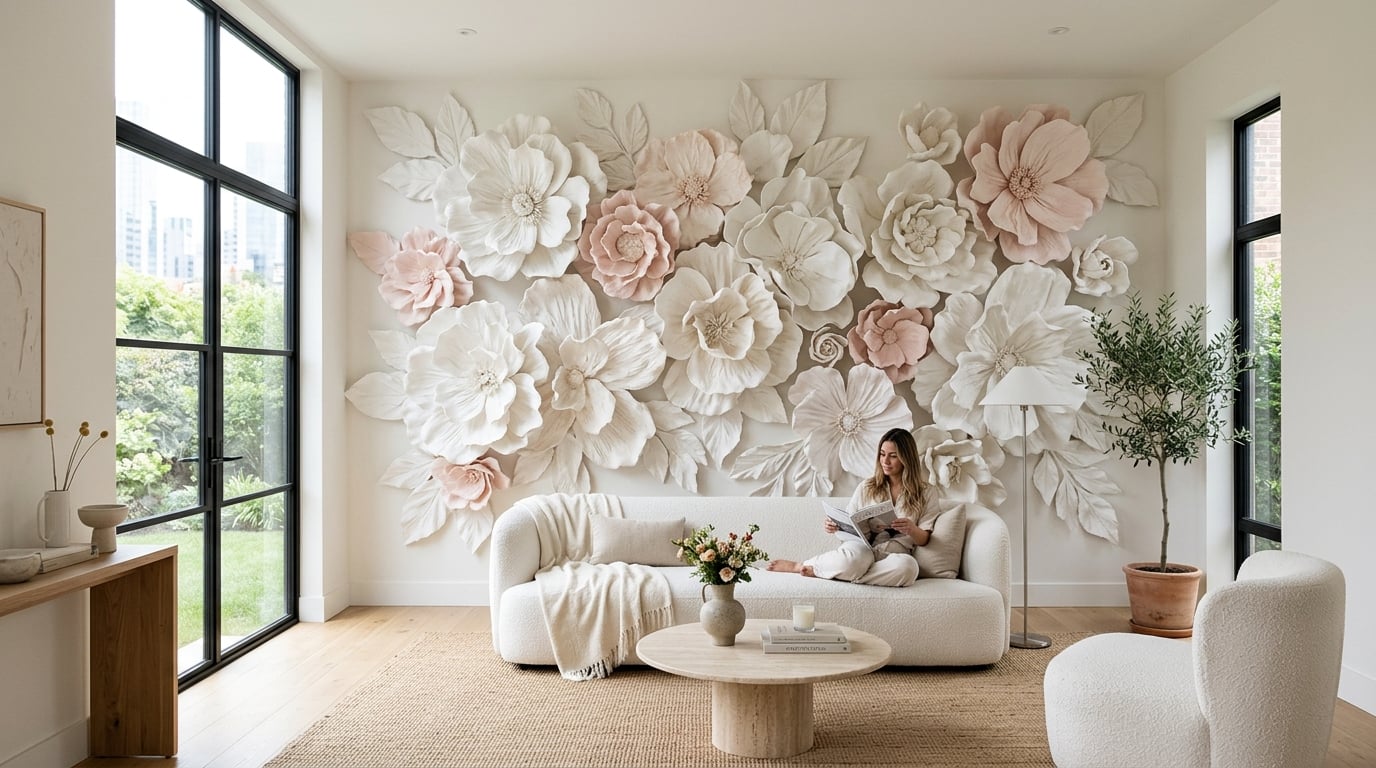
To make your display one-of-a-kind, think about adding unexpected elements. One of my favorite ways to do this is with specialty foam like EVA foam. It’s lightweight, durable, and easy to shape into gorgeous, oversized flowers or decorative accents to frame your display. If you want to dive deeper, you can learn more about the different types of foam for crafting.
Pro-Tip: Before you glue or paint, do a "dry run." Lay out all your materials and tools on a covered surface. This protects your table and lets you spot any potential issues before they become permanent.
Ready to tackle two classic jewelry displays? Necklace busts and ring cones bring instant order to your collection. Whether for your dresser, a retail counter, or your product photos, these DIYs are surprisingly straightforward.
Let’s walk through the exact steps to create both. The basic workflow is simple: gather, set up, and create.

Following this simple process will help every project go smoothly.
A well-made necklace bust gives your space an immediate boutique feel and is perfect for making your necklaces pop in online photos.
Clear Steps to Create Your Bust:
Investing in quality displays is a smart business decision. Retailers using beautiful stands have reported up to 40% more foot traffic, and custom displays can boost luxury sales by as much as 25%.
These details have a real commercial impact. The market for jewelry stands is on track to grow from $1.5 billion to $2.3 billion by 2032, which shows just how much visual merchandising can drive sales. You can find more data on this trend over at CognitiveMarketResearch.com.
Ring cones are perfect for keeping your rings safe and visible. Creating a small cluster of them in different heights makes for a dynamic display.
Clear Steps to Create Ring Cones:

Let's solve two common jewelry storage problems: lost earrings and tangled bracelets. Here, we’ll craft practical holders for a jewelry display diy setup that gets everything organized, visible, and ready to grab. The goal is simple: create displays that fit your collection and end the frantic searching.
Creating a Versatile Framed Earring Organizer
A framed mesh holder is one of the best ways to keep earrings organized, especially dangle styles. This simple project transforms your earring collection into custom wall art.
Clear Steps to Create Your Organizer:
A multi-level T-bar stand is the perfect fix for a jumbled heap of bracelets and watches. This project creates an elegant display that looks like it came from a high-end boutique.
Clear Steps to Build Your Stand:
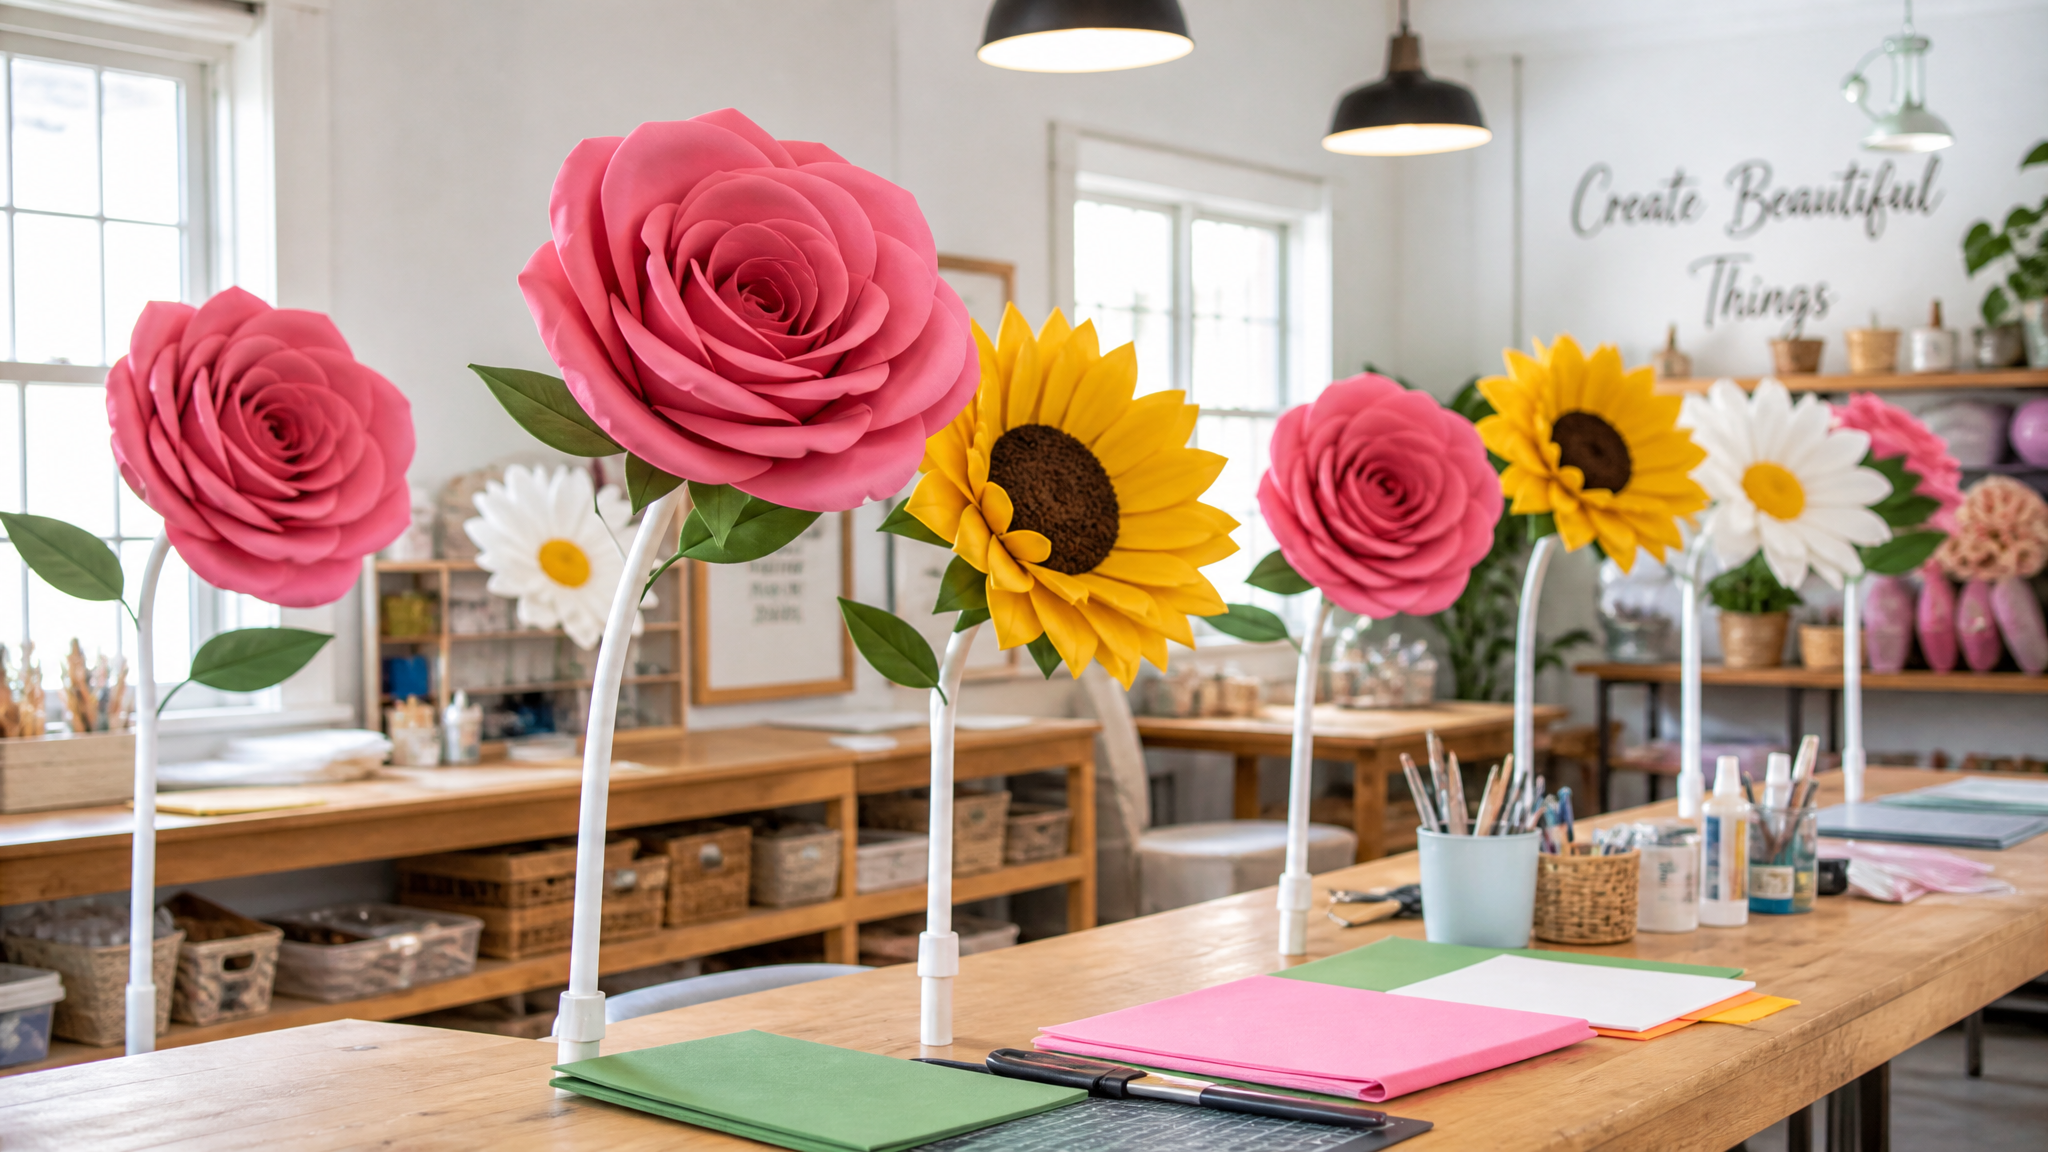
If you want to add a unique touch, try turning your stand into a "jewelry tree" by adding decorative flowers at the base. For ideas on crafting lightweight flowers, check out these amazing foam board projects.
When selling your jewelry, your display is your silent salesperson. It grabs a customer's attention and invites them to take a closer look. The key is to create a setup that's layered, easy to transport, and adaptable. Use lightweight, stackable risers to create height and visual interest, allowing you to spotlight your best pieces.
A simple, collapsible stand made from copper pipe is a perfect jewelry display diy project that looks high-end and is easy to transport.
Clear Steps for a Collapsible Stand:
- Gather Materials: You'll need copper pipes, corner elbow joints, and a pipe cutter from the hardware store.
- Cut the Pipes: Cut pipes to your desired size to form a rectangular base and two uprights.
- Assemble the Frame: Use the corner fittings to connect the base and uprights, then add a top bar for hanging necklaces.
- Enable Portability: If you get the right pipe diameter, the pieces will have a snug friction fit, allowing you to assemble and take it down in minutes without tools.
- Add Your Style: Polish the copper for a rose-gold shine or paint it to match your brand's color scheme.
Weave Your Brand's Story into Your Setup
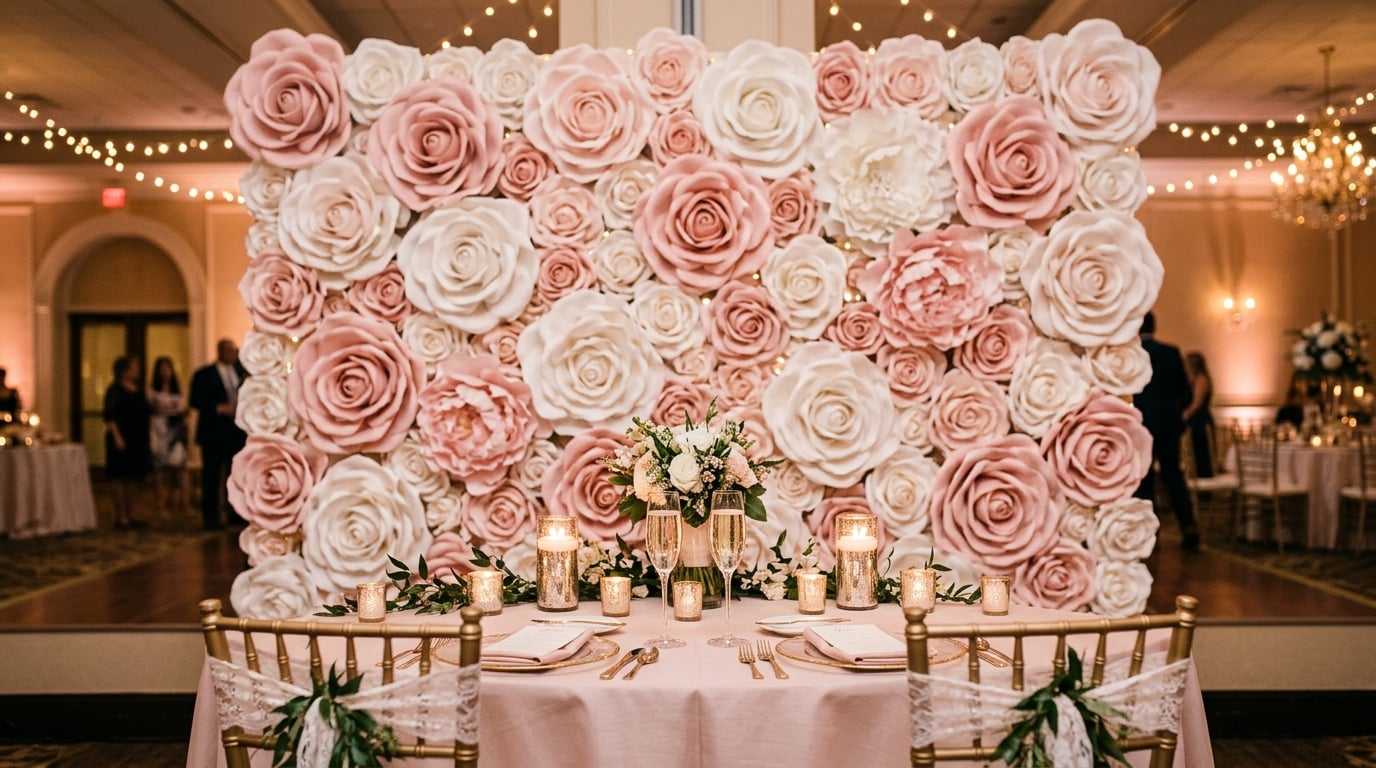
Your display is a physical extension of your brand's personality. Every element—from colors to props—should tell a consistent story. A great strategy is to create a backdrop that serves as a "selfie station." When customers snap photos with your display, they provide free, organic marketing on social media.
Creative, engaging displays can increase customer interaction by 30% and lift sales by 15-20% simply by making products more visible and appealing.
With the global jewelry display market projected to surpass $2.5 billion by 2025, presentation is serious business. You can find more data on this trend at ArchiveMarketResearch.com. For inspiration, check out these creative retail display ideas.
Spotlight: Creating a Memorable Brand Experience
Let's imagine a real-world use case: a pop-up shop. Instead of a plain setup, build a breathtaking floral-themed backdrop using large, handmade foam flowers. Placing your jewelry stands amongst them creates an immersive, photo-worthy moment. Attendees won't resist taking pictures and sharing your brand online. You can find inspiration for stunning backdrops by exploring retail window display ideas. This approach turns a simple display into a beautiful, functional, and highly shareable experience.
Common Questions About DIY Jewelry Displays
As you begin your jewelry display DIY journey, you may have some questions. Here are answers to some of the most common ones.
How Can I Make My DIY Display Look More Professional?
The secret is in the finishing details. Here are some tips to elevate your project from homemade to hand-crafted:
- Prep Your Surfaces: Always sand wood until it's perfectly smooth before painting. A smooth surface makes the paint job look a thousand times better.
- Apply Thin Coats: Use several thin, even coats of paint, letting each one dry completely. This prevents a gloppy, amateur look.
- Create a Cohesive Theme: Choose a consistent color palette and style across all your display pieces. This ties everything together for a polished, intentional look.
How Should I Clean and Maintain My DIY Jewelry Display?
The right cleaning method depends on your materials.
- Fabric-Covered Pieces: Use a simple lint roller to remove dust from velvet or linen surfaces.
- Painted Surfaces: Gently wipe down painted wood or clay with a soft, damp cloth. Avoid harsh chemical cleaners that can strip the finish.
- Delicate Accents: Use a can of compressed air (held at a distance) or a super-soft paintbrush to dust fragile elements like foam flowers.
What Are the Best Materials for a Portable Market Display?
For market displays, choose materials that are lightweight, durable, and easy to pack.
- Recommended Materials: Foam core, lightweight balsa wood, and collapsible copper pipe frames are all excellent choices.
- Design for Portability: Create modular pieces like nesting risers that stack together or T-bar stands that can be taken apart.
- Use Smart Connectors: Instead of glue, use strong magnets or wing nuts to assemble larger displays that can break down flat for easy transport.
Ready to create a display that's as stunning as your jewelry? The designers at Amazing Giant Flowers can help you design incredible floral backdrops and get you all the DIY supplies needed to make it happen. You can explore all the possibilities on their website.
Ready to Create Something Amazing?
Browse our collection of giant flower kits and start your next project today.