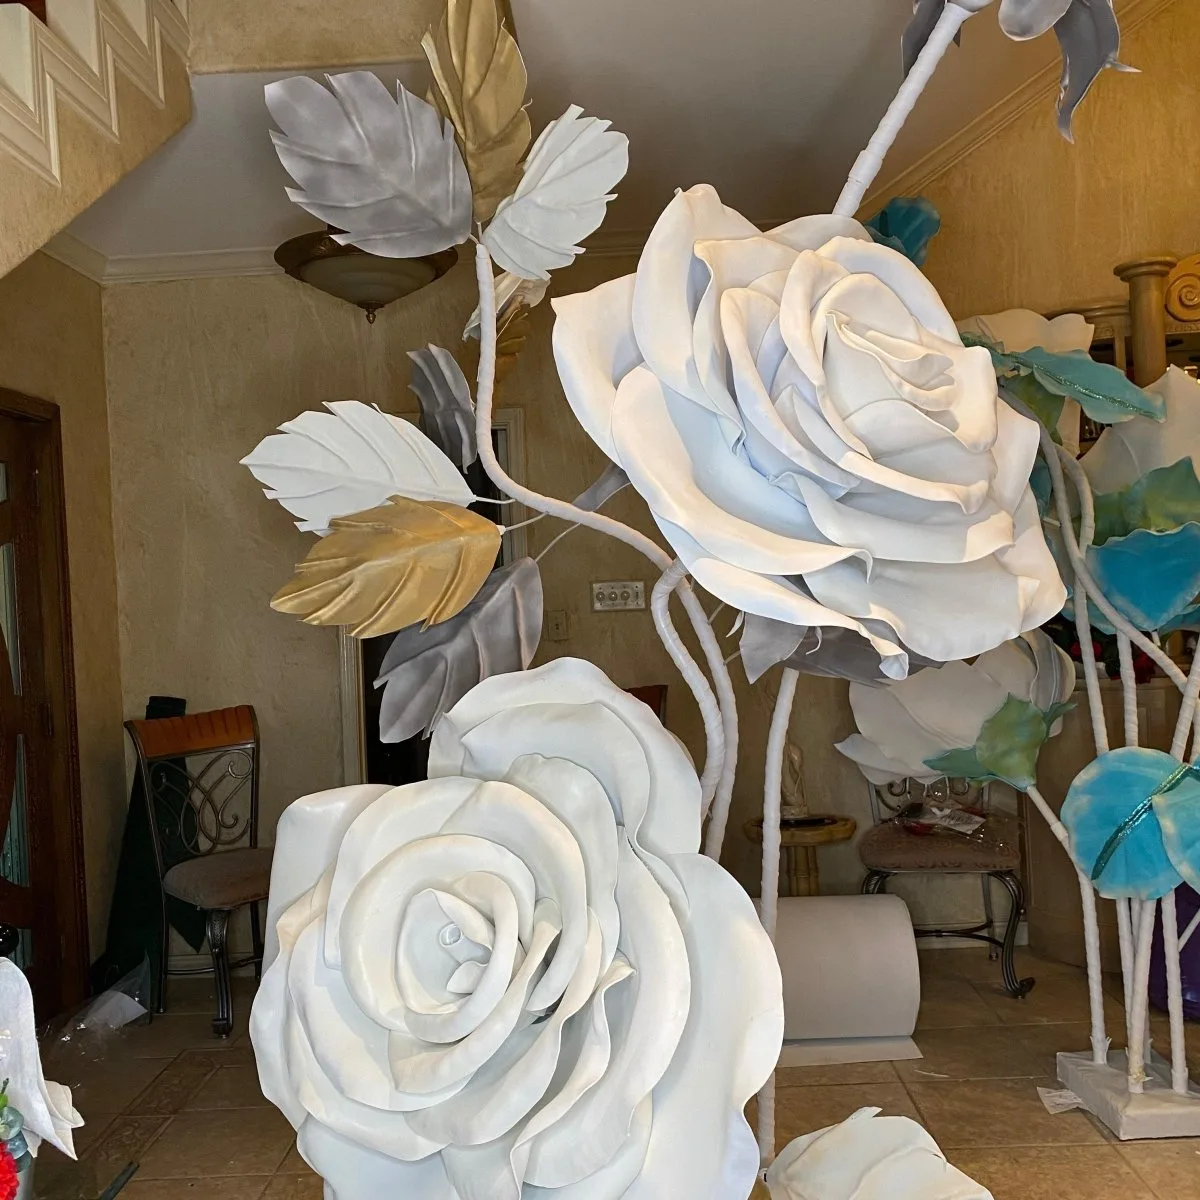
How to Plan a Full Giant Flower Installation with Bundle Kits
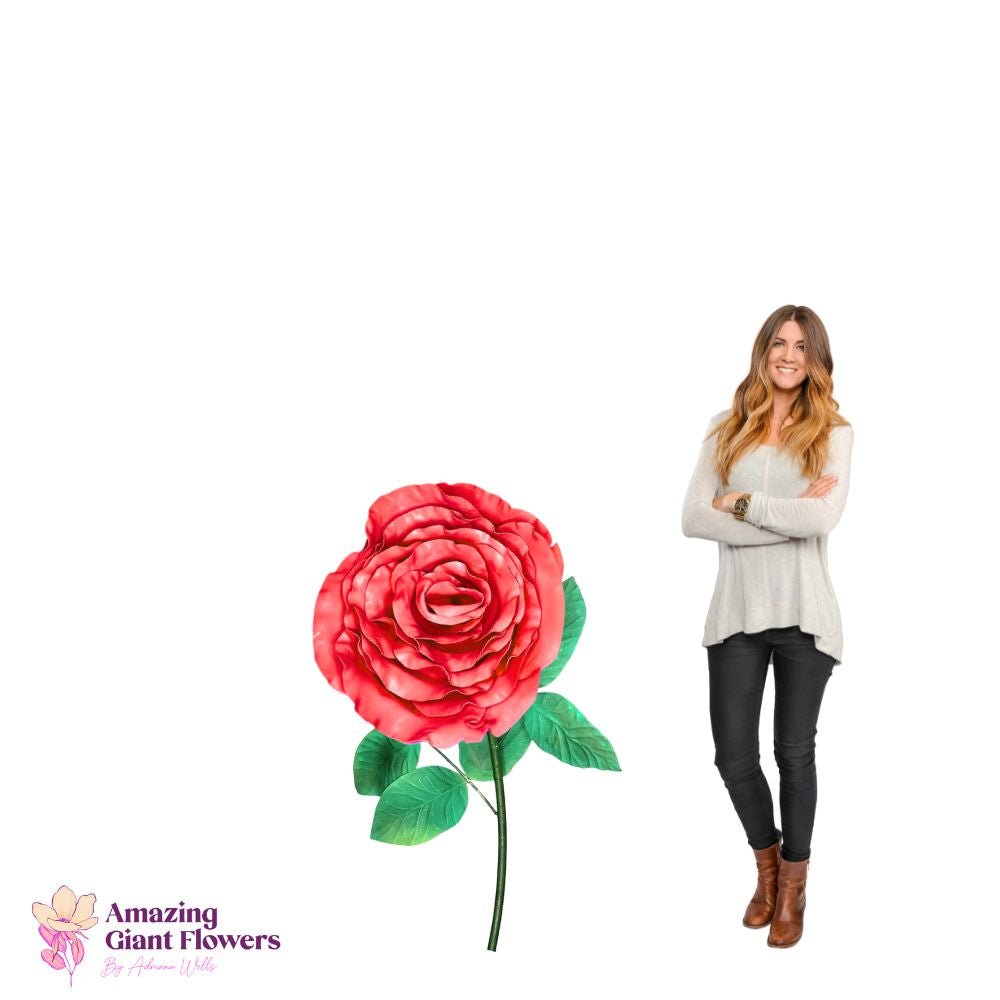
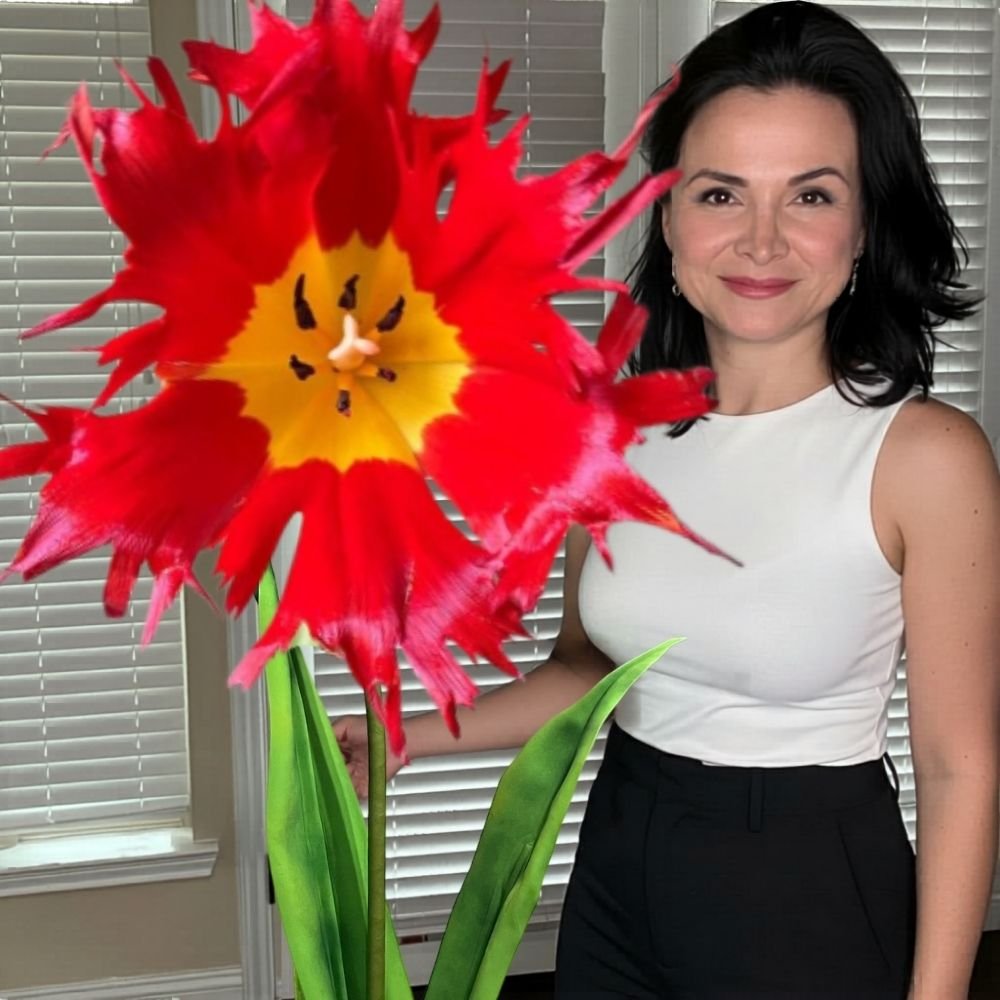
You walked into the venue and your heart sank. White walls. Harsh overhead lights. Zero personality. You've got 72 hours until guests arrive and a Pinterest board full of floral arches that would cost more than the catering. I've been there — staring at an empty room wondering how to make it feel like someone's special day instead of a conference center with tablecloths.
Here's the truth no florist wants to say out loud: a giant flower installation built from DIY bundle kits can look just as luxurious as a $5,000 fresh-flower wall — and it lasts forever. No wilting. No water stains. No panic when the delivery truck is an hour late. I've helped hundreds of brides, event planners, and party hosts pull off full-room transformations using our pre-cut EVA foam kits, and I'm going to walk you through exactly how I plan one from blank walls to final photo.
This is your complete blueprint. Let's build something unforgettable.
Start with the Vision: Why a Giant Flower Installation Wins
Before you touch a single petal, you need to answer one question: what feeling do you want guests to have when they walk in? A giant flower installation isn't just decoration — it's a statement. It says "someone planned this. Someone cared." That emotional hit is worth more than any table centerpiece.
I always tell clients to pick three anchor zones for their installation. The welcome area where guests arrive. The main backdrop where photos happen. And one surprise moment — maybe a sweetheart table cluster or a hallway arch. Three zones feel complete without exhausting your budget or your patience.
"The best installations don't fill every wall. They create moments so beautiful people stop walking to stare."
What You'll Need: A Complete Giant Flower Installation Supply List
I've planned enough of these to know exactly what belongs in your cart. Don't wing it with random purchases — a giant flower installation needs the right scale, the right materials, and the right quantities to look professional. Here's my tried-and-true checklist:
💡 Pro Tip
Order your bundle kits at least 2 weeks before your event. Pre-cut petals save you days, but painting and assembly still take time. Trust me — midnight petal-gluing the night before is not the vibe.
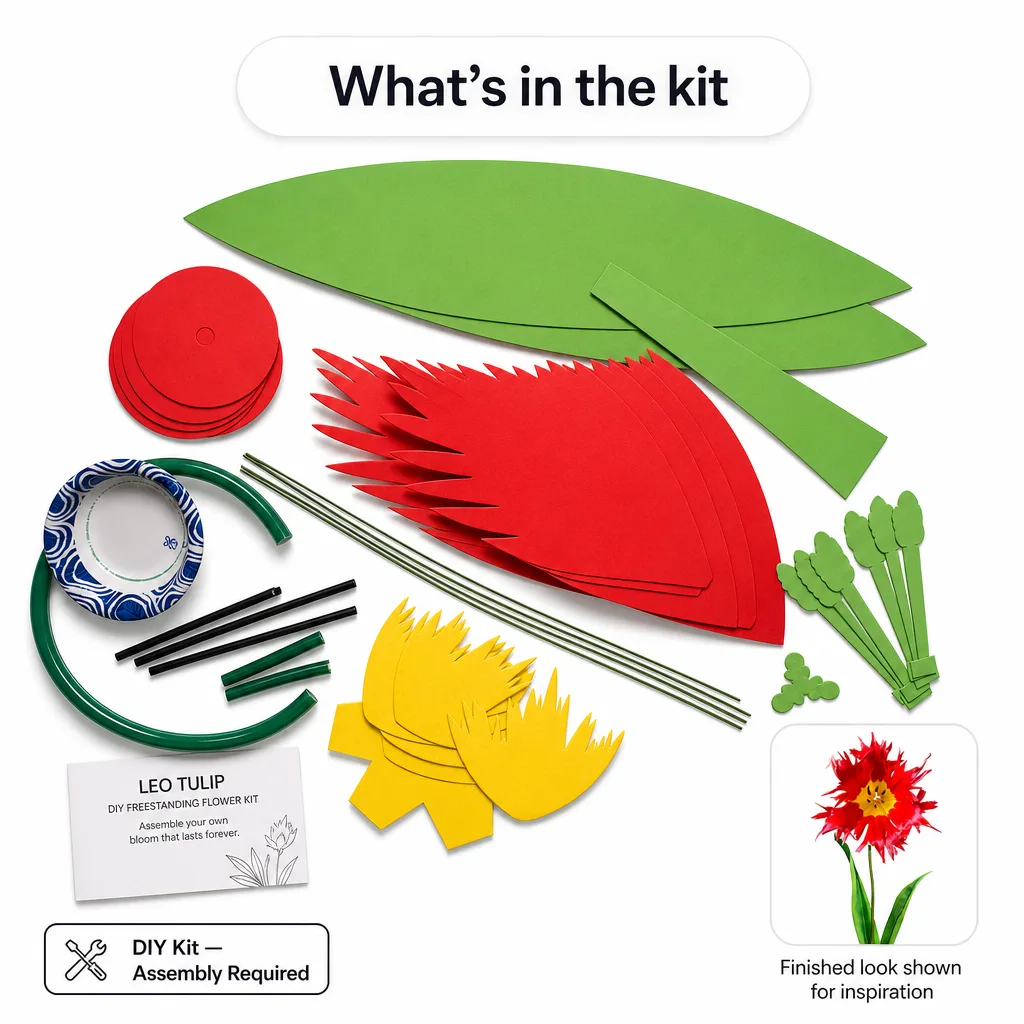
- Bundle kits for each zone (welcome sign, backdrop, accent clusters) — pre-cut foam flowers in coordinated colors
- Wall Flower Kits starting at $37.99 for 18" blooms to fill gaps and add texture
- Freestanding Giant Flower Kits ($49–$79) for areas that need depth without a wall
- EVA foam sheets for custom leaves, filler shapes, or last-minute additions
- Bendable pipes ($8–$18) for sturdy, adjustable stems on freestanding builds
- Base weights or freestanding stands to keep tall flowers upright
- Chicken wire or floral mesh for wall-mounted sections (purchase locally)
- Hot glue gun, floral tape, and acrylic paints for finishing touches
If you're building a full-room giant flower installation, the Designer Backdrop Wall Flower Kit Bundle ($351.81) gives you 11 coordinated wall flower kits in a single box. That's your entire backdrop wall solved in one order. For the welcome area, the Welcome Sign Wall Flowers ($98.95) is the perfect compact starter set. Want to frame the sweetheart table? The Freestanding Flower Clusters ($493.20) create balanced blooms on both sides — no wall required.
Step 1 — Map Your Space and Choose Your Zones
Grab a tape measure and a notebook. I know it sounds boring, but this step separates the installations that look effortless from the ones that look accidental. Walk your venue and measure the width and height of each wall you want to cover. Take a photo of every surface with your phone — you'll reference it constantly during planning.
For a standard wedding venue, I recommend this zone layout:
- Entry/Welcome Zone: 4–6 feet wide, framed around a sign or seating chart. This is your first impression.
- Main Backdrop: 8–12 feet wide, 6–8 feet tall. This is where the photographer lives all night.
- Accent Zone: Sweetheart table, cake table, or hallway feature. 3–4 feet wide, adds depth without overwhelming.
Write down the exact dimensions for each zone. Then calculate how many flowers you need based on coverage. A good rule of thumb: one 18" wall flower covers roughly one square foot when spaced with leaves and filler. A 24" flower covers about 1.5 square feet. Do the math now and you'll thank yourself later when you don't have a bare patch in the center of your backdrop.
💡 Pro Tip
Leave 6 inches of breathing room around door frames and edges. An installation that fights the architecture looks crowded, not grand. Negative space is your friend.
Step 2 — Select Your Bundle Kits for Maximum Impact
Now comes the fun part. With your measurements in hand, you can match real bundle kits to real zones. I always plan color flow before I pick individual kits — a gradient of blush to white reads "elegant wedding," while coral to yellow says "summer celebration." Decide your mood first, then shop.
For the giant flower installation we're planning today, here's my recommended kit breakdown using live Amazing Giant Flowers products:
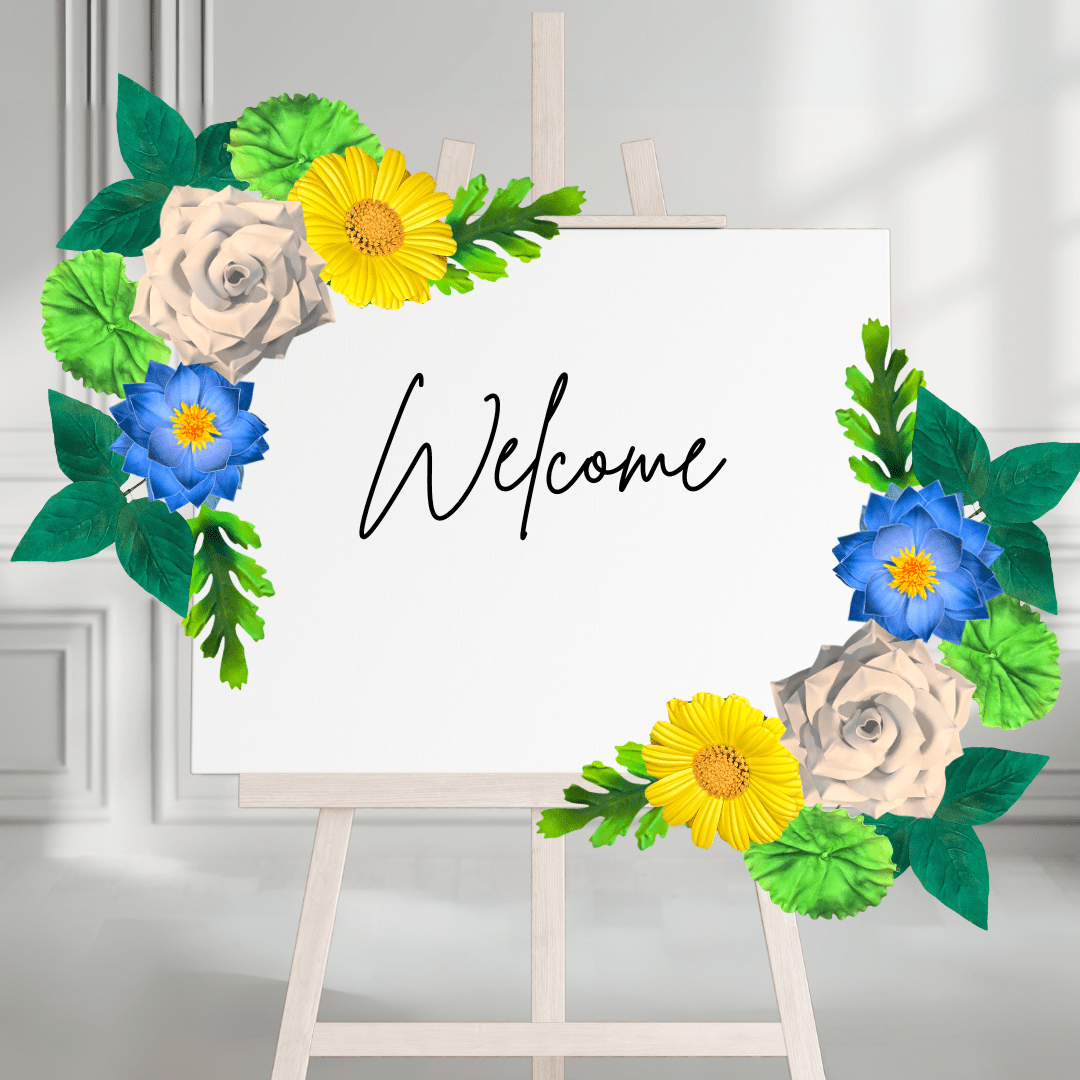
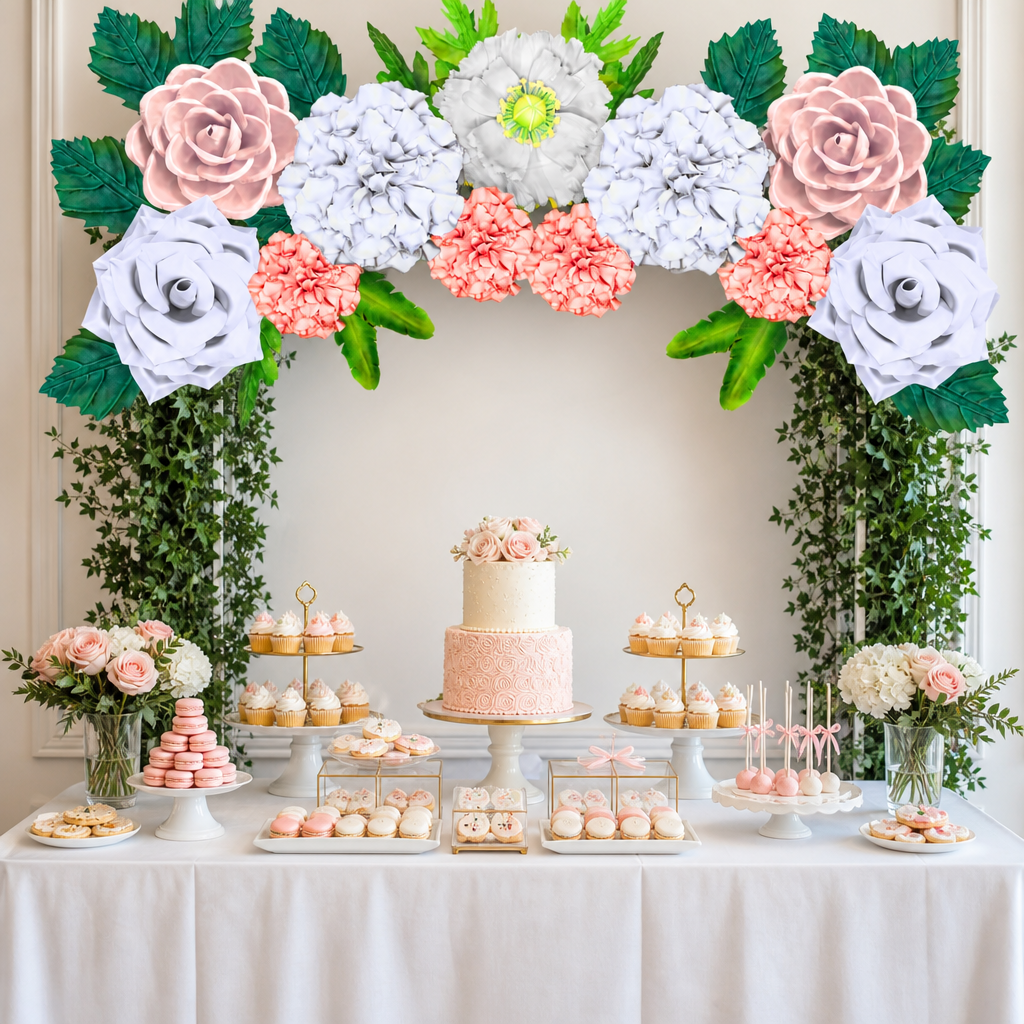
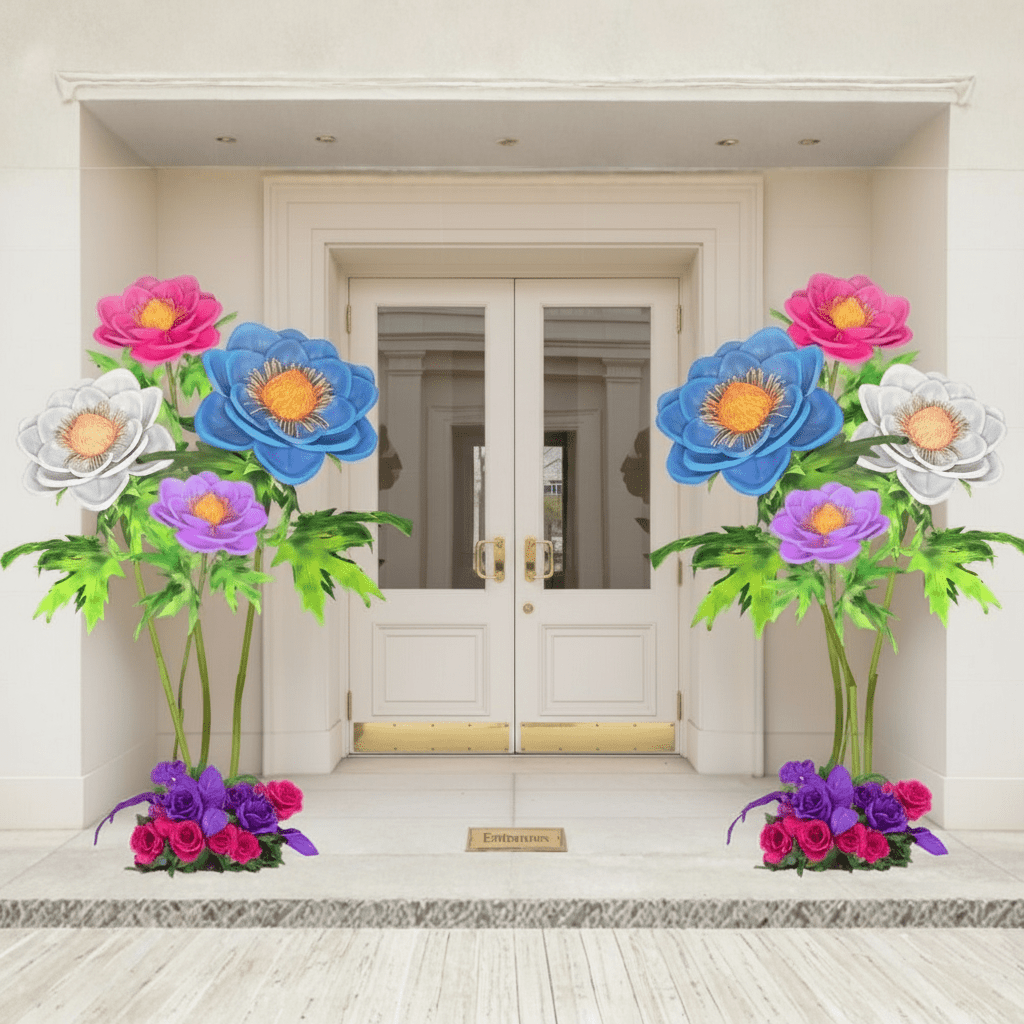
That combo gives you a complete three-zone giant flower installation for under $950. Compare that to a fresh flower wall rental that starts at $1,200 and only lasts one night. Plus, when the event is over, these foam flowers go home with you — ready for the next celebration, a nursery wall, or your best friend's bridal shower.
Need to fill gaps between bundle blooms? Grab individual Wall Flower Kits starting at $37.99 for 18" sizes. I always add 2–3 extra wall flowers to every order for "just in case" coverage. Better to have a spare than a bald spot.
"I've never once regretted ordering one extra kit. I have regretted ordering exactly enough and finding a gap at 10 PM the night before."
Step 3 — Build Your Flowers (Yes, You Really Can)
This is the part that intimidates people. "I'm not crafty," they say. "I can't even wrap a present." Listen — if you can use a hot glue gun and follow a numbered diagram, you can build a giant foam flower. Our kits arrive with pre-cut EVA foam petals, numbered templates, and step-by-step video guides. There's no guesswork. No cutting. No "what shape is this supposed to be?" panic.
Here's my building schedule for a full giant flower installation:
- Week 1: Paint and thermoform all petals. This is the most time-consuming step, but it's also meditative. Put on a podcast. Batch-process by color.
- Week 2: Assemble blooms and attach stems. Bendable pipes ($8–$18) give you sturdy, adjustable stems that can be shaped to any angle.
- Week 3: Final touch-ups, leaf attachments, and a dry-run layout on your living room floor. Yes, really. Lay it all out and photograph it before you touch the venue wall.
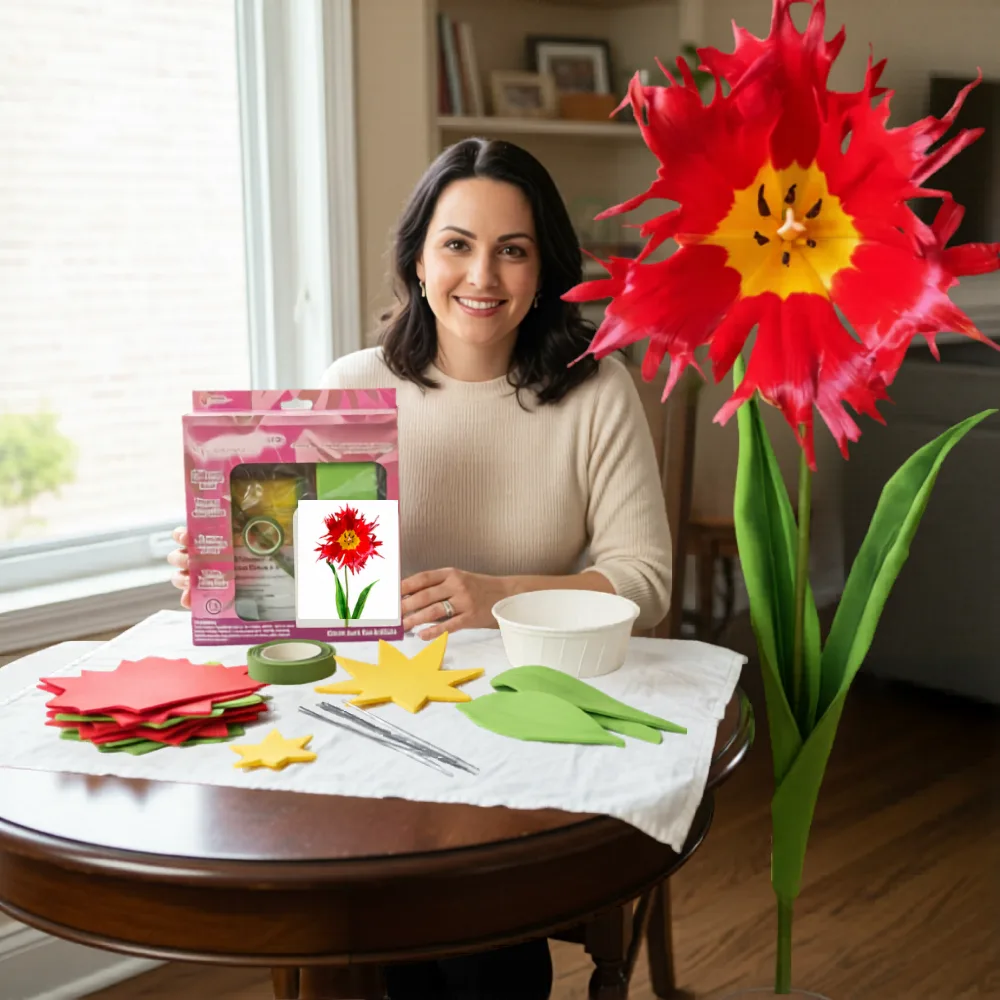
Each flower in our kits takes approximately 1–2 hours from paint to finish. That means a full 11-kit backdrop bundle will require roughly 15–20 hours of total build time. Spread it across three weekends and it's completely manageable. I wrote a full backdrop-building guide here with more detailed timing tips.
Step 4 — Arrange, Install, and Style the Full Scene
Installation day is here. You've built your flowers. You've painted, glued, and maybe swore once or twice. Now it's time to make magic happen. Start with the largest piece first — usually your main backdrop. Work from the center outward so the composition stays balanced.
For wall-mounted sections, attach chicken wire to the wall first, then zip-tie or floral-tape your flowers directly to the mesh. This is the method I use for 90% of professional installations. It holds securely, removes cleanly, and lets you adjust positioning until it's perfect. For freestanding zones, our Giant Foam Flower Trio ($196) comes on a decorated base — just place it and glow. No tools required.
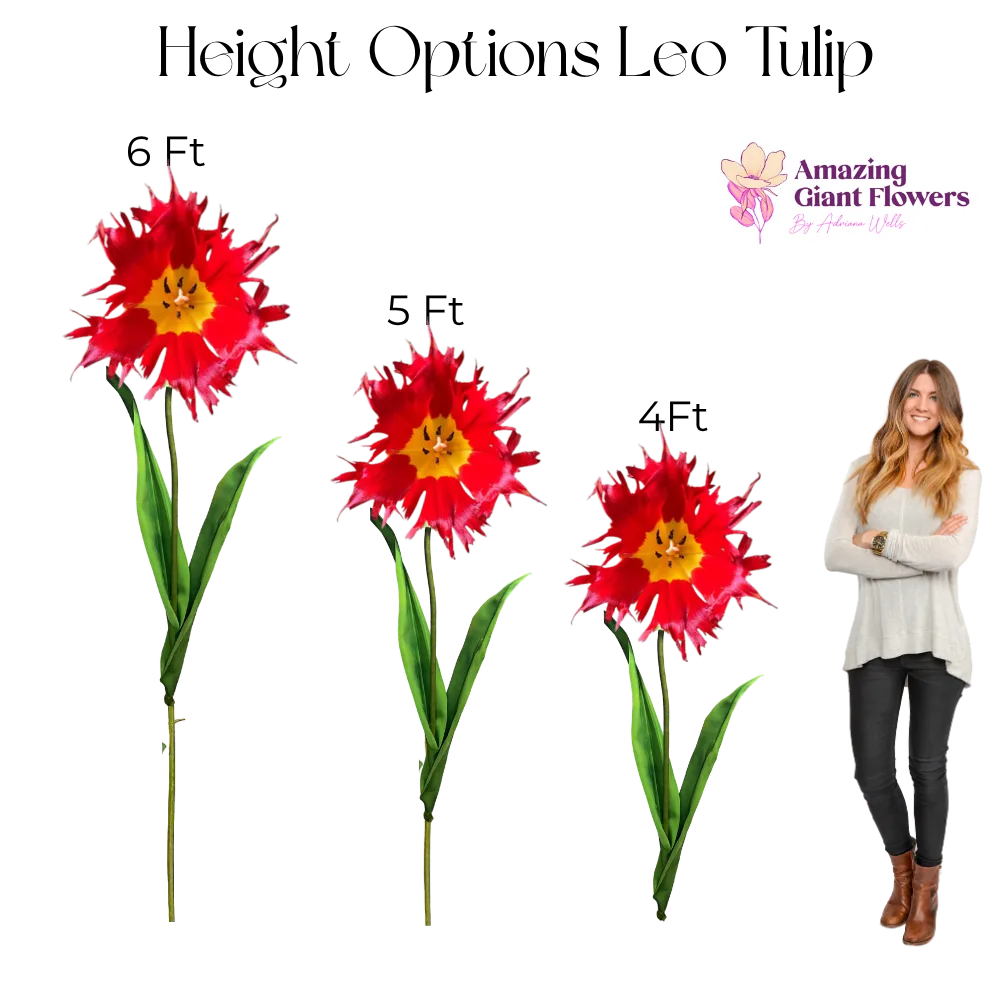
Style rules I follow on every giant flower installation:
- Vary sizes — mix 18", 24", and 30" blooms so the wall has depth, not a flat grid
- Layer colors — place darker tones at the bottom and lighter ones at the top for natural visual flow
- Add leaves and filler — extra foam leaves tucked between blooms soften the edges and hide attachment points
- Step back every 10 minutes — view the whole wall from guest-level distance, not nose-to-petal distance
"The best installations look a little imperfect up close. That's what makes them feel real, not manufactured."
How to Save Without Sacrificing the Wow
Not everyone has a $900 budget for a full-room installation. I get it. Here's how I scale a giant flower installation down without losing the magic:
Budget tier ($200–$300): One hero wall (Designer Backdrop Bundle at $351.81 or the Welcome Sign set at $98.95 + 3 individual wall flowers). Focus every dollar on one stunning zone instead of three mediocre ones. Here are 7 freestanding ideas that work with smaller budgets too.
"Spending $300 on one breathtaking wall beats spending $600 on three walls that all look half-finished."
Mid-range tier ($500–$700): Two zones — a welcome sign set plus a half-width backdrop wall. Use a freestanding kit like the Giant Foam Flower Trio ($196) as a third accent piece near the cake or sweetheart table.
Full-install tier ($900+): Everything we outlined above. Three zones, full coverage, professional result. And since every flower is reusable, your next event costs $0 in flowers. That's the math that makes EVA foam unbeatable.
Common Mistakes First-Time Installers Make
I've seen these mistakes at almost every first installation. Save yourself the headache:
- Buying flowers in random sizes. A wall of all 18" flowers looks flat. A wall of all 30" flowers looks crowded. Mix sizes intentionally. Use the bundle kit ratios as your guide — they're designed by people who've done this professionally.
- Skipping the dry run. Please, please lay your flowers out on the floor before you attach anything. Re-positioning on the ground takes 5 minutes. Re-positioning on a wall takes 5 minutes per flower.
- Forgetting lighting. Even the most beautiful giant flower installation disappears in a dim venue. Budget $50–$100 for warm uplighting or fairy lights behind your backdrop. The glow makes the foam petals look like silk.
- Underestimating build time. Each flower takes 1–2 hours. Multiply by your kit count. Add 20% for "unexpected things happen." Then start two weeks early, not two days.
If you're curious about how foam flowers stack up against fresh in terms of real cost, I broke down the full cost comparison here. The numbers might surprise you — and in foam's favor.
FAQ: Giant Flower Installation Questions I Get Every Week
How long does a full installation take to build?
For a three-zone setup with bundle kits, plan 20–30 hours of hands-on build time. Spread it across 2–3 weeks. Pre-cut petals save you 60% of the time versus DIY-from-scratch methods.
Can I reuse the flowers after the event?
Absolutely. EVA foam is waterproof, durable, and holds its shape for years. Store in a dry place and your giant flower installation components are ready for the next party, nursery wall, or seasonal display.
Do I need professional tools?
Nope. A heat gun (for thermoforming petals), scissors, hot glue, and acrylic paint are all you need. Everything else comes in the kit. Here's my EVA foam guide for choosing the right supplies.
What if I'm not crafty at all?
I hear this every day. The kits are designed for beginners. The petals are pre-cut. The instructions are video-based. If you can follow a cake mix recipe, you can build these flowers. Start with one kit and see how it feels — I promise you'll surprise yourself.
Can these go outdoors?
EVA foam is waterproof, but direct sun will fade colors over time. For outdoor events, keep them under a tent or canopy. For indoor events, they're perfect as-is and never wilt from venue heat.
Your Giant Flower Installation Starts Here
You walked into this post staring at blank walls and wondering if you could really pull off a professional-looking installation. By now, I hope you know the answer: yes, you absolutely can. With the right bundle kits, a clear plan, and a few weekends of creative building, you'll create something that stops guests in their tracks and fills photo albums for years.
The best part? You're not just decorating an event. You're building something with your own hands that will outlast the cake, the DJ, and even the dress. That's the magic of a DIY giant flower installation — it becomes part of your story, not just part of the room.
I'm here if you need help choosing kits, matching colors, or just talking through the plan. Drop a comment or send us a message. And if you're ready to start building, grab the Designer Backdrop Bundle or the Welcome Sign set today — kits ship in 2–3 business days, and Houston hand-delivery is available on select bundle orders.
Now go measure that wall. Your installation is waiting.
Ready to Create Something Amazing?
Browse our collection of giant flower kits and start your next project today.