Real-Touch Tulips for Spring-in-Any-Season Decor
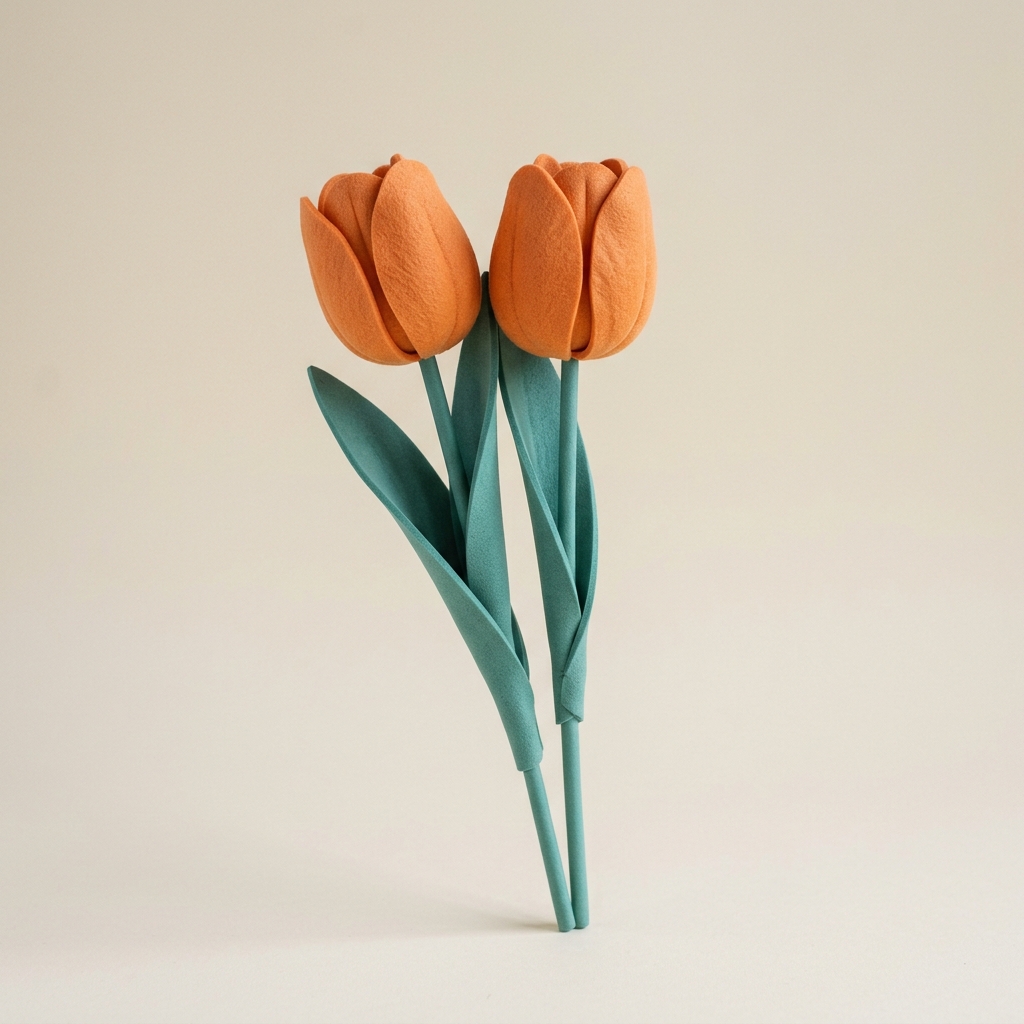
If you've ever fallen hard for a bouquet of tulips in April and then felt that little pang of sadness when they wilted by the end of the week — yeah, me too. I've been there so many times. That's exactly why I became obsessed with finding a way to keep that fresh, just-picked look going all year long. And honestly? real touch tulips made from foam are the answer I didn't know I needed until I tried making them myself.
Here's what I love about them as a home decorator: you're not locked into a season. You don't have to wait for March to feel that soft, romantic spring energy in your living room. A cluster of life-size foam tulips on your entryway table or your kitchen windowsill just… works. January, August, November — doesn't matter. The vibe is always fresh.
I've been crafting and selling foam flower kits for years now, and tulips are consistently one of the most-requested designs. People want that real-touch finish — the slight waxy sheen, the smooth curves of the petals, the way they catch light just like the real thing. So let me walk you through everything you need to know about making them, styling them, and keeping that spring feeling alive in your home 365 days a year.
Key Takeaways
Let's be honest — most of us don't want to think about flowers as a chore. But real flowers kind of are. You buy them, you trim the stems, you change the water, you watch them droop, and then you feel guilty throwing them out. It's a whole thing.
Foam tulips flip that entire experience. Once you make them, they're done. They sit on your shelf looking gorgeous for as long as you want them there. And because the real-touch finish mimics the smooth, slightly waxy surface of an actual tulip petal, guests genuinely do a double-take.
The Seasonless Appeal

Spring décor has this reputation for being "temporary." Like, you pull it out in March and pack it away in May. But why? The colors — soft pinks, creamy whites, coral, lavender — are honestly beautiful in any season. A white and blush tulip arrangement looks just as stunning on a November console table as it does in April.
That's the whole point of going foam. You're not decorating for a season. You're decorating for a feeling. And that fresh, airy, bloom-filled feeling? It's welcome any time of year.
I get asked this a lot. So let me be direct: silk flowers have come a long way, but they still have that telltale sheen that reads "fake" from across the room. Paper flowers — and I love Lia Griffith's work, truly — are gorgeous for events and photo backdrops, but they're not waterproof, they're fragile, and they don't hold up in a home environment long-term.
Foam with a real-touch finish is different. The material itself has a slight give when you touch it. The petals can be shaped with heat to curve naturally. And the finish? It doesn't look plastic. It looks like a petal.
Ok, this is where it gets really fun. I designed these kits specifically for home decorators — meaning people who want a beautiful result without needing a craft degree. Here's what you're working with:
Kits range from $34.99 to $49.99. Honestly, when you think about what you'd spend on fresh tulips every two weeks, this pays for itself in about a month.
The mold is the game-changer. Without it, foam petals tend to stay flat, and flat petals don't look real. The mold — combined with a little heat from a heat gun — lets you press each petal into a natural curve. If you want to go deeper on this technique, I wrote a whole guide on heat gun techniques for shaping foam flower petals that walks you through it step by step.
The result is a tulip bloom that has that characteristic cup shape — wide at the top, slightly closed at the base — that you'd recognize anywhere.
💡 Pro Tip
When shaping your tulip petals with heat, work in small sections and keep the heat gun moving. Holding it in one spot too long will over-curl or distort the foam. You want a gentle, even curve — think of how a real tulip petal opens up from the base.
This is my favorite part to talk about, because there are genuinely so many ways to use these. Let me break it down by room.
Your entryway sets the tone for your whole home. A tall, slim vase with 5–6 life-size foam tulips in a tonal color palette (think blush + white + soft peach) is one of those arrangements that looks effortlessly styled. Because foam tulips hold their shape, you can wire the stems to lean at natural angles — something real flowers do on their own but fake ones usually can't pull off.
This is where the waterproof factor really shines. Real flowers near a sink or stove are a mess waiting to happen — spills, steam, humidity. Foam handles all of that. A low centerpiece arrangement of mixed-color tulips in a ceramic pot looks stunning on a kitchen island and requires zero maintenance.
Soft lavender or dusty rose foam tulips on a nightstand? So good. There's something about waking up to flowers that just feels luxurious, and with foam you get that feeling every single morning without ever replacing them. I personally keep a small arrangement of white tulips on my dresser year-round and I get compliments on them constantly.
Most people don't think to put flowers in the bathroom, but it's one of the most underrated styling opportunities in a home. A single stem or two in a small bud vase next to your candles and soap dish? Instant spa energy. And again — foam doesn't care about humidity. Paper flowers would be ruined in a week. Foam just sits there looking perfect.
Let me put this in a table so it's easy to compare. I want you to be able to make an informed decision — not just take my word for it.
That last row is something a lot of people don't think about. Real tulips are actually toxic to cats. If you have a curious kitty at home, foam tulips are genuinely the safer choice — not just the prettier one.
Want a deeper dive into this comparison? I wrote a full post on foam flowers vs. paper flowers that covers durability, styling, and which is better for different situations.
Here's where I love to geek out. Color is everything when you're trying to make a seasonal flower feel at home in any season. The trick is choosing shades that don't scream "SPRING EASTER BASKET" — unless that's your thing, and no judgment.
If you do want to lean into the seasons, bright yellow and hot pink are peak spring energy. Swap them out for deeper tones in fall and winter. Because foam tulips are so durable, you can absolutely have two sets — one lighter, one richer — and rotate them. It's a much more cost-effective approach than buying fresh flowers every season.
🌸 Ready to make your own?
Browse our Life-Size Foam Flower Kits — pre-cut petals, mold included, and everything you need to get started today. Kits from $34.99.
Materials You'll Want on Hand

Our kits include the essentials, but if you want to take your real touch tulips to the next level, here's what I personally keep at my crafting station:
- A heat gun — non-negotiable for petal shaping. A hair dryer on high can work in a pinch but a heat gun gives you much more control.
- Floral wire and tape — for building stems that actually bend and hold position naturally.
- Acrylic paint — for adding color variation, veining, or that subtle gradient at the petal base. Check out my guide on painting on foam core for technique tips.
- Hot glue gun — for assembling petals around the base. Low-temp is best for EVA foam.
- Extra EVA foam sheets — if you want to make additional leaves or extra blooms beyond what's in the kit.
If you're curious about which foam
📺 Watch our step-by-step tutorial: How to Make a Giant Dutch Tulip
Ready to Create Something Amazing?
Browse our collection of giant flower kits and start your next project today.