Spring Flower Garland: A DIY Guide for Stunning Backdrops

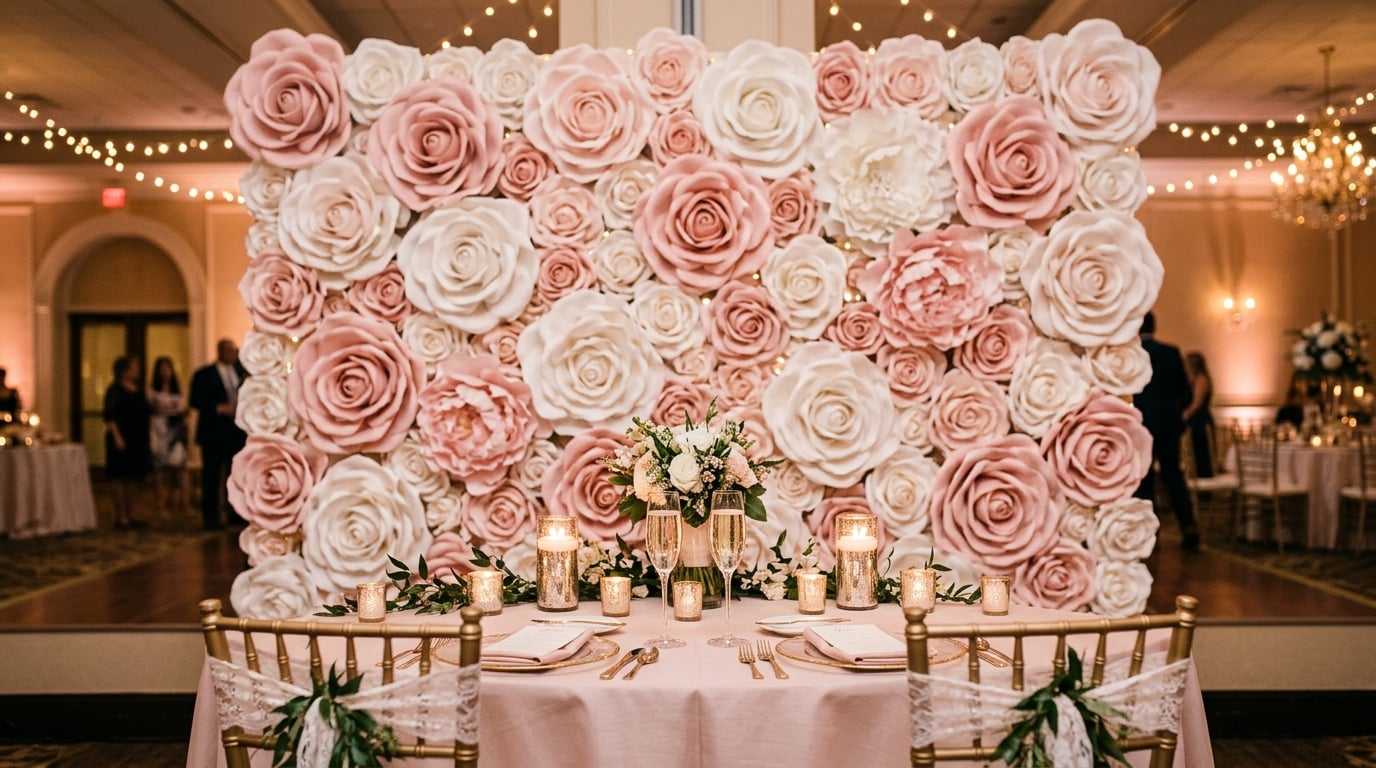
A handcrafted spring flower garland is so much more than a simple decoration—it’s an experience. When you create one of these installations, especially an oversized one, you’re not just filling a space. You’re building an immersive, unforgettable visual anchor that standard decor just can't replicate.

We’ve seen a real shift in event design lately. More and more, planners and creators are stepping away from the temporary beauty and high maintenance of fresh flowers. Instead, they're embracing durable, reusable materials like EVA foam. This isn’t just a passing trend; it's a smart, practical solution for creating show-stopping decor.
You can see this change reflected in the market. The global artificial flowers market hit USD 1.78 billion in 2023 and is expected to climb to USD 2.91 billion by 2034. This growth is being fueled by event professionals who need stunning installations that look amazing, require minimal upkeep, and offer a fantastic return on investment.
Handmade garlands give you a blend of artistry and resilience that you just don't get with other options. They provide a beautiful, lasting alternative to expensive, fresh arrangements that wilt after only a day.
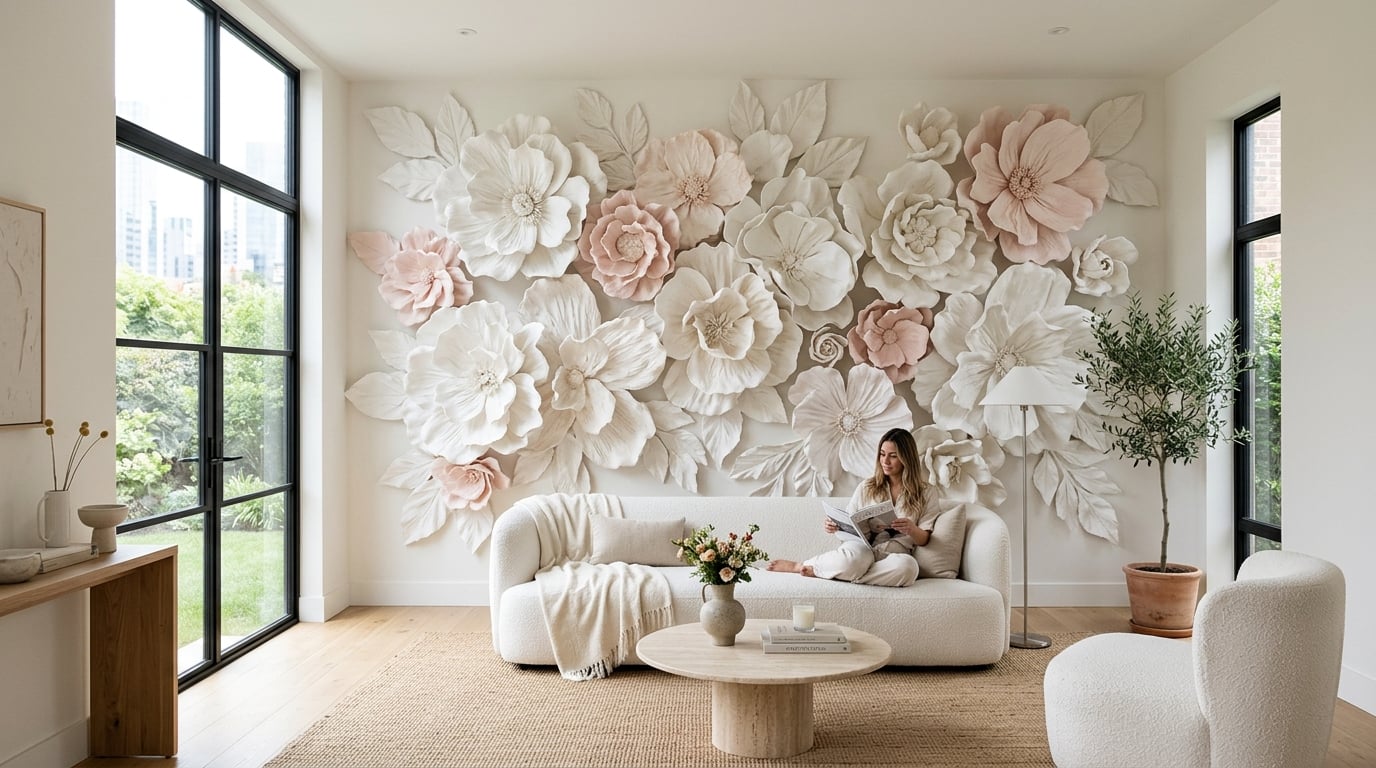
The real magic of a handcrafted EVA foam garland is in its staying power. You invest your time to build it once, and it becomes a gorgeous, reusable asset for countless events, saving you money and stress down the road.
Just think about the possibilities. A custom garland can transform any space.
With this guide, we'll walk you through exactly how to get that high-impact, professional look with confidence.
Ask any experienced crafter, and they'll tell you the secret to a great project isn't just skill—it's preparation. Building your spring flower garland is so much more enjoyable when you have everything ready. Taking a moment to organize your craft supplies now will set you up for a smooth, frustration-free creative session.
Our DIY kits are the perfect launchpad. We've taken care of the sourcing and prep work, giving you the high-quality core components you need to build absolutely stunning blooms.
When you unbox your kit, you'll find everything needed to build the flower heads themselves. We’ve been doing this a long time, and we've carefully selected each piece for its quality and ease of use, so your finished flowers have that polished, professional look.
I've always believed a well-designed kit is your biggest ally. It removes all the guesswork and supply store runs, letting you dive straight into the fun part—actually creating something beautiful.
While our kits provide the flower-specific materials, you'll need to gather a few essential tools from your own craft collection. I’ve put together a quick checklist that compares what’s in the kit with the tools you'll want to have on hand. Think of this as your mission control for garland making.
Having these tools ready to go makes the entire process smoother and far more enjoyable. They are the true workhorses of any foam flower project.
Here's where your own creativity really comes into play. The kit gives you a fantastic foundation, but a few extra supplies can help you tailor the garland to a specific event, color scheme, or style.
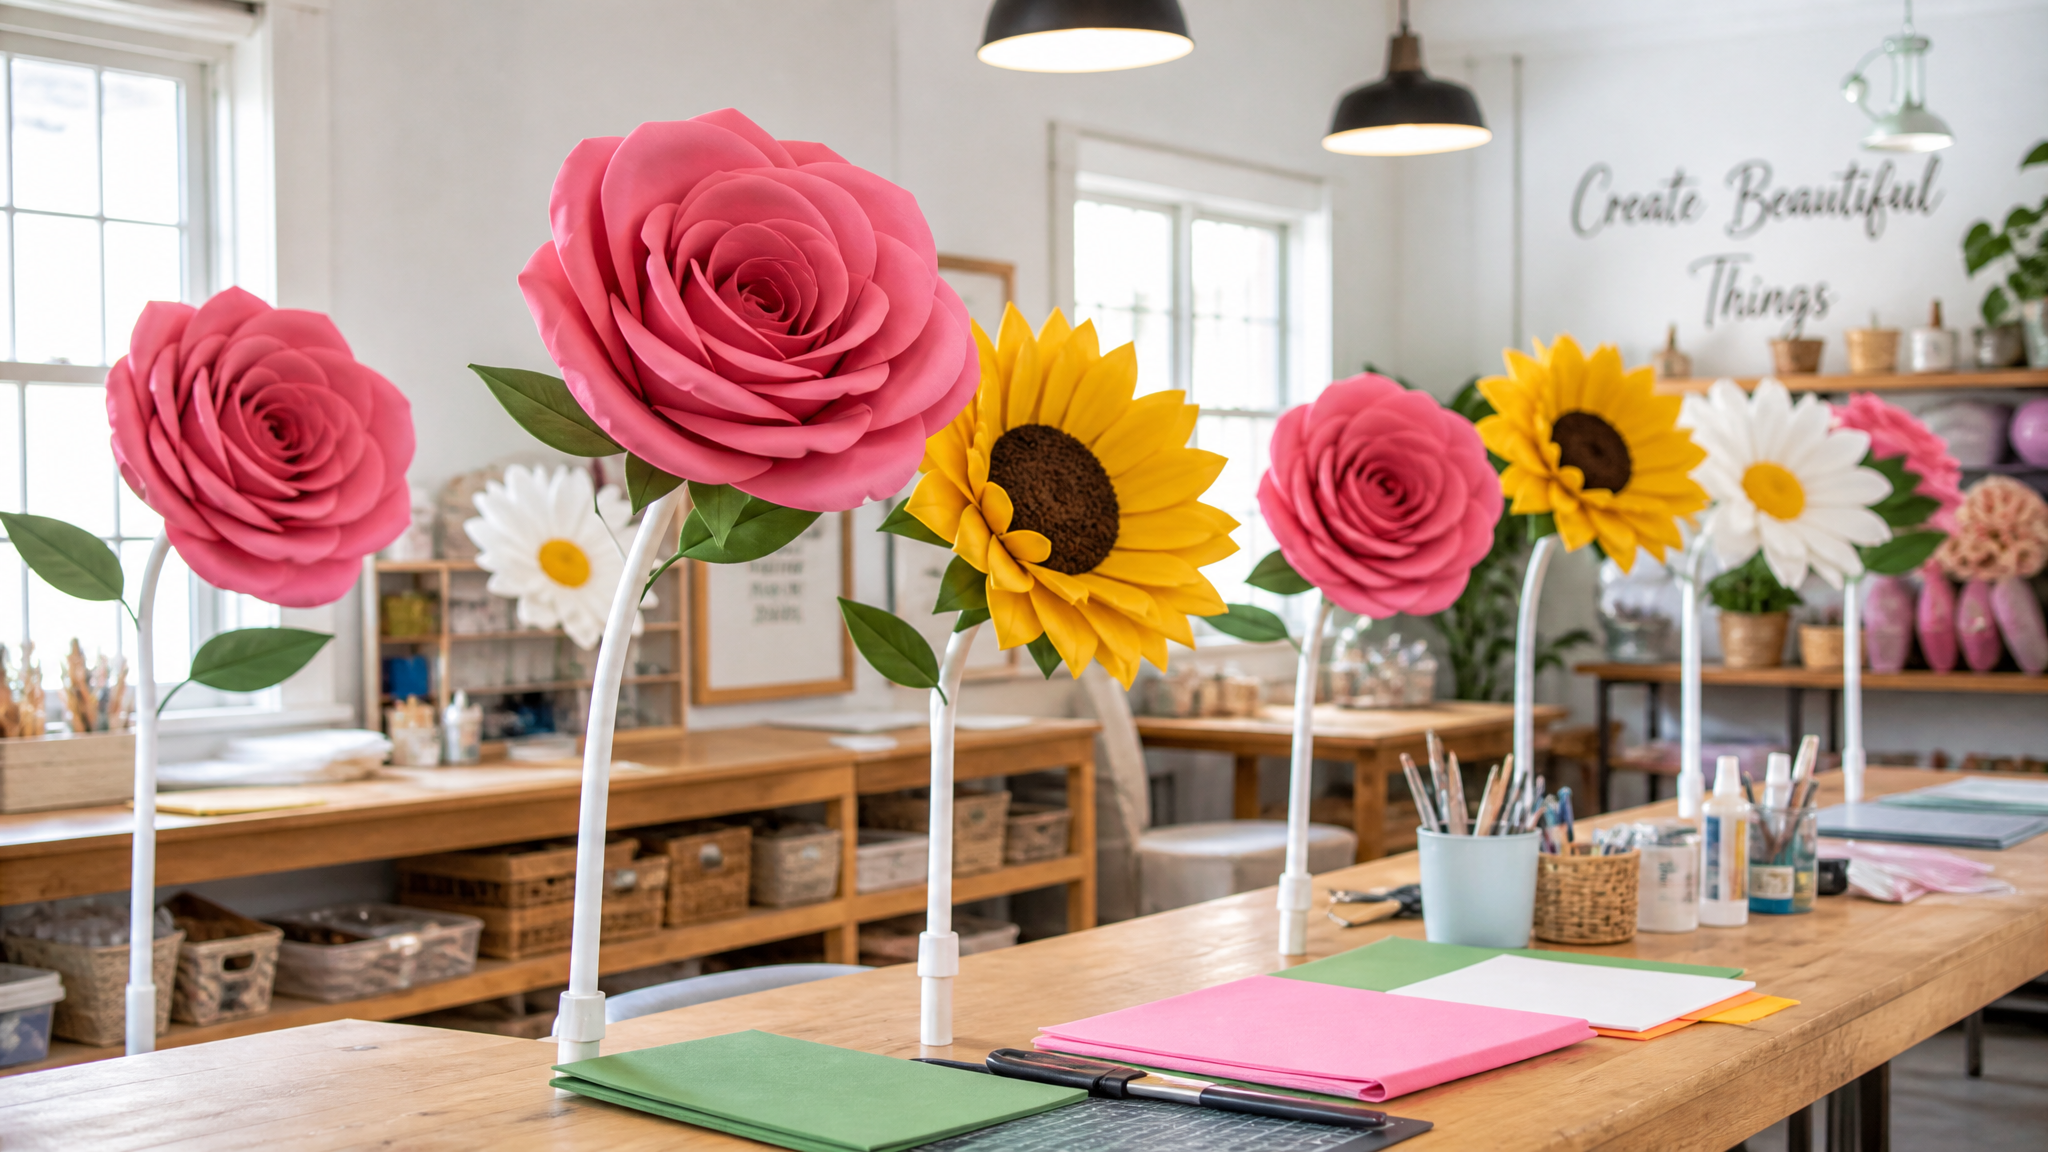
Alright, this is where the magic really happens. We're about to take those flat pieces of EVA foam and coax them into the beautiful, three-dimensional flowers that will make your garland absolutely unforgettable. It’s a process I’ve come to love, turning simple materials into something truly special.
The first part of the process is all about breathing life into the petals. A little heat is the secret to getting rid of that stiff, factory look and creating the soft, organic curves you see in real flowers.
This quick visual breaks down the workflow—from the kit itself to the tools and creative touches you'll bring to the table.

As you can see, you start with a great foundation—the kit—and then build on it with your own tools and artistic flair.
Your heat gun is your best friend for this part. The goal isn't to blast the foam, but to gently warm it just enough to make it pliable. Forget about stiff, fake-looking petals; this is how we get those stunning, natural results.
A personal tip I swear by: Don’t aim for perfection. Real flowers aren't perfectly symmetrical, and yours shouldn't be either. I find that varying the curls and waves on each petal makes the final bloom look so much more realistic and high-end.
Once you have a pile of beautifully shaped petals, it’s time to start building. This is a satisfying, methodical process of gluing the petals in layers around a central point. You’ll definitely want a high-temperature glue gun for this; it creates a rock-solid bond that will hold up for years.
The best part of this layered method is you have total control. You can stop with just a few layers for a delicate bud or keep going for a show-stopping, fully opened flower. The way you cut your foam also plays a role; for more ideas, check out our guide on the best way to cut foam for different effects.
The last step is giving your flower a sturdy stem so it's ready for arranging. This turns your beautiful bloom into a versatile component for your spring flower garland or any other project.

Alright, you've crafted a beautiful collection of flowers. Now for the truly creative part: bringing them all together into a show-stopping spring flower garland. We're shifting gears from making individual pieces to composing a complete work of art.
With a clear plan and a few designer tricks, you can bypass the uncertainty and build a garland that looks like it was made by a pro.
There's a reason floral decor is so beloved. The global floriculture market was valued at a massive USD 73.1 billion in 2025, which just goes to show how much we all connect with flowers. For events, using durable materials like our EVA foam can even reduce floral setup costs by up to 35% compared to fresh flowers, making it a brilliant and beautiful investment.
First, Map Out Your Vision
Before you even think about picking up the glue gun, lay everything out. This is a step I never, ever skip. Think of it as creating a visual blueprint for your garland; it’s what separates a random assortment of flowers from an intentional, balanced design.
Pro-Tips for a Balanced Design:
My favorite trick? Once you love the layout, snap a quick picture of it with your phone. It’s a simple thing, but having that photo as a reference map makes the final assembly process so much smoother.
Once you’re happy with the visual plan, it’s time to make it permanent. The goal here is a rock-solid attachment that will hold up through transport, installation, and the event itself. Your best friends for this stage are a high-temp glue gun and some sturdy floral wire or zip ties.
Following the photo map on your phone, start with your largest flowers. Wrap the stem’s wire tightly around the garland base several times. For an extra-secure hold, add a generous dab of hot glue right at the connection point. Just keep repeating this process, working your way down the garland and layering in the smaller flowers and any greenery.
This is honestly much easier than building intricate paper flower garlands. The EVA foam and built-in wire stems give you a strong, sturdy structure that’s a dream to work with.
The perfect design really depends on where your garland will be used. Here are a few real-world scenarios I’ve worked on to get your own creative ideas flowing.
For a Festival Photo Booth You need high impact to draw a crowd. For a standard 10-foot photo booth backdrop, I'd pack the garland with 6–8 flowers per foot. Go for a vibrant, multi-color palette to create a fun, energetic vibe. The goal is a full, can't-miss statement piece that people are excited to take pictures with.
For an Elegant Corporate Entrance Here, the keyword is "sophisticated." A cascading, asymmetrical design is a fantastic choice for framing a corporate entryway. I typically stick to a more limited color palette—maybe two or three of the company's brand colors—and weave in more greenery to create breathing room. A density of about 4–5 flowers per foot feels polished and high-end, not overwhelming.
For a Whimsical Retail Window In a retail setting, you want to capture attention with something light and magical. An airy, whimsical garland with just 2–3 flowers per foot can be incredibly effective. By adding lots of trailing ribbons or delicate greenery, you create a sense of movement and charm that perfectly complements the products on display.
You've brought your beautiful spring flower garland to life, and now it’s time for the fun part—showing it off. Getting your creation from your studio to the event and making sure it looks perfect is where the real professional touch comes in. Let's walk through how to handle, install, and care for your garland so it lasts for years.
It’s worth remembering that you’ve created more than just a decoration. The festive decor market is booming, expected to hit $15.5 billion globally by 2025. Because you've used durable EVA foam, you've made a reusable asset. This is a huge deal, especially when you consider that 65% of event planners are actively seeking eco-friendly options, and reusable decor can cut event waste by up to 40%.
Moving a large garland is straightforward with the right approach. Your main goal is simply to prevent the flowers from getting crushed or tangled.
This is where your creativity can really shine. How you shape and hang your garland completely transforms its vibe, making it perfect for any setting.
Proper care and thoughtful styling are what turn a beautiful craft project into a long-term, high-value asset. Your garland becomes a sustainable decor choice you can rely on for annual festivals, seasonal retail campaigns, and milestone family celebrations.
One of the best things about EVA foam is how tough it is, but a little post-event maintenance will keep your flowers looking brand new.
After an event, I always give my garlands a quick refresh before packing them away. A soft-bristle brush or a gentle blast from a can of compressed air is perfect for clearing away any dust. If you spot a small smudge, a slightly damp cloth will usually take it right off.
When you're ready to store it, just coil it up with padding as you did for transport and keep it in its box. A cool, dry spot away from direct sunlight is ideal. This simple routine ensures your spring flower garland will be just as vibrant and beautiful the next time you need it.
Common Questions About DIY Flower Garlands
As you get into the rhythm of making your garland, a few questions are bound to pop up. To keep you in your creative zone, I’ve pulled together the most common questions we get from fellow crafters. Getting these answers sorted out now will help you build your spring flower garland with confidence.
If you're just dipping your toes into crafting, it's always a good idea to brush up on how to start a DIY craft project. A little prep work there can make a huge difference when you tackle a more ambitious piece like this one.
Let's dive into the details that truly elevate your final piece, from getting the flower count right to making sure it’s hung securely.
How many flowers do I need for a 10-foot garland?
This is probably the number one question we hear, and the answer always comes down to the look you're going for. I generally recommend two main approaches:
- Lush and Dense Look: If you want that full, high-impact backdrop for photos, plan on using 5-7 large flowers (like our peonies or roses) for every foot of the garland.
- Light and Organic Feel: For something more delicate and whimsical, aim for 3-4 flowers per foot and weave in plenty of greenery.
So, for a typical 10-foot garland, you’ll likely need between 50 and 70 flowers. But remember, this is just a starting point! You can always adjust based on the size of your flowers and how full you want it to look.
Can I really customize the flower colors?
Absolutely! This is where EVA foam really shines. The material is a dream to work with and takes acrylic or spray paint beautifully. This makes it perfect for matching a specific wedding color palette or even the brand colors for a corporate event.
My pro tip: Always, always test your paint on a scrap piece of foam first. It’s a simple step that lets you see the true color and finish before you commit to painting dozens of petals.
What is the most secure way to hang a heavy garland?
When you've put so much work into a gorgeous, oversized garland, you want to be sure it's hung safely. Your best friends here are heavy-duty zip ties or strong floral wire.
The key is to attach the garland's core structure to a solid anchor point, like a metal backdrop frame, a sturdy wooden arch, or wall hooks that are rated to hold its weight. To prevent any sagging and distribute the load, make sure you add an attachment point every 1-2 feet.
Are these EVA foam garlands okay for outdoor events?
Yes, they are fantastic for outdoor use. EVA foam is both durable and water-resistant, so unlike real flowers, your garland won't wilt in the afternoon sun or get ruined by an unexpected rain shower.
Just keep in mind that if you leave it in intense, direct sunlight for several weeks, some of the colors may begin to fade slightly. But for temporary events like a weekend festival or a wedding day, they hold up beautifully.
Feeling inspired to build an unforgettable installation of your own? Head over to the Amazing Giant Flowers shop for DIY kits, tutorials, and all the supplies you'll need to bring your vision to life. Find everything at https://www.amazinggiantflowers.com.
Ready to Create Something Amazing?
Browse our collection of giant flower kits and start your next project today.