Troubleshooting: Why Your Petals Tear (and Fixes)
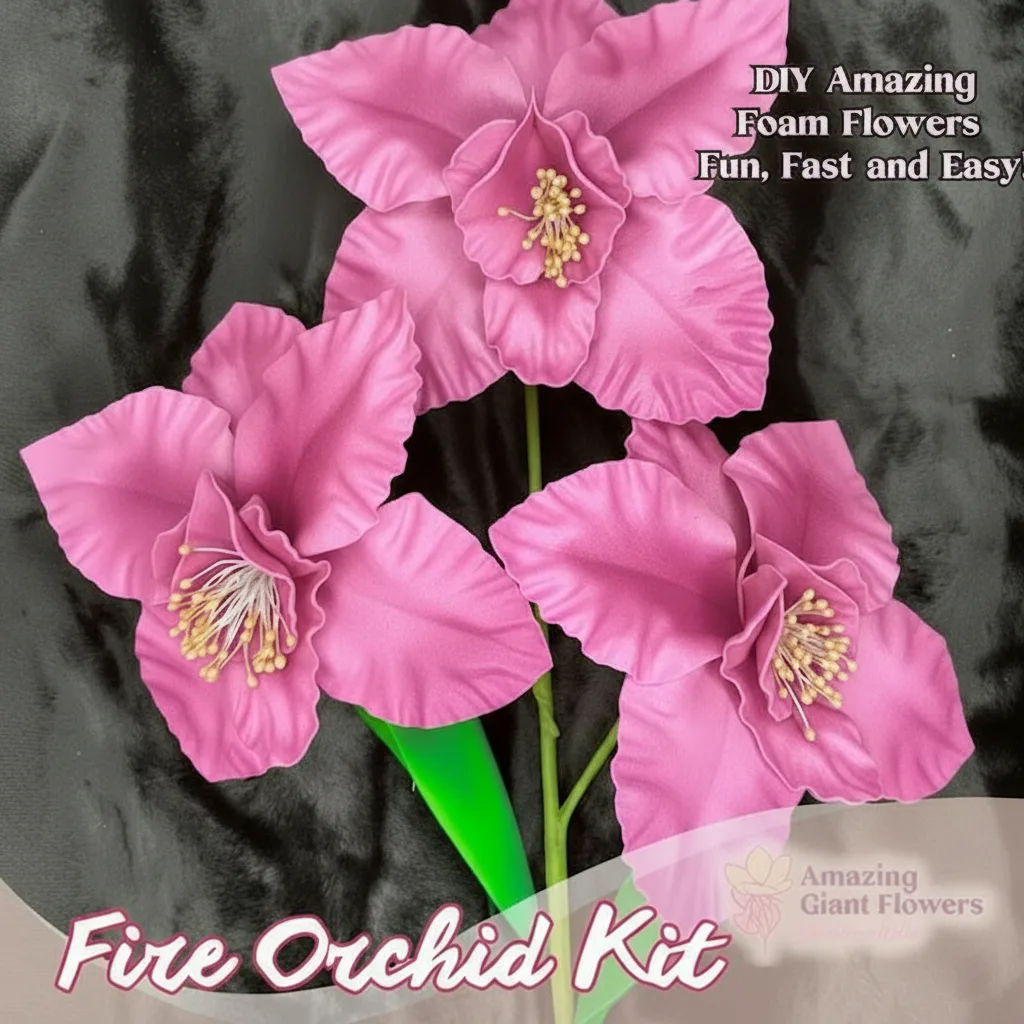
If you've landed here after your third torn petal in a row, first — I see you. I've been there. That moment when you pull your foam out of the mold and hear that horrible little rip... it's genuinely demoralizing. Flower mold troubleshooting is honestly one of the most searched topics in our community, and it makes total sense because nobody talks about the mistakes part. They just show you the pretty finished flowers.
The good news? Almost every single tearing problem has a fix. And most of them are so simple you're going to laugh. I'm talking about things like foam temperature, release spray timing, and pressing technique — tiny tweaks that completely change your results. I've been making foam flowers and sugar flowers for years, and I still revisit these basics every time I switch to a new petal shape.
So let's get into it. I'm going to walk you through every common reason your petals are tearing — whether you're working with EVA foam or gumpaste/sugar paste for cake decorating — and exactly what to do about it.
Key Takeaways
Ok, real talk? Most tearing issues come down to one of four things: material temperature, release agent, pressing pressure, or foam thickness. That's it. Once you nail those four, you'll be shocked at how clean your petals come out.
Let me break this down by material, because EVA foam and sugar/gumpaste behave very differently inside a mold.
For EVA Foam Crafters
Cold foam is stiff foam. And stiff foam tears. This is the single most common mistake I see from beginners. You need to warm your EVA foam before it goes anywhere near a mold. I use a heat gun — just a few seconds on each side until the foam feels soft and pliable, almost like warm leather. If you're new to this technique, I have a whole deep-dive on heat gun techniques for shaping foam flower petals that's worth bookmarking.
Don't skip the warm-up. Even if you're in a hurry. Even if it's a hot day. Room temperature is not warm enough for clean mold pressing.
Paste that's too dry will crack and tear at the thin edges. Gumpaste dries out fast — especially in air-conditioned kitchens. If your paste feels like it's fighting you when you roll it, it's already too dry. Add a tiny smear of vegetable shortening and knead it back in. Thirty seconds of kneading can save an entire batch of petals.
Paste that's too wet will stick and tear when you try to release it. Yes, both extremes cause tearing. The sweet spot is paste that's smooth, slightly tacky, and holds its shape when you poke it.
This is where I see SO many beginners get tripped up. They press their petal beautifully, everything looks perfect — and then they try to pull it out and it sticks, stretches, and tears right down the middle. Heartbreaking.
The fix is almost always release agent. Here's what works for each material:
- EVA Foam: A very light mist of water or a tiny bit of baby powder on the mold surface. You don't need much — a heavy coat actually causes its own problems by making the foam slip before it's fully pressed.
- Gumpaste/Sugar Paste: Cornstarch is your best friend. Dust the mold lightly, tap out the excess, then press your paste in. Vegetable shortening works too, but use it sparingly or your paste will slide around.
- Fondant: Cornstarch or a very thin smear of shortening. Same rules as gumpaste.
The mold isn't broken. The foam isn't defective. Nine times out of ten, a torn petal is just a release agent problem wearing a disguise.
Our flower molds are double-sided, which means you get beautiful vein detail on both faces of the petal. That's amazing for realism — but it also means there's more surface contact with your material. A proper release agent isn't optional with double-sided molds. It's the whole game.
💡 Pro Tip
For gumpaste work, invest in a small, fluffy brush specifically for dusting cornstarch into your molds. A makeup brush works perfectly. You want an even, thin coat — not a pile of white powder sitting in the veins. Excess cornstarch in the vein detail actually reduces the crispness of your petal texture.
I know you're excited. I know you want to see the finished petal. But rushing the removal step is responsible for probably 40% of the tears I see in beginner work.
Press from the center outward, not all at once. Place your material in the mold, then use your thumb to press from the middle toward the edges in smooth, even strokes. This pushes air out and ensures the paste or foam makes full contact with the vein detail without creating stress points at the thin petal edges.
For EVA foam, apply firm, even pressure. The foam should fill the mold cavity completely. If you see gaps or air bubbles at the edges, press again — those thin spots are exactly where tears happen on removal.
Start at one corner. Gently peel back the top half of the mold while keeping the bottom half flat on your work surface. Never yank both sides apart at once. Think of it like peeling a sticker — slow, controlled, at a low angle.
For sugar work, once you've opened the top half, let the petal sit for 30 seconds before you try to lift it off the bottom half. That tiny rest period lets the paste firm up just enough to hold its shape.
🌸 Ready to get started?
Browse our flower mold collection — double-sided molds designed for both foam crafters and cake decorators. Life-size petal detail, reusable hundreds of times.
This one surprises a lot of beginners. Not all EVA foam is created equal, and using the wrong thickness for your mold size will cause tearing at the petal edges almost every single time.
Here's the general rule I follow:
If you're not sure what foam to reach for, check out our EVA foam collection — I've organized it so you can find the right thickness without guessing. And if you want to go deeper on foam types in general, my crafter's guide to every type of foam for giant flowers covers everything.
I made this table because I got tired of answering the same questions in our Facebook group. Bookmark it. Screenshot it. Put it on your craft room wall.
Ok, I want to be fair here. Sometimes — not often, but sometimes — the issue really is the mold. Here's how to tell.
Our molds are designed to be flexible enough for clean release while still capturing crisp vein detail. If you're working with a quality double-sided mold and still getting tears after applying all these fixes, drop me a message — I genuinely want to help figure it out.
💡 Pro Tip
Before your first use, condition your mold by pressing and releasing a scrap piece of foam or paste three or four times without worrying about the results. This "breaks in" the mold surface and makes every subsequent press cleaner. I do this with every new mold I open.
Putting It All Together: A Pre-Press Checklist
Before you press a single petal, run through this list. Seriously — print it out and tape it to your craft table. When I started doing this, my waste rate dropped dramatically.
- Material ready? Foam is warm and pliable. Gumpaste is smooth, slightly tacky, not sticky or crumbly.
- Mold prepped? Release agent applied evenly, excess tapped out.
- Foam thickness correct? Matched to your petal size and mold depth.
- Foam blank sized right? Cut slightly larger than the mold cavity outline.
- Workspace clear? You need both hands free for removal — no clutter in the way.
- Removal plan in place? Know which corner you'll start peeling from before you press.
If you want to see how these petals come together into a full project, check out our life-size foam flower kits — everything you need is included, and the instructions walk you through each step. It's a great way to practice mold technique without having to source all your materials separately.
Every crafter I know who makes beautiful flowers today went through a phase of tearing petals and wanting to quit. The difference between them and everyone who did quit? They troubleshot instead of giving up.
Frequently Asked Questions

Why does my gumpaste petal always tear at the tip?
Petal tips are the thinnest part of the mold cavity, which means they dry out fastest and are the first to crack when your paste is too stiff. Knead a small amount of vegetable shortening into your gumpaste before rolling — just a pea-sized amount for a golf ball of paste. Roll your paste slightly thicker than you think you need to, too. You can always thin the tip with a ball tool after removal.
Can I use the same mold for both EVA foam and gumpaste?
Yes — and that's actually one of the things I love most about our flower molds. They're designed to be dual-use. The release agent and technique change slightly between materials (cornstarch for sugar work, light powder or water mist for foam), but the mold itself works beautifully for both. Just make sure to clean the mold thoroughly between uses, especially if you're switching from food-safe sugar work to foam.
How many times can I reuse a
Ready to Create Something Amazing?
Browse our collection of giant flower kits and start your next project today.