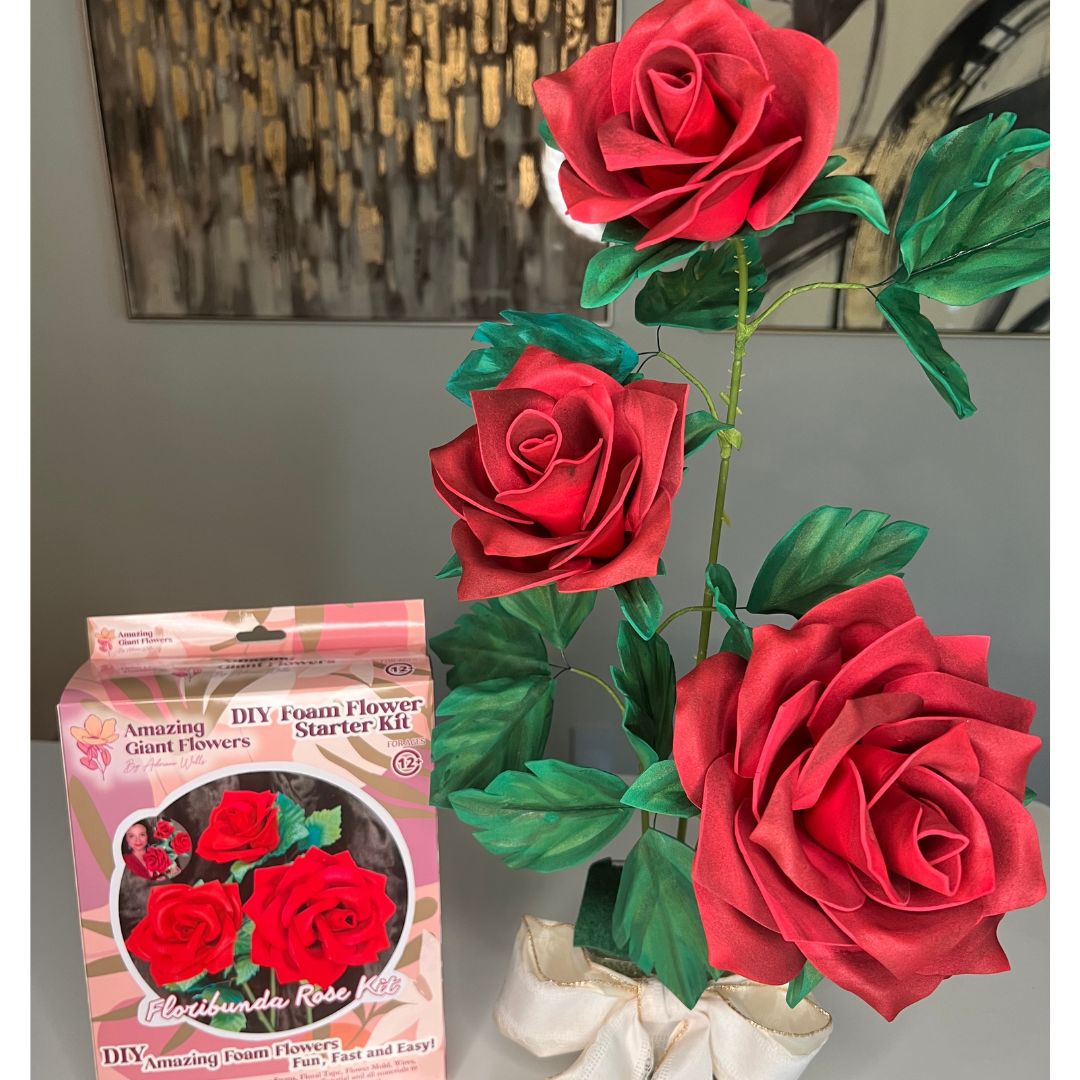
Anchoring Flowers in Pots, Hatboxes & Bases
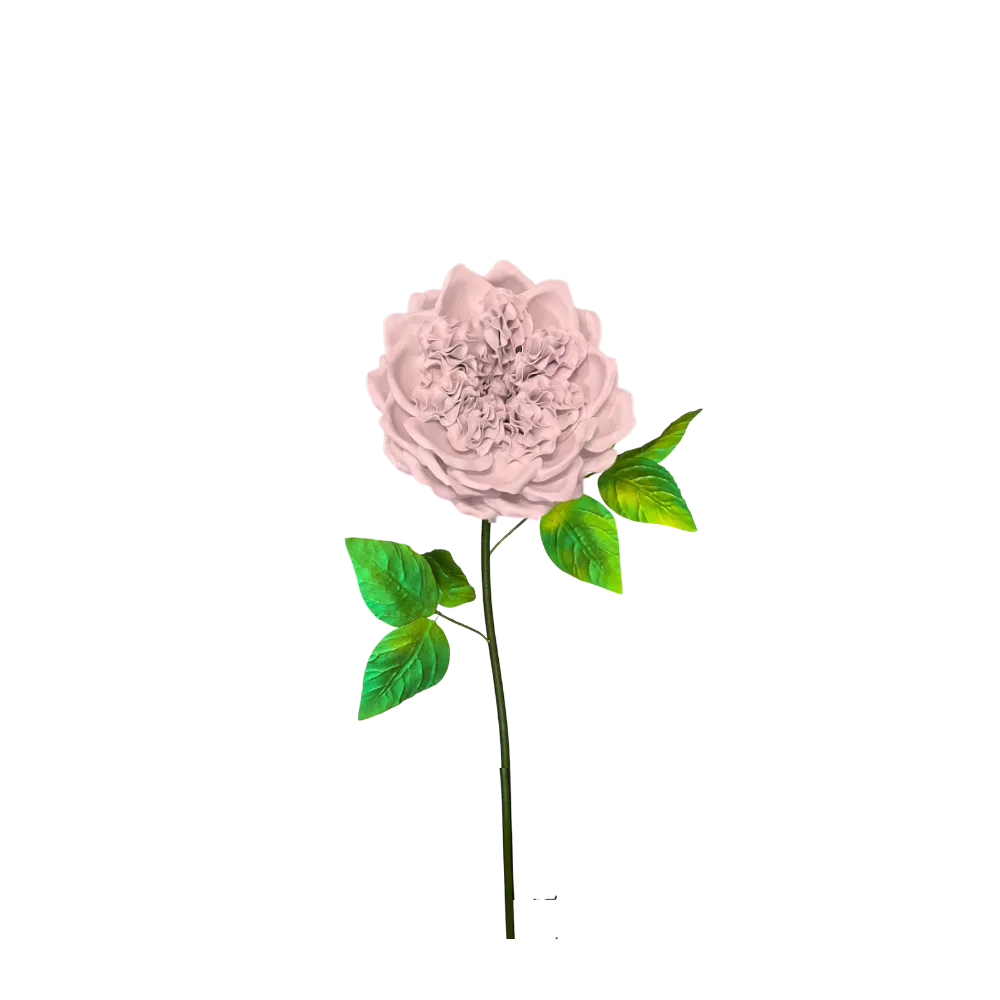
If you've ever spent hours making a gorgeous giant flower only to watch it flop sideways the moment you set it in a pot, you know exactly why a solid flower pot anchor setup is non-negotiable. It's one of those things nobody warns you about when you first start making giant flowers — you focus all your energy on the petals, the paint, the colors, and then the stem situation completely humbles you.
I've been there. When I first started making giant flowers for events here in Houston, I was using whatever I could find — sand, rocks, floral foam, a prayer. Some of it worked okay. A lot of it didn't. Flowers tilted. Stems wobbled. One display literally fell over mid-event and I wanted to disappear into the floor.
That's exactly why I want to walk you through everything I've learned about anchoring flowers in pots, hatboxes, and decorative bases — so your displays look polished, professional, and stay standing all the way through the last photo of the night. And spoiler: the secret weapon is almost always a good bendable pipe.
Key Takeaways
Here's the thing about giant flowers: they're big, they're light, and they catch air. A 24-inch EVA foam bloom on a 3-foot stem acts like a little sail at an outdoor event. Even indoors, HVAC vents, foot traffic, and people bumping into things will test your setup constantly.
A clean freestanding finish — where the flower stands perfectly upright, the stem looks intentional, and the base looks styled rather than rigged — that comes entirely from what's happening inside the pot or base. The outside can be beautiful. But if the inside is a mess of tape and crossed fingers, it will show.
The Difference Between "It'll Probably Hold" and Actually Holding
I see DIYers all the time using floral foam as their only anchor. Floral foam is great for fresh flowers. For a giant EVA or paper bloom on a rigid stem? It compresses, it crumbles, and it gives way under lateral pressure. It's not designed for this.
What actually works is a combination of structural pipe + weighted base material. The pipe gives you the rigid anchor point. The base material — whether that's sand, plaster, or foam block — locks the pipe in place so it can't shift. That's the combo that gives you a display you can walk away from confidently.
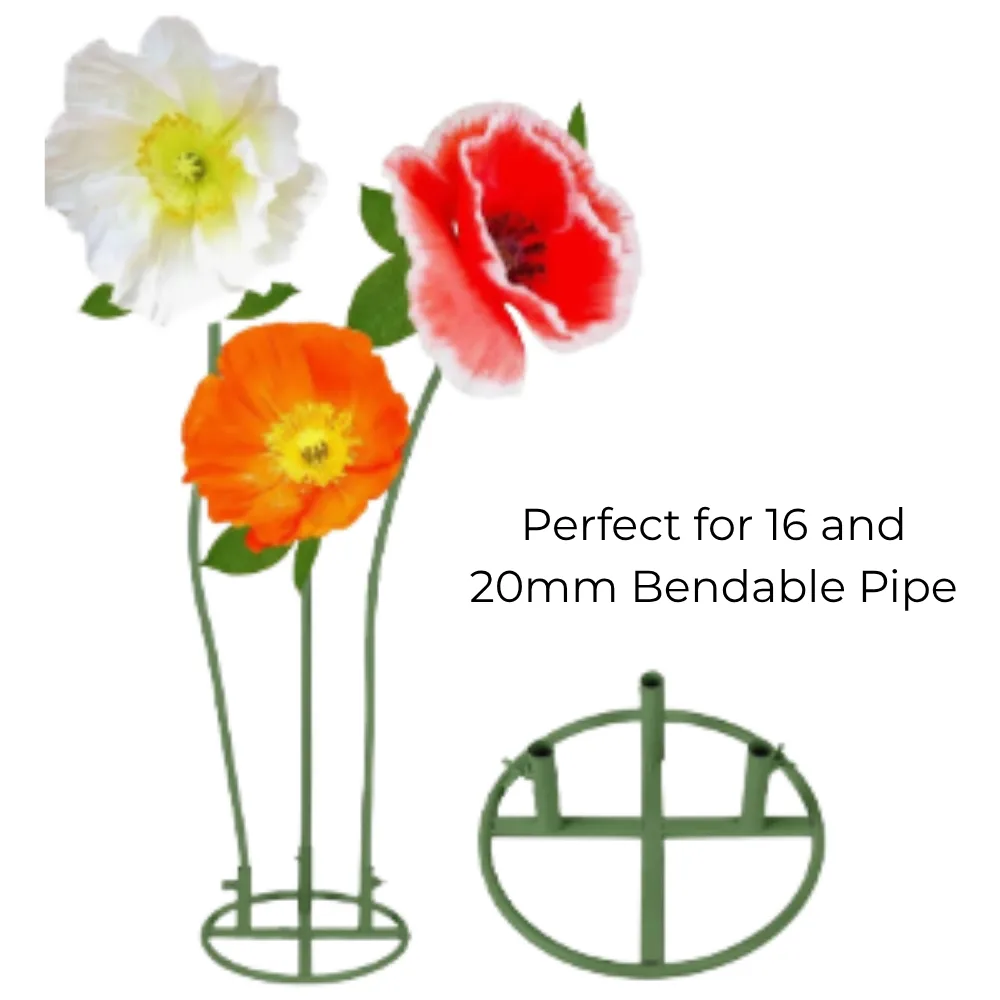
Ok, this is where it gets really fun. Bendable pipes are my absolute favorite supply in my whole shop, and I'll tell you why: they do everything. They're the stem. They're the anchor. They're the reason your flower can lean at a graceful angle without flopping over. And when the event is done, you reshape them for the next one.
Our bendable pipes are designed specifically for giant flower displays. They hold their position when you bend them, they're strong enough to support large blooms, and they insert cleanly into pots and bases without needing a ton of extra hardware.
This is the question I get asked most. My rule of thumb: at least one-third of the total stem length should be anchored inside the base. So if your visible stem is 24 inches tall, you want at least 8 inches buried and locked in place.
For taller displays — think 4 or 5 foot stems — I go even deeper. The taller the stem, the more leverage it has to work against your anchor. Don't fight physics. Just bury more pipe.
Bending the Pipe for Angle and Style
One of the things I love most about bendable pipes is that you can create that natural, slightly-angled stem look that makes a display feel organic rather than stiff. Bend the top portion of the pipe at a gentle curve before you anchor it. The flower leans out at a beautiful angle, and because the pipe holds its shape, it stays exactly where you put it.
This is especially gorgeous for freestanding giant flower arrangements where you're grouping multiple flowers together — varied heights and angles make the whole thing look lush and intentional.
💡 Pro Tip
Before you anchor your pipe permanently, do a dry run. Set the pipe in the base without any filler, hold your flower on top, and step back. Check the angle, the height, the lean. Adjust before anything is locked in place. It takes two minutes and saves you a lot of frustration.
The pot is the most common base people use, and it's a great choice — it's stable, it's weighted, and it looks polished when styled right. But what you put inside the pot is everything.
Play sand or all-purpose sand from a hardware store is my go-to for events where I need to set up and break down quickly. You pour it in around the pipe, it settles and holds, and when the event is over you can pull the pipe out and reuse everything.
The downside? Sand is heavy. For a large pot, you might be moving 15–20 pounds. Great for stability, not so great if you're doing a lot of venue load-ins. For those situations, I use a partial sand fill — sand in the bottom third, foam block on top to hold the pipe in the upper section of the pot.
Plaster of Paris: When You Need Maximum Hold
For permanent or semi-permanent displays, plaster of Paris is incredible. Mix it up, pour it in around your pipe, and let it set. That pipe isn't going anywhere. Ever.
Just know that once it sets, it's set. This is the choice for display pieces that will live in a store, a lobby, or a photo op installation that stays up for weeks. Not ideal for one-and-done events where you need everything back in a bin by midnight.
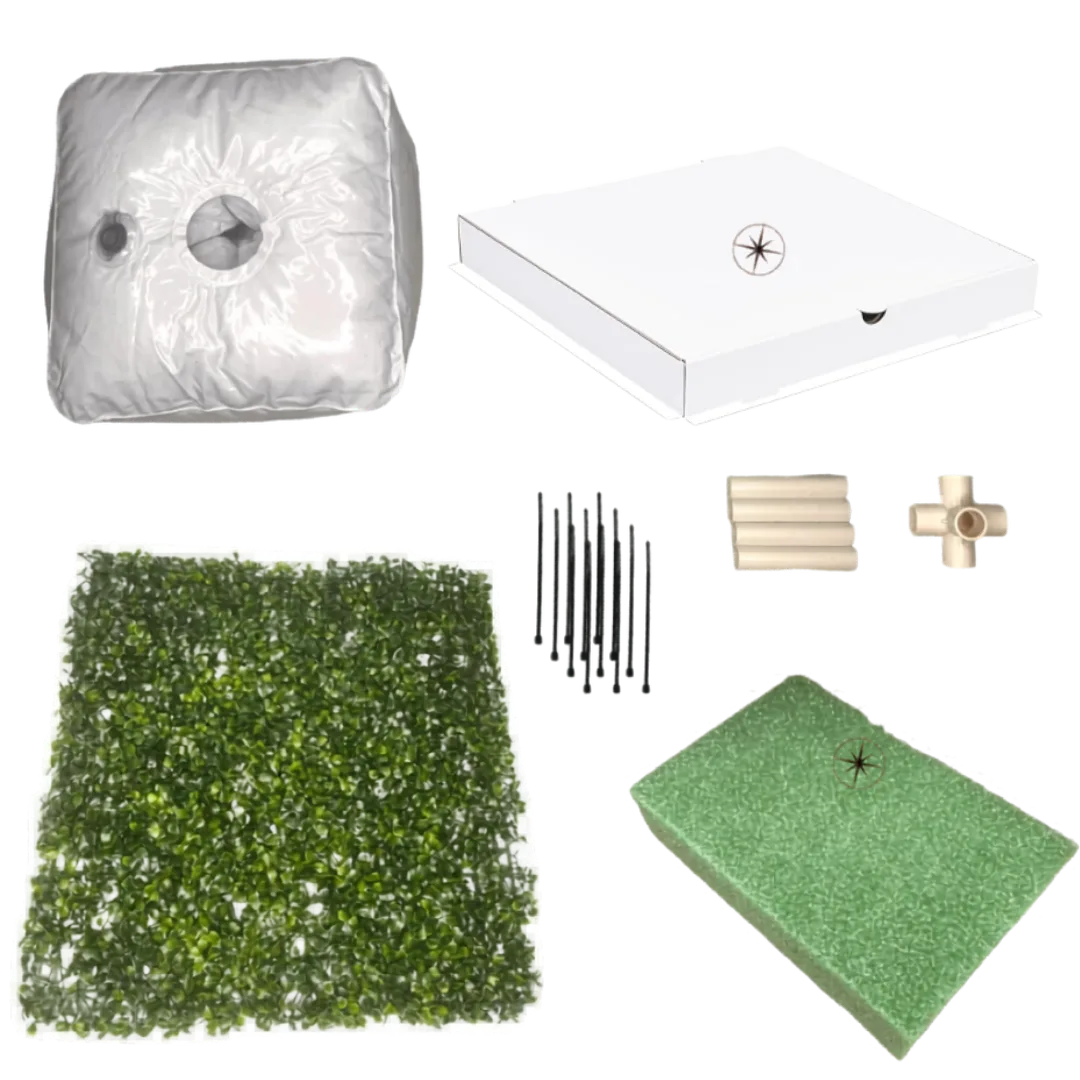
Cutting a block of EVA foam or dense craft foam to fit inside your pot and carving a channel for the pipe is honestly one of the cleanest solutions for lightweight portability. The foam grips the pipe, the pot keeps the foam in place, and the whole thing is surprisingly sturdy.
I use this method a lot for hatbox bases because it keeps the weight down and the structure clean. Speaking of which...
Hatboxes are having such a moment in event decor right now, and I am here for it. They look chic, they're easy to wrap or paint, and they give that luxe gift-box aesthetic that photographs beautifully. But here's the real talk: a hatbox on its own has zero structural integrity.
The cardboard walls will bow. The base will flex. And if you just stick a pipe into an empty hatbox, it will tip at the slightest nudge. You have to build the structure inside.
The Foam Insert Method for Hatboxes
Cut a circle of dense foam — I like using a thicker EVA foam or even rigid insulation foam — to fit snugly inside the bottom of the hatbox. Then cut a second layer and stack them until you have about 4–5 inches of foam depth. Carve your pipe channel through the center.
The foam fills the hatbox so the walls can't collapse inward, and the pipe channel holds your stem at exactly the angle you want. Cover the top of the foam with moss, faux greenery, tissue paper — whatever fits your aesthetic — and nobody will ever know there's a structural foam core inside.
For taller flowers, I add a small sandbag or a few river rocks to the bottom of the hatbox before I put my foam insert in. It lowers the center of gravity and makes the whole base much more resistant to tipping. This is especially important for outdoor setups or high-traffic areas.
🌸 Ready to build your best display yet?
Our bendable pipes are designed specifically for giant flower installations — they bend, hold, and reshape for every event. Grab yours and let's get building.
Sometimes you're working with a beautiful decorative urn, a column base, or a geometric planter. These are stunning but they come with their own challenges — irregular shapes, narrow openings, smooth interiors that don't grip anything.
For a narrow-neck urn, I use a pipe flange method: I run the bendable pipe through the opening and anchor it with a foam plug cut to fit the neck of the urn. The plug wedges in tight and holds the pipe centered. Then I fill the body of the urn with sand or rocks through the same opening before plugging it.
It takes a little patience but the result is a display that looks like the flower is growing directly out of a beautiful vessel. That clean finish is everything.
Smooth-Interior Planters
Smooth plastic or ceramic planters don't grip foam or sand the way textured surfaces do. For these, I use a two-part expanding foam (the kind you get at hardware stores) to lock the pipe in place. Pour it in around the pipe, let it expand and cure, and you have a rock-solid anchor. Just make sure you've got the pipe positioned perfectly before it sets — you won't be moving it after.
Comparing Anchor Methods: Which One Is Right for Your Project?
Every project is a little different. Here's how the main anchor methods stack up so you can pick the right one for your situation.
| Method | Best For | Hold Strength | Reusable? | Weight |
|---|---|---|---|---|
| Sand fill | Events, outdoor setups | High | Yes | Heavy |
| Plaster of Paris | Permanent/semi-permanent displays | Very High | No | Medium-Heavy |
| Foam block insert | Hatboxes, lightweight bases | Medium | Yes | Light |
| Expanding foam | Smooth planters, irregular bases | Very High | No | Light |
| Sand + foam combo | Tall stems, frequent reuse | High | Yes | Medium |
| River rocks + pipe | Decorative urns, natural aesthetic | Medium-High | Yes | Heavy |
Getting That Clean Freestanding Finish: The Styling Details
Ok so your pipe is anchored, your flower is standing perfectly. Now let's talk about making the base itself look intentional and beautiful — because the anchor is only half the job.
Covering the Top of Your Base
Whatever's inside the pot or base, you want to cover it with something that looks styled. My favorites:
- Sheet moss: looks natural, photographs beautifully, and hides everything underneath
- Tissue paper or crinkle paper: perfect for hatbox displays — matches the gift-box aesthetic
- Decorative stones or pebbles: clean and modern, great for geometric planters
- Faux greenery sprigs: adds dimension and makes the flower look like it's growing from something lush
Wrapping and Styling the Stem
Your bendable pipe stem can be wrapped with floral tape, ribbon, or even strips of fabric to give it a finished look. For a natural stem aesthetic, green floral tape wound tightly from base to bloom looks really clean. For a more glam look, satin ribbon or metallic tape is stunning.
If you want to go deeper on making the flowers themselves look incredible, check out my large fabric flower tutorial — it covers petal shaping and finishing details that take your blooms to the next level.
💡 Pro Tip
Before
Ready to Create Something Amazing?
Browse our collection of giant flower kits and start your next project today.