Bridal-Shower Flower Wall on a Weekend-DIY Timeline

So you said yes to hosting the bridal shower. You've got the guest list, the menu is sorted, and now you're staring at that blank wall in the venue thinking — okay, but what goes THERE? Friend, that wall is your secret weapon. A gorgeous bridal shower backdrop is the thing that makes every single photo look intentional and magazine-worthy, and it's the detail guests will talk about long after the mimosas are gone.
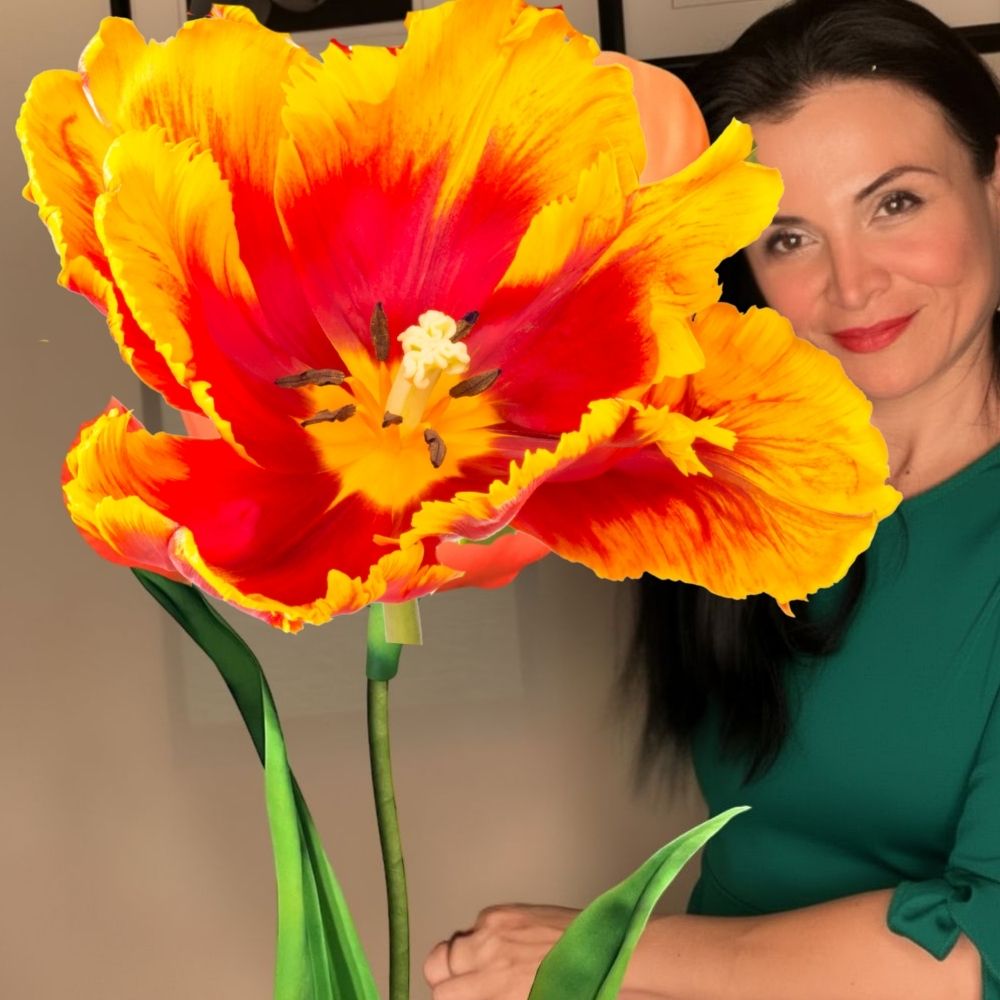
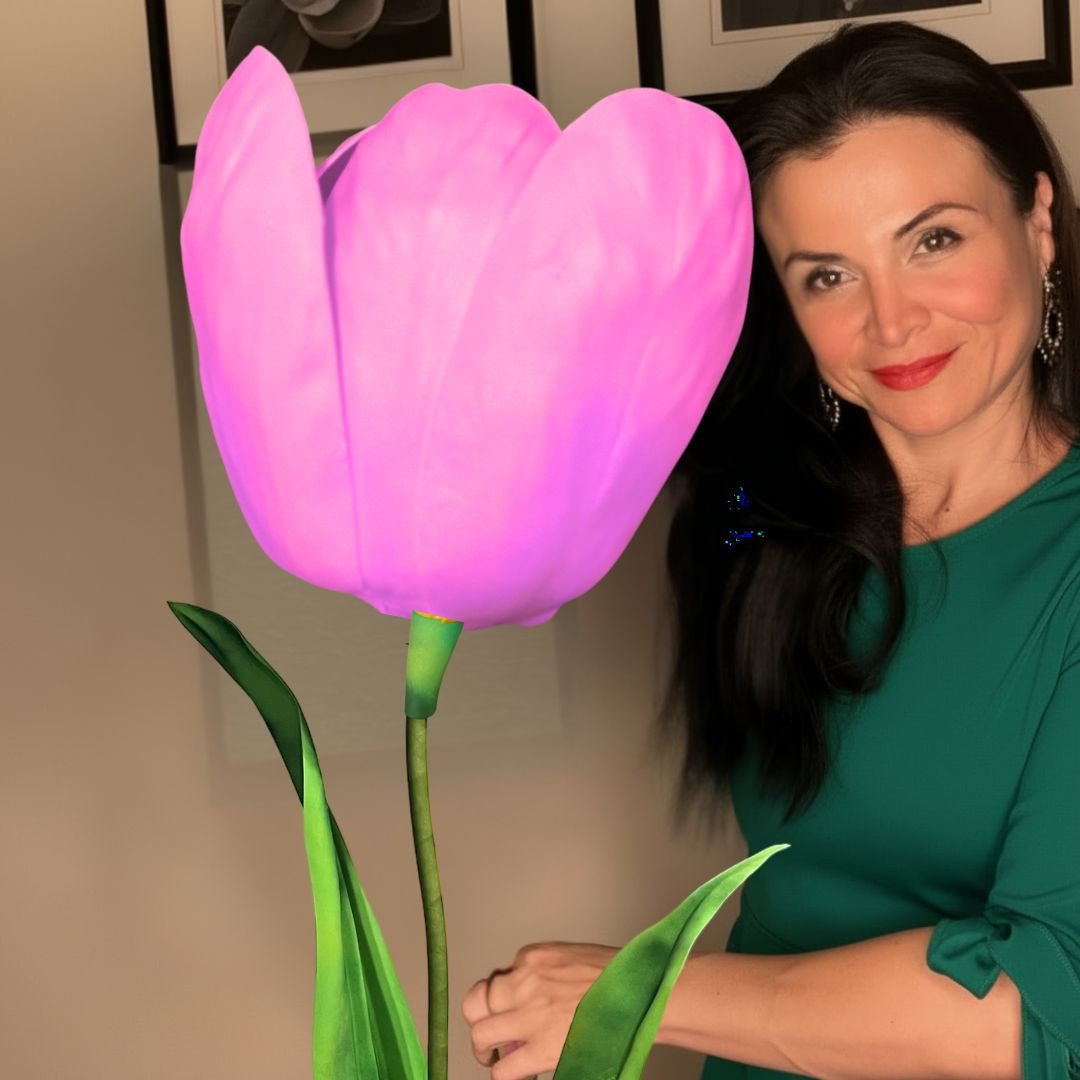
Here's what I want you to know before you panic-scroll Pinterest for three hours: you can build something absolutely stunning in a single weekend. I'm talking about a lush, full wall of giant foam flowers that photographs beautifully, assembles faster than you'd think, and doesn't require any special skills. I've helped hundreds of hostesses pull this off, and I promise — if you have a free Saturday morning and a little bit of enthusiasm, you're already halfway there.
I'm Adriana, and I've been making giant flowers out of my Houston studio for years. Let me walk you through exactly how to do this — timeline, sizes, colors, all of it — so you can show up to that shower feeling like a total pro.
Key Takeaways
I've seen a lot of shower decor over the years. Balloon garlands, paper streamers, fabric draping — all cute, all perfectly fine. But nothing, and I mean nothing, photographs like a wall of giant flowers.
Here's why it works so well. Giant flowers have this incredible visual weight that reads beautifully on camera. They create texture, depth, and color in a way that flat decor just can't compete with. When the bride-to-be stands in front of it for her photos, she looks like she hired a professional event designer. And honestly? She kind of did — she just has an amazing hostess.
The Photo Factor Is Real
One of my customers, a MOH named Tiffany, sent me the most wonderful message after her best friend's shower. She said, "Adriana, every single photo from that day looks like it belongs in a magazine. The backdrop did ALL the heavy lifting." That's exactly what I want for you.
A bridal shower backdrop anchors the entire event visually. It tells guests where to gather, where to take photos, and it gives the whole space a focal point that makes everything else feel more intentional.
Our Wall Flower Kits are designed for real people with real schedules. The petals are pre-cut from high-quality EVA foam, the assembly is intuitive, and the whole process — once you get into a rhythm — is genuinely enjoyable. Put on a good playlist, pour yourself something fun, and make a craft night out of it.
Okay, let's get into the actual logistics. This is the part I love most — breaking it down so it feels totally doable instead of overwhelming. Here's how a typical weekend build goes.
Time needed: 30–45 minutes. If your kit arrives Friday (plan for this — order early in the week!), use Friday evening to unbox everything, lay out your petals, and gather your supplies. You'll want:
Don't start assembling Friday night unless you're a night owl. Just prep and get familiar with what you've got. Trust me, fresh eyes on Saturday morning make the whole thing faster.
Time needed: 3–5 hours depending on how many flowers you're making. This is your main build session. Start with your largest flowers first — the 30" blooms are your statement pieces and they set the scale for everything else. Then work your way down to the 24" mid-layer and finally the 18" flowers that fill in gaps and add density.
The heat gun is your best friend here. If you haven't worked with it before, check out my guide on heat gun techniques for shaping foam flower petals — it'll save you so much time and frustration.
💡 Pro Tip
Make all your flowers before you start mounting any of them. Lay them out on the floor in the arrangement you want first — take a photo of that layout — then mount them in that order. It saves you from re-hanging and re-adjusting everything twelve times.
Saturday Afternoon: Paint and Finishing Touches
Time needed: 1–2 hours + drying time. If you're painting your flowers, do it after assembly. A light dry-brush technique adds gorgeous dimension. Wondering about the best approach for foam? My post on flawless foam board paint finishes has everything you need.
Let everything dry completely before hanging. Seriously — don't rush this part. Damp foam on a wall is a recipe for sliding flowers and a mini panic attack.
Time needed: 1–2 hours. Hanging day! Start from the center and work outward. Use your layout photo as a reference. Step back every few flowers and check the balance. This is also when you add any extra touches — greenery sprigs, ribbon, a little "She Said Yes" sign tucked into the blooms.
By Sunday afternoon, you'll be standing back admiring your work with a very satisfied smile on your face. I guarantee it.
This is where a lot of first-timers get tripped up. They buy all the same size flowers and then wonder why the wall looks a little flat. Mixing sizes is the secret to a backdrop that looks lush and professional.
Our Wall Flower Kits come in three sizes for standalone use: 18", 24", and 30". Here's how I think about each one:
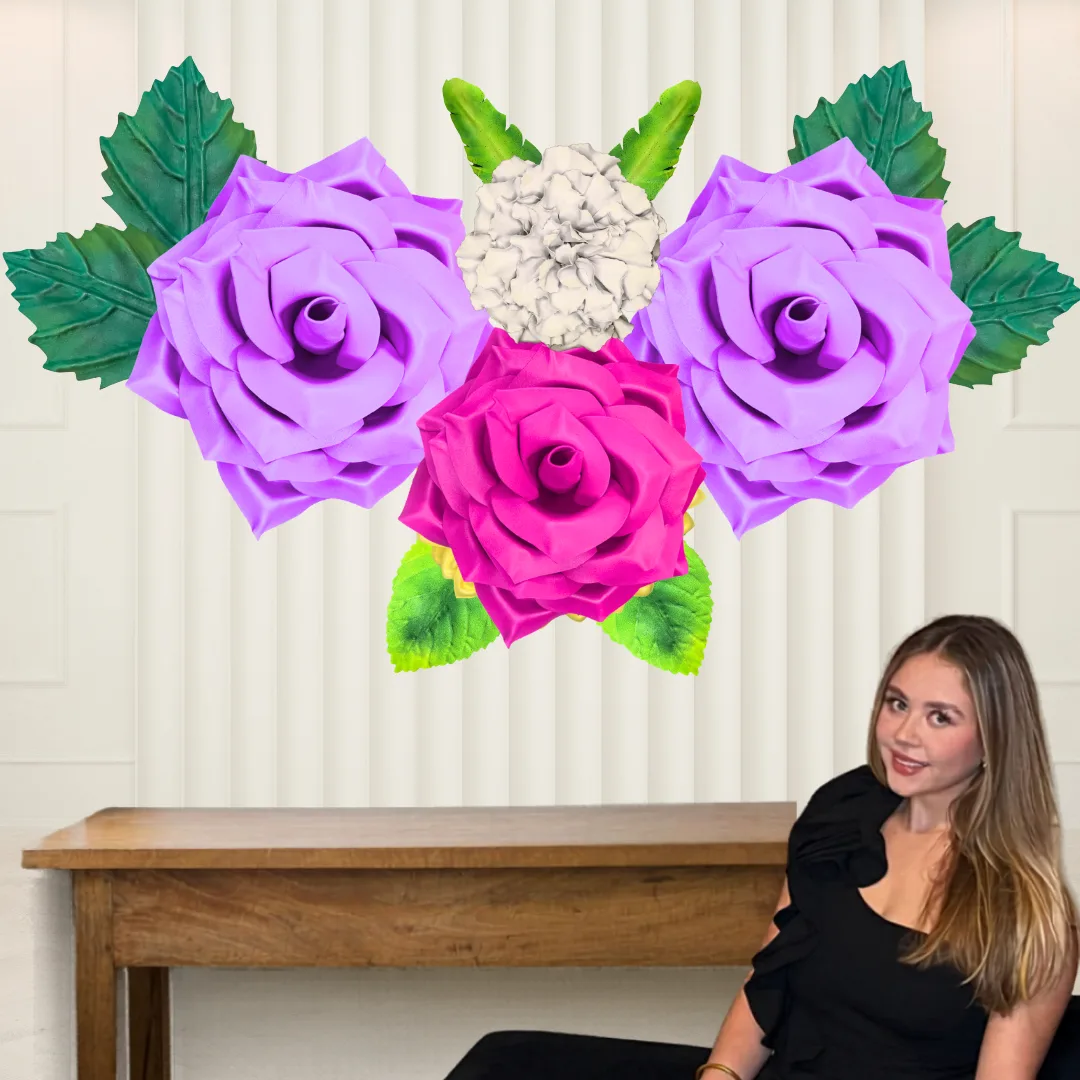
For a standard 6-foot wide backdrop wall, I usually recommend starting with 2–3 large flowers, 4–5 medium, and 4–6 small. That gives you a full, layered look without going overboard on budget. For an 8-foot wide wall, scale up by about 30%.
If you're not sure where to start, browse the Wall Flower Kits collection and reach out — I love helping hostesses plan their layouts.
Color Palettes That Photograph Beautifully
Ok, this is where it gets really fun. Color is everything for a bridal shower backdrop, and the good news is that giant foam flowers take paint beautifully, so you have total creative control.
💡 Pro Tip
Stick to 2–3 colors maximum for your backdrop. More than that and it starts to look chaotic in photos. Pick your main color, a secondary, and a neutral — then let the sizes and layering do the visual work.
Let me make this really easy for you. Here's a quick reference table so you can see how each size fits into your overall backdrop plan:
🌸 Ready to get started?
Browse our Wall Flower Kits collection and find your perfect match. Starting from $37.99 — your backdrop is closer than you think.
Here's a little trick I always share with hostesses: design your backdrop to be your photo booth too. When you position it thoughtfully — good lighting in front, a little space for people to stand — you've essentially created a photo moment that every single guest will use.
Think about where natural light hits during the party hours. A window to the side of your backdrop creates beautiful soft light on faces. If you're in an indoor venue without great natural light, a simple ring light placed slightly to the side works wonders.
Add a little sign — something like "She's Getting Married!" or the bride's name and wedding date — tucked right into the flowers. It makes every photo feel custom and intentional. For more ideas on photo-ready backdrops, check out our guide to the best photo booth backdrops.
Think Beyond the Wall
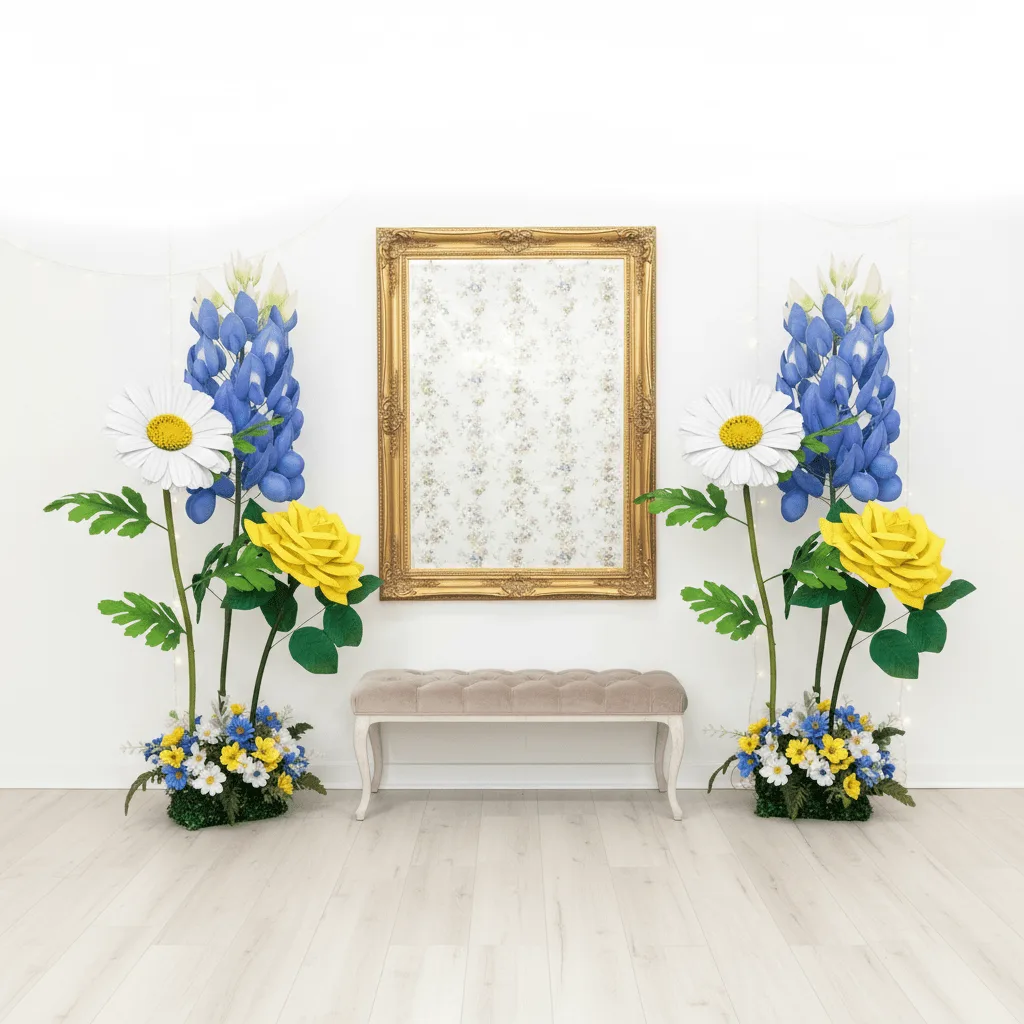
If your venue has a little more space, consider pairing your wall flowers with a freestanding flower kit on either side. It creates a full surround effect that looks absolutely incredible in wide-angle shots. And if you want to go all out on the arch situation, my post on bridal shower backdrop ideas for 2026 has a ton of inspiration.
When your backdrop is also your photo booth, you don't need to spend money on both. Work smarter, not harder — and look like a genius doing it.
Budget-Smart Tips for Hostesses
Real talk? Hosting a bridal shower is expensive. Between the food, the favors, the games, and the venue, the decor budget can feel tight. Here's how I'd approach the flower wall if I were working with a limited budget.
Start With Fewer, Bigger Flowers
Two 30" statement flowers and four 18" fillers can cover more visual ground than you'd expect, especially when you arrange them well and let some negative space breathe. Don't feel like you have to carpet the entire wall. A beautiful cluster in the center with the wall peeking through can be just as striking.
Reuse and Repurpose
One of the best things about foam flowers? They last. After the shower, the bride can take them and use them as nursery decor, home decor, or even at the bachelorette. I've had customers use the same flowers at the shower, the bachelorette, and then in the baby's nursery nine months later. Your $37.99 investment goes a long, long way.
Curious about how foam compares to other materials for longevity and cost? My breakdown of foam flowers vs paper flowers is worth a read before you decide.
Frequently Asked Questions
How long does it actually take to assemble a wall flower kit?
Honestly, it depends on the size, but most people are surprised by how manageable it is. An 18" flower takes about 20–30 minutes once you get the hang of it. A 30" flower is closer to 45–60 minutes. Your first flower always takes longer because you're learning the process — by your third or fourth, you'll be flying through them
Ready to Create Something Amazing?
Browse our collection of giant flower kits and start your next project today.