Building a Real Touch Flower Bouquet: A Weekend Tutorial

So you've been scrolling Pinterest for the hundredth time, saving every gorgeous bouquet you see, and thinking — I could make that. Honestly? You absolutely can. And a real touch flower bouquet tutorial is exactly where I'd tell any crafter to start, because the results are so jaw-dropping that people will literally reach out to touch them. That's the whole point.
I started making life-size foam flowers out of pure stubbornness. I wanted something that looked real, lasted forever, and didn't cost a fortune every time I wanted to redecorate or style a shoot. Paper flowers are beautiful — I have so much love for them — but they wilt the second humidity walks into the room. Foam? Foam is a whole different story.
This weekend tutorial is going to walk you through everything: picking your kit, shaping petals, building layers, and assembling a bouquet that looks like it came straight from a high-end floral studio. Grab your coffee. Let's make something beautiful.
Key Takeaways
Real talk? I love Lia Griffith. Her paper flower tutorials are stunning. But when someone asks me what material to use for a bouquet they actually want to keep, I always say foam. No contest.
Paper flowers are gorgeous for backdrops and wall art where nobody's going to grab them. But a bouquet gets handled. It gets photographed in outdoor light, set on a humid patio table, maybe even carried down an aisle. Paper doesn't survive that. Foam does.
The Real-Touch Difference
The EVA foam we use has a soft, velvety surface that mimics real petals in a way that paper just can't. When you heat-shape the petals with a heat gun or foam shaping tool, they curve and curl exactly like the real thing. The finish catches light the same way. People pick them up expecting to feel a fresh flower.
If you want to go deeper on material choices, I wrote a whole breakdown in A Crafter's Guide to Every Type of Foam for Giant Flowers — worth a read before you buy anything.
Waterproof. Lightweight. Doesn't dent easily. You can store foam flowers in a box, pull them out six months later, and they look exactly the same. Try that with paper.
One of the things I hear most from crafters is, "I didn't realize how easy it was once I had the right stuff." So let's get your supply list sorted before Saturday morning rolls around.
Our Life-Size Foam Flower Kits are the foundation of this whole tutorial. They range from $34.99 to $49.99 and each kit makes between 2 to 6 flowers depending on which one you choose. The petals are pre-cut and a mold is included — which is honestly the part that used to intimidate people the most.
You don't have to trace, cut, or guess. You open the kit, and the hardest part is already done.
💡 Pro Tip
Set up your workspace with a silicone mat or parchment paper under your heat gun area. Foam doesn't melt dramatically, but a little protection goes a long way — and it keeps your table clean when glue drips happen (and they will happen, I promise).
The Real Touch Flower Bouquet Tutorial: Step by Step
Ok, this is where it gets really fun. I'm going to walk you through this like we're sitting at my craft table together. Don't rush. The magic is in the details.
Open your kit and sort the petals into groups: small (inner petals), medium, and large (outer petals). Most of our kits include 3–4 petal sizes. Lay them out in front of you so you can see the full picture before you start gluing anything.
This sounds basic, but I can't tell you how many times I've seen people skip this step and then wonder why their flower looks flat. Knowing your layers before you start is everything.
This is the step that transforms a flat foam petal into something that looks genuinely alive. Hold each petal over your heat gun (about 3–4 inches away) and gently press it against the included mold. Hold for 5–8 seconds. You'll feel it soften and take the curve.
For inner petals, curl them more tightly — almost like they're just opening. For outer petals, a gentle, open curve looks most natural. Work in small batches so the foam doesn't cool before you shape it.
Want a deeper dive on heat gun technique? I wrote a full guide on Heat Gun Techniques: Shaping Foam Flower Petals Like a Pro that covers every trick I've learned over the years.
Start with your smallest petals and hot glue them around a small foam ball or cone center — your kit will guide you on the specific center shape. Overlap them slightly, like a real flower would have. Then add your medium petals, offsetting them so they fall between the inner layer gaps. Finally, attach your large outer petals.
The key here is offset and overlap. Every layer should nestle between the petals of the layer below it. That's what creates that full, dimensional look instead of something that reads as obviously fake.
Step 4 — Attach Stems
For a bouquet, you need stems. Take a length of 18-gauge floral wire, bend a small hook at the top, and push it down through the center of your flower. Add a drop of hot glue at the base to secure it. Wrap the wire with floral tape, stretching it slightly as you spiral downward — that stretch activates the adhesive in the tape.
Make your stems different lengths. In a real bouquet, flowers sit at varying heights, and that natural variation is what makes it look intentional rather than stiff.
Start with your focal flower — your largest or most dramatic bloom — and hold it in your non-dominant hand. Then add flowers around it one at a time, turning the bouquet slightly with each addition so you're building a round, even shape.
Tuck in smaller accent flowers at the edges. If you have greenery (foam leaves work beautifully here), add those last to fill any gaps and frame the whole arrangement. Once you're happy with the shape, wrap the stems tightly with floral tape, then finish with a ribbon or twine tied in a bow.
🌸 Ready to get started?
Browse our Life-Size Foam Flower Kits and find your perfect match — pre-cut petals, mold included, and enough to make 2–6 blooms per kit.
Choosing Colors and Flower Combinations
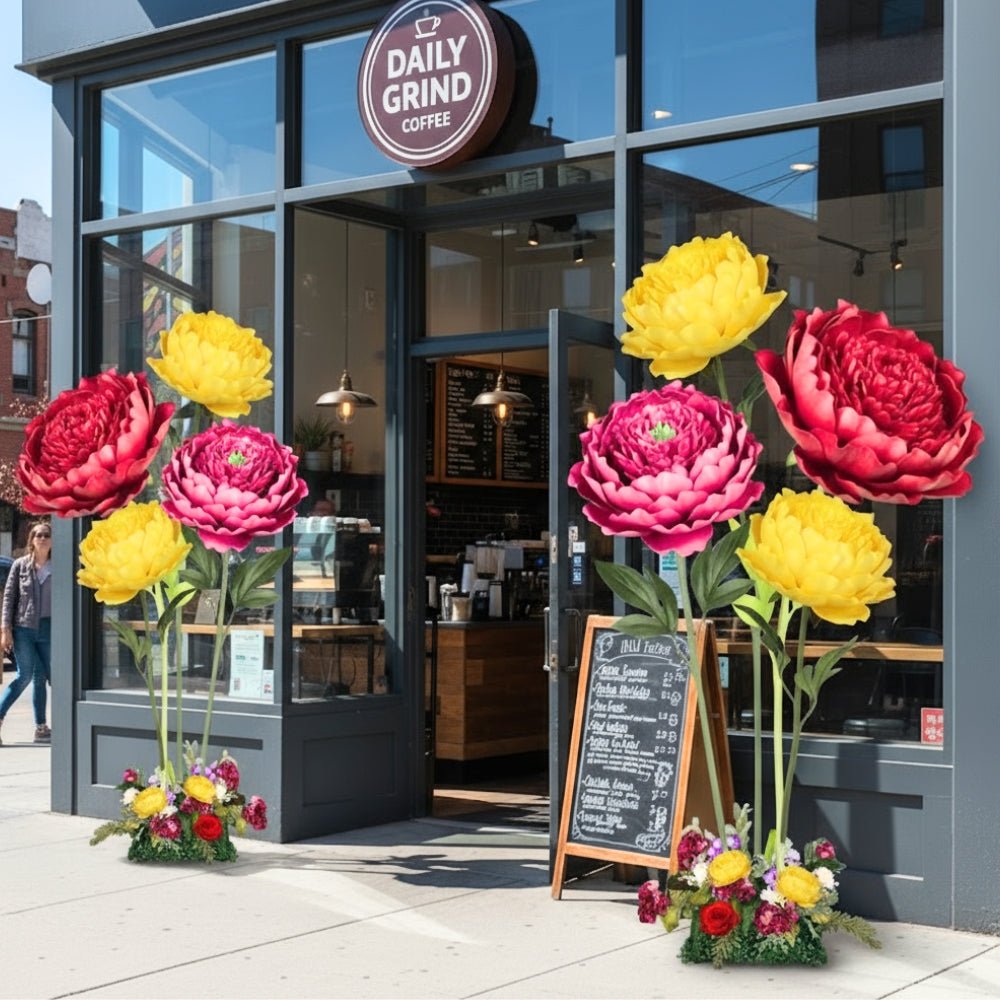
This is honestly one of my favorite parts to talk about because there's no wrong answer — but there are some combinations that just sing.
The Classic Monochromatic Bouquet
Pick one color family and use three shades of it. Blush, dusty rose, and deep mauve, for example. Or ivory, cream, and soft white. The variation in tone adds depth without any visual chaos. This is the bouquet that photographs beautifully in literally any light.
The Bold Contrast Bouquet
Pair a warm focal flower (think terracotta, coral, or deep burgundy) with cool accents (sage green, dusty blue, lavender). This is the bouquet that makes people stop scrolling. It's dramatic without being overwhelming when you keep the ratio right — about 70% warm tones, 30% cool accents.
Flower Types That Work Best for Bouquets
- Peonies — lush, full, and incredibly forgiving for beginners. Those ruffled layers hide any small imperfections.
- Roses — classic spiral build that looks stunning in both tight bud and open bloom form.
- Dahlias — geometric and dramatic, a single dahlia can anchor a whole bouquet.
- Ranunculus — delicate layered petals that look incredibly intricate but are surprisingly approachable with the right kit.
💡 Pro Tip
Odd numbers always look more natural. Build your bouquet around 3, 5, or 7 blooms rather than even numbers. It's a design principle that florists swear by, and it works just as well with foam flowers.
Finishing Touches That Make It Look Professional
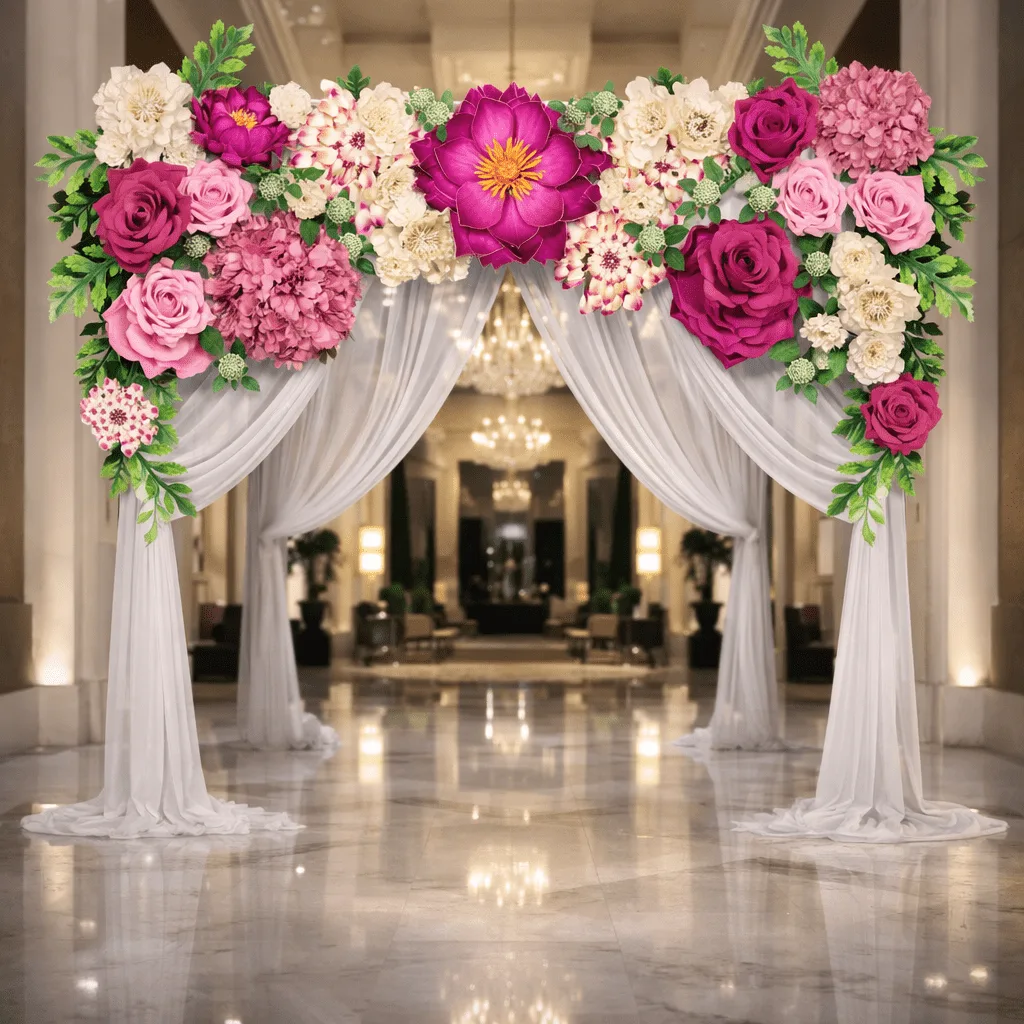
The difference between a bouquet that looks homemade and one that looks like it came from a studio is almost always in the finishing details. Here's what I always do.
Add Texture with Greenery and Fillers
Foam leaves from our EVA foam collection are perfect for this. Tuck a few behind your outer blooms so they peek out at the edges. You can also add small accent buds — tiny rolled foam pieces that look like unopened flowers — to fill any visual gaps.
Seal for Extra Longevity
If you want to protect your bouquet from dust and give the petals an even more realistic sheen, a light coat of Mod Podge Clear Acrylic Sealer works beautifully. I wrote a whole guide on how to use it on foam projects — it's a game changer for longevity.
Handle Wrapping Options
The stem wrap is the finishing bow on the whole project. Options I love:
- Satin ribbon — classic, elegant, great for bridal-inspired bouquets
- Burlap twine — rustic and textural, perfect for a garden or boho vibe
- Velvet ribbon — luxurious and photogenic, especially in deep jewel tones
- Lace wrap — romantic and vintage, ties the whole look together beautifully
Frequently Asked Questions
How long does it take to complete a real touch flower bouquet tutorial like this one?
For a bouquet of 5–7 blooms, plan for a full weekend — hence the name of this tutorial. Day one is great for shaping and building all your individual flowers (roughly 3–4 hours depending on your pace). Day two is assembly, finishing, and photographing your creation. If you're making a smaller 3-flower bouquet, you could honestly do it in a single afternoon once you get the hang of the petal shaping.
Do I need any special tools, or can I use what I already have at home?
The one tool I'd say is truly essential is a heat gun. A regular hair dryer doesn't get hot enough to properly shape EVA foam petals. Everything else — scissors, a hot glue gun, floral wire — you may already have. The mold comes included in our kits, which takes one big question mark off the list.
Can I use these kits to make a bridal bouquet?
Absolutely, and honestly it's one of my favorite uses for them. A foam flower bridal bouquet is lightweight, won't wilt during a long ceremony, and becomes a keepsake the bride can keep forever. I've had brides tell me they display their bouquet on a shelf years after the wedding.
Ready to Create Something Amazing?
Browse our collection of giant flower kits and start your next project today.