Cosplay Props: Building Wearable Giant Flowers for Conventions

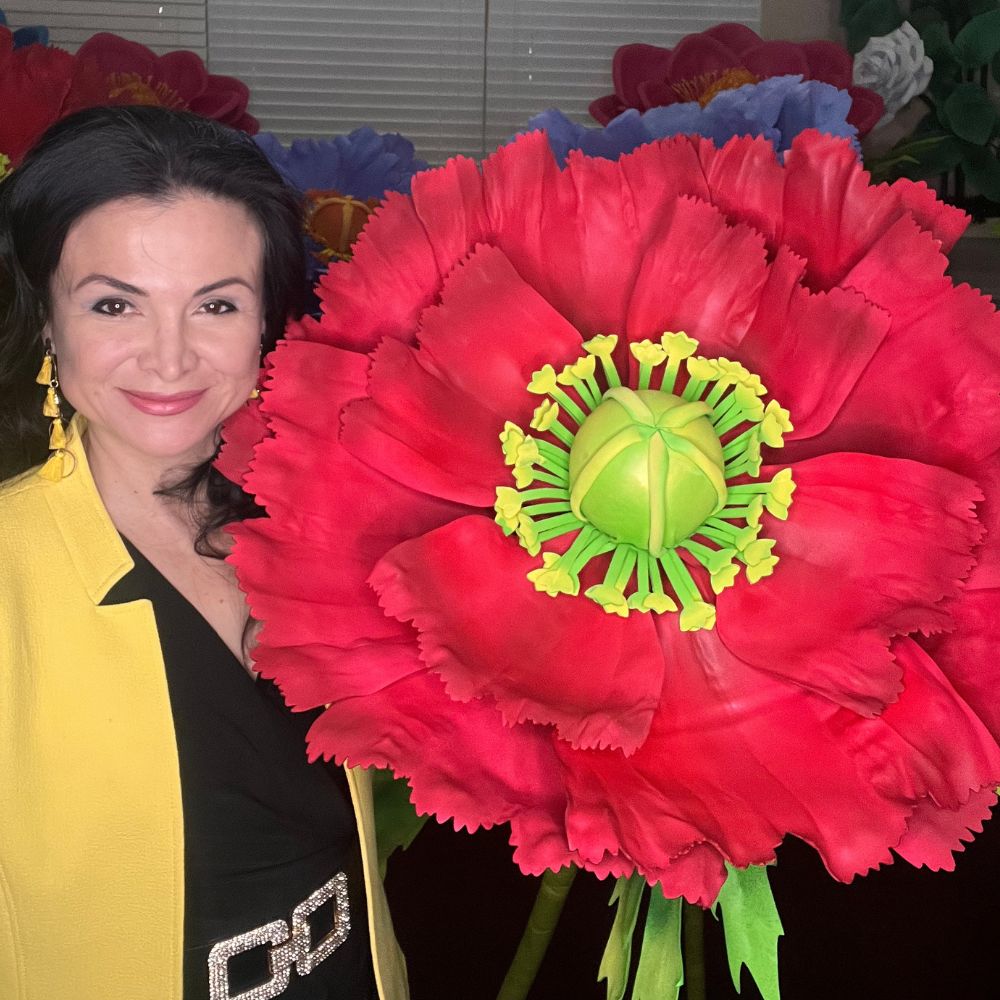
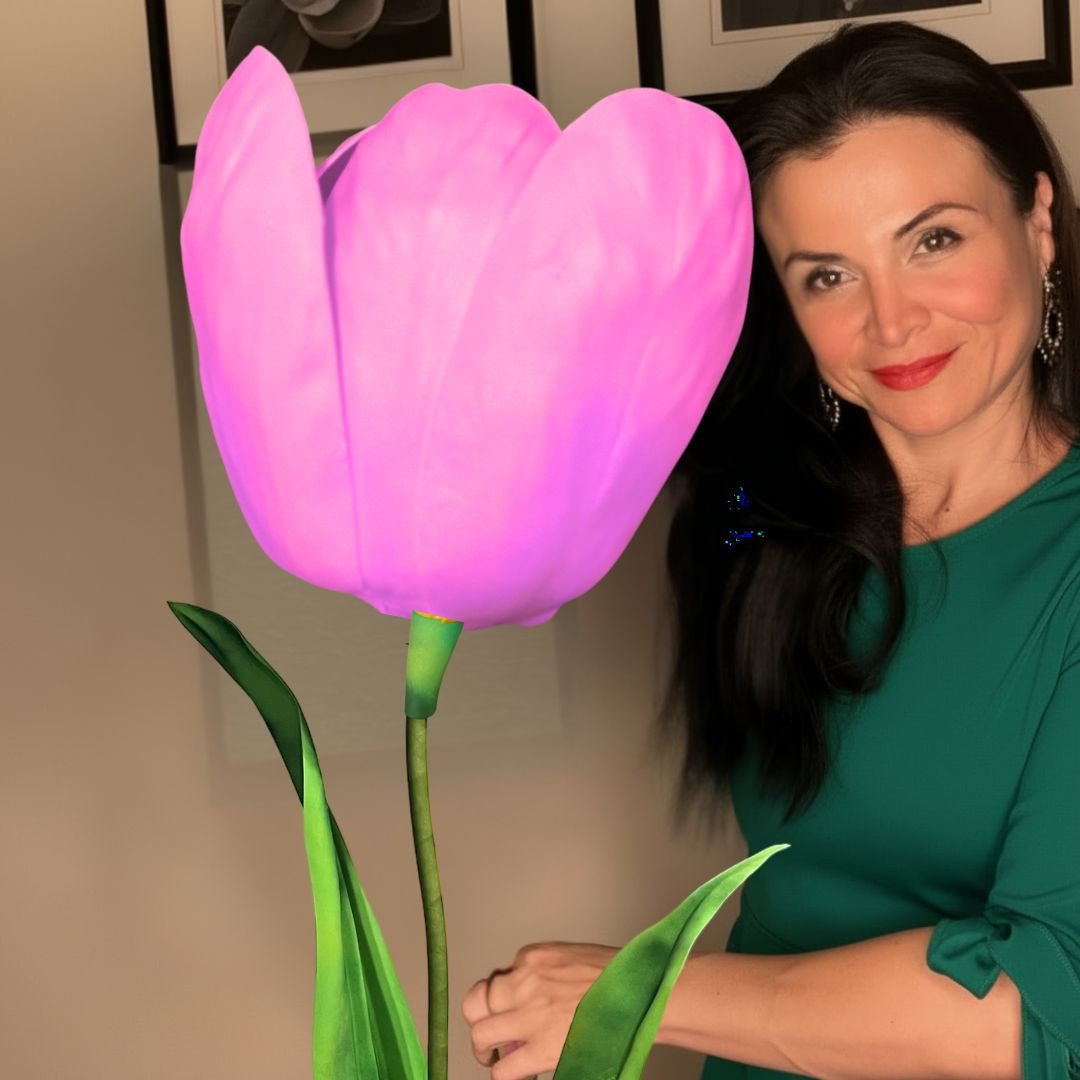
If you've ever walked into a convention hall and stopped dead in your tracks because someone was wearing a five-foot flower on their back — yeah, that was probably one of mine. Cosplay props giant flowers wearable builds are honestly some of my favorite projects to help people pull off, because the reaction you get when you walk through those convention doors? Absolutely priceless. People lose their minds in the best way possible.
I've been making giant EVA foam flowers for years now, and I'll be honest — when cosplayers first started reaching out to me, I wasn't sure my techniques would translate. Event flowers are one thing. But something you're actually wearing for eight hours at a crowded convention? That's a whole different engineering challenge.
So I figured it out. I tested, failed, tested again, and now I'm going to walk you through everything I know. By the end of this, you'll know exactly how to build a wearable giant flower prop that looks absolutely stunning, holds up all day, and won't have you crying in the parking lot by noon.
Real talk? I've seen cosplayers try to build giant flower props out of crepe paper, cardstock, and even fabric. And while those materials are beautiful for backdrops and event décor, they are not built for convention life.
Conventions are brutal. You're bumping into people, squeezing through hallways, posing for a hundred photos, and probably sweating more than you'd like to admit. Your prop needs to survive all of that.
EVA foam — the same closed-cell foam used in our kits at Amazing Giant Flowers — is the gold standard for wearable builds. Here's why I'm so obsessed with it:
According to Statista, the global cosplay market is projected to exceed $23 billion by 2030, with prop-making supplies being one of the fastest-growing segments. People are investing seriously in their builds — and the materials they choose make all the difference.
I always recommend starting with 6mm EVA foam sheets for petals and 10mm sheets for structural base pieces. That combination gives you the right balance of flexibility and rigidity for a wearable build.
Ok, this is where most people skip ahead and then regret it. I get it — you want to start cutting. But five minutes of planning saves five hours of fixing. Trust me on this one.
The first question to ask yourself is: how is this flower going to attach to your body? That decision changes everything about how you build the base structure.
Over the years, I've landed on three approaches that actually work for convention wear. Each has its place depending on your costume and how large you're going.
Once you know your mounting method, sketch out your flower design. I literally use a pencil and paper — nothing fancy. Figure out your petal count, petal size, and layer count before you touch a single foam sheet.
A classic giant rose build might use 3 layers of petals with 8-12 petals per layer, each petal measuring 10-16 inches in length. A stylized fantasy flower for something like a fairy or nature spirit cosplay might have 5-6 oversized petals each hitting 24-30 inches.
Also think about your color story before you buy foam. Gradient builds — where petals shift from deep burgundy at the base to blush pink at the tips — are absolutely gorgeous and very achievable with spray paint. But you need to plan that before you cut, not after.
According to Event Marketer, 74% of event attendees say that visually striking elements are what they remember most about an experience. Same principle applies at conventions — you want to be the person people are still talking about on the drive home.
Alright, let's actually build this thing. I'm going to walk you through my process for a freestanding backpack-mounted flower in the 3-foot range — the sweet spot for convention builds that are dramatic without being impossible to navigate.
What you'll need:
Start by cutting your base plate from the 10mm foam. This is the circular or oval disc that everything else attaches to. For a 3-foot flower, I make my base plate about 10-12 inches in diameter. It needs to be wide enough to anchor all your petal layers but not so heavy it throws off your balance.
Attach the base plate to your backpack frame using heavy-duty hook-and-loop straps (industrial Velcro) plus a couple of zip ties through pre-punched holes. This gives you a semi-permanent mount that's still removable for transport and storage.
Now cut your petals. I always start with a paper template — trace it, cut one test petal, check the scale against your body, then cut the rest. For a 3-foot rose, my outer petals are typically 14-16 inches long and 8-10 inches wide at the broadest point.
Once your petals are cut, this is where the magic happens. Fire up your heat gun and work each petal individually. Hold the foam about 3-4 inches from the heat source and move constantly — you're warming the foam, not melting it. As it softens, cup it over your knee or a rounded form to create that beautiful natural curve.
Let each petal cool completely before you move it. This takes about 30-60 seconds. The shape sets as it cools, and it holds remarkably well — I've had convention-worn flowers come back to me after a full weekend and the petals still looked perfect.
Work from the outermost layer inward when assembling. Apply contact cement to both surfaces — the back of the petal base and the corresponding spot on your foam disc — wait the recommended 5-7 minutes until both surfaces are tacky, then press firmly together. That bond is incredibly strong once set.
Raw EVA foam is porous and slightly shiny in a way that doesn't photograph well. The fix is simple: two coats of Plasti-Dip as a base, then your color layers on top.
Plasti-Dip seals the foam, gives it a slight texture that paint loves, and adds a tiny bit of flexibility to your finished surface so it doesn't crack when the petals flex. I cannot stress this step enough — skip it and your paint will peel by lunch on day one of the convention.
For color, I love a combination approach: spray paint for base coverage, then hand-painted details with acrylic for depth and shading. A dry-brushed lighter color along the petal edges creates that gorgeous natural gradient effect that makes people stop and stare.
Seal everything with a matte or satin clear coat when you're done. Glossy finishes can look plasticky under convention lighting — matte reads more like real petals in photos and in person.
According to craft industry research, the average dedicated cosplayer spends between $200-$800 on a single competition-level build. Building your giant flower elements yourself using foam kits and sheets can cut that materials cost by 40-60% compared to commissioning a prop maker.
Building the flower is one thing. Actually surviving a full convention day in it is another. Here's what I've learned — mostly from other people's horror stories, but also from a few of my own.
Pack a repair kit. Seriously, put together a small bag with contact cement, a few pre-cut foam scraps in your flower's color, and a travel-sized can of matching spray paint. Conventions are chaotic and accidents happen. Being able to do a 5-minute field repair is the difference between a great day and a heartbreaking one.
Think about doorways and elevators during your planning phase. A 4-foot flower mounted on your back is absolutely stunning in the open convention hall. It becomes a problem when you're trying to get into a panel room. Build your mount with a quick-release mechanism so you can detach the flower base and carry it when needed.
According to San Diego Comic-Con's official cosplay guidelines, props must be able to pass through a standard doorway without assistance. Plan accordingly — know the dimensions of your build before you show up.
Wear comfortable shoes. I know that sounds unrelated to your flower prop, but hear me out. When your feet hurt, you hunch. When you hunch, your backpack mount shifts. When your mount shifts, your flower tilts. It's all connected. Take care of your body and your prop will look better for it.
Take your build for a test walk before convention day. Put it on, walk around your house, sit down, stand up, turn around quickly. Find the pressure points and hot spots before you're on a convention floor for eight hours. Pad the backpack straps with foam or moleskin if needed.
And please — ask for help with photos. The best shots of giant flower cosplay builds are taken with the photographer slightly below eye level, shooting upward. That angle makes the flowers look even more dramatic and catches the light on those shaped petals beautifully. You put all that work in. Make sure the photos do it justice.
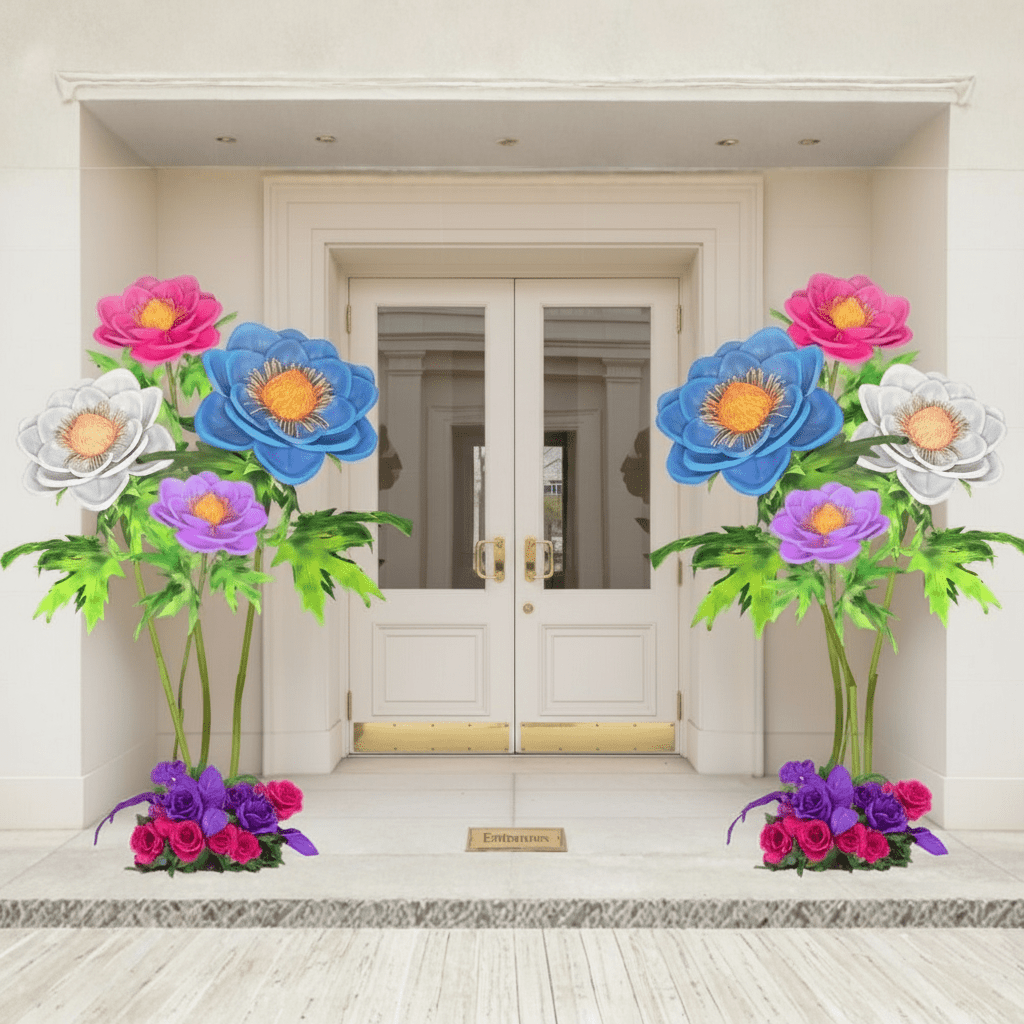
For inspiration on scale and how dramatic giant flower builds can look in a styled setting, take a peek at my post on freestanding giant flower arrangements for events — the same principles of visual impact absolutely apply to wearable builds.
Also, if you're building for a group cosplay or want to create a matching photo backdrop for convention shoots, my guide on DIY giant flower backdrops for photos is worth a read. Some of the most epic convention photos I've seen pair a wearable flower build with a coordinating backdrop setup.
According to a survey by Eventbrite, over 41 million Americans identify as cosplay enthusiasts, and convention attendance has grown year over year even as the hobby has expanded into competitive events, brand partnerships, and professional prop commissions. The community is massive — and the appetite for stunning, original builds has never been higher.
If you're ready to start your build, our pre-cut EVA foam kits at Amazing Giant Flowers are honestly the fastest way to get going. Everything is cut and ready — you just shape, assemble, and make it your own. We've had cosplayers use our kits for everything from fairy queen costumes to avant-garde fashion show pieces, and every single time I see the finished photos, I get genuinely emotional. It never gets old.
So — what's your build? Are you going full fantasy forest fairy, or something more structured and architectural? I'd genuinely love to know. Drop a comment or tag us when your flower is done. I want to see every single one.
Ready to Create Something Amazing?
Browse our collection of giant flower kits and start your next project.
Shop All Flowers