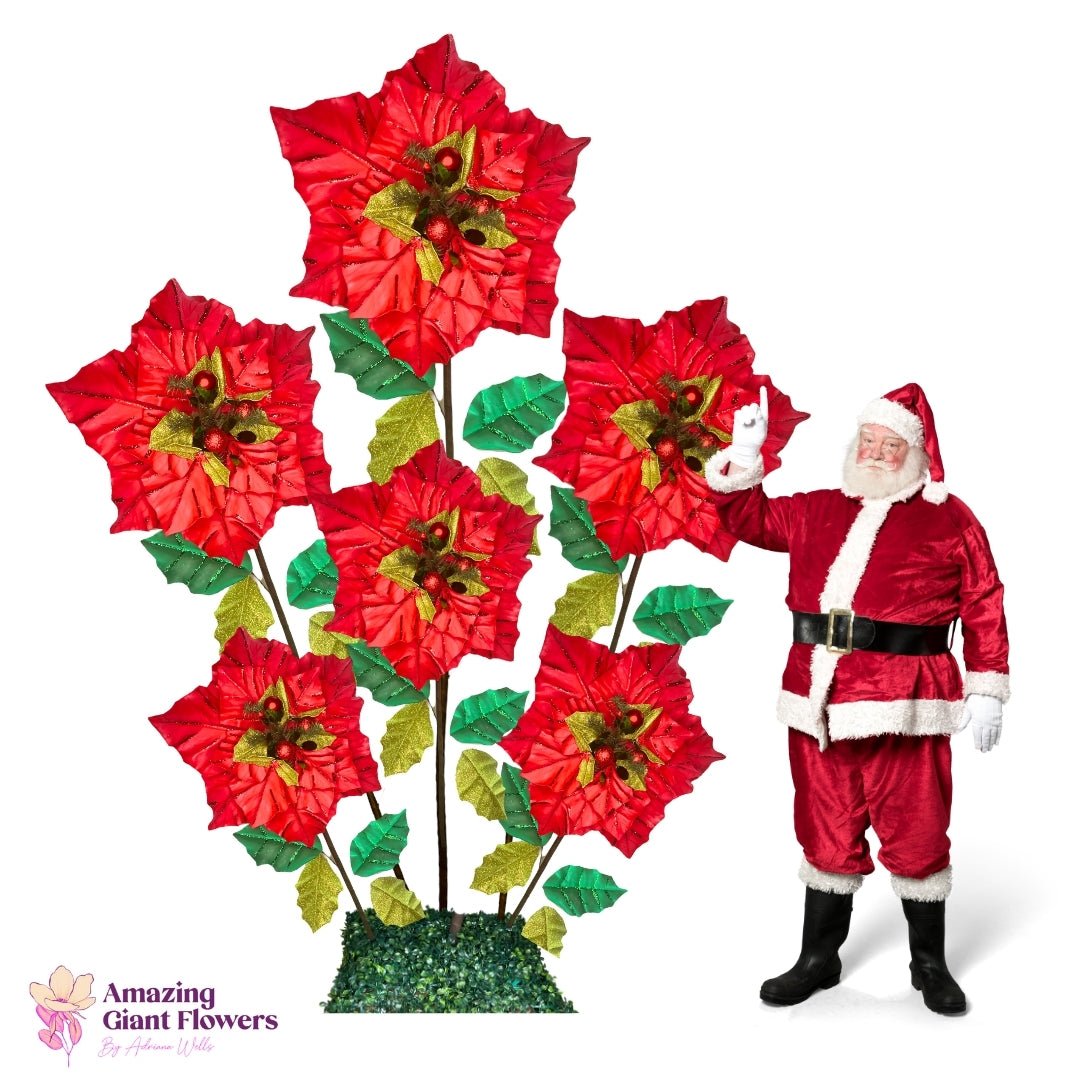
Cupcake-Topper Sugar Flowers in Minutes
Let me tell you something — the first time I made a cupcake flower topper out of gumpaste, I spent almost forty minutes on a single rose. One. Rose. I was so proud of it, and then I looked at the two dozen naked cupcakes sitting on my counter and nearly cried. There had to be a better way.
Turns out, there was. And it completely changed how I approach batch decorating. Once I started using double-sided flower molds, I went from one flower per forty minutes to a full tray of twelve in under thirty. No joke. The consistency alone was worth it — every petal identical, every bloom looking like it came from a professional cake shop.
Whether you're decorating for a birthday party, a bridal shower, or just because you want your Tuesday cupcakes to look incredible, this guide is for you. I'm going to walk you through everything — the tools, the techniques, the timing — so you can batch out beautiful sugar flowers without losing your mind or your whole Saturday.
Key Takeaways
A plain cupcake is fine. A cupcake with a beautiful sugar flower on top? That's a moment. That's the thing people photograph before they eat it. That's what makes your bake sale table look like a bakery window.
But here's the thing most tutorials don't tell you: hand-sculpting flowers is a skill that takes years to master. And most of us don't have years. We have a Saturday afternoon and a party on Sunday.
The Batch Decorating Problem
The real challenge isn't making one pretty flower. It's making twenty-four that all look like they belong together. That's where even experienced bakers hit a wall. Your first flower looks great. By flower fifteen, your hands are tired, your gumpaste is drying out, and the petals are thicker on one side than the other.
Molds solve this completely. Every press gives you the same result. Same depth. Same petal shape. Same detail. You can hand the mold to a helper and the flowers still look cohesive.
A good cupcake flower topper needs to be:
Our flower molds hit every single one of those marks. The petals come out thin, detailed, and perfectly shaped — ready to assemble into a full bloom that sits beautifully on top of buttercream.
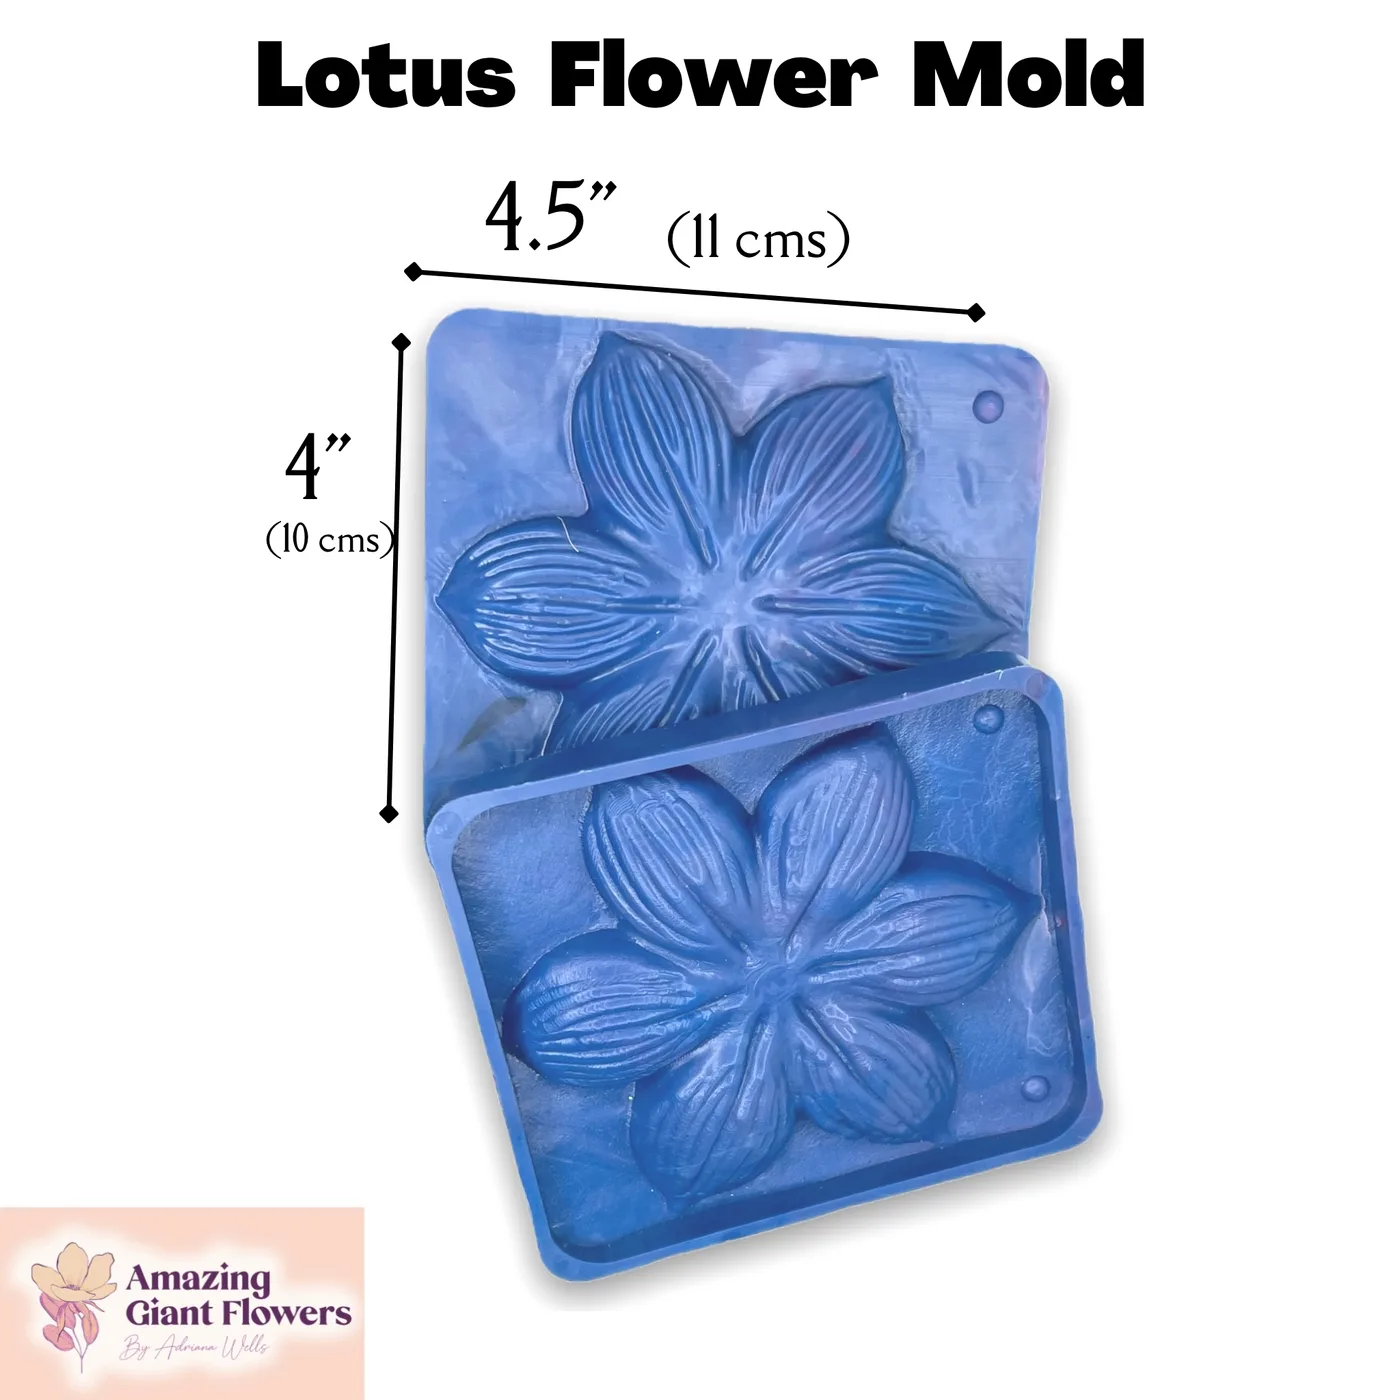
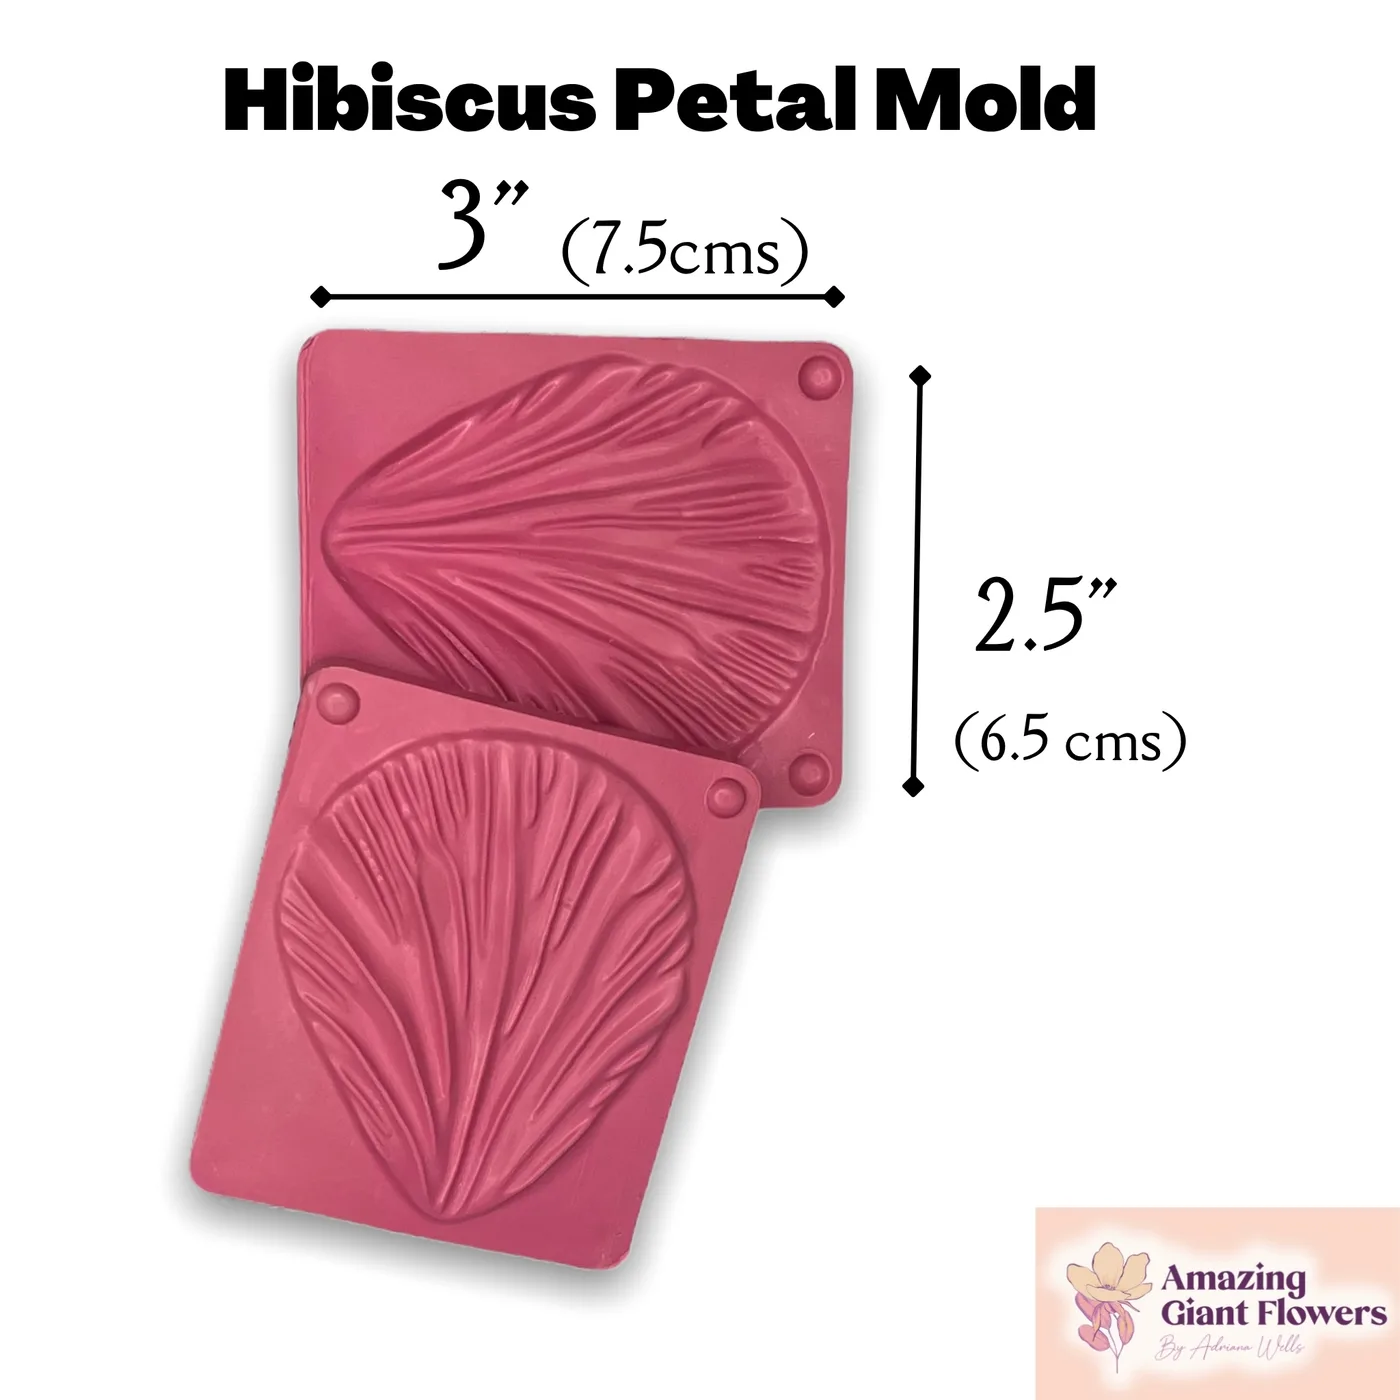
Ok, this is where it gets really fun. Our flower molds are double-sided, which means they press from both sides to give you a fully textured, realistic petal — not just a flat impression. The difference in the final look is huge.
They're also food-safe. That's non-negotiable for anything going on a cupcake. I know some crafters use molds from general craft stores, but if it's not specifically rated food-safe, I wouldn't put it near something someone's going to eat. These molds are made to work with gumpaste, fondant, modeling chocolate, and even isomalt.
Honestly? The double-sided mold is worth every penny when you're batch decorating. The flat-back look is fine for fondant cutouts, but for a cupcake flower topper that gets handled and viewed from all angles, you want that full texture.
Let me break this down into exactly what I do when I'm making a big batch. I'll use gumpaste here because it dries the firmest, but the same process works with fondant (just give it extra drying time).
Step 1: Color your gumpaste. Knead your gel coloring in until it's fully incorporated. Work in small batches so the color stays consistent across your whole set.
Step 2: Dust your mold. A light tap of cornstarch inside the mold keeps your paste from sticking. Don't overdo it — too much cornstarch leaves a white residue on the petal surface.
Step 3: Press and release. Roll a small ball of gumpaste, press it into the mold cavity, close the mold, and press firmly. Open it up and you've got a perfectly shaped petal. Trim any excess with scissors.
Step 4: Shape while soft. This is your window — gumpaste starts firming up fast. Gently curve the petal over your finger or tuck it into an egg carton cup to give it that natural curl.
Step 5: Dry overnight. Lay your petals out and let them dry completely. I usually make mine the night before and assemble in the morning. They'll be firm and ready to handle.
Step 6: Assemble the bloom. Use a small amount of royal icing or edible glue to layer your petals into a flower shape. Start with the outer petals and work inward. Add a small fondant center ball and you're done.
💡 Pro Tip
Set up an assembly line. Press all your petals first, shape them all, then let everything dry together. Trying to press-shape-dry one flower at a time is where people lose time. Batch the steps, not the flowers.
Flower Varieties That Work Best as a Cupcake Flower Topper
Not every flower translates perfectly to a cupcake top. You want something that sits flat enough to stay put but has enough dimension to look stunning. Here are my personal favorites.
Ranunculus
This is my number one recommendation for beginners. The petals are rounded and layered, which means even slightly imperfect placement looks intentional. A ranunculus cupcake flower topper looks lush and full without requiring a ton of petals.
Peony
Dramatic, romantic, and absolutely gorgeous on a cupcake. The layered ruffled petals are actually very forgiving — the more "organic" they look, the more realistic they are. Our peony mold captures those delicate petal edges perfectly.
Rose
The classic. With a mold, you can achieve a realistic rose in a fraction of the time it takes to hand-sculpt one. I recommend the spiral assembly method — start your center tight and loosen the petals as you work outward.
Daisy and Anemone
These are your speed demons. Single-layer flowers with a center detail — you can make one in under two minutes once you've got your mold technique down. Perfect for large orders where you need to crank out a lot fast.
One mold, one press, one perfect petal — that's the secret to going from "home baker" to "where did you order these?" in a single batch.
Speeding Up Your Batch: Real Tips That Actually Work
Real talk? The mold is the biggest time-saver, but there are a few other things I do that shave serious minutes off a big batch.
Pre-Color Multiple Batches
If your cupcakes are going to have three colors of flowers, knead all three colors of gumpaste before you start pressing anything. Switching back and forth mid-session breaks your flow and wastes time.
Use a Silicone Mat for Organization
Lay out your petals in rows on a silicone mat as you press them. When it's time to assemble, you can just work down the rows instead of hunting for matching petals. Sounds basic. Saves so much time.
Make More Than You Think You Need
I always make about 20% extra. Some petals crack when dry. Some don't curl the way you wanted. Having extras means you're not scrambling at the last minute to make two more flowers at 11pm.
The Overnight Dry is Non-Negotiable
I know it's tempting to rush this. Don't. A flower that isn't fully dry will droop when you place it on warm buttercream. Give it the full night. Your morning self will thank you.
🌸 Ready to get started?
Browse our full flower mold collection and find your perfect match — roses, peonies, ranunculus, daisies, and more. Food-safe, double-sided, and built to last hundreds of uses.
Beyond Sugar: Other Materials for Your Cupcake Flower Topper
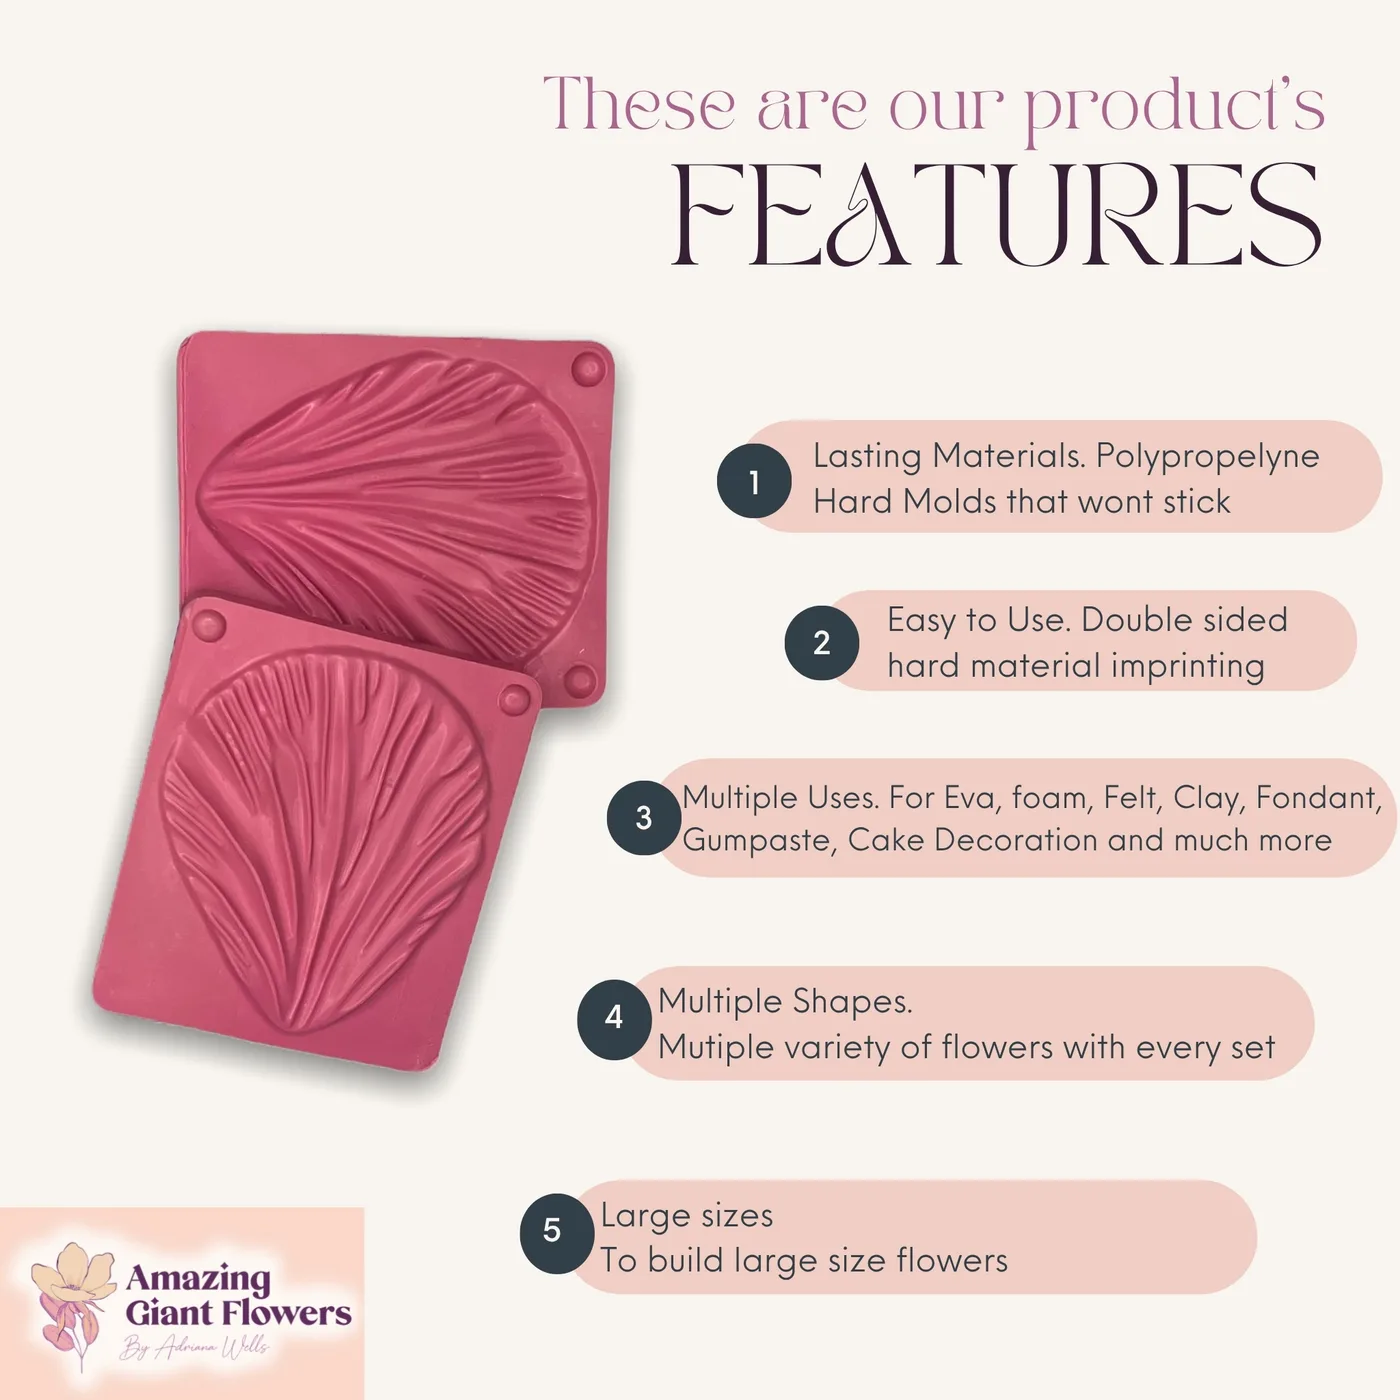
Gumpaste is my go-to, but these molds work with a surprising range of materials. Here's a quick breakdown of what I've personally tested.
- Fondant: Works beautifully, just needs longer drying time. Great for softer, more matte-finish flowers.
- Modeling chocolate: Incredible for realistic color and that slight sheen. Slightly trickier to work with in warm kitchens.
- Isomalt: Stunning translucent effect. More advanced technique but absolutely show-stopping on a cupcake.
- White chocolate: Press into the mold, chill to set, pop out. Fast and delicious. Not as detailed as gumpaste but great for a quick option.
And here's the bonus I love to mention — these same molds work with EVA foam for crafting. So if you're also making event décor or foam flowers for a wedding arch, you're using the same tool. One investment, two completely different creative worlds.
Coloring and Finishing Touches That Elevate Everything
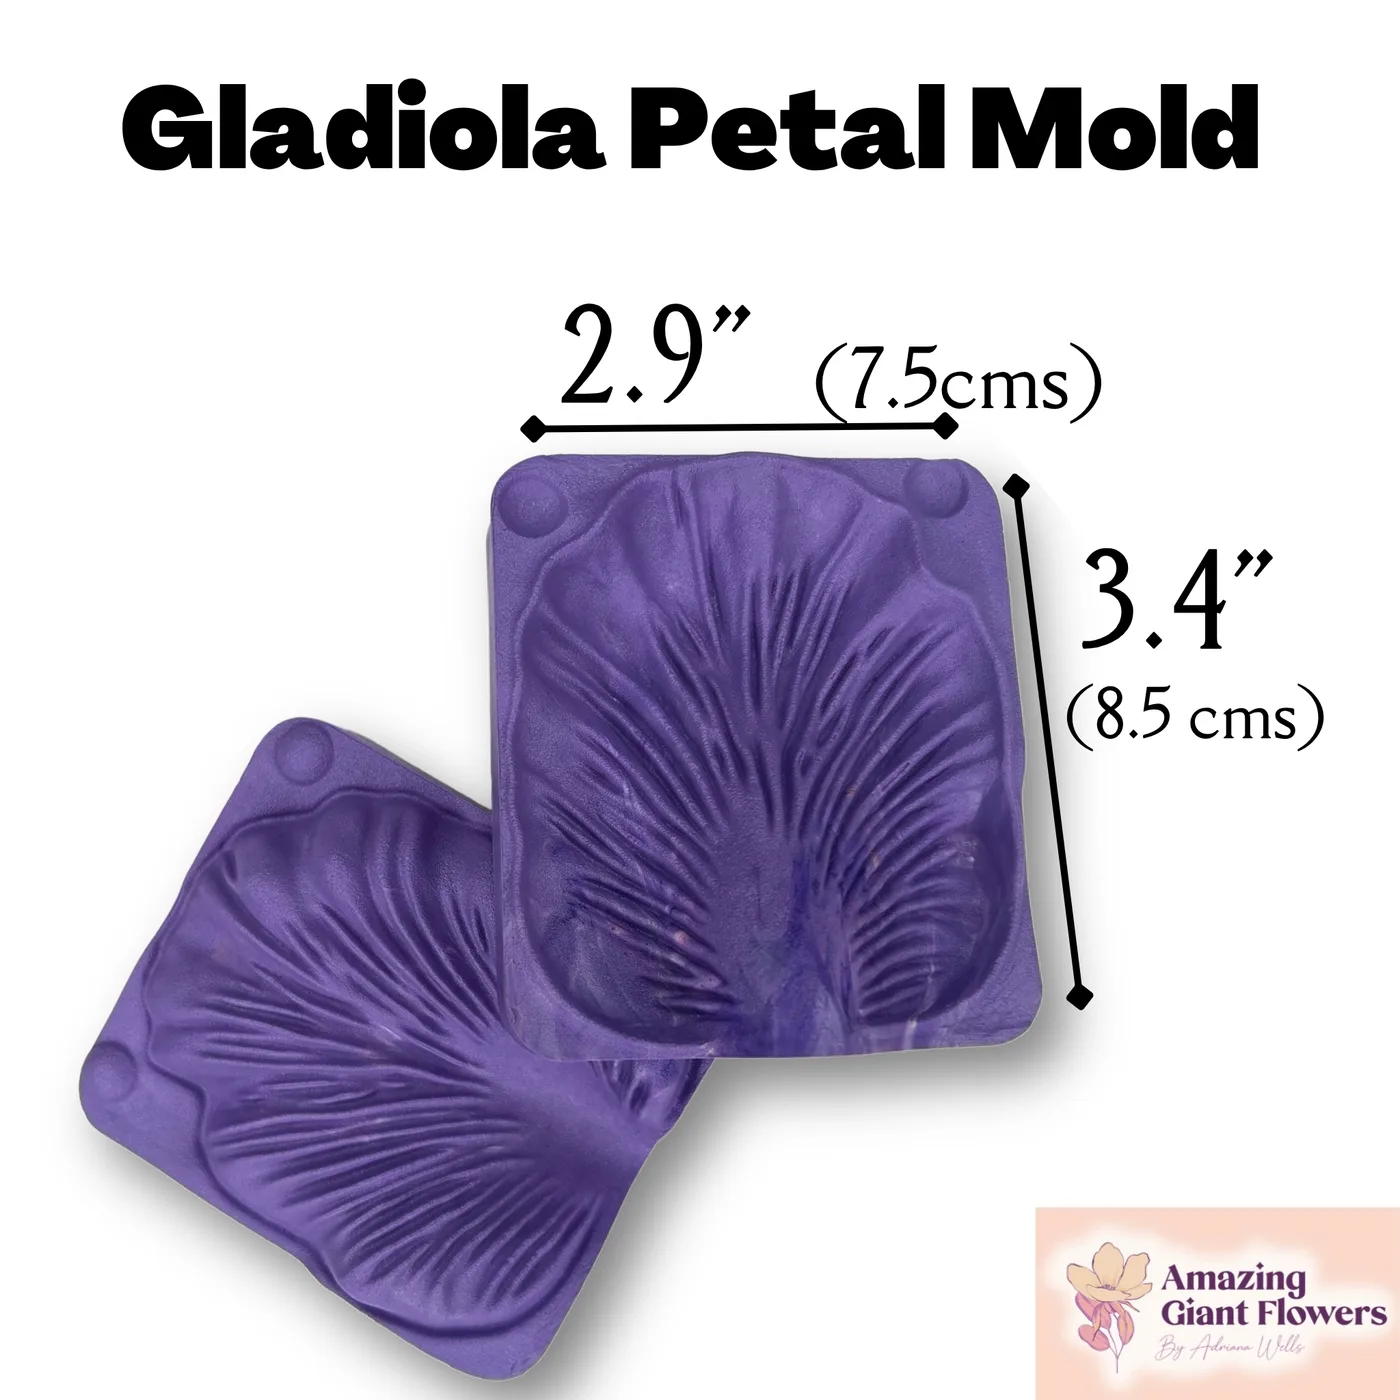
A white or solid-color flower is beautiful. But a flower with a little petal dust brushed into the center? That's the thing that makes people say "wait, is that real?"
Petal Dust Technique
Once your flowers are fully dry, use a soft brush to sweep petal dust (also called luster dust) into the center and along the petal edges. Use a deeper shade of your base color for a natural gradient. It takes about thirty seconds per flower and makes a massive difference.
Painting with Gel Color
Mix gel food coloring with a tiny amount of vodka or lemon extract (the alcohol evaporates, leaving just the color) and paint details directly onto dry petals. You can add veining, tips, or a watercolor wash effect. It sounds fancy but it's genuinely easy once you try it.
Ready to Create Something Amazing?
Browse our collection of giant flower kits and start your next project today.