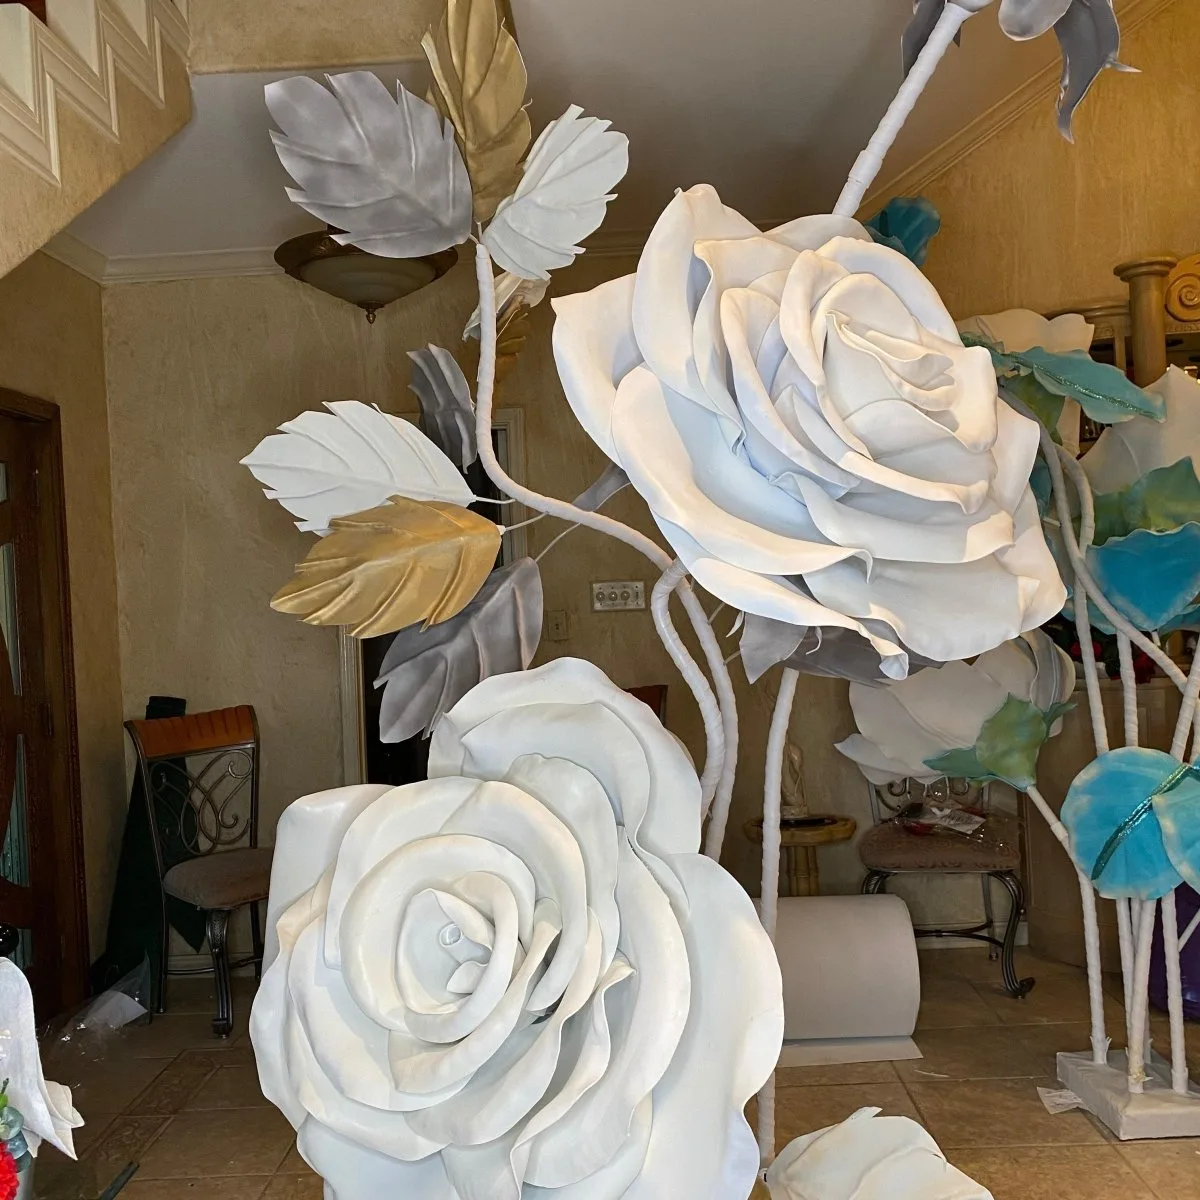
Cutting EVA Foam Cleanly: Tools & Tricks
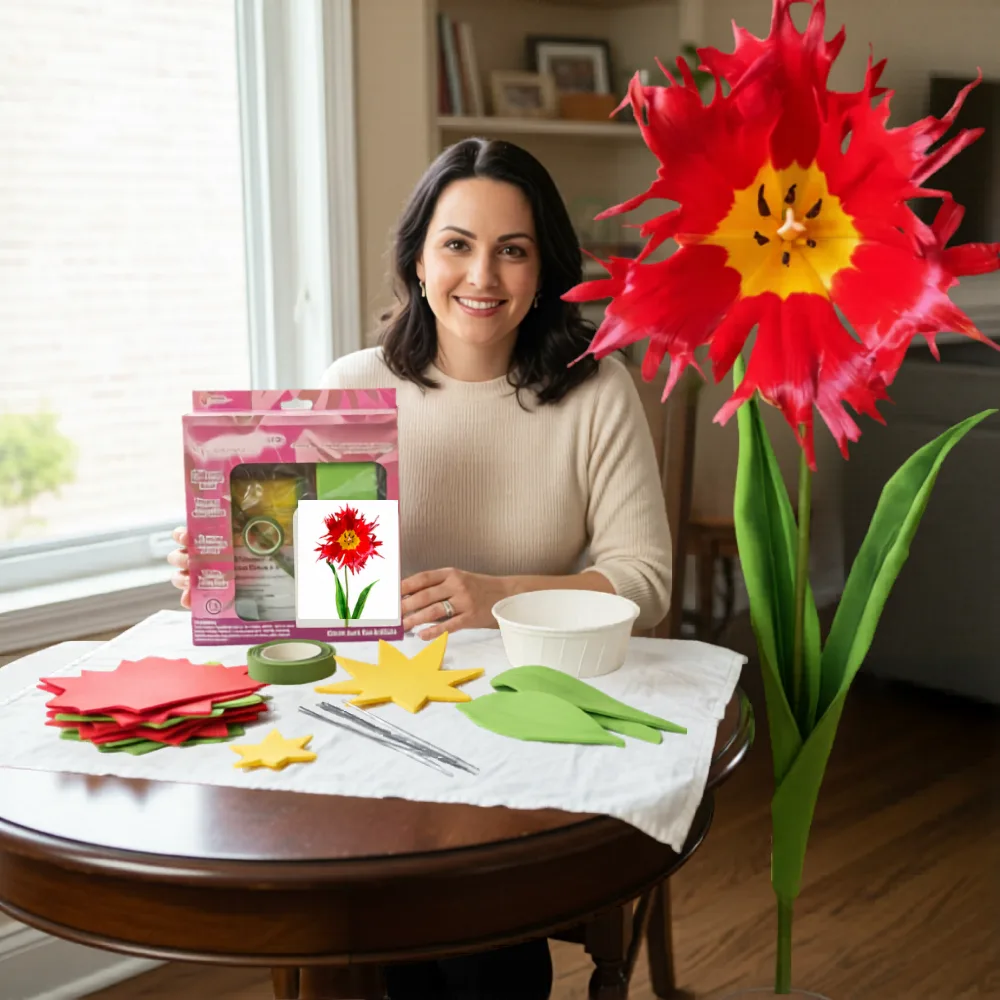
If you've ever tried to figure out how to cut EVA foam and ended up with a jagged, raggedy edge that made your whole petal look like it went through a paper shredder — hi, welcome, you're in the right place. I've been there. My very first attempt at cutting foam for a giant flower looked like I'd used safety scissors with my non-dominant hand. It was rough.
Here's the thing though: cutting EVA foam cleanly is not hard once you know what tools actually work and what tricks make the difference. And for beginners especially, getting clean edges right from the start saves you so much frustration, wasted material, and honestly — money. Because foam scraps add up fast when you're fighting your cuts instead of nailing them.
I put this guide together because I wish someone had handed it to me on day one. Whether you're making your first giant flower backdrop, diving into cosplay armor, or just experimenting with EVA foam sheets and rolls for a craft project, these are the exact tools and tricks I use — and teach — in my own studio.
Key Takeaways
Ok, I know this sounds obvious. But hear me out, because I see beginners skip this mental step all the time. They think, "It's just foam, it doesn't have to be perfect." And then they wonder why their finished flower looks a little off, a little rough around the edges — literally.
Clean cuts are the foundation of everything. When your petal edges are smooth and precise, the whole flower reads as intentional and professional. When they're jagged? Even beautiful paint and shaping can't fully hide it.
There's also the waste angle. Messy cuts mean you're more likely to ruin a piece and have to re-cut. If you're working with a 2mm foam roll or a thick 10mm sheet, every botched cut is material — and money — in the trash. Getting your technique right early keeps your scrap pile small and your budget happy.
"A clean cut is the difference between a flower that looks handmade and one that looks hand-crafted. Those are very different things."
The Best Tools for How to Cut EVA Foam
Let me walk you through the actual tools worth having. I'm not going to list every single thing on Amazon — just the ones I genuinely use and recommend.
This is your workhorse. A standard utility knife or box cutter with a fresh, sharp blade will handle most EVA foam thicknesses beautifully. The key word is fresh. A dull blade drags and tears the foam instead of slicing through it cleanly.
I snap off a blade segment after every major project. Sometimes mid-project if I'm cutting a lot. It sounds like overkill until you feel the difference between a fresh blade and one that's been used for an hour.
For detailed curves, small petals, and intricate shapes — this is your tool. The fine tip gives you control that a utility knife just can't match on tight corners. If you're cutting 2mm or 3mm foam for delicate flower details, an X-Acto knife is genuinely the move.
Ok, this is where it gets really fun. A hot knife (basically a heated blade tool) melts through EVA foam as it cuts, which means sealed, ultra-smooth edges with almost zero fraying. It's especially magical on thicker foams — 6mm, 8mm, 10mm — where a regular blade might require multiple passes.
The trade-off? It takes a little practice to keep your speed consistent. Move too slow and you melt more than you want. Move too fast and you're back to rough edges. But once you get the feel for it, you'll wonder how you ever lived without one.
Real talk? Scissors work fine on thin foam (2mm-3mm) as long as they're sharp fabric scissors — not your kitchen junk drawer scissors. For thicker foam, scissors tend to compress the material and leave a crushed edge. Save them for the thin stuff and simple straight-ish lines.
These aren't cutting tools themselves, but they're non-negotiable. A self-healing cutting mat protects your surface and gives you measurement guides. A metal ruler (not plastic — it will get nicked) keeps your straight cuts actually straight. I've seen so many beginners skip the ruler and then wonder why their rectangular petal base is a trapezoid.
💡 Pro Tip
Always cut away from your body and keep your non-cutting hand out of the blade's path. I know this sounds like basic safety stuff, but when you're in a creative flow and rushing, it's easy to get sloppy. Foam is forgiving. Blades are not.
Choosing the Right Tool by Foam Thickness
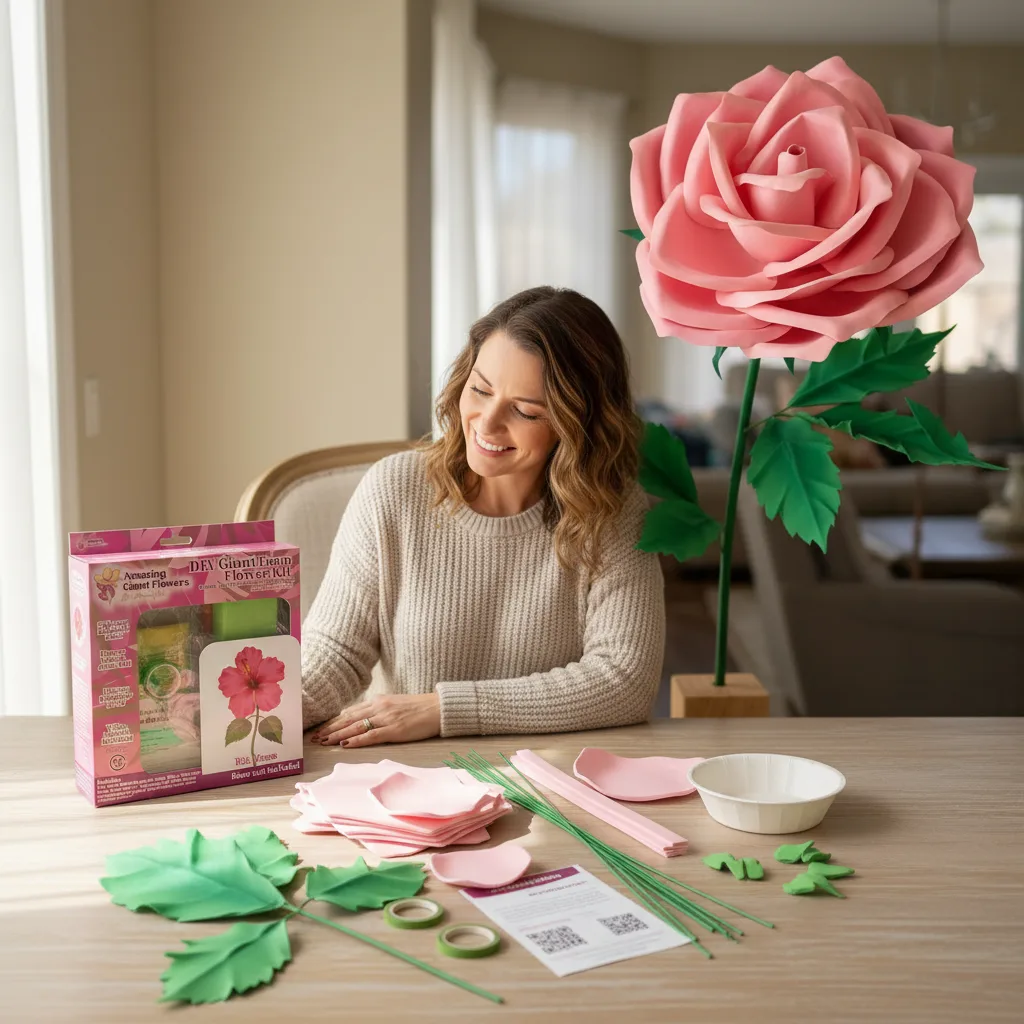
This is one of the most common beginner mistakes — using the same tool for every thickness. EVA foam behaves very differently at 2mm versus 10mm. Here's a quick reference so you can match your tool to your material.
We carry EVA foam in all of these thicknesses over in our foam shop, so you can grab exactly what your project calls for — no guessing.
Alright, let's get into the actual process. These are the steps I walk through every single time, whether I'm making one petal or two hundred.
Before you touch the foam with a blade, make a paper or cardstock template of your petal shape. Trace it onto the foam with a fine-tip marker or ballpoint pen. This is the single biggest thing that reduces waste for beginners — you're not eyeballing freehand shapes and hoping for the best.
If you're making multiple petals of the same shape (and you will be), a solid template means every petal matches. Consistency is what makes a flower look intentional.
Flat cutting mat on a stable surface. No wobble, no slipping. Place your foam flat — don't try to cut it while it's curled up from the roll. If it's fighting you, let it sit flat for a few minutes or gently warm it with a heat gun for a few seconds to relax the curl.
For any straight edge, press your metal ruler firmly along the line and run your blade against it in one confident pull. Don't saw back and forth. One direction, steady pressure, smooth motion. If you need a second pass for thicker foam, that's fine — but keep the blade in the same groove.
Curves are where beginners rush and regret it. For a petal curve, rotate the foam as you cut rather than trying to angle your blade dramatically. Let the material move to meet the blade. Small, controlled movements. Breathe. It's not a race.
Even a good cut can have tiny fuzzies or micro-rough spots. A quick pass of a heat gun about 2-3 inches away from the edge will smooth those right out. The foam surface melts just slightly and seals itself. This is my favorite finishing trick and it takes about five seconds per petal. If you want to go deeper on this technique, I wrote a whole post on heat gun techniques for shaping foam flower petals that you'll love.
🌸 Ready to get started?
Browse our full EVA foam collection — rolls and sheets from 2mm to 10mm, ready to ship. Find your perfect match and let's make something beautiful.
I've watched a lot of people learn this craft, and the same mistakes come up over and over. Here's the shortcut to skipping the frustrating phase:
Want to go even deeper on cutting techniques? My post on the best way to cut foam for flawless DIY crafts covers some extra scenarios that are worth a read once you've got the basics down.
This is something I care about a lot — both for budget reasons and because I genuinely hate waste. Here's how I squeeze every bit of value out of a foam sheet or roll.
Before you cut anything, lay all your paper templates out on the foam like a puzzle. Rotate them, flip them, slide them around until they fit together with minimal gaps. This is called nesting and it's how professional cutters minimize scrap. Even saving an extra inch or two per sheet adds up over a big project.
Even small pieces of EVA foam are useful. I keep a bin of scraps organized by thickness. Those little bits become flower centers, small accent petals, or filler pieces. Nothing goes in the trash until it's truly too small to use.
For thin foam (2mm-3mm), you can stack 2-3 layers and cut through them simultaneously. This only works with sharp blades and simple shapes — don't try this with tight curves or thick foam. But for basic petal shapes on thin material, it's a real time and waste saver.
Once your petals are cut cleanly, the fun really begins. EVA foam is incredibly responsive to heat shaping — a heat gun lets you curve, cup, and bend each petal into a realistic flower shape that looks like it actually grew somewhere.
If you're making freestanding flowers for an event, our freestanding flower kits pair beautifully with EVA foam sheets — the structure is already figured out for you, so you can focus on the creative part. And our bendable pipes are perfect for creating stems and armatures that hold your foam flowers upright without any drama.
For shaping the petals themselves, our flower molds take the guesswork out of getting consistent, realistic curves. Especially helpful when you're making dozens of petals and need them to match. If you're curious about the full range of foam types and which works best for different projects, I also wrote a crafter's guide to every type of foam for giant flowers that breaks it all down.
Frequently Asked Questions
What is the easiest way to cut EVA foam for beginners?
The easiest method for beginners is a sharp utility knife with a fresh blade, a metal ruler for straight lines, and a self-healing cutting mat underneath. Make a paper template of your shape first, trace it onto the foam, and cut in one slow, confident pull rather than multiple short strokes.
For very thin foam (2mm-3mm), sharp fabric scissors also work well on simpler shapes. The key in every case is blade sharpness — that one factor makes more difference than any other tool or technique.
Can I use regular scissors to cut EVA foam?
Yes, but only on thin foam (2mm to 3mm) and only with sharp scissors. Fabric scissors or craft scissors with a fine blade work best. On anything thicker than 3mm, scissors tend to compress and crush the foam rather than slicing cleanly, leaving a beveled or uneven edge.
For thicker foam or precise shapes, stick to a utility knife or X-Acto knife. You'll get a much cleaner result with less effort.
How do I get smooth curved edges when cutting EVA foam?
The trick to smooth curves is to rotate the foam toward the blade rather than dramatically angling the knife. Keep your blade moving in a consistent direction and let the material turn to meet it. Go slowly — rushing curves is the fastest way to a jagged edge.
After cutting, a quick pass with a heat gun (held 2-3 inches away) will seal and smooth any remaining rough spots on the edge. It's a small step that makes a big visual
Ready to Create Something Amazing?
Browse our collection of giant flower kits and start your next project today.