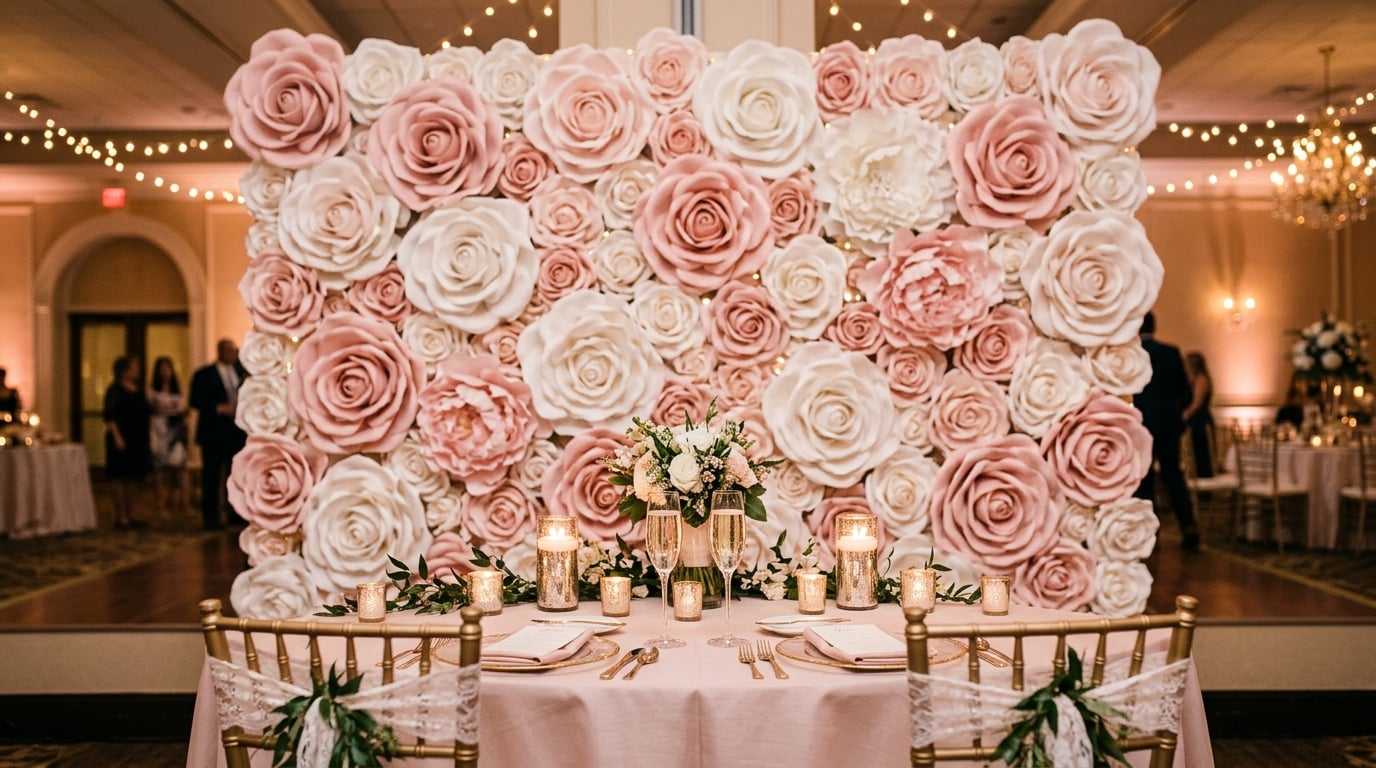
DIY Giant Flower Backdrop for Photos: Easy Guide
Adriana Beaman April 30, 2026 16 min read

Ready to Create Something Amazing?
Browse our collection of giant flower kits and start your next project today.
Artist-Designed Kits·Pre-Cut — No Experience Needed·Step-by-Step Video Tutorials Included
Pre-Cut DIY Kits · No Experience Needed · Video Included
Browse our collection of giant flower kits and start your next project today.