Holiday Decor: How to Make a Giant Poinsettia That Dazzles
If you've been searching for the ultimate holiday decor giant poinsettia DIY project, you are in exactly the right place. I've made hundreds of these over the years, and every single time I finish one, I still get that little gasp-out-loud moment. There's something about a 3-foot crimson poinsettia sitting in your entryway that just stops people in their tracks.
Real talk? Fresh poinsettias are gorgeous. But they drop leaves, they hate drafts, and they're gone by January. A giant EVA foam poinsettia? That thing will outlast your holiday playlist. I've had clients pull theirs out three Christmases in a row and they still look incredible.
In this tutorial I'm walking you through everything — materials, petal shaping, assembly, the works. Whether you're decorating your home, planning a corporate holiday event, or building a backdrop for a holiday photo booth, this guide is going to get you there.
Poinsettias are already the number one selling potted plant in the United States, accounting for about one-quarter of all flowering potted plant sales each year, according to the USDA National Agricultural Statistics Service. So it makes total sense that the giant, oversized version is blowing up in the event and decor world right now.
I started seeing the demand shift a few years ago. Event planners were calling me asking for holiday-specific giant flowers. Not just generic red blooms — they wanted poinsettias. Recognizable. Iconic. Festive.
And the scale changes everything. When you blow a poinsettia up to 2, 3, even 4 feet across, it becomes a statement piece. A centerpiece. A whole vibe.
According to Statista, Americans spend over $9 billion on holiday decorating each year. People are investing in their spaces. They want something that photographs beautifully, lasts more than one season, and honestly — something their neighbors don't have.
A giant EVA foam poinsettia checks every single one of those boxes. And once you make your first one, I promise you'll be making five more before New Year's.
Ok, let's talk supplies. I'm going to be really specific here because the wrong materials will make this so much harder than it needs to be. I learned that the expensive way when I started out.
Honestly? EVA foam is the only material I recommend for giant poinsettias. Crepe paper tears. Cardstock cracks. Tissue paper looks flat. EVA foam shapes beautifully with heat, holds its curve, and has that slight sheen that mimics a real poinsettia leaf perfectly.
One more thing — print your petal templates before you start. Poinsettia bracts (those are the colorful "petals" — they're technically modified leaves) have a very specific elongated, slightly ruffled shape. Getting that shape right is what separates a wow-worthy giant poinsettia from something that just looks like a big red blob.
I include petal templates with all my kits over at Amazing Giant Flowers, so if you want to skip the template-drawing step entirely, that's always an option.
Step-by-Step: Building Your Giant Poinsettia from Scratch
Step 1: Cut Your Bracts (Petals)
A real poinsettia has two layers of bracts — a larger outer layer and a slightly smaller inner layer. For a 3-foot finished flower, I cut my outer bracts to about 14-16 inches long and 5-6 inches at the widest point. The inner bracts run about 10-12 inches long.
You'll need 8 outer bracts and 6-8 inner bracts for a full, lush look. Cut them from your 2mm crimson EVA foam sheets.
The shape matters a lot here. Poinsettia bracts taper to a pointed tip and have slightly wavy, irregular edges — not perfectly smooth. Use small scissors snips along the edge to create that natural variation. It takes an extra five minutes and makes a huge difference.
If you want to add veining, now is the time. Press a piece of 24-gauge floral wire down the center of each bract and secure it with a thin line of hot glue. This lets you bend and position each bract individually after assembly — total game changer for a realistic look.
This is where it gets really fun. I mean it — this step is genuinely satisfying.
Hold your heat gun about 3-4 inches from the foam surface and move it in slow, sweeping passes. You'll see the foam start to soften and respond almost immediately. Work quickly and use your fingers (or a rounded tool) to curl the edges upward and create that cupped, dimensional shape.
For the outer bracts: Curl the tips slightly upward and add a gentle lengthwise curve. Think of how a real poinsettia bract droops gracefully at the tip.
For the inner bracts: These should be more upright and cupped. Give them a stronger center curve so they cradle the center cluster.
Work one bract at a time and let each one cool completely before moving on. EVA foam holds its shape once it cools — usually within 30-60 seconds. Don't rush this part. Rushed shaping = flat, lifeless petals, and we are not doing flat and lifeless.
Cut a circular base from your 6mm foam — about 8 inches in diameter for a 3-foot flower. This is what everything attaches to, so make it sturdy.
Start with your outer layer. Apply a generous bead of high-temp hot glue to the base of each outer bract and press it firmly to the foam circle. Space them evenly — I like to place four first at the compass points, then fill in between. Overlap them slightly so there are no gaps.
Let the outer layer set for a full 2-3 minutes before adding the inner layer on top. I know, I know — waiting is hard. But if you rush it, the outer petals shift and your whole flower looks lopsided.
Add your inner bracts in the same way, staggered between the outer ones. Then take a moment and look at it from above. Adjust any petals that are out of place while the glue is still slightly warm and workable.
Now for the center. Roll small pieces of yellow or lime green foam into tiny berry-like clusters — these are the cyathia, the actual flowers of the poinsettia. Glue them together in a tight cluster about 3-4 inches across and press firmly into the center of your assembled bracts. This finishing detail is what makes people say "wait, is that real?"
Displaying Your Giant Poinsettia: Options for Every Space
So now you've got this gorgeous, dramatic poinsettia and you're wondering — where does it actually go? I've got you. There are so many ways to use these and I want to give you real, specific ideas.
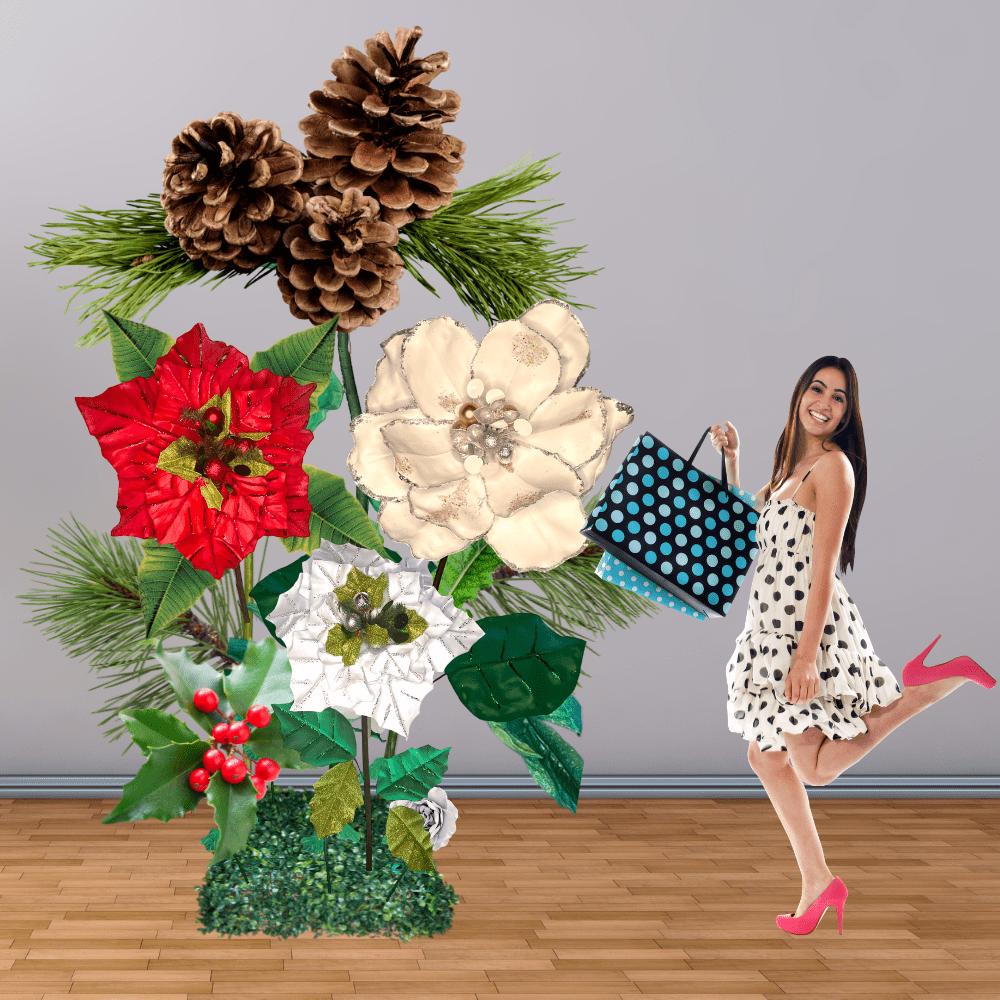
- Freestanding Floor Display: Attach your flower to a bendable pipe stem inserted into a weighted base (a bucket of sand or floral foam works perfectly). Position it at 4-5 feet tall for maximum impact. Flank your front door with two of them for a look that's genuinely showstopping. For more on freestanding arrangements, check out my guide on freestanding giant flower arrangements for events.
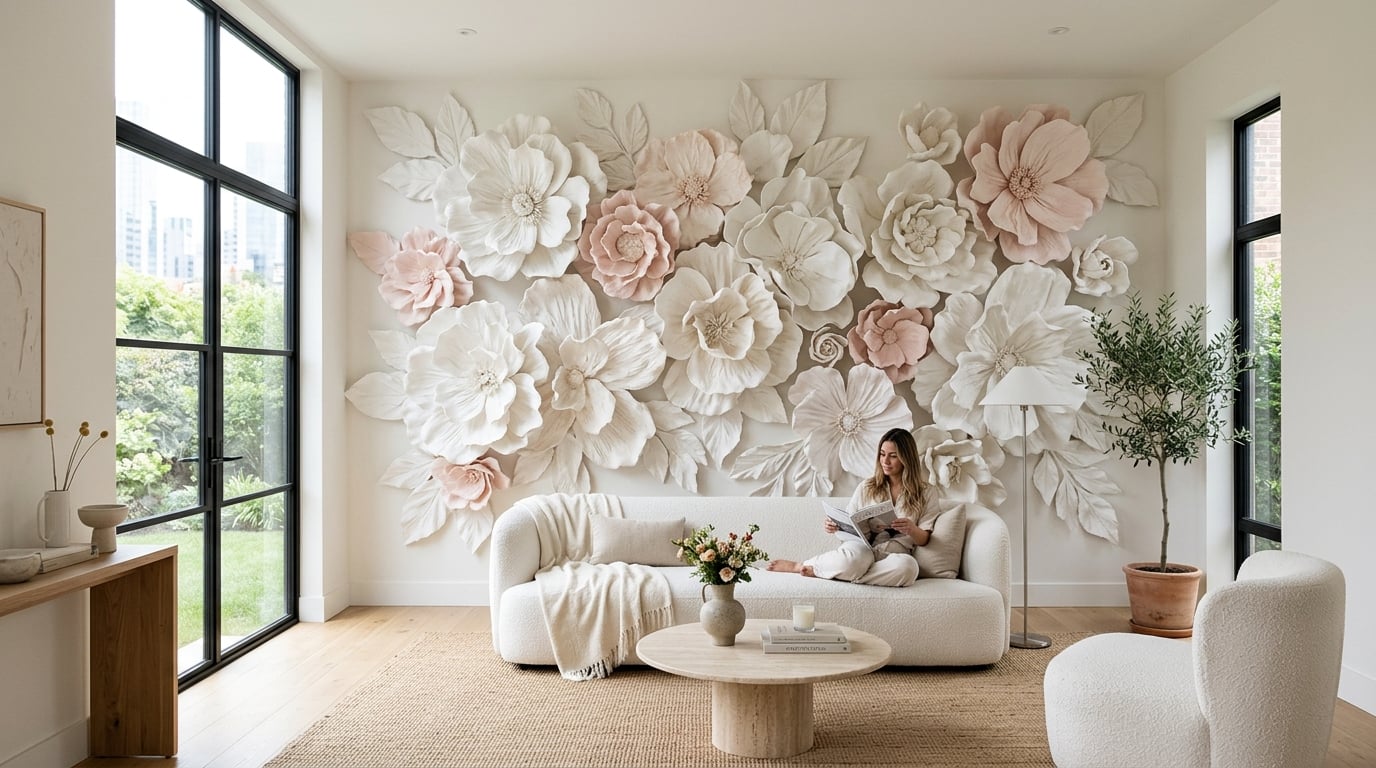
- Wall-Mounted Accent: Use a foam adhesive strip or Command hook to mount directly to the wall. A cluster of 3 poinsettias in graduating sizes — say 36", 24", and 18" — creates a stunning focal wall. I go deep on wall mounting techniques in my wall decor paper flowers guide.
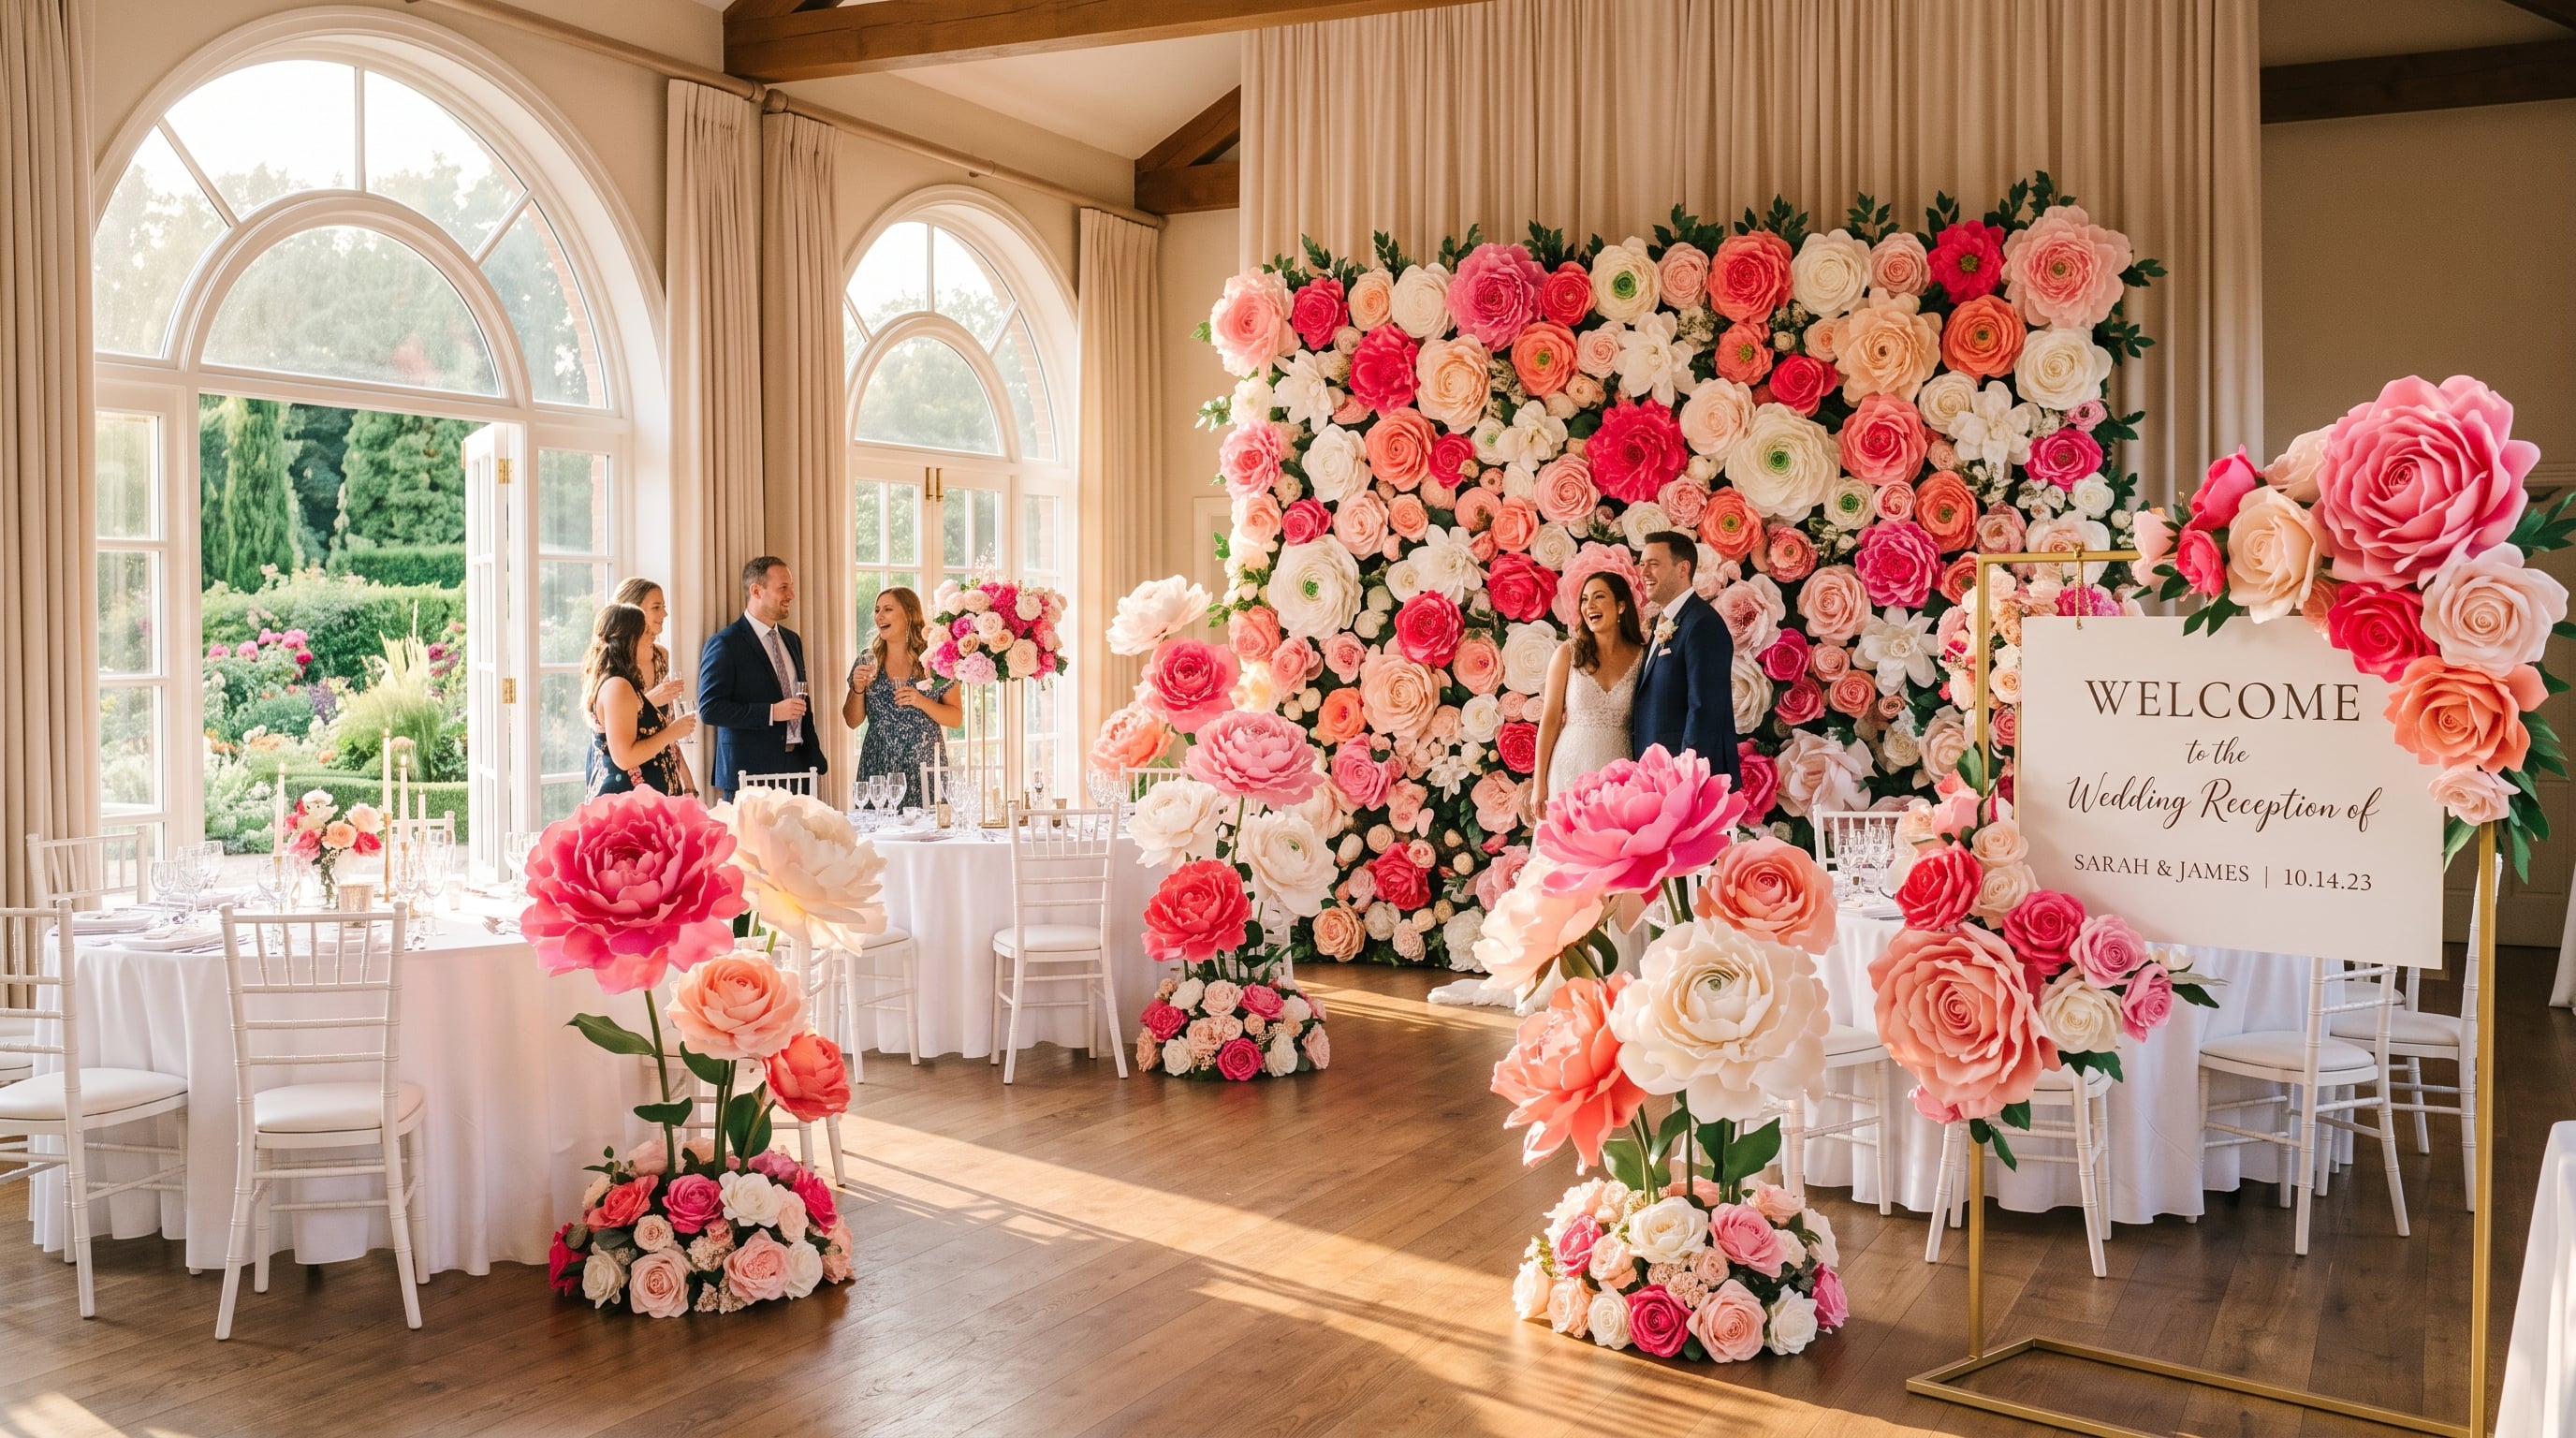
- Holiday Photo Backdrop: Cover a full backdrop frame with giant poinsettias mixed with greenery and gold accents. This is incredibly popular for holiday mini sessions. I have a whole tutorial on DIY giant flower backdrops for photos that walks you through the full build.
- Mantel or Tabletop Centerpiece: For a smaller version — think 18-24 inches — place it in a decorative pot or vase filled with floral foam. Add some faux pine sprigs and red berries around the base and it looks like something out of a magazine.
- Corporate or Retail Display: Holiday pop-ups, hotel lobbies, retail windows — giant poinsettias photograph beautifully and create that wow factor that drives foot traffic. According to Shopify's retail research, visual merchandising directly influences purchasing decisions for over 70% of shoppers. A giant holiday display isn't just pretty — it's strategic.
For holiday events specifically, I love combining giant poinsettias with an arch or garland. If that's the direction you're heading, my post on large paper flower arch decoration has everything you need.
And if you're doing a corporate holiday event, giant poinsettia installations are genuinely one of the most impressive and cost-effective decor investments you can make. A Bizzabo study on event experience found that 91% of event professionals believe in-person events are critical for business success — and memorable decor is a huge part of creating that experience. My corporate event engagement ideas post goes into this in a lot more detail.
One thing I always tell people: don't be afraid to go bigger than feels comfortable. The first time I made a 4-foot poinsettia I thought it was too much. My client cried happy tears when she saw it in her entryway. Go big. You can always scale back. You almost never want to.
Color-wise, don't feel locked into traditional red. Some of my absolute favorite poinsettia builds have been in ivory and gold for a glam holiday aesthetic, deep burgundy and blush for a romantic look, or even an unexpected cobalt blue for a modern, non-traditional holiday palette. EVA foam comes in so many colors — the only limit is your imagination (and maybe your glue gun capacity).
According to the Pantone Color Institute, holiday color palettes have been shifting toward warmer, richer tones and unexpected jewel hues in recent years — think deep teal, plum, and antique gold alongside traditional red and green. A giant poinsettia in deep plum with gold-tipped bracts? I'm obsessed with that idea and I may need to make one immediately.
If you're making multiples — which, once you make one you absolutely will be — consider a Bundle Kit from the shop. Getting 8-12 flowers worth of pre-cut foam at once saves so much time and the per-flower cost drops significantly. Bundle kits run $350-600 depending on size, and for a full holiday installation, that's genuinely incredible value compared to hiring a floral designer. A The Knot survey found that professional floral installations for events average $1,500-$3,000 just for a single focal piece. A bundle kit gets you an entire room.
Storage is also worth mentioning. One of the biggest advantages of EVA foam over fresh or even silk flowers is how well it stores. Stack your giant poinsettias flat in a large plastic bin with a sheet of tissue paper between each one. They'll come out next December looking exactly the same. I have clients who've been using the same set for four or five holiday seasons and they still look brand new.
Honestly, making your own giant holiday decor is one of those things that sounds intimidating until you actually do it. And then you realize — this is just cutting, shaping, and gluing. It's crafting. It's fun. It's a Saturday afternoon with good music and a hot glue gun and something genuinely beautiful at the end of it.
I started Amazing Giant Flowers because I wanted everyone to have access to this kind of wow-factor decor without needing a massive budget or a professional floral team. Every kit we ship comes with pre-cut pieces and video tutorials so you're never guessing. Head over to the shop and take a look — there's a reason Disney and Dolce & Gabbana trusted us with their installations, and I want that same magic in your home this holiday season.
So — are you making a classic crimson poinsettia or are you going rogue with an unexpected color? Drop a comment and let me know. I genuinely want to see what you create.
Ready to Create Something Amazing?
Browse our collection of giant flower kits and start your next project today.