EVA Foam Flower Crafting: The Ultimate Beginner's Guide
If you've ever seen those jaw-dropping giant blooms at a wedding or event and thought "how on earth did someone make that?" — you're in the right place. This EVA foam flower crafting beginners guide is everything I wish I had when I first started. No fluff, no vague instructions. Just real, honest guidance from someone who has made hundreds of these flowers and learned a ton of lessons the hard way.
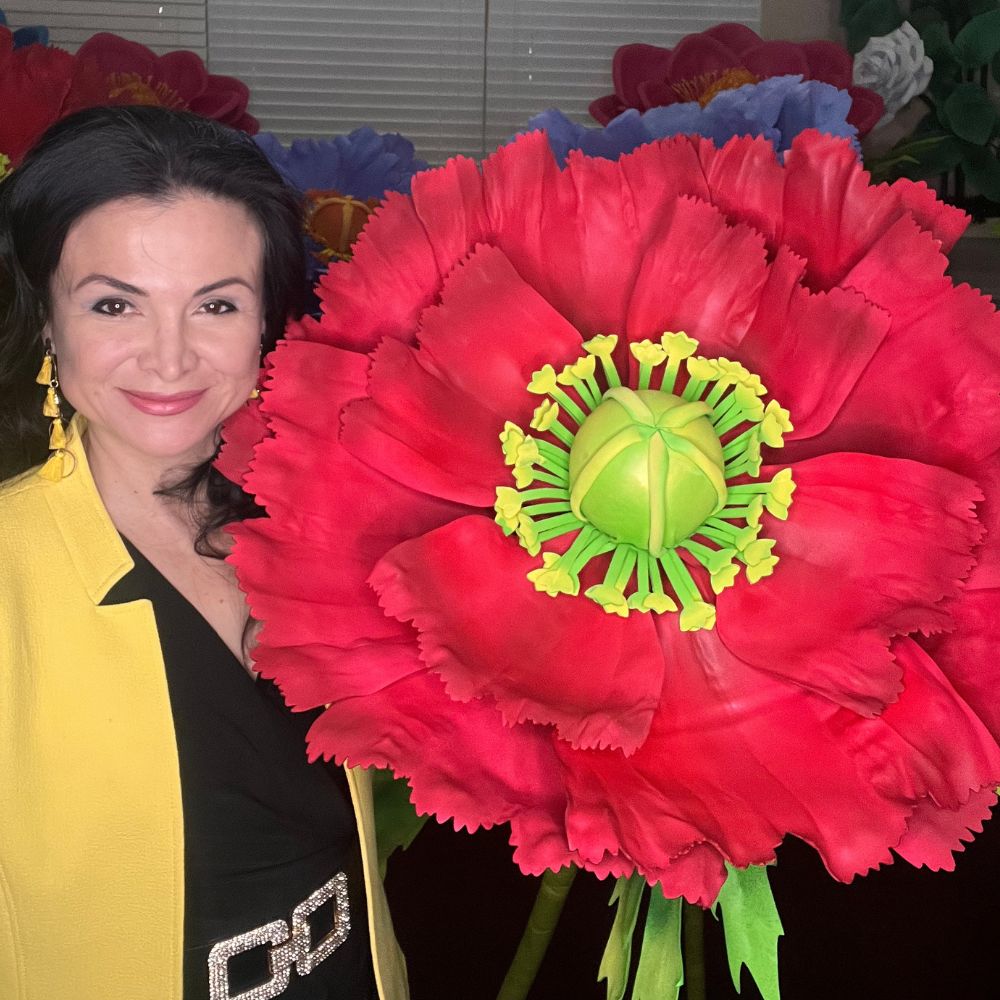
I'm Adriana, and I've been crafting giant EVA foam flowers out of my Houston studio for years. My work has ended up at Disney events, Dolce & Gabbana campaigns, and hundreds of weddings across the country. But trust me — I was a total beginner once. I ruined petals. I used the wrong glue. I cried over a flower that collapsed the night before a client event. So yeah, I get it.
By the end of this guide, you'll know exactly what materials to buy, how to cut and shape your petals, how to assemble a stunning bloom, and how to avoid the mistakes that trip up almost every beginner. Let's do this.
Key Takeaways
Before we talk technique, let's talk material. Because choosing the right foam is honestly half the battle.
EVA foam stands for Ethylene-Vinyl Acetate. It's the same material used in yoga mats, shoe soles, and kids' play mats. And it is absolutely perfect for crafting giant flowers.
What Makes EVA Foam So Special?
Here's why I use it exclusively and recommend it to every single beginner:
I get asked all the time: "Can I just use cardstock? Or crepe paper?" Here's the honest comparison.
Honestly? For giant flowers that look professional, last for years, and are actually fun to make — EVA foam wins every time.
Let me save you the painful (and expensive) experience of buying the wrong stuff. I've tested a lot of products. Here's exactly what you need.
Once you've made a few flowers and you're hooked (and you will be), these tools level up your work:
According to Statista, the US craft industry generates over $44 billion annually — and DIY event decor is one of the fastest-growing segments. People are choosing handmade over store-bought, and for good reason.
This trips up so many beginners. Not all foam is created equal, and thickness matters a lot depending on what part of the flower you're making.
2mm EVA foam is your go-to for petals. It's thin enough to curl beautifully with heat, lightweight, and easy to cut into detailed shapes.
4mm EVA foam gives you more structure. I use this for larger outer petals on roses and peonies, where you want that slightly stiffer, more dimensional look.
6mm EVA foam is great for center cones, flower bases, and structural backing pieces. It holds its shape without any heat shaping needed.
Real talk? When I first started, I tried to make everything out of the same thickness foam. The petals were either too stiff or too floppy. Learning which thickness to use for which part of the flower was genuinely a game-changer for me.
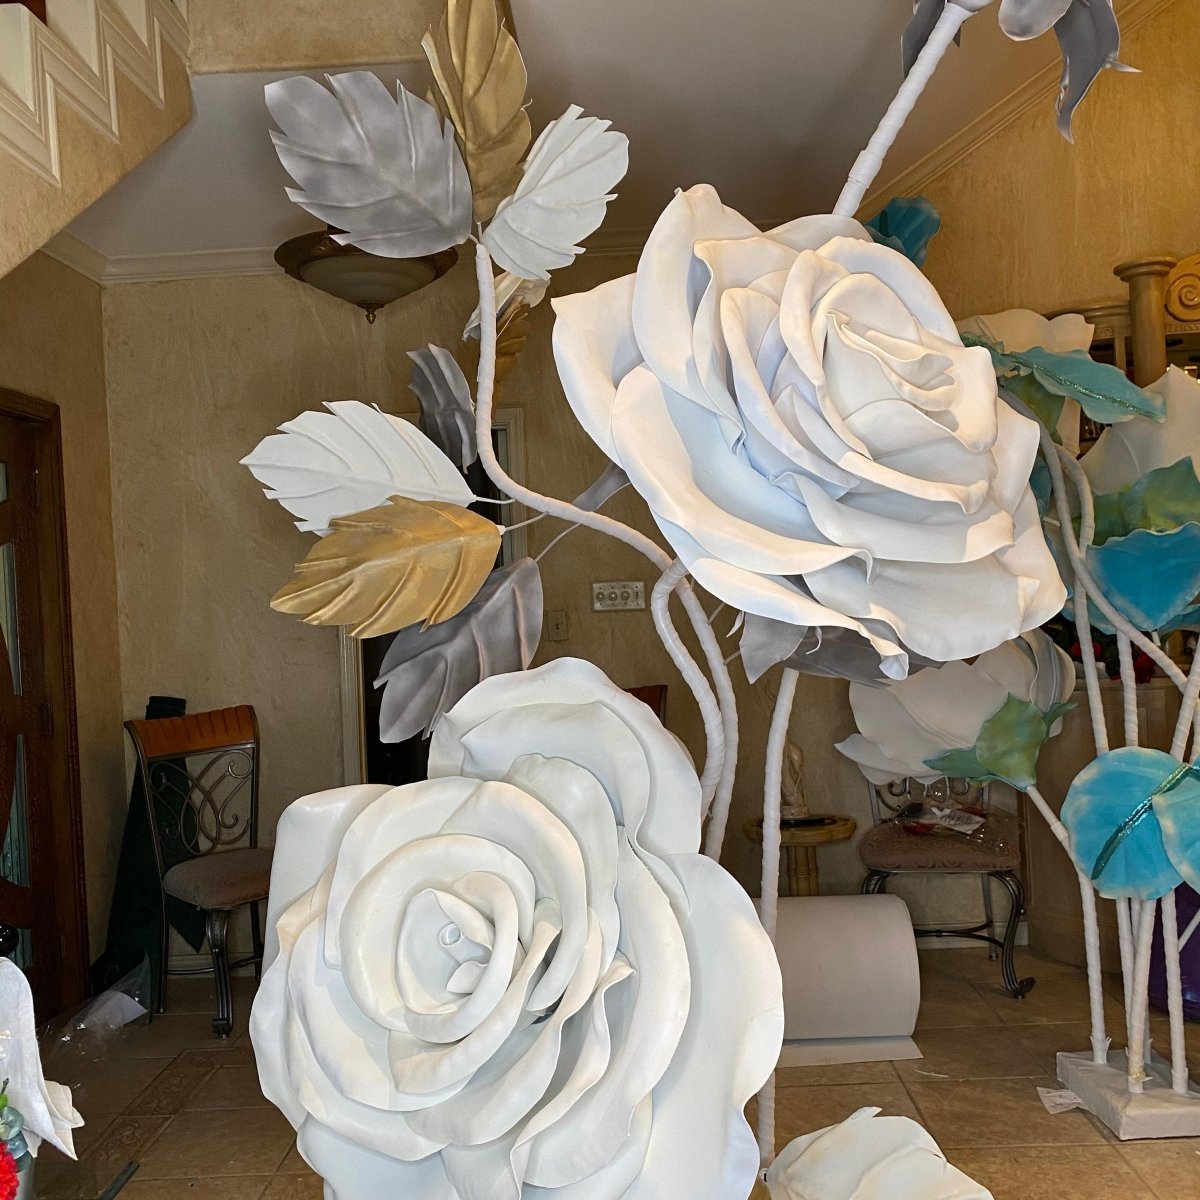
Ok, this is where it gets really fun. We're going to make a classic large rose — one of the most popular flowers I teach. It's forgiving for beginners and looks absolutely stunning when it's done.
Start with your 2mm EVA foam sheets. You'll need roughly 15-20 petals for a full, lush rose bloom that measures about 18-24 inches across.
Cut petals in three different sizes: small inner petals (about 4-5 inches), medium petals (about 7-8 inches), and large outer petals (about 10-12 inches). This layering is what gives the flower depth and realism.
If you're using one of our pre-cut kits, skip this step — your pieces are already cut and ready to shape. Seriously, it saves so much time.
Step 2 — Shape the Petals with Heat
This is the magic step. This is where flat foam becomes a flower petal.
Hold your heat gun about 3-4 inches away from the foam. Move it in slow, sweeping motions — don't hold it in one spot or you'll melt a hole through the foam (ask me how I know).
As the foam warms up (you'll see it start to soften slightly), press it against a rounded surface — a ball, a spoon, even your palm — to create a cupped, curved shape. Hold it for 10-15 seconds while it cools. It will hold that curve permanently.
For the inner petals, I like to curl the tips backward slightly. For outer petals, I cup them more deeply. This variation is what makes the flower look alive instead of flat and fake.
Take your smallest 3-4 petals and roll the first one into a tight spiral. This is your flower's center bud. Hot glue the base to hold it.
Wrap the next few small petals around that center, overlapping them slightly and gluing at the base. Don't glue the tips — let them be free. That's what gives the flower that open, natural look.
Step 4 — Layer Outward
Now start adding your medium petals, gluing them at the base and spacing them evenly around the center. Then add your large outer petals in the same way.
The key is to stagger the petals — never line up the seams. Think of how a real rose grows: each petal nestles between two petals in the layer below it.
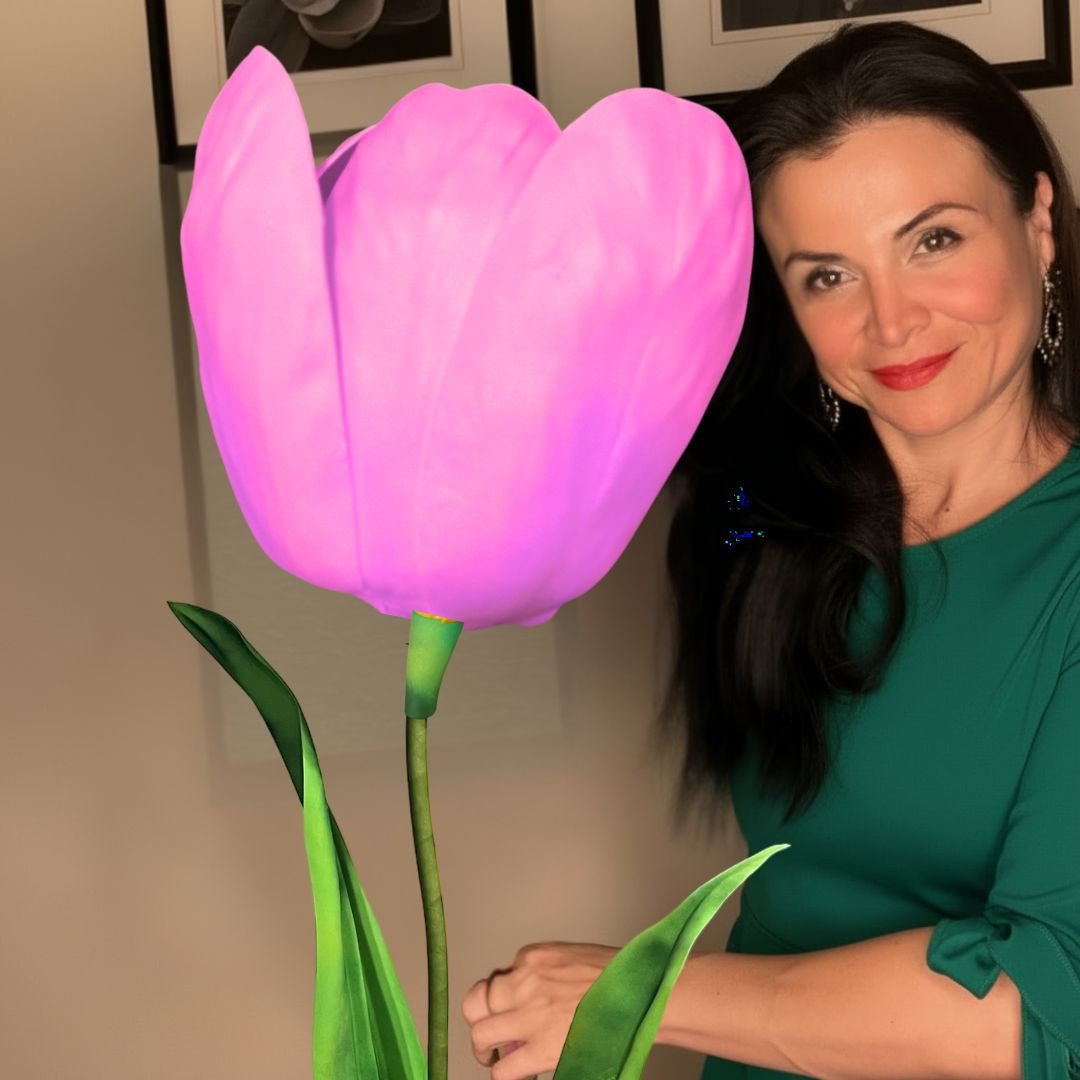
For a freestanding flower, you'll feed your bendable pipe stem up through the center of the assembled bloom and secure it with hot glue. Our bendable pipe stems are specifically designed to support flowers up to 5 feet tall without tipping.
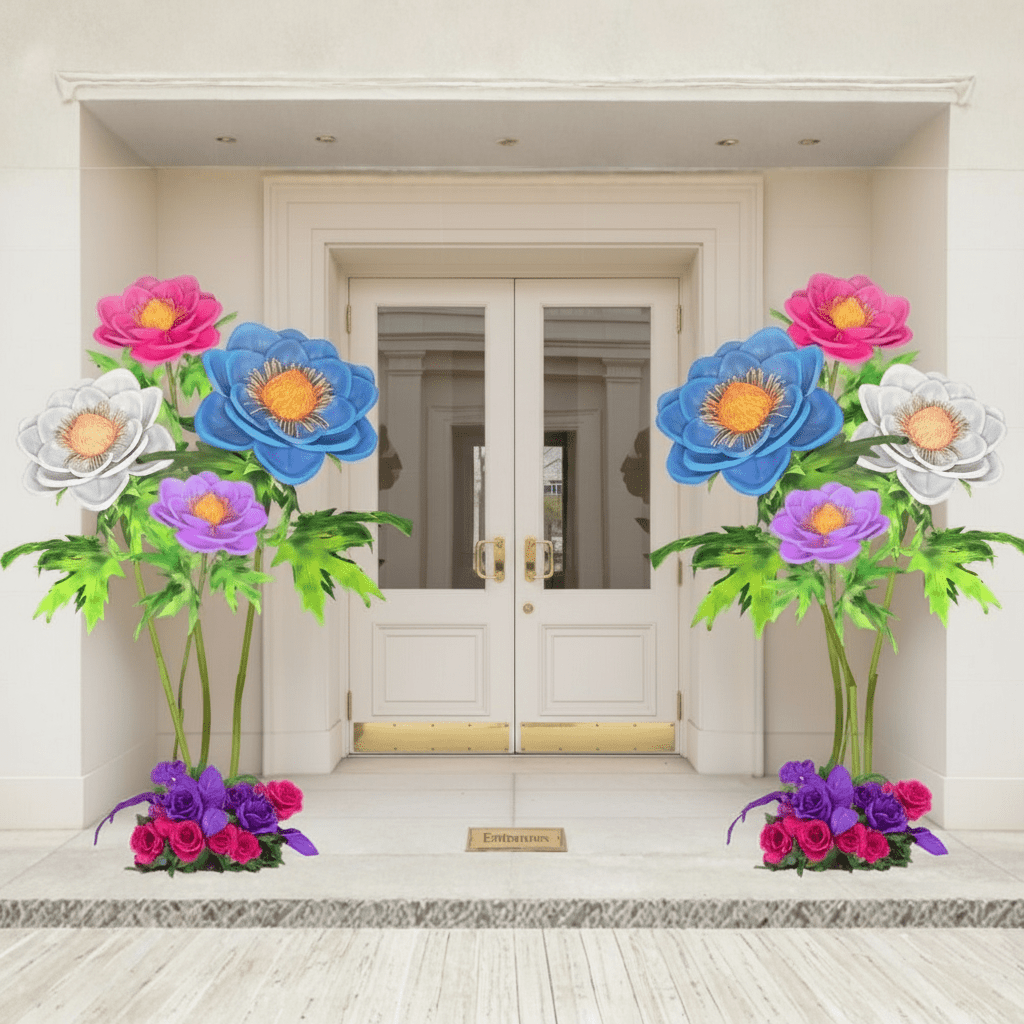
For a wall-mounted flower, glue a flat backing piece to the bottom of your bloom and use command strips, wire, or nails to hang it. Check out our guide on white flowers on wall for more hanging tips and display ideas.
Here's where your flower goes from "cute craft project" to "wait, is that real?" Finishing is everything.
Always start with a base coat of acrylic paint. White is my go-to base — it makes every color on top pop. Use a sponge brush or a foam roller for smooth, even coverage.
For ombre effects, while the base coat is still slightly tacky, blend a second color from the petal tips inward using a dry brush technique. The result is this gorgeous gradient that looks incredibly realistic.
If you want to use spray paint, make sure it's 100% foam-safe. I've seen so many beginners grab whatever's in the garage and end up with a melted, bubbly mess. Read the label. Always. For more on getting perfect paint finishes, I wrote a whole guide on foam board paint finishes that covers a lot of the same principles.
Once your paint is fully dry, seal it with a matte or satin Mod Podge. This protects the color, adds a slight sheen, and makes the flower much more durable — especially if it's going to be handled or displayed outdoors.
For outdoor events, I also recommend a UV-resistant clear coat spray to prevent fading in sunlight.
I've seen these mistakes hundreds of times — in my own work and in the questions I get from customers. Let me save you the heartache.
Low-temp hot glue, craft glue, super glue — none of these hold EVA foam reliably for large-scale flowers. High-temp hot glue is your best friend. Period.
I see this constantly. Someone cuts beautiful petals and then just glues them flat. The result looks like a kindergarten art project, not a professional flower.
Every single petal needs to be shaped with heat. Even a subtle curve makes a massive difference in how realistic and dimensional the finished flower looks.
Real flowers have variation. Small tight inner petals. Larger, more open outer petals. If all your petals are identical, the flower will look stiff and artificial.
Cut at least three different petal sizes for any bloom you make. Trust me on this one.
Mistake #4: Rushing the Assembly
Hot glue needs a few seconds to set. If you're moving too fast and repositioning petals before the glue cools, everything shifts and the flower ends up lopsided.
Slow down. Hold each petal in place for a full 15-20 seconds before moving to the next one.
Once you've nailed one flower, the world opens up. And I mean that — the possibilities are genuinely endless.
A Brides.com survey found that couples spend an average of $2,000-$2,500 on wedding flowers — and that's just for one day. Giant EVA foam flowers can replace or supplement fresh florals at a fraction of the cost, and they last forever.
Once you're comfortable making a single bloom, here are some directions you can take your work:
Honest answer? If you're a beginner, start with a kit. Here's why.
When I first started, I spent hours just on templates and cutting — before I even got to the fun part. Our kits come with pre-cut foam pieces, step-by-step video tutorials, and everything you need to make a stunning flower on your first try.
According to IBISWorld, the US floral industry is worth $7.9 billion — and a growing slice of that is DIY and artificial florals. People are getting smarter about where they invest their decor budget.
Our Freestanding Giant Flower Kits start at around $80 and our Bundle Kits (8-12 flowers) range from $350-$600 — compare that to hiring a professional floral designer for a backdrop, which can easily run $1,500-$3,000+. The savings are real.
You've made something beautiful. Now let's make sure it stays that way.
For wall displays, I love using large Command strips for lighter flowers (under 2 lbs) and proper wall anchors for heavier arrangements. Always check the weight before you hang anything.
For freestanding flowers, make sure your stem is inserted into a heavy base — a weighted bucket filled with floral foam, sand, or plaster works beautifully. The last thing you want is a gorgeous 4-foot flower tipping over at your event.
Storage Tips
Store your flowers in a cool, dry place away from direct sunlight. UV exposure will fade painted foam over time, even with a sealant.
Don't stack heavy items on top of your flowers. I store mine in large, shallow bins with tissue paper between layers. A little care goes a long way — I have flowers that are 4+ years old and still look incredible.
A report from The Knot found that the average US wedding now costs over $30,000. Couples are actively looking for ways to get stunning visuals without blowing the entire budget — and reusable giant foam flowers are one of the smartest investments they can make.
EVA foam (Ethylene-Vinyl Acetate) is a lightweight, flexible foam material that becomes pliable when heated and holds its shape when cooled. It's ideal for giant flowers because it's easy to cut, shape into realistic petal curves, paint, and glue — and it's incredibly durable compared to paper or fabric alternatives.
It's also budget-friendly. A single sheet costs $1-3, and you can make multiple petals from one sheet. For large-scale event decor, it's simply the most practical and beautiful option available.
For a beginner making their first flower, expect to spend about 2-4 hours from start to finish — including cutting, shaping, assembling, and painting. As you get more comfortable, that time drops significantly. Experienced crafters can make a full bloom in 45-90 minutes.
Using a pre-cut kit cuts that beginner time down considerably since the cutting and template work is already done for you.
What size EVA foam flowers can I make as a beginner?
Beginners can absolutely start with larger flowers — don't be intimidated by size. A 2-3 foot flower is actually easier to work with than a tiny one because the pieces are bigger and easier to handle. Our kits range from 2 to 5 feet tall, and many of our customers make their very first flower at the 2-3 foot size.
Not at all. This is genuinely one of the most beginner-friendly crafts out there. If you can use scissors, a hot glue gun, and follow a video tutorial, you can make a beautiful giant flower. The heat shaping technique takes a little practice, but most people get the hang of it within their first 3-4 petals.
According to HGTV, DIY home and event decor is consistently one of the top crafting trends — and giant foam flowers are a huge part of that movement right now.
Yes, with the right preparation. Seal your painted flowers with a UV-resistant clear coat and they'll hold up beautifully for outdoor events. They're not waterproof, so I'd avoid leaving them out in rain. For a one-day outdoor wedding or event? Absolutely perfect.
At Amazing Giant Flowers, our Freestanding Giant Flower Kits range from approximately $80-$180, depending on the flower size and complexity. Wall-Mounted Kits start around $50-$120, and our Bundle Kits (8-12 flowers) range from $350-$600.
Compare that to hiring a professional floral decorator — a single flower wall installation can cost $1,500-$5,000+. The DIY savings are significant, and you end up with something you made yourself that you can reuse again and again.
So there you have it — everything you need to start your EVA foam flower journey. From picking the right foam thickness to shaping petals with a heat gun to building a flower that genuinely stops people in their tracks. You've got this. I really mean that.
If you're ready to jump in, head over to our shop at Amazing Giant Flowers and browse our beginner kits. They come with pre-cut pieces and video tutorials that walk you through every step. And if you ever have questions, reach out — I love hearing from people who are just starting out. This craft changed my life, and I have a feeling it might just change yours too.
Ready to Create Something Amazing?
Browse our collection of giant flower kits and start your next project.
Shop All Flowers