EVA Foam Painting and Sealing: A Finishing Guide for Crafters
If you've ever finished a gorgeous EVA foam project only to watch the paint crack, peel, or rub off the second someone touches it — you already know why learning to properly paint seal EVA foam is a total game changer. I've been there. Early on, I ruined more than a few pieces because I skipped steps or used the wrong products. Hard lesson, but I'm glad I learned it so you don't have to.
EVA foam is honestly one of my favorite materials to work with. It's lightweight, flexible, carvable, and takes shape beautifully with a heat gun. But it's also notoriously tricky to paint if you don't prep it right. The surface is smooth and slightly waxy, which means paint doesn't just grab onto it the way it does with paper or wood. You need a process — and that's exactly what this guide is.
Whether you're building giant flowers for a wedding backdrop, crafting cosplay armor, or making classroom props, this step-by-step finishing guide will walk you through everything: priming, painting, and sealing your EVA foam so the finish actually lasts. Let's get into it.
Key Takeaways
I get asked all the time: "Can't I just paint it like I would cardboard?" And honestly, I wish it were that simple. EVA foam has a closed-cell structure, which means the surface doesn't absorb liquids the way porous materials do. That's great for durability — but it means paint has nothing to grip onto without help.
The other thing to know is that EVA foam flexes. A lot. So even if you do get paint to stick, a rigid finish will crack every time the foam bends. You need products that move with the material, not against it.
Foam Thickness and How It Affects Finishing
Not all EVA foam behaves the same way, and thickness is a big factor. Here's what I've noticed from years of working with it:
If you want to explore the full range of what's available, check out A Crafter's Guide to Every Type of Foam for Giant Flowers — it breaks down the differences in a way that'll save you a lot of guesswork.
This is the step most people skip. Don't be most people.
Before you paint seal EVA foam properly, the surface needs to be clean, shaped, and ready. Any dust, oils from your hands, or rough edges will show up in the final finish. I always wipe my foam pieces down with a slightly damp cloth and let them dry completely before I do anything else.
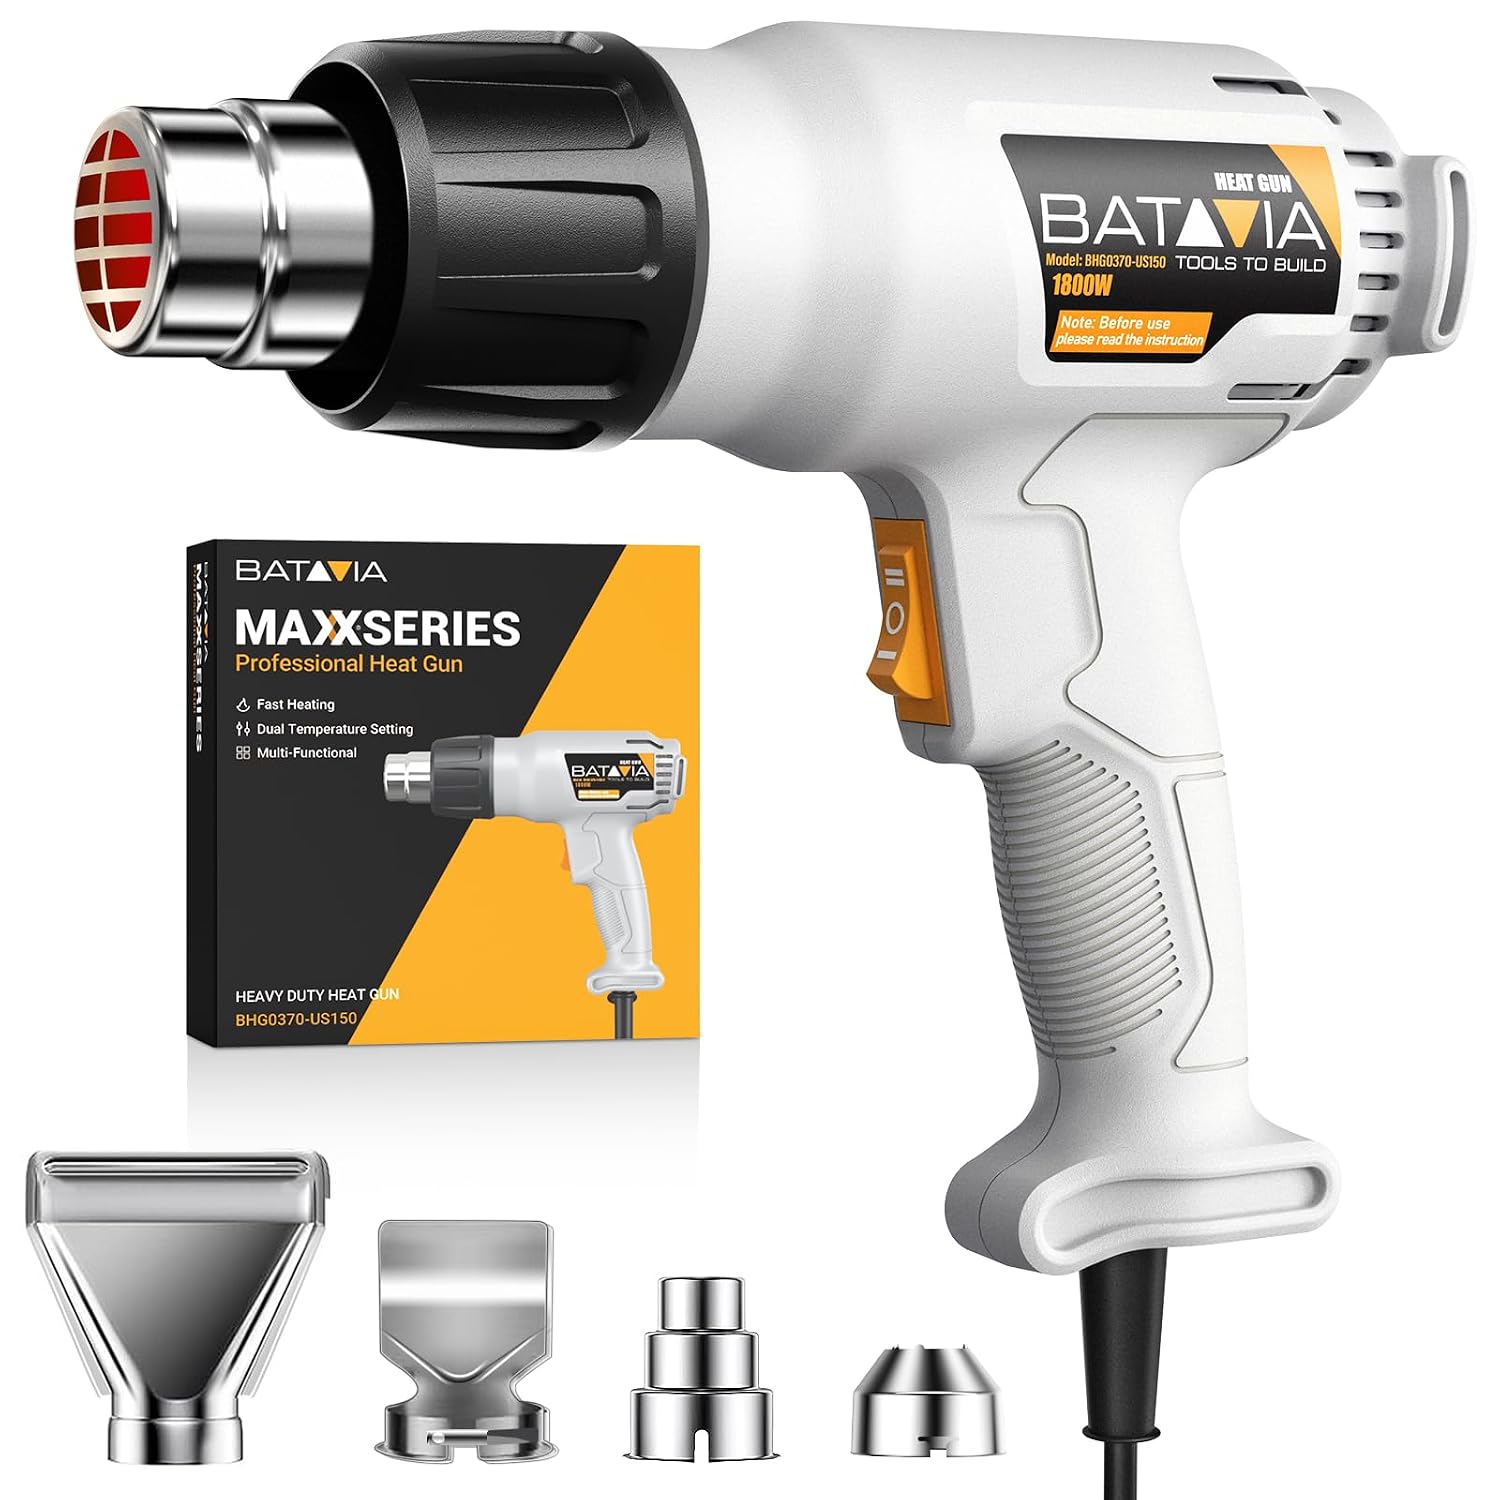
Here's a trick I swear by: lightly heat the surface of your foam with a heat gun before priming. This does two things — it closes any cut edges and creates a slightly smoother, harder surface that accepts primer much better. Keep the heat gun moving constantly (about 4–6 inches away) so you don't melt or warp the foam.
If you're new to working with a heat gun on foam, I'd really recommend reading Heat Gun Techniques: Shaping Foam Flower Petals Like a Pro before you start. It'll make this step so much less intimidating.
💡 Pro Tip
After heat sealing, let the foam cool completely — at least 10 minutes — before applying any primer. Priming warm foam can cause bubbling and uneven adhesion. Patience here saves you a redo later.
Step 2 — Priming: The Secret to Paint That Actually Sticks
Ok, this is where it gets really fun — because once you nail your primer choice, everything else falls into place. There are a few solid options for priming EVA foam, and I've tried most of them at this point.
Plasti-Dip is my personal favorite for most foam projects. It goes on as a rubber-like coating that stays flexible even when dry. You can brush it on or spray it, and it creates an incredible base for acrylic paint. Two thin coats is usually all you need. It's especially great for curved pieces like flower petals because it bends without cracking.
Mod Podge is another option I use, especially for projects that need a slightly stiffer finish. It's easy to find, affordable, and works well as both a primer and a top coat. I've written a whole breakdown on this — A Crafter's Guide to Mod Podge Clear Acrylic Sealer — if you want to go deep on it.
Artist's gesso works in a pinch, but it can get a little stiff on thinner foam. I'd use it on 6mm+ sheets rather than delicate 2mm petals. It gives a beautiful matte base for painting and takes color really evenly.
Once your primer is fully dry (and I mean fully — give it at least an hour, ideally overnight), you're ready to paint. Acrylic craft paint is the go-to for EVA foam. It's water-based, flexible when dry, and comes in every color imaginable.
Both work, but they have different vibes. Here's how I think about it:
Real talk? A single flat coat of paint looks flat. If you want your foam pieces to look dimensional and professional, layer your colors. Start with a base coat, let it dry, then dry-brush a slightly lighter shade over the raised areas. It immediately makes your work look more handcrafted and intentional.
This technique is especially gorgeous on giant flower petals — the variation in tone makes them look so much more realistic. If you're making flowers for a backdrop or event installation, check out DIY Giant Flower Backdrop for Photos: Easy Guide for more styling inspiration.
🌸 Ready to get started?
Browse our EVA foam collection — rolls and sheets from 2mm to 10mm, ready to ship. Find your perfect thickness and start creating.
This is the step that separates a piece that lasts one event from one that lasts for years. Sealing is everything. Once your paint is completely dry, you need to lock it in with a top coat that protects the color and keeps the foam looking fresh.
Here are the options I actually use and trust:
For pieces that will be handled a lot (like cosplay armor or props), I do at least three thin coats of sealer, letting each one dry fully before the next. For decorative pieces that mostly just hang on a wall or backdrop, two coats is usually enough. Thin coats always beat one thick coat — thick coats tend to drip, pool, and crack.
💡 Pro Tip
Sand very lightly between sealer coats with 400-grit sandpaper for an ultra-smooth finish. This is a cosplay trick I picked up and it works beautifully on thicker foam pieces. Don't skip the dust wipe-down before the next coat though!
Paint and Sealer Comparison: What Works Best for EVA Foam
| Product | Best For | Flexibility | Finish | Durability |
|---|---|---|---|---|
| Plasti-Dip (primer + sealer) | Cosplay, props, flexible pieces | ⭐⭐⭐⭐⭐ Excellent | Matte rubber | Very High |
| Mod Podge Matte | Flowers, decorative pieces, classroom crafts | ⭐⭐⭐ Good | Soft matte | Medium |
| Mod Podge Gloss | Shiny statement pieces, photo backdrops | ⭐⭐⭐ Good | High gloss | Medium |
| Mod Podge Outdoor | Outdoor events, garden installations | ⭐⭐⭐ Good | Satin/matte | High (weather resistant) |
| Krylon Acrylic Clear Coat Spray | Large pieces, fast coverage needed | ⭐⭐⭐⭐ Very Good | Matte or gloss | High |
| Gesso (primer only) | Thicker foam (6mm+), art-style finishes | ⭐⭐ Moderate | Matte chalky | Medium (needs top coat) |
Common Mistakes That Ruin a Perfectly Good Foam Finish
I've made every single one of these mistakes myself. Consider this your shortcut to skipping the frustrating part.
- Using solvent-based paint or spray without checking the label: Some spray paints literally dissolve EVA foam. Always check that it's acrylic-based before you spray anything.
- Applying paint too thick in one coat: It pools, drips, and cracks. Thin layers, always.
- Not letting primer dry fully: If you paint over tacky primer, you'll get a muddy, streaky mess. Give it time.
- Skipping the sealer because "it looks fine": It won't look fine after the second event. Seal it. Every time.
- Touching the piece before it's fully cured: Even when paint feels dry to the touch, it can still be soft underneath. Give your sealed pieces 24 hours before handling.
"The finish is what people see and touch. It's worth the extra hour to do it right."
Frequently Asked Questions
Ready to Create Something Amazing?
Browse our collection of giant flower kits and start your next project today.