EVA Foam Thickness Chart: 2mm to 10mm and What Each Is For
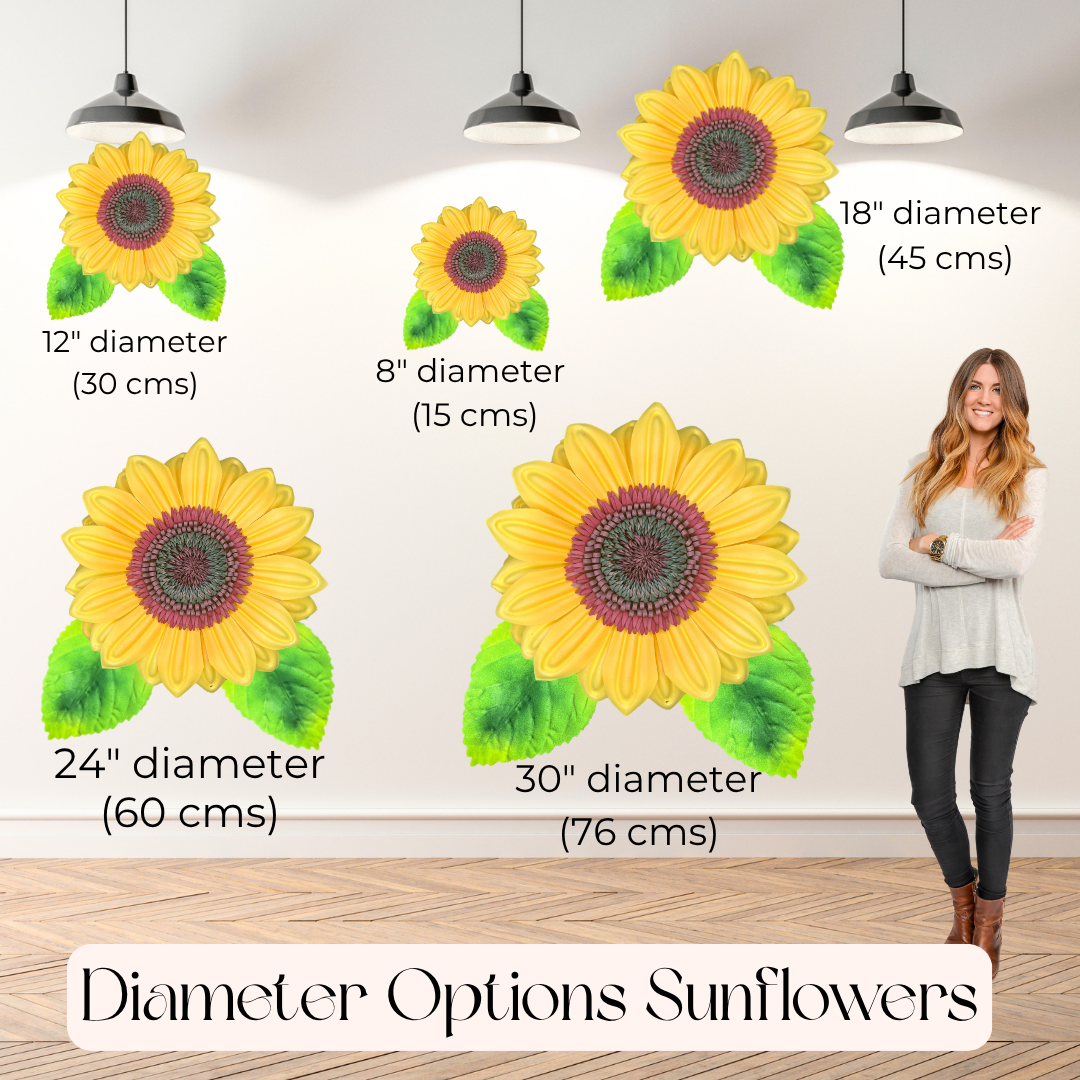
If you've ever stared at a product listing that says "2mm EVA foam" and thought okay, but is that what I actually need? — you are not alone. I get this question constantly. And honestly, it's one of the most important things to get right before you start cutting, shaping, or gluing anything. This eva foam thickness guide is the one I wish someone had handed me when I first started making giant flowers out of my garage in Houston.
Because here's the thing: thickness isn't just a number. It changes how your foam bends, how it holds shape, how it looks when it's finished, and whether your project ends up looking polished or just... off. The wrong thickness can make a petal look stubby, a cosplay armor piece look floppy, or a classroom craft feel flimsy. The right thickness makes everything click.
Key Takeaways
Before you pick a color, before you cut a template, before you even think about glue — thickness is decision number one. I learned this the hard way.
Early on, I grabbed whatever foam I had on hand for a giant dahlia installation. The petals looked beautiful flat, but the moment I tried to curl them with my heat gun, the thinner ones went limp and the thicker ones cracked along the fold. The whole thing took twice as long because I hadn't matched the material to the method.
EVA foam — ethylene-vinyl acetate — is incredible stuff. It's lightweight, heat-shapeable, paintable, and durable. But it behaves very differently at 2mm versus 8mm. Same material, totally different personality.
The right foam thickness doesn't just affect how your project looks — it determines whether it's even possible to build what you're imagining.
The Big Picture: Thin vs. Thick
Thin foam (2mm–3mm) is flexible, layerable, and great for anything that needs to look light and delicate. Think flower petals, fabric-like draping, fine costume details.
Mid-range foam (4mm–6mm) balances flexibility with structure. It can be curved and shaped, but it holds that shape. This is where most giant flower work lives.
Thick foam (8mm–10mm) is rigid, sturdy, and meant for structural work. Armor bases, prop weapons, freestanding architectural elements. It doesn't drape — it stands.
Let me break this down thickness by thickness. Real talk — I've used every single one of these in actual projects, so these aren't just specs off a chart.
Thin Foams: 2mm and 3mm
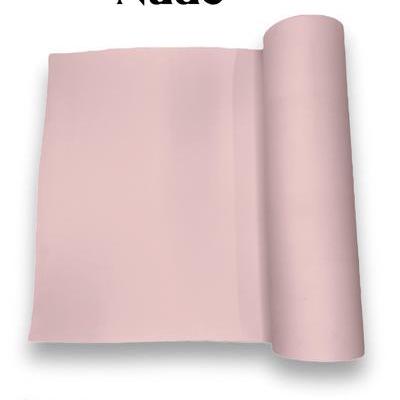
2mm EVA Foam — Whisper-Thin and Wonderfully Delicate
This is the thinnest we carry, and it is whisper-thin. It almost feels like thick craft paper, but with that satisfying foam give when you press it.
If you're making a giant flower with super-fine, tissue-paper-like petals — like an anemone or a ranunculus — 2mm is your answer. It layers beautifully and creates that realistic, almost translucent petal look.
I use 2mm constantly as an accent layer — even on builds where the main petals are 4mm or 6mm. Layering a 2mm texture sheet over a shaped 4mm petal adds a depth and realism that's hard to achieve any other way.
This is the thickness I recommend most often to people just starting out. It's thin enough to be flexible and easy to cut, but thick enough that it holds a gentle curve after heat shaping.
One of my longtime customers — a teacher in Katy, TX — uses 3mm for all her classroom flower projects. She told me it's the only foam her students can cut cleanly without struggling. That tracks completely.
If you're teaching a workshop or running a craft event where participants have mixed skill levels, 3mm is the foam I'd stock up on. It's almost impossible to mess up.
Ok, this is where it gets really fun. 4mm is probably the thickness I use most in my own giant flower work. It's the perfect balance of flexible and structural.
When I'm building flowers for a wedding arch installation, 4mm is almost always what I reach for. The petals have enough body to stand up on their own but still move naturally when you touch them. It's the Goldilocks zone.
- Best for: Large petals on flowers 18"–30" across, wedding and event installations, most professional giant flower builds.
- Heat shaping: Excellent — holds curves, cups, and rolls beautifully. Responds well to a standard 1500W–1800W heat gun.
- Cosplay use: Wearable armor panels, shoulder pieces, and mid-complexity builds where you need the piece to conform to a body shape.
- Cutting: Scissors work for simple shapes; a craft knife and cutting mat give cleaner results on detailed templates.
💡 Pro Tip
When heat shaping 4mm foam into petals, work in sections — shape the tip first, let it cool for 10 seconds, then work toward the base. This gives you much more control over the final curve than trying to shape the whole petal at once.
Step up to 6mm and you're in serious structural territory. This thickness is stiff enough to hold complex shapes without any internal support for medium-sized pieces.
I used 6mm for a series of giant lotus flowers for a corporate event last year. The petals were almost 3 feet long and they held their upward curve all night without drooping. That's the kind of reliability you need when you're getting paid for an install.
This is where we leave "flexible craft material" territory and enter "structural building component" territory. 8mm foam is thick, dense, and serious.
If you're building something that needs to survive shipping, outdoor events, or repeated handling — 8mm is your friend. It's heavy-duty without being heavy.
The big one. 10mm is almost like a foam board — rigid, thick, and built for serious structural work. This isn't a petal material. This is a skeleton material.
Honestly? Most flower crafters won't need 10mm very often. But when you do need it — for a base plate, a thick structural element, or a prop that has to take some abuse — nothing else will do.
Here's the full breakdown in one place — including typical price ranges per sheet so you can budget before you order. Save this, screenshot it, bookmark it — whatever works for you.
Let me get even more specific, because "giant flowers" covers a lot of ground. Here's how I think about thickness based on the actual type of project.
For most wedding and event flower work — arches, backdrops, centerpieces — 4mm is your default. It creates petals that look full and dimensional in photos, hold their shape through a 6-hour event, and are light enough to attach to a frame without weighing it down.
If you're making flowers over 30" across, bump up to 6mm for the outer petals so they don't flop. Use 2mm or 3mm for the inner detail layers and stamens. This layered approach is exactly what I use for my professional installations — and it's what makes the flowers look so realistic from every angle.
Want to see how this all comes together in a full arch build? I wrote a detailed guide on giant foam flowers for wedding arches that walks through the whole process.
Cosplay Armor and Props
Cosplay has a pretty standard layering system that the community has figured out over years of trial and error:
- Base layer / core structure: 8mm–10mm for the rigid foundation.
- Main armor panels: 6mm for large flat panels, 4mm for curved wearable pieces.
- Detail work: 2mm–3mm for surface details, raised designs, trim.
- Worbla alternative: Many cosplayers use 4mm EVA as a more affordable alternative to Worbla for mid-complexity builds.
The key is that you're almost always combining multiple thicknesses in a single build. A chest plate might have an 8mm base, 6mm main panels, and 2mm detail overlays — all glued together and heat shaped as a unit.
Classroom and Kids' Craft Projects
For classroom settings, 3mm is the clear winner. Kids can cut it with standard craft scissors, it's forgiving when heat shaping goes a little sideways, and it's affordable enough to stock in bulk without breaking a classroom budget.
For younger kids (under 10) or projects where no heat tools are involved, 2mm is even easier to work with — it cuts like butter and can be shaped by hand into gentle curves. I've seen teachers use it for everything from Mother's Day bouquets to science fair display elements.
If you're running a paid workshop for adults, 4mm gives participants a more satisfying, professional-feeling result without significantly increasing difficulty. It's worth the small price bump per sheet.
Theater and Stage Props
Theater has its own set of demands — pieces need to look good from 30 feet away, survive a full run of performances, and often be built fast on a tight budget. Here's how I'd approach it:
- Large flat set pieces: 6mm–8mm for anything that needs to stand or be handled repeatedly.
- Wearable costume elements: 4mm for anything an actor wears — light enough to move in, structured enough to read on stage.
- Oversized hero props: Layer 10mm for the core with 4mm surface panels for a realistic finished look.
- Quick-build flats and backdrops: 2mm–3mm painted and mounted on a backing board creates surprisingly convincing texture at low cost.
The biggest mistake I see theater makers make is going too thin on pieces that get handled. A prop sword built from 4mm foam will survive a full run. One built from 2mm will be taped together by week two.
Heat Shaping Tips by Thickness
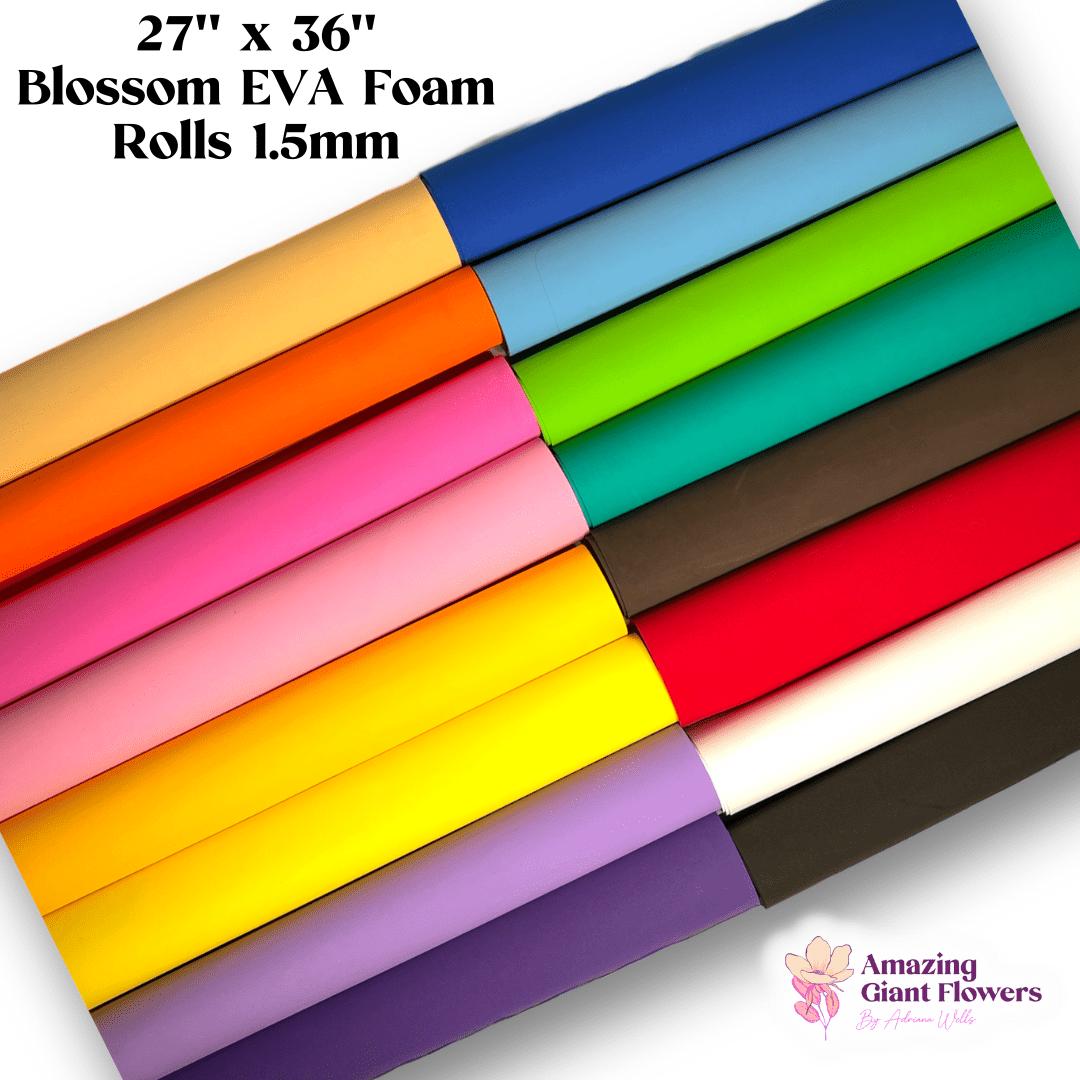
Knowing which thickness to buy is only half the equation. You also need to know how to work with it. Heat shaping EVA foam is genuinely one of my favorite parts of this craft — but every thickness has its own personality with a heat gun.
General Heat Shaping Rules
- Always keep the heat gun moving. Holding it in one spot — even for 3 seconds — can scorch or warp thin foam unevenly.
- Shape immediately after heating. EVA foam has a short working window (about 5–10 seconds) before it starts to cool and set. Have your mold or hand position ready before you apply heat.
- Cool in position. Hold the shape for 15–20 seconds after removing heat. If you let go too soon, the foam will partially spring back.
- Reheat to correct mistakes. This is one of the best things about EVA — if you don't like the shape, just reheat and try again. It's fully reversible until it cools.
Recommended Heat Gun Settings by Thickness
I use a dual-temperature heat gun for most of my work. Here's roughly what works for each thickness:
- 2mm: Low setting (~250°F / 120°C). Moves fast — blink and you've overheated it.
- 3mm: Low to medium setting (~300°F / 150°C). Very forgiving and easy to control.
- 4mm: Medium setting (~350°F / 175°C). The sweet spot for most petal shaping work.
- 6mm: Medium-high setting (~400°F / 200°C). Give it a full 5–8 seconds of even heat before shaping.
Ready to Create Something Amazing?
Browse our collection of giant flower kits and start your next project today.