Floral Tape, Stamens & Bases: The Supplies Every Flower Crafter Needs
If you've ever stood in a craft store aisle completely overwhelmed — holding a roll of green tape in one hand and a bag of little plastic stamens in the other, wondering what on earth you actually need — I have been exactly there. When I first started making giant flowers, I had no idea that the flower crafting supplies you choose make or break the whole project. Not just the foam or the fabric. The little stuff too.
And honestly? That's what nobody talks about enough. Everyone shows you the glamorous finished flower. Nobody walks you through the floral tape, the stamens, the bases, the tools that hold everything together behind the scenes.
So let's fix that right now. This is the buyer's guide I wish I'd had when I started. Whether you're making giant foam blooms, paper flowers, or fabric petals, this is your complete rundown of what you actually need — and why.
Key Takeaways
Here's the thing. You can have the most beautiful petal template in the world. You can nail the shaping with your heat gun. But if your stem is wrapped sloppily, your stamen is the wrong scale, or your base is too flimsy — the whole flower looks off.
I learned this the hard way on a wedding arch project early on. The flowers were stunning individually. But when I assembled them, the bases weren't sturdy enough and the whole arrangement kept drooping. One of my brides told me, very sweetly, "They look a little tired." I wanted to cry. But I learned.
The supplies are the skeleton. The petals are just the pretty skin on top. Get the skeleton right and everything else falls into place.
"The petals get all the glory, but it's the tape, the wire, and the base that actually hold your vision together."
Floral Tape: The Unsung Hero of Every Flower Project
What Floral Tape Actually Does
Floral tape is a self-sealing, slightly stretchy tape that bonds to itself when you pull and wrap it. No adhesive needed. It's not sticky out of the box — you have to stretch it slightly as you wrap, and that's what activates it.
It does three things: it secures petals and leaves to a stem, it gives your stem a clean, polished look, and it adds a tiny bit of cushioning that helps everything stay put. For giant foam flowers especially, wrapping the base of each petal cluster with floral tape before you attach it to a pipe or dowel is the move.
Most floral tape comes in green (light, medium, dark), white, brown, and sometimes blush or burgundy. Match your tape to your stem material — if your pipe or dowel is going to show, pick a tape that complements your color palette.
Width matters too. Standard half-inch tape works for most projects. If you're working on very thin wire stems for smaller accent flowers, you might want quarter-inch. For thick dowels or bendable pipes, go full-inch — it covers more surface per wrap and saves you so much time.
💡 Pro Tip
Always stretch your floral tape as you wrap — about 30–40% tension. If you just wrap without stretching, it won't bond to itself and it'll unravel within a day. Pull gently as you go and it'll grip like magic.
How Much Tape Do You Actually Need?
For a single large flower (think 18–24 inch diameter), you'll use roughly one full roll of half-inch tape if you're wrapping the stem and securing multiple petal layers. Buy in bulk if you're making more than five flowers. Seriously — running out mid-project at 11pm is a special kind of frustrating.
Ok, this is where it gets really fun. Stamens are those little center details that make a flower look like an actual flower instead of just a bunch of petals glued together. And there are way more options than you'd expect.
This is the mistake I see beginners make constantly. They use tiny, delicate stamens on a 20-inch foam flower and the center just… disappears. Scale your stamen to your bloom.
For flowers under 8 inches, standard stamens from any craft store work beautifully. For flowers in the 12–18 inch range, you want to bunch stamens together in clusters of 15–20 to create visual mass. For anything over 18 inches, I almost always recommend making a custom foam center — cut a circle from EVA foam, score it, curl it, and paint it. It reads perfectly at scale.
Floral wire is measured in gauges — the higher the number, the thinner the wire. Here's the quick breakdown:
For giant flowers, wire alone usually isn't enough. That's where pipes come in. Our bendable pipes are honestly one of my favorite tools in the whole shop — they're flexible enough to angle your bloom exactly where you want it, but sturdy enough to hold a 2-pound foam flower without drooping.
EVA foam isn't just for petals. I use it constantly as a structural base material. A thick circle of 8mm or 10mm EVA foam makes a perfect flower center to build petals into. You can poke wire through it, glue petals directly onto it, and it holds everything in place beautifully.
If you want to go deeper on foam types and which thickness to use for what, I wrote a whole guide: A Crafter's Guide to Every Type of Foam for Giant Flowers. It breaks down EVA vs. craft foam vs. floral foam vs. upholstery foam — all the things.
Wooden dowels are great for table arrangements and centerpieces where the stem will be hidden in a vase or floral foam block. Bamboo skewers work for smaller flowers. But for freestanding displays or anything architectural, you really want a proper pipe or rod that can handle weight and movement.
🌸 Ready to build your supply stash?
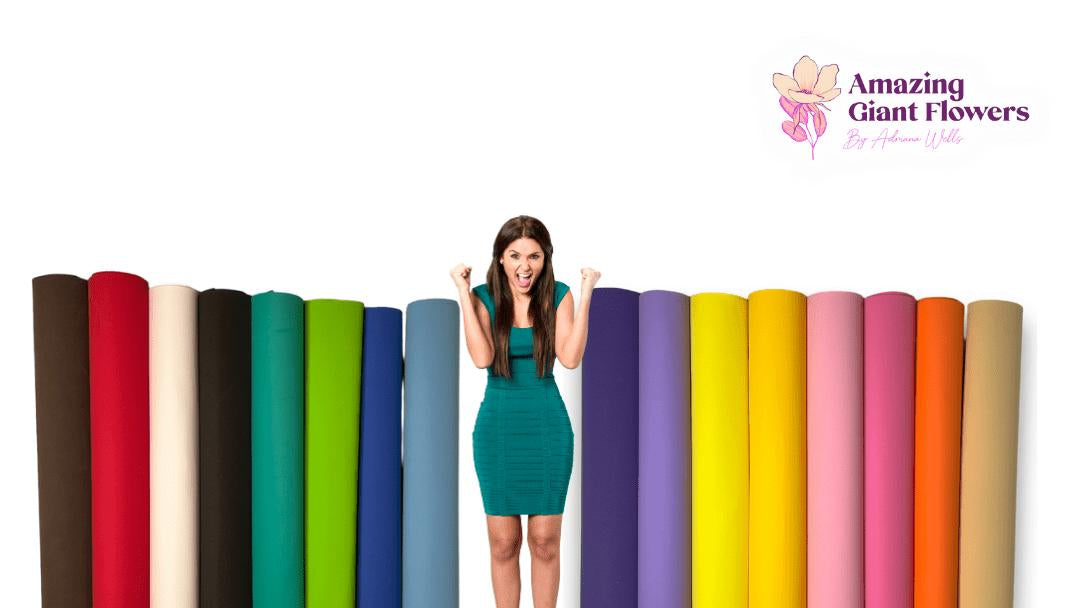
Browse our EVA foam collection — available in 2mm through 10mm thickness, perfect for petals, bases, and everything in between.
EVA Foam: The Material That Changes Everything for Flower Crafters
Why EVA Foam Beats Other Petal Materials
I've worked with paper, fabric, silk, cardstock — you name it. And for giant flowers especially, EVA foam is my ride-or-die material. It's lightweight, it holds its shape after heat-forming, it takes paint beautifully, and it doesn't wilt, tear, or get ruined by humidity the way paper does.
One of my customers — a theater prop designer in Austin — told me she switched her entire production workflow to EVA foam after one project. She said, "I'll never go back to paper. Ever." I feel that deeply.
This is genuinely one of the most important decisions you'll make as a foam crafter. Here's my honest guide:
And if you want to see exactly how to shape foam petals with heat, check out my post on Heat Gun Techniques: Shaping Foam Flower Petals Like a Pro — it covers everything from temperature settings to the curl techniques I use most.
A dull blade is your worst enemy. Always use a fresh craft knife blade when cutting EVA foam — a sharp blade glides through cleanly, a dull one drags and tears the edge. I also highly recommend reading The Best Way to Cut Foam for Flawless DIY Crafts if you're newer to working with this material.
Hot glue is the workhorse of the flower crafting world. Fast, strong, and accessible. But use a low-temp glue gun with EVA foam — high-temp guns can melt the foam surface and create a bumpy, uneven bond. Not cute.
For larger structural bonds — like attaching a heavy petal cluster to a thick base — contact cement gives you a stronger, more permanent hold. Apply to both surfaces, let it get tacky, then press together. It's not forgiving (you get one shot at placement) but it's rock solid.
Acrylic paint works beautifully on EVA foam. No primer needed in most cases — just paint directly on the foam and it adheres well. For a smoother finish or if you're going for a realistic look, a light coat of Plasti-Dip or a foam-safe sealer first can give you an even better surface.
I also love using a dry-brush technique with a slightly darker or lighter shade to add dimension to petals — it makes them look so much more realistic and painterly. For more on this, my post A Crafter's Guide To Painting On Foam Core has a ton of practical tips.
Ready to Create Something Amazing?
Browse our collection of giant flower kits and start your next project today.