Flower Mold Crafting Tips for Cleaner Petals and Faster Builds
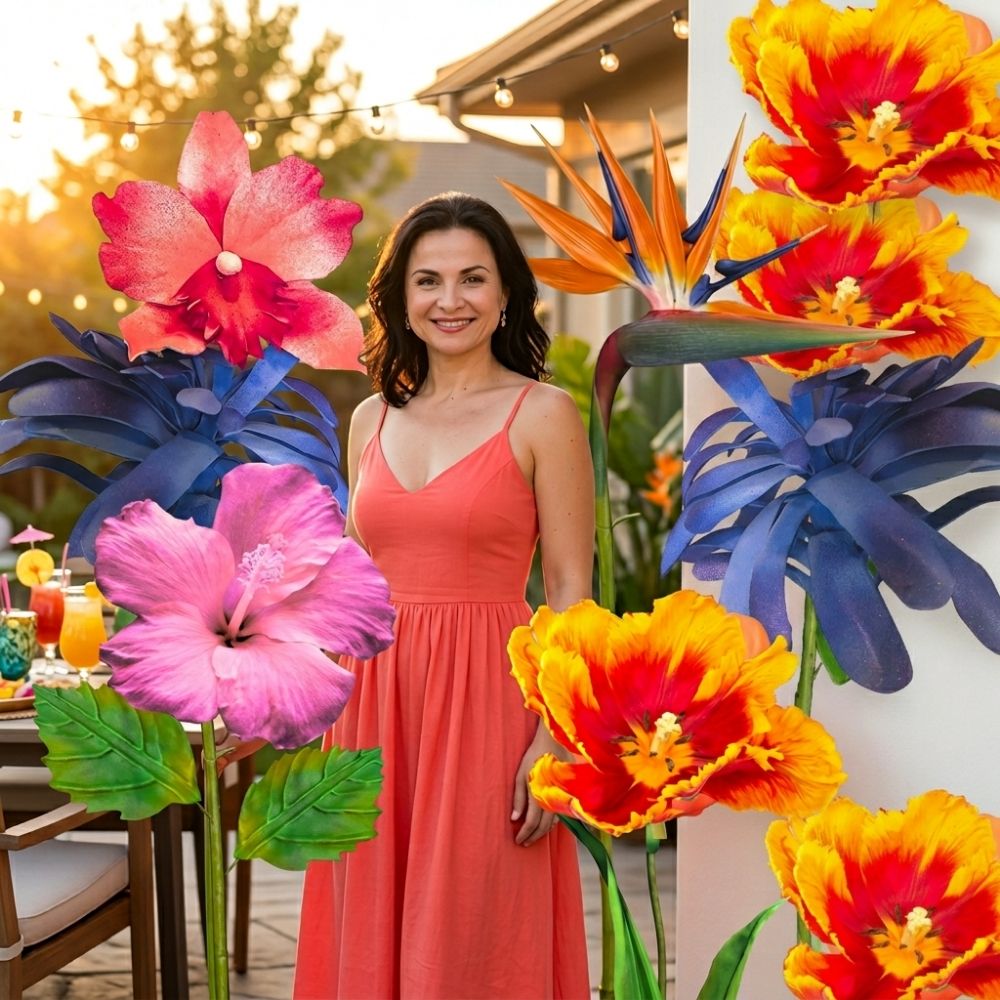
If you've ever tried to make a foam flower that actually looks real — like, stop-and-stare realistic — you already know that flat petals just don't cut it. The texture is everything. And that's exactly where flower mold crafting tips become your best friend. I'm talking about the kind of details that make someone pick up your flower and go, "Wait… is this real?" That moment? That's what we're chasing.
I'm Adriana Wells, founder of Amazing Giant Flowers here in Houston, TX. I've been making foam flowers for years — for events, for film sets, for brand activations with companies like Disney and Dolce & Gabbana. And I'll tell you right now: the single biggest upgrade most crafters can make is switching from plain cut-and-curl petals to mold-textured petals. The difference is jaw-dropping.
So let's dig in. Whether you're new to foam flowers or you've been at it for a while and want to level up, these tips are going to change how you work. Faster builds, cleaner lines, and petals that actually look like they came from a garden.
Key Takeaways
A lot of crafters think molds are just for shaping — like a cookie cutter situation. Nope. The real magic is texture transfer. Our molds press realistic vein patterns, petal ridges, and leaf detail directly into your foam. That's what makes a petal look like it was actually grown, not cut from a craft store sheet.
Our flower molds are double-sided, which means you get texture on both the front and back of your petal — just like a real flower. That detail matters so much more than people realize until they see it in person.
Foam Flowers vs. Sugar Art — One Mold Does Both
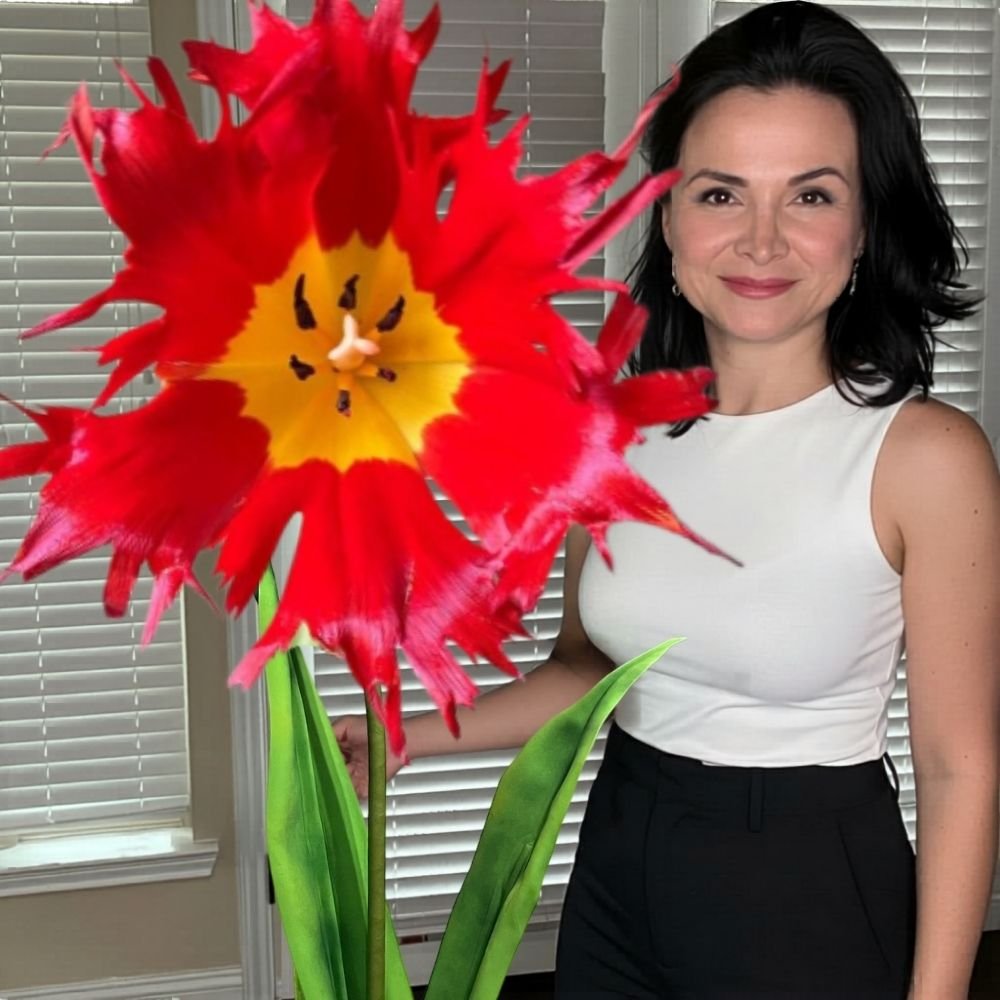
Here's something that surprises a lot of people: these molds aren't just for foam. They work beautifully with sugar paste and gumpaste too. So if you're a cake decorator who also loves paper crafting (or a crafter who dabbles in cake art), you're getting double the value from one tool. Starting from $12.49 at /shop/flower-molds, that's honestly a steal.
Ok, this is where I see crafters go wrong ALL the time. The tool you use to activate and shape your foam petal matters. A lot. For life-size flower mold work, you want either a hair styler or a heat gun. Both give you the controlled, consistent heat that foam needs to soften and take the mold impression cleanly.
Do not reach for a hair dryer or a straightener. A hair dryer doesn't concentrate heat well enough to get a crisp impression. A straightener can scorch your foam unevenly and ruin the petal before you even get it into the mold. Trust me on this one — I've seen it happen too many times.
💡 Pro Tip
If you're new to heat shaping, start with a hair styler on a medium setting. It gives you a little more control than a heat gun while you get the feel for how your foam responds. Once you're comfortable, a heat gun speeds things up significantly for larger batches of petals.
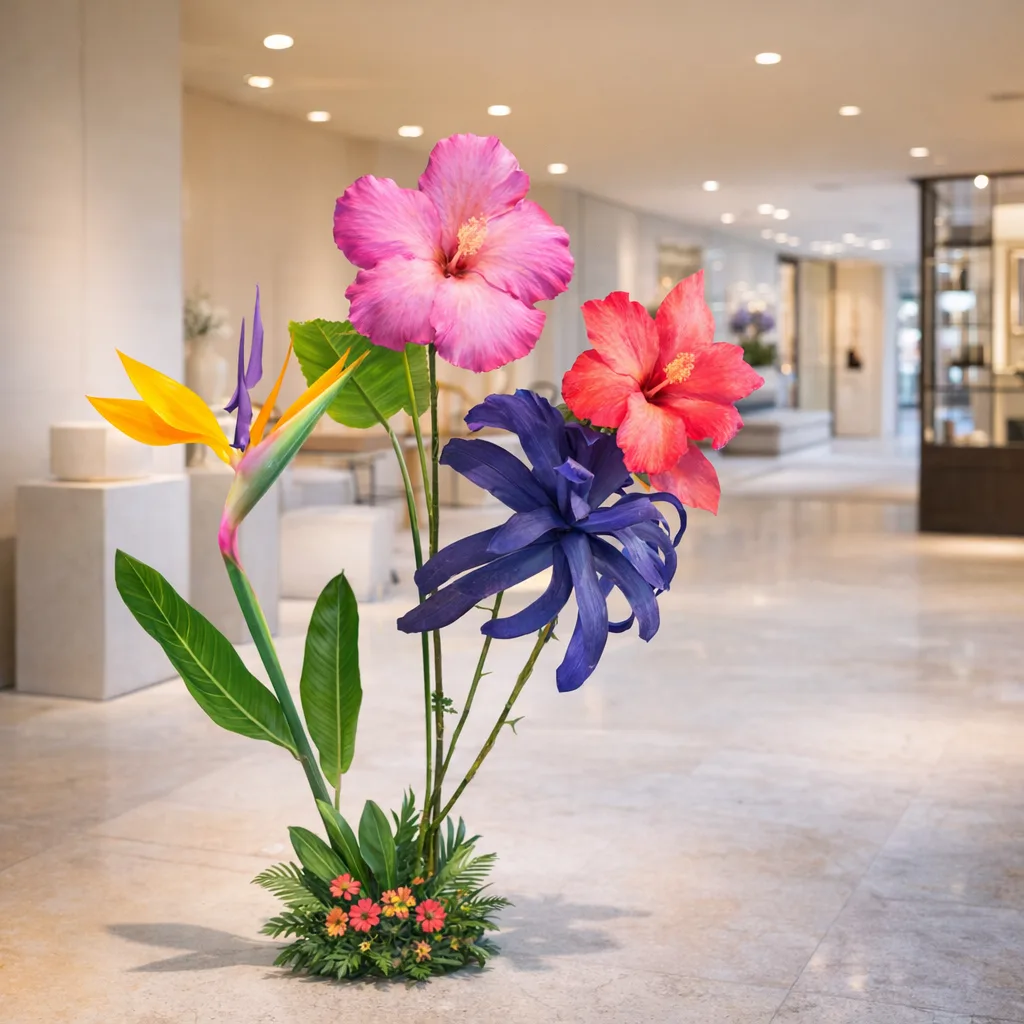
Here's the sequence: warm the foam, press into the mold, hold for a few seconds, release. That's it. The foam cools in the shape of the mold and holds that texture permanently. No glue, no extra steps. The key is getting the foam warm enough to be pliable but not so hot that it melts or warps. You'll feel it — foam gets soft and almost silky when it's ready.
Want to go deeper on heat shaping technique? I wrote a whole breakdown over at Heat Gun Techniques: Shaping Foam Flower Petals Like a Pro — worth a read before your first session.
Flower Mold Crafting Tips for Cleaner Petal Impressions
Prep Your Foam Before You Mold
Clean impressions start before the mold even touches your foam. Here's what I always do:
Consistency is what separates a beautiful flower from one that looks handmade in the "obviously rushed" way. When I'm making a batch of petals, I set up an assembly line: warm, press, set aside to cool. Don't stack warm petals — they'll stick and distort each other's shapes.
Also? Let each petal cool completely before you handle it too much. I know it's tempting to start assembling right away, but give it a full minute. The texture sets as it cools, and fussing with it too early can flatten what you just worked to create.
Real talk? Most crafters spend all their energy on the petals and then slap on a flat green leaf and call it done. I get it — by the time you've textured twelve petals, you're tired. But leaves are what ground a flower. They're what make the whole thing look like it actually grew somewhere.
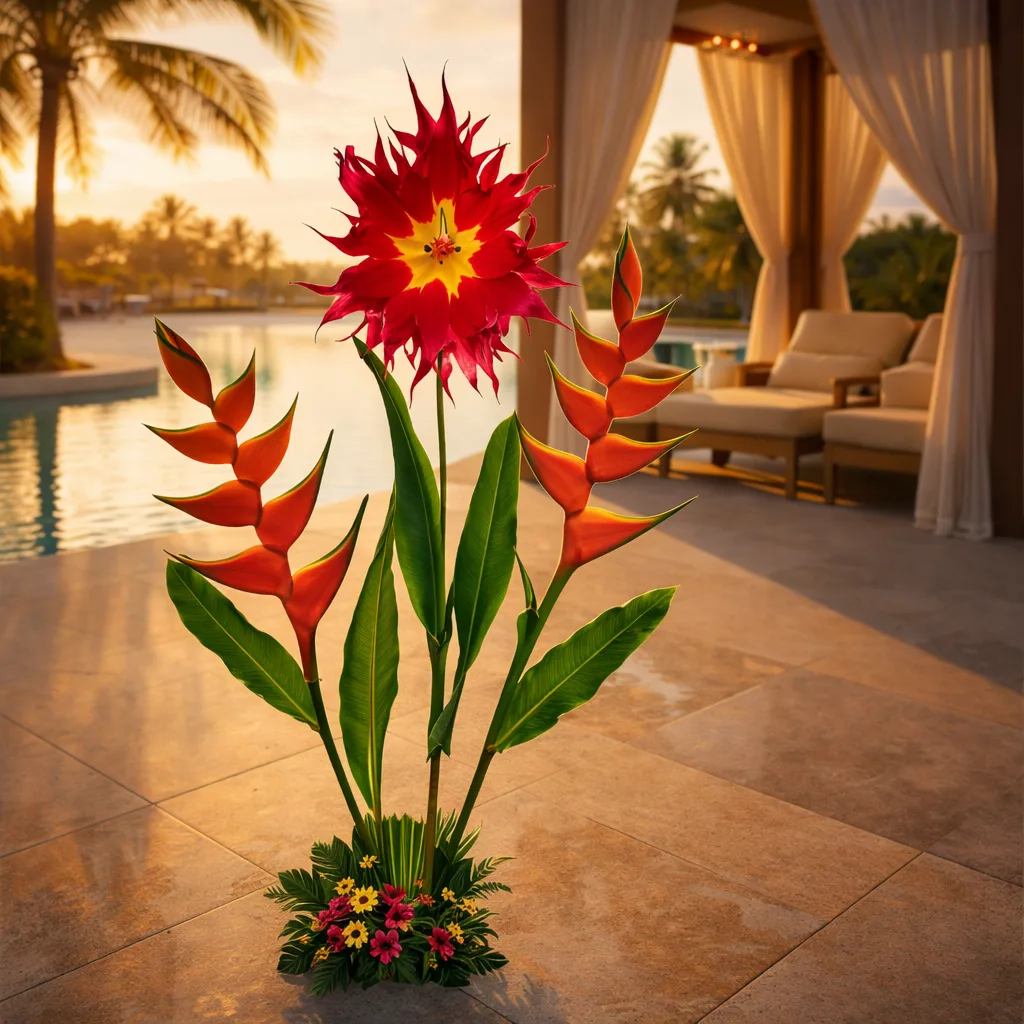
Our double-sided molds include leaf options for exactly this reason. The vein detail on a molded foam leaf is genuinely stunning — it catches light differently, it has depth, and it makes the whole arrangement look cohesive. Don't skip this step.
After you press your leaf in the mold, while it's still slightly warm, you can curl the edges slightly over a dowel or your finger to give it a natural droop or curve. Real leaves aren't flat — they have movement. This takes about ten extra seconds per leaf and makes an enormous difference in the final look.
If you want to see how different foam types affect your leaf results, check out A Crafter's Guide to Every Type of Foam for Giant Flowers — it'll help you pick the right material for the look you're going for.
Assembling Faster Without Sacrificing Quality
Glue Strategy for Clean Builds
Speed and cleanliness in assembly come down to your glue game. We recommend 369 glue or a hot glue gun with silicone glue sticks. Both give you a strong bond without warping your foam. Glue is sold separately — grab it when you're stocking up your supplies.
A few rules I live by:

When I'm building multiple flowers — say, for a wedding or an event set — I mold ALL my petals first, then assemble. Don't switch back and forth between molding and gluing. Your heat tool needs to stay warm, your glue gun needs to stay hot, and your brain needs to stay in one mode. Batching cuts your build time significantly.
🌸 Ready to start molding?
Browse our full flower mold collection — starting from $12.49 — and find the perfect match for your next project. Or grab a life-size foam flower kit that includes a mold, pre-cut petals, and everything you need to get started right now.
Not all molds are created equal, and not every mold works for every flower. Here's a quick guide to help you choose:
Some molds are versatile enough to work across flower types — a broad leaf mold, for example, can work for hibiscus, camellia, and even some rose varieties. Once you have a few molds in your collection, you'll start to see how they can cross over. That's when your builds get really efficient.
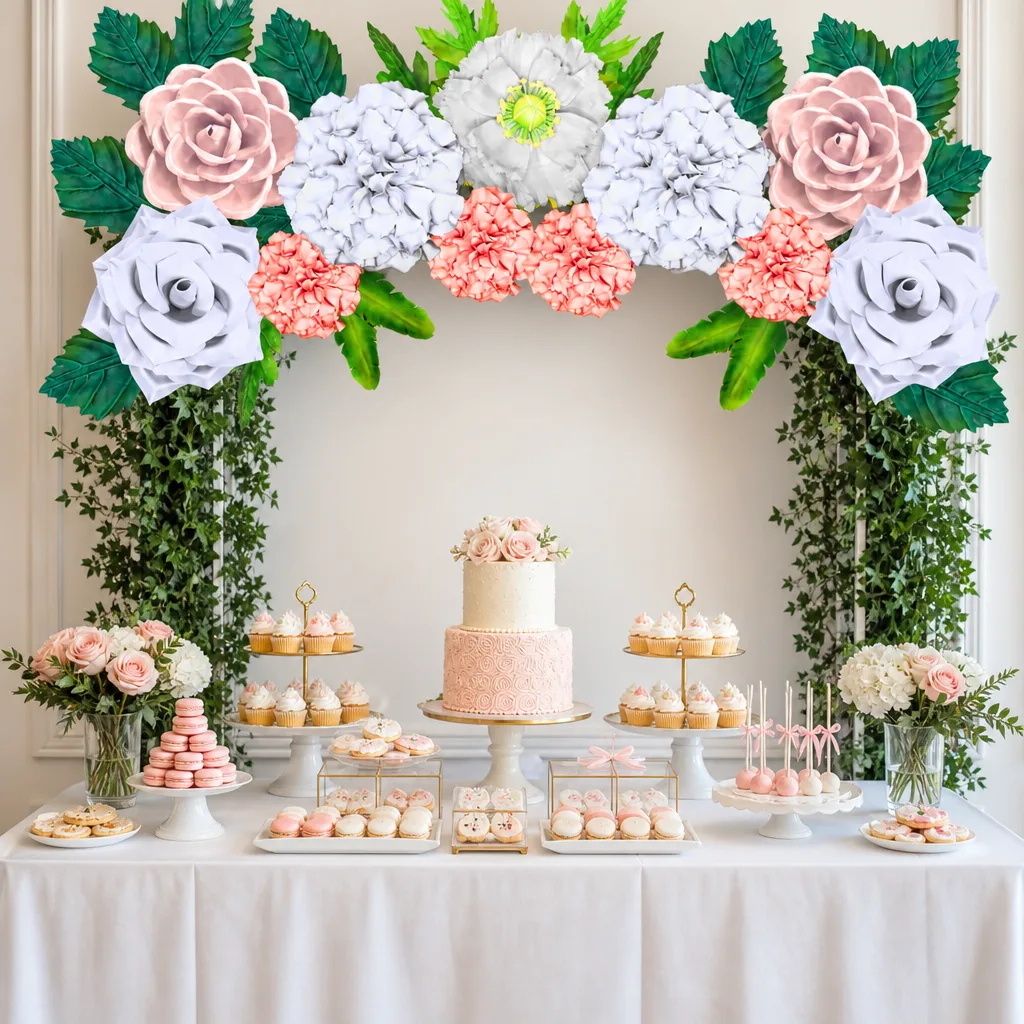
I love fresh flowers. But I also know what they cost. According to The Knot, the national average cost of wedding flowers is $2,800 for couples married in 2025 — and that's just the flowers, not the labor. Weddings with 101 or more guests average $3,300 on florals alone.
Foam flowers made with quality molds? You make them once, and they last forever. They don't wilt, they don't drop petals, and they look just as gorgeous on day 30 as they did on day one. And according to the Association for Creative Industries, 63% of US households participated in at least one creative or craft activity in a year — so you're definitely not alone in choosing the DIY path.
Foam Flowers Are a Smart Investment for Crafters
When you factor in that our molds are reusable — press them hundreds of times — the per-petal cost drops to almost nothing. A mold starting at $12.49 paired with EVA foam from $9.99 gives you the ability to make dozens of flowers. That math makes a lot of sense for anyone doing events, markets, or just building a stunning home display.
Curious how foam stacks up against paper in more detail? I broke it all down in Foam Flowers vs Paper Flowers: Which Is Better for Events? — great read if you're still deciding on your material.
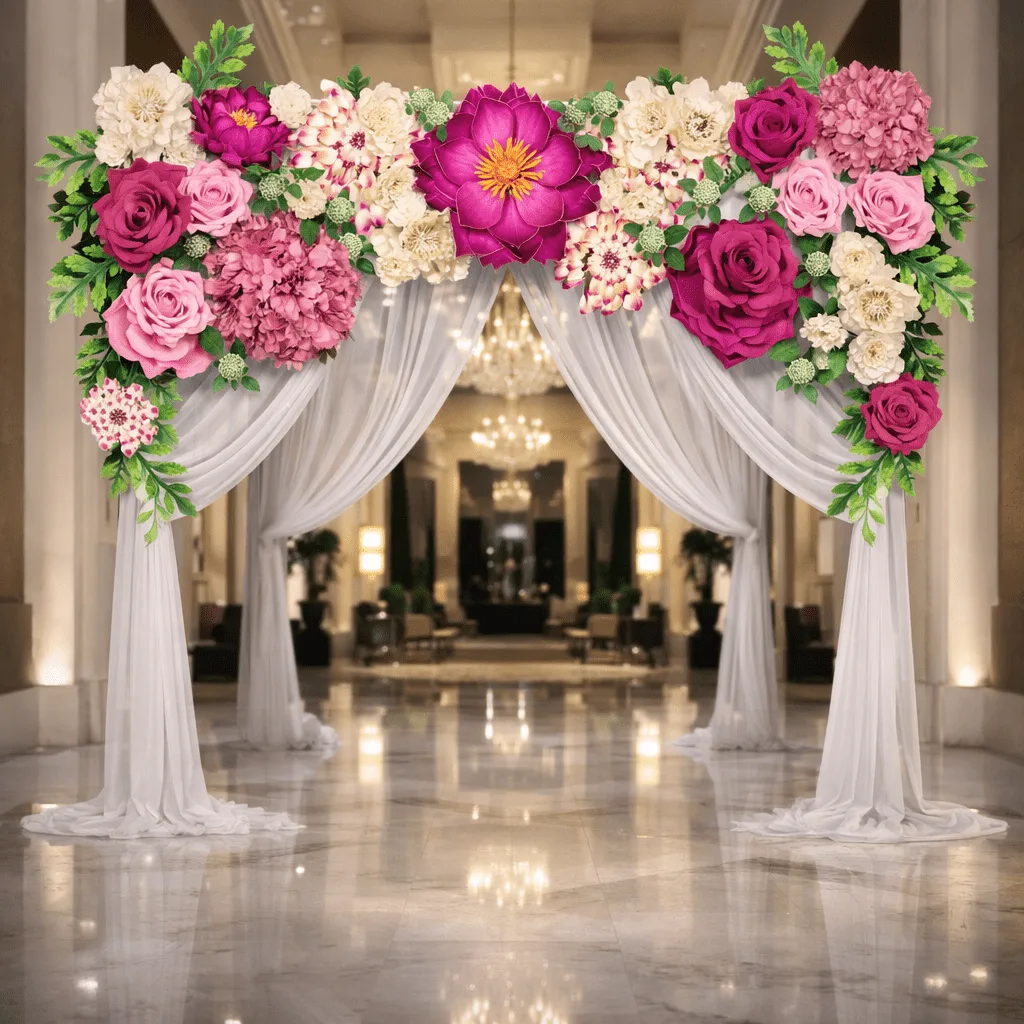
Finishing Touches That Elevate Your Mold-Textured Flowers
Paint, Seal, and Detail
Once your petals are molded and assembled, the finishing touches are what take a flower from "really nice craft" to "is that real?" A few things I always do:
- Edge dusting with chalk or pastel. Drag a dry brush with a tiny bit of color along the petal edges to add depth. Real petals aren't one flat color.
- Vein highlighting. A thin line of slightly lighter paint along the main veins (already defined by your mold) adds incredible dimension.
- Sealing. A light coat of clear acrylic sealer protects your work and adds a subtle sheen. I covered this in detail in A Crafter's Guide to Mod Podge Clear Acrylic Sealer.
Stems and Assembly for a Professional Look
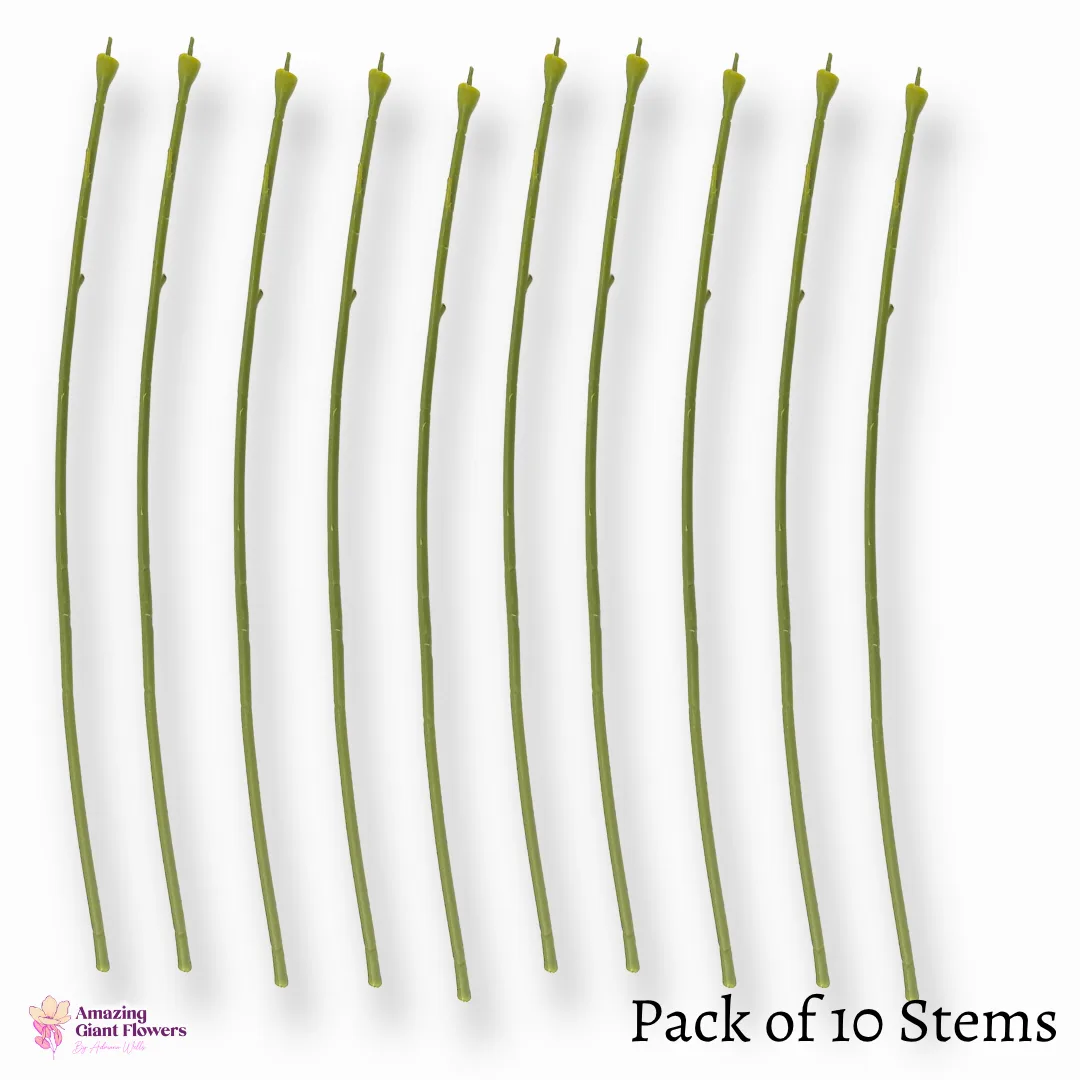
A beautiful flower on a floppy stem looks sad. Our bendable pipes (from $7.00) give your life-size flowers the structure they need to stand or be arranged properly. Wrap them in floral tape or foam strips to bulk them up naturally, and your finished flower will look like something from a high-end floral studio.
Frequently Asked Questions
Are these flower molds made of silicone?
No — our molds are not silicone molds. They're specifically designed for use with EVA foam as well as sugar/gumpaste for cake decorating. The double-sided design transfers realistic vein and texture detail into your material when heat is applied (for foam) or when pressed (for sugar art).
Can I use a hair dryer to heat my foam before molding?
Please don't! A hair dryer doesn't concentrate heat the way you need for clean mold impressions. You want a hair styler or a heat gun — both give you the focused, consistent heat that softens EVA foam properly so it takes the mold texture cleanly. A hair dryer will leave you frustrated with soft, blurry impressions.
How many times can I reuse a flower mold?
Hundreds of times, honestly. These molds are built to be reused over and over. That's part of what makes them such a smart investment — you're not buying a single-use tool. With proper care (keep them clean and stored flat), they'll last through countless projects.
Do the kits include everything I need to make a flower?
Our life-size foam flower kits include the mold, pre-cut petals, and everything specific to that flower (pistils, leaves, buds depending on the variety). You'll need glue separately — we recommend 369 glue or a hot glue gun with silicone glue sticks. Your heat tool (hair styler or heat gun) is also separate. Check each kit's product page for the full contents list.
Can I use these molds for cake decorating too?
Yes! That's one of my favorite things about them. The double-sided design works beautifully with sugar paste and gumpaste — just press your medium into the mold (no heat needed for sugar art) and release. You get the same gorgeous vein detail that makes sugar flowers look like the real thing. One mold, two completely different crafts.
Here's the thing about flower mold crafting tips — they're not really about tricks or shortcuts. They're about understanding why the process works so you can do it confidently every single time. Warm the foam right, press the mold firmly, let it cool, assemble with intention. That's the whole recipe. And once it clicks, you won't be able to stop making flowers. (I say this from personal experience. My studio is basically a garden at this point.)
If you're ready to see what your petals can really look like, head over to our flower mold collection — starting from just $12.49 — or grab one of our life-size foam flower kits that comes with a mold already included. Either way, I think you're going to love what you make. I can't wait to see it.
Shop the supplies
Everything You Need for This Project
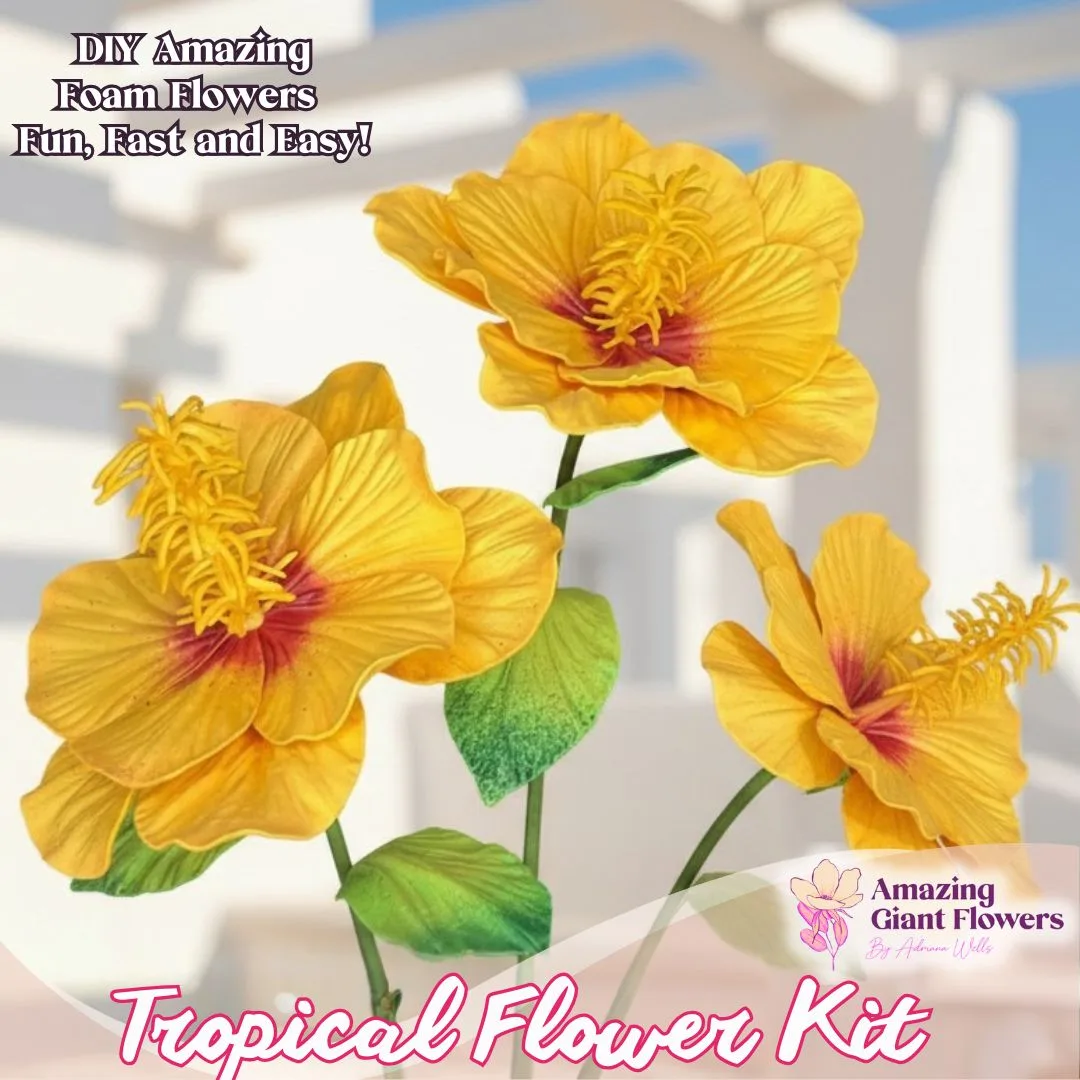
Real Touch Tropical Flower Foam Kit — Large DIY Hibiscus Blooms with Reusable Double-Sided Mold, Pre-Cut Petals, Bud & Leaves
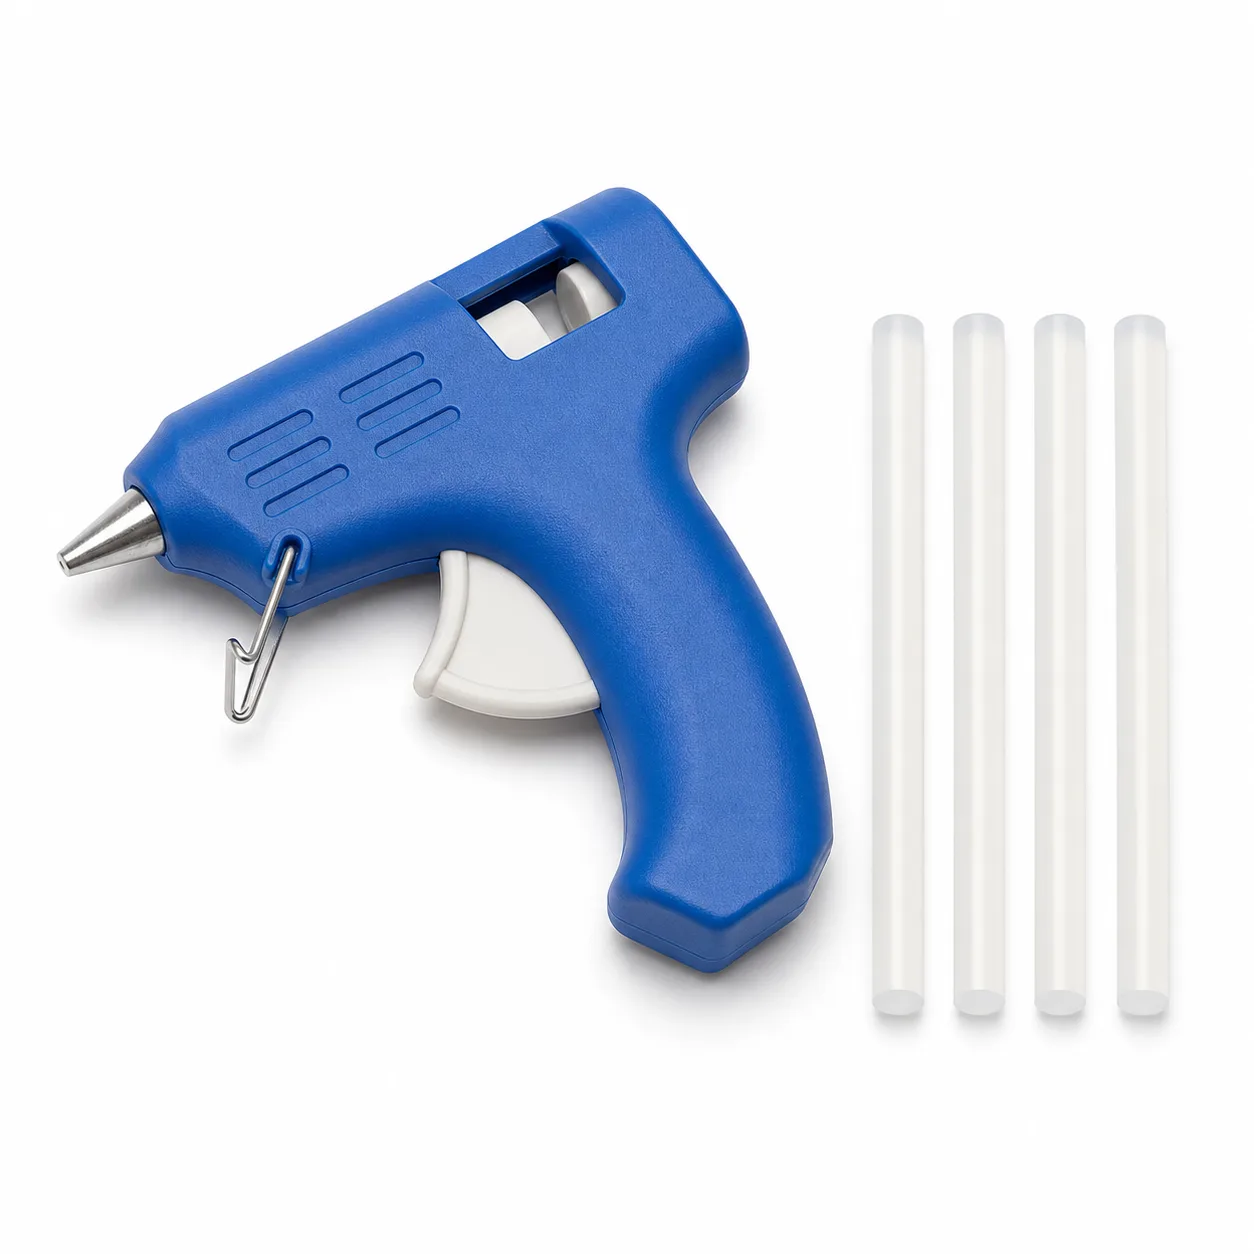
Hot Glue Gun + 4 Silicone Glue Sticks — Fast, Strong Petal Assembly
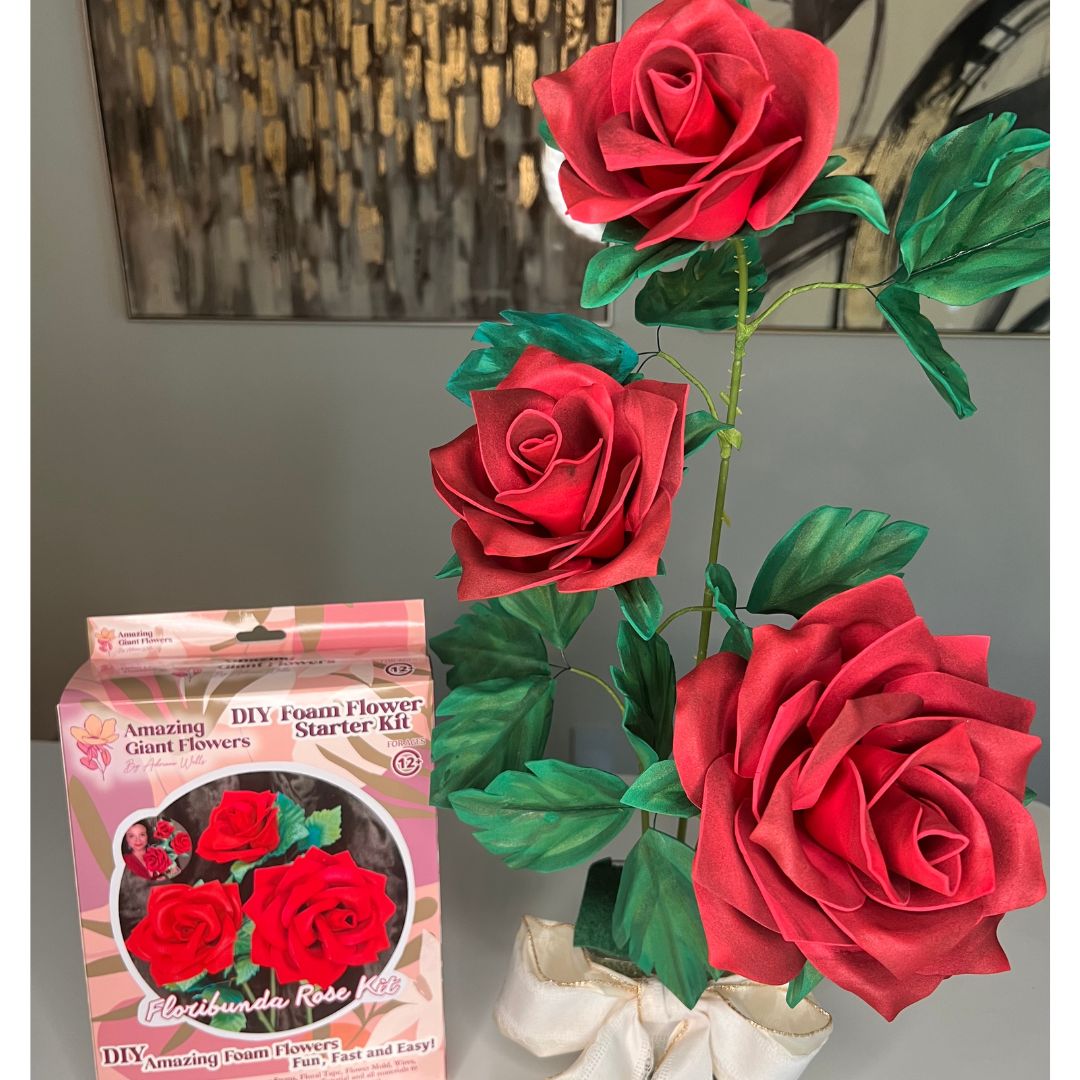
Real Touch Rose Foam Flower Kit — Realistic DIY Roses with 6" Double-Sided Mold & Pre-Cut Petals
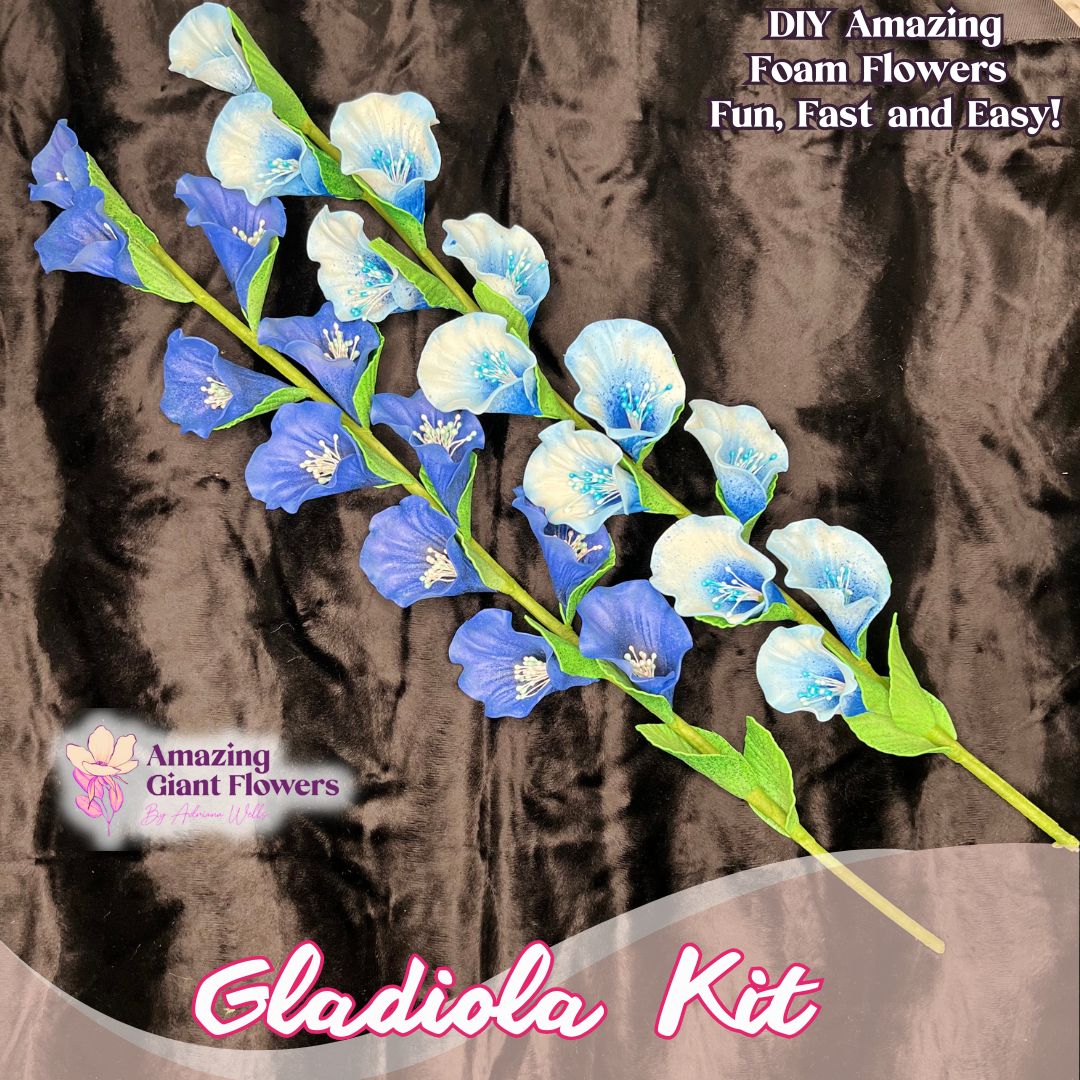
Real Touch Gladiolus Foam Flower Kit (Gladiola) — Two Tall 24" DIY Stems with Reusable Mold, Pre-Cut Petals & Leaves

Written by
Adriana WellsFounder & CEO of Amazing Giant Flowers
Adriana Wells is the founder and creative force behind Amazing Giant Flowers, a Texas-based company specializing in handcrafted giant foam flowers, luxury floral installations, and DIY flower-making supplies.
More about Adriana →Ready to Create Something Amazing?
Browse our collection of giant flower kits and start your next project today.