Flower Molds 101: A Beginner's Complete Starter Guide
So you've been seeing those gorgeous, realistic flower decorations everywhere — on wedding cakes, on event backdrops, in craft rooms — and you're thinking, I want to make that. But then you start googling and suddenly you're drowning in terminology, wondering if you need special tools, or whether you'll just waste money on stuff you don't know how to use. I've been there. Honestly, every single person who works with me started exactly where you are right now.
Here's the good news: picking up a flower mold for beginners is one of the easiest entry points into floral crafting there is. No advanced skills. No expensive equipment. Just a mold, your material of choice, and a little patience. I designed my molds specifically so that someone holding one for the very first time can still walk away with something beautiful.
This guide is everything I wish someone had handed me when I started. We're going to cover what flower molds actually are, how to use them, what materials work best, and how to avoid the beginner mistakes I see all the time. Let's dig in.
Key Takeaways
A flower mold is a two-piece press — a top half and a bottom half — that captures the exact shape, veining, and texture of a real flower petal. You place your material between the two sides, press firmly, and when you open it back up, you have a petal that looks like it came straight from a garden.
What makes our molds different is that they're double-sided. That means the detail is on both faces of the mold, so your finished petal has realistic texture on the front AND the back. That's the detail that separates a craft project from something that genuinely looks professional.
Foam Flowers vs. Sugar Flowers — Same Mold, Two Worlds
This is the part that surprises most people. Our flower molds are built to work with two completely different materials: EVA foam (for craft and event décor) and sugar/gumpaste (for cake decorating). The mold itself doesn't change — your material does.
If you're a crafter, you'll be pressing sheets of EVA foam. If you're a baker or cake artist, you'll be rolling out gumpaste or sugar paste and pressing that instead. Either way, the mold gives you that same crisp, lifelike result. I love that about them — one tool, two completely different creative paths.
I get asked all the time: "Adriana, should I start with templates and scissors, or jump straight to molds?" My honest answer? Molds first, every time. Here's why.
When you're cutting petals freehand or with a template, every single petal is slightly different. That inconsistency is actually beautiful when you're experienced enough to control it — but when you're brand new, it's just frustrating. A mold gives you identical, consistent petals every single time you press it. That consistency is what makes your finished flower look intentional instead of wobbly.
Real talk? The biggest thing that stops beginners from finishing a project is losing confidence halfway through. You start, a few petals look off, and suddenly you're convinced you're "not crafty." I hear this constantly.
A good mold removes that doubt. When every petal comes out looking like a real flower petal, you keep going. You build momentum. By the time you're assembling your bloom, you're not second-guessing yourself — you're excited. That feeling is what I want for every person who picks up one of our molds.
What You Can Make Right Away
Even on your very first session, you can create:
🌸 Ready to get started?
Browse our full flower molds collection and find your perfect match.
This is where beginners usually have their first big question: what do I actually put in the mold? Let me break it down simply.
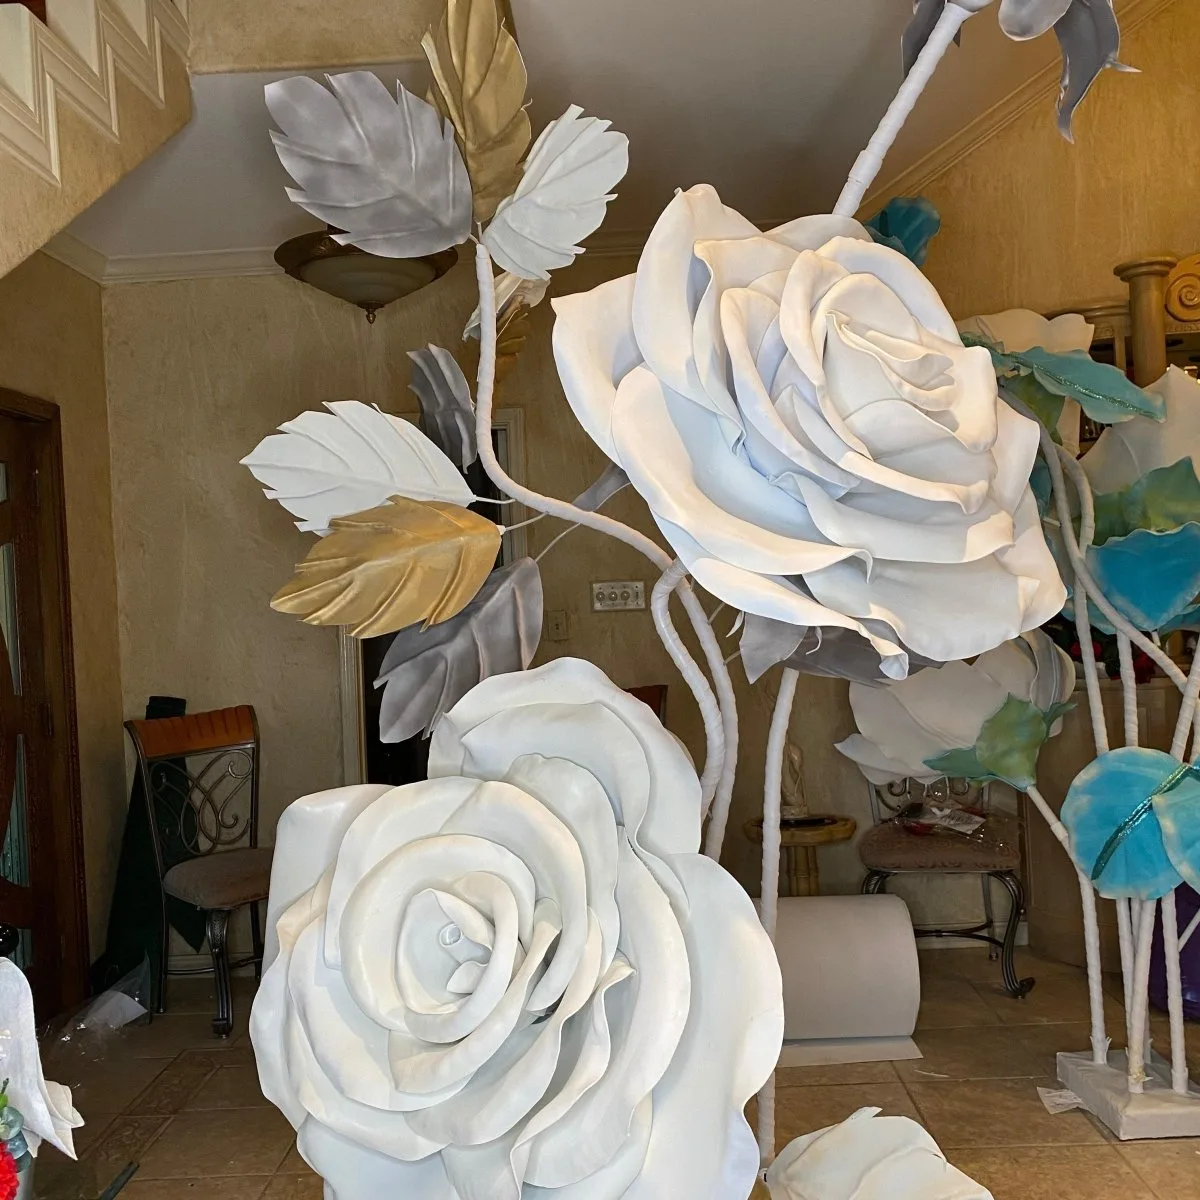
EVA foam is the go-to material for anyone making foam flowers for events, weddings, photo backdrops, or home décor. It's soft, flexible, lightweight, and takes paint beautifully. Our EVA foam sheets are specifically sized and weighted for use with our molds — you don't have to guess at thickness.
After you press the petal in the mold, you'll use a heat gun to gently cup and curl the edges, giving it that natural, dimensional look. It sounds intimidating but it takes about 30 seconds per petal once you get the hang of it. Check out our guide on heat gun techniques for shaping foam flower petals — it walks you through the whole thing step by step.
If you're coming from the baking world, our molds are food-safe compatible, which means you can press gumpaste or sugar paste directly into them without worry. Roll your paste to about 1–2mm thickness, press it in the mold, peel it out, and let it dry on a foam pad to hold its curved shape.
The veining detail that comes through on sugar petals is honestly stunning. I've had cake decorators tell me they've never gotten results like this from any other mold they've tried.
💡 Pro Tip
For gumpaste work, dust the inside of your mold lightly with cornstarch before pressing. It prevents sticking and gives you a cleaner release every time. For EVA foam, no prep is needed — just press and go.
Step-by-Step: Using a Flower Mold for the First Time
Ok, this is where it gets really fun. Let me walk you through your very first press like I'm standing right next to you in my studio.
For EVA Foam Petals
- Step 1 — Cut your foam. Use the mold itself as a rough size guide and cut a piece of EVA foam slightly larger than one side of the mold. Learn more about the best way to cut foam for clean edges.
- Step 2 — Place and press. Lay the foam between the two mold halves and press firmly for about 10–15 seconds. Use your body weight — really lean into it.
- Step 3 — Release slowly. Open the mold from one corner and peel gently. You'll see the vein detail transferred right onto the foam.
- Step 4 — Trim the edges. Use sharp scissors to cut along the petal outline. The impressed shape makes this super easy to follow.
- Step 5 — Shape with heat. Hold your heat gun 4–6 inches from the petal and move it in slow sweeps. Watch the edges curl naturally. Cup the center with your fingers while it's still warm.
- Step 6 — Paint or leave as-is. EVA foam takes acrylic paint beautifully. Layer colors for a realistic ombre effect.
For Gumpaste Petals
- Step 1 — Roll your paste to about 1–2mm on a non-stick mat.
- Step 2 — Cut a rough petal shape slightly larger than the mold cavity.
- Step 3 — Dust with cornstarch, press into the mold, and hold for 5–10 seconds.
- Step 4 — Release and trim any excess paste from the edges with a sharp cutter or scalpel.
- Step 5 — Dry on a foam pad curved to your desired shape. Allow 24 hours minimum before assembling.
Flower Mold Comparison: Which Type Is Right for You?
Not all molds are created equal. Here's a quick breakdown so you can make a smart first purchase instead of buying something that doesn't match your project goals.
| Feature | Amazing Giant Flowers Molds | Generic Single-Sided Molds | Cookie Cutter Style Cutters |
|---|---|---|---|
| Detail on both sides | ✅ Yes — double-sided | ❌ One side only | ❌ Shape only, no texture |
| Works with EVA foam | ✅ Yes | ⚠️ Sometimes | ❌ No |
| Food-safe compatible | ✅ Yes | ⚠️ Check listing | ⚠️ Varies |
| Reusability | ✅ Hundreds of uses | ⚠️ Varies by material | ✅ Durable but limited use |
| Beginner-friendly | ✅ Very easy to use | ⚠️ Can be tricky | ⚠️ Requires additional tools |
| Life-size petal accuracy | ✅ Botanically realistic | ⚠️ Hit or miss | ❌ Stylized only |
Beginner Mistakes to Avoid (I've Seen Them All)

I'm going to save you some frustration right now. These are the most common slip-ups I see from first-timers, and every single one is totally avoidable.
Using Foam That's Too Thick
Thick foam won't press cleanly into the mold cavities, so your vein detail gets lost. Stick to 2mm EVA foam for petals — it's the sweet spot for flexibility and detail transfer. Our EVA foam sheets are already the right weight, so that's one less thing to figure out.
Not Pressing Hard Enough
This one surprises people. You need to really lean in. A light press gives you a faint impression. A firm, sustained press gives you crisp, beautiful veining. Put your whole body behind it for 10–15 seconds.
Rushing the Gumpaste Dry Time
I know. You want to see the finished flower NOW. But if you try to assemble sugar petals before they're fully dry, they'll droop and lose their shape. 24 hours minimum. Use that time to press more petals.
Skipping the Heat Gun Step for Foam
Flat petals make flat flowers. The heat gun is what transforms a pressed foam piece into something that looks alive. Don't skip it — it's genuinely the most satisfying step of the whole process. If you're nervous about it, our heat gun shaping guide walks you through it with zero stress.
You don't need to be an artist to make something beautiful. You just need the right tools and the willingness to press a little harder than you think you should.
What to Make First: Beginner Project Ideas
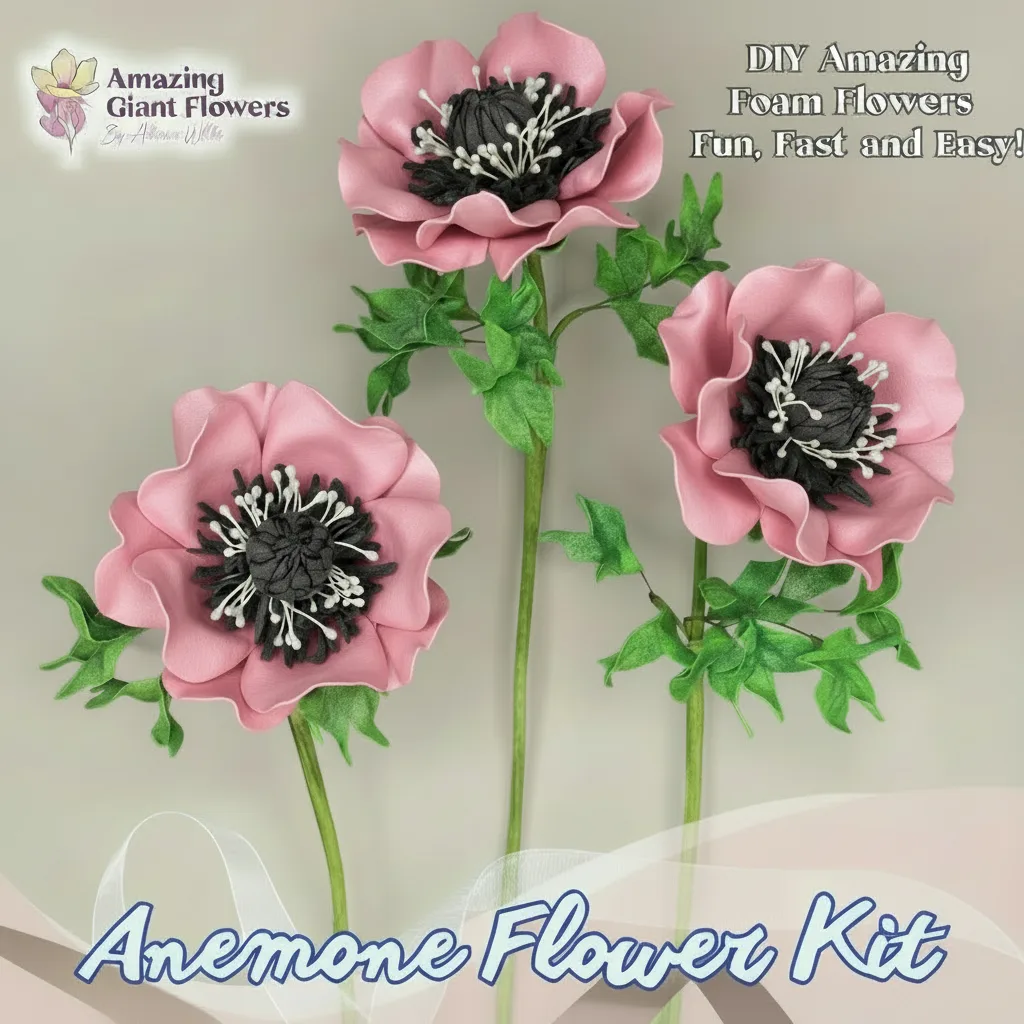
When you're brand new, starting with a clear project goal makes everything easier. Here are my top recommendations for first projects, ordered from simplest to slightly more involved.
- Single stem bloom in a vase — Press 5–7 petals, shape them, and assemble around a floral wire stem. Takes about an hour. Looks incredible on a shelf or desk.
- Cake topper sugar flower — Three to five gumpaste petals wired together make a stunning, professional-looking topper for any celebration cake.
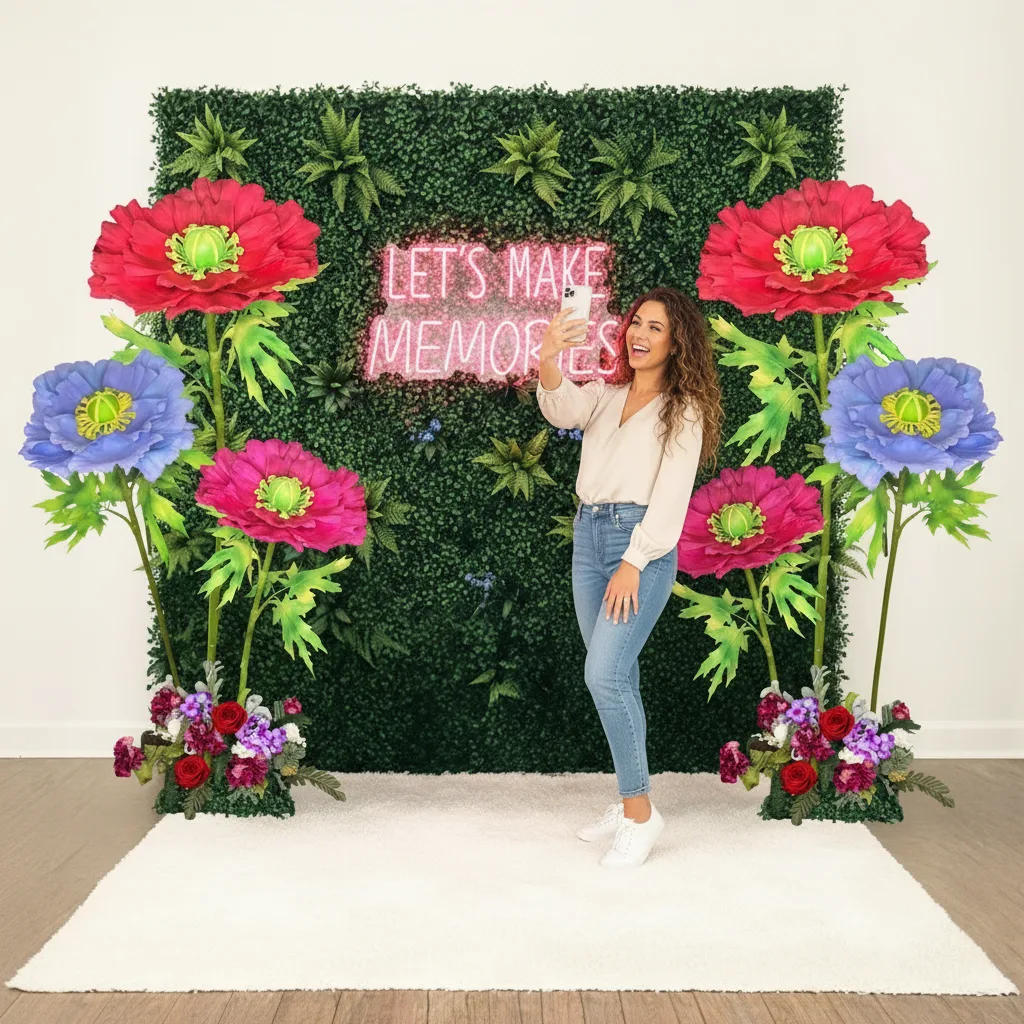
- Small photo backdrop cluster — Group 10–12 foam blooms in coordinating colors and mount them on a foam board panel. Perfect starter piece for a baby shower backdrop or birthday party wall.
- Wreath accent flowers — Press a dozen petals in various sizes and hot-glue them onto a plain wreath form. Instant statement piece for your front door.
If you want to go bigger after your first project, check out our life-size foam flower kits — they come with everything pre-cut and organized so you can focus entirely on assembling and shaping.
Ready to Create Something Amazing?
Browse our collection of giant flower kits and start your next project today.