Giant Flower Petal Templates: Sizes, Shapes, and How to Use Them
If you've been searching for giant flower petal templates free to download and print, I completely get it. When I first started making oversized foam flowers, I spent hours trying to sketch petals freehand — and honestly? They looked like sad, lumpy leaves. Getting the shape right is everything. The petal template is the foundation of the whole flower, and if it's off, nothing else saves it.
So I want to walk you through everything I know about petal templates — the sizes, the shapes, how to actually use them, and what to do when a generic free download just isn't cutting it for your project.
Whether you're making a 2-foot dahlia for a baby shower or a 5-foot ranunculus for a wedding arch, this guide will help you figure out exactly what you need before you cut a single piece of foam.
Here's the thing most tutorials skip right over: the template isn't just a shape. It's the blueprint for how your entire flower reads from across the room.
A petal that's too wide makes your flower look flat and blobby. Too narrow, and it looks spiky and weird. The curve of the tip, the taper at the base, the length-to-width ratio — all of it affects the final look in a huge way.
I've made hundreds of giant flowers at this point. And I still go back to my templates every single time. Even when I think I know a shape by heart, freehanding it leads to inconsistency between petals, and that inconsistency shows.
Real talk? The reason so many DIY giant flowers end up looking "off" has nothing to do with skill. It's the template. A great template makes even a first-timer look like a pro.
According to a Brides.com survey, couples spend an average of $2,000–$2,500 on wedding flowers. That's exactly why so many brides are turning to DIY giant foam flowers — you can create a jaw-dropping giant flower wedding arch for a fraction of that cost, but only if your petals look intentional and polished.
Not all petals are created equal. Different flower types call for completely different shapes, and using the wrong one is like putting a tulip head on a sunflower stem. Let me break down the main categories.
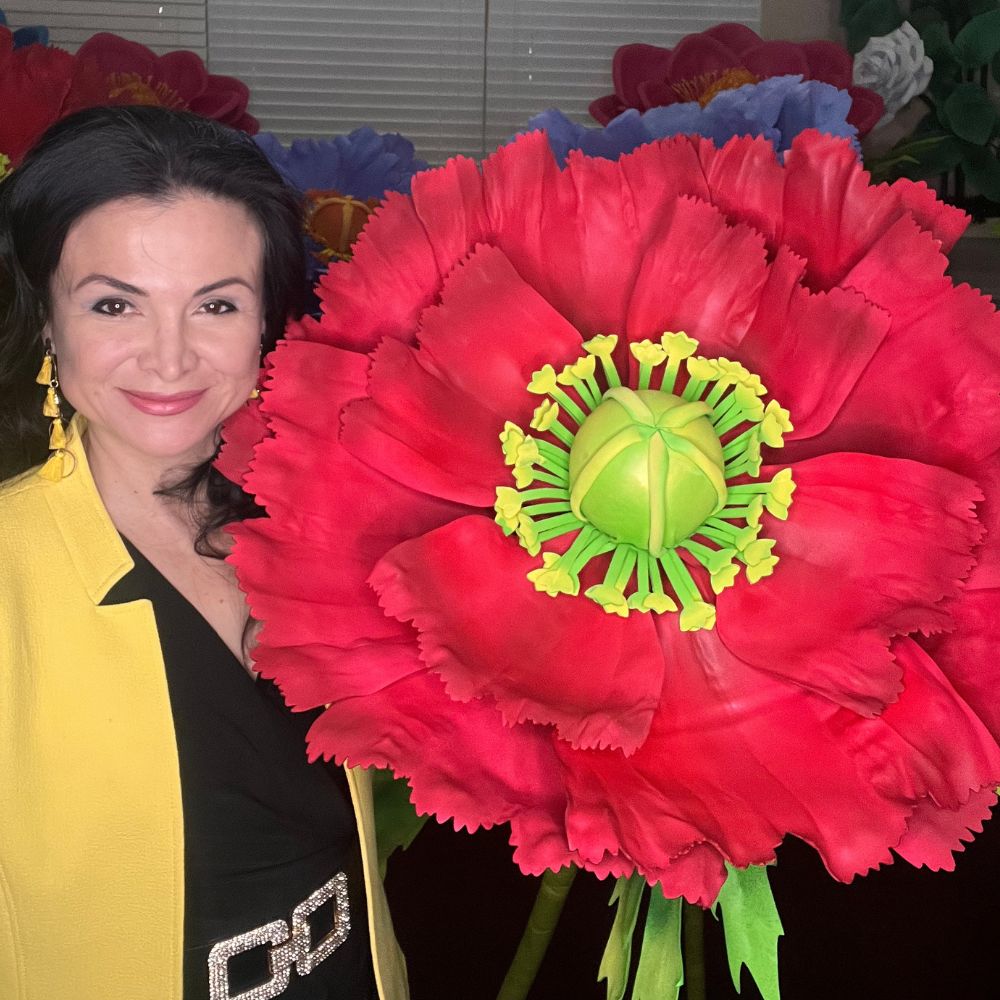
These are your ranunculus, peony, and garden rose petals. Wide, soft, with a gently rounded tip. They layer beautifully and give that lush, full look that photographs incredibly well.
For a 3-foot peony, I typically use outer petals that are about 14–16 inches long and 10–12 inches wide. Inner petals scale down to around 8–10 inches long. The key is the gradual taper — the base of the petal should narrow to about 3–4 inches so it sits cleanly in the flower center.
Think dahlias, chrysanthemums, and lotus flowers. These have a more defined tip — sometimes a sharp point, sometimes a soft elongated one. They create that graphic, almost geometric look that's super popular for modern event design right now.
Dahlia petals for a 2-foot flower are usually 10–12 inches long and only 4–5 inches wide. The narrow width is what gives dahlias that incredible layered texture. You need a lot of them — sometimes 40–60 petals per flower — so having a clean, accurate template is critical for cutting efficiently.
Ruffled or Wavy-Edge Petals
These are more advanced, but so worth it. Carnations, marigolds, and ranunculus variations use petals with wavy or scalloped edges. The template itself has the wave built in — you're not adding texture with a heat gun alone.
I'll be honest: these templates are the hardest to find for free online. Most of the good ones with actual wave detail are either hand-drawn or part of a paid kit. If you want that texture without drawing it yourself, our pre-cut kits include templates with the ruffled edges already worked in.
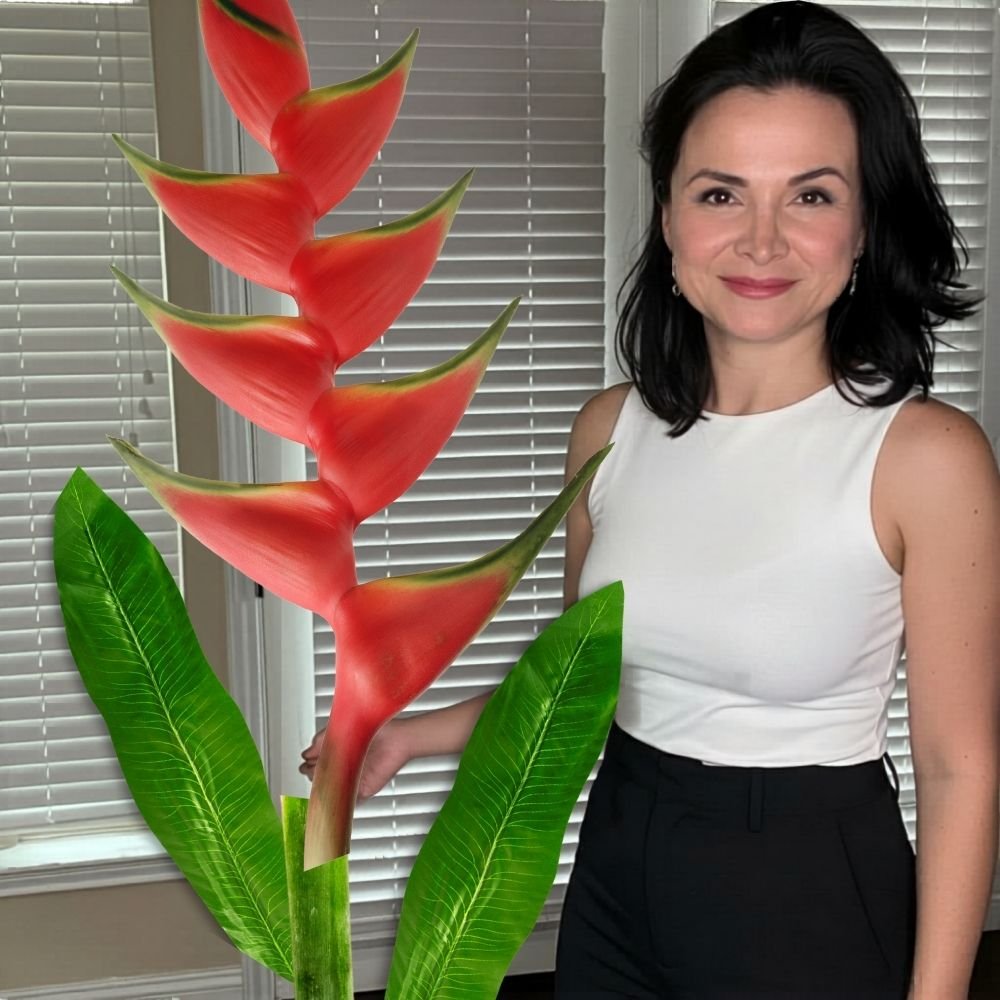
Sunflowers, gerbera daisies, and tropical flowers like heliconias use these. Long, slender, with minimal taper. For a 4-foot sunflower, I use petals that are roughly 18–20 inches long and only 5–6 inches at the widest point.
These are actually the easiest templates to draw yourself if you're comfortable with a ruler and a gentle curve. The shape is forgiving. But the placement matters — sunflower petals need to radiate evenly, so mark your center disc carefully before you start gluing.
Ok, this is where it gets really fun. Because sizing isn't random — there's actual logic behind it, and once you understand it, you can size any flower for any project without needing a specific template for every single bloom.
The rule I use is the 1/3 rule: your outer petals should be roughly one-third the diameter of your finished flower. So for a 3-foot (36-inch) flower, outer petals should be around 12 inches long. For a 5-foot flower, you're looking at 18–20 inch petals.
This isn't a hard law — some flowers like dahlias break it completely — but it's a reliable starting point when you're working from a generic template or drawing your own.
For the width-to-length ratio, I generally aim for:
When I'm drawing a template from scratch, I always start with a center axis line on my paper. Then I mark the total length, then the widest point (usually about 40–50% of the way up from the base), then sketch the curve on one side and fold the paper to mirror it. Symmetry is everything with petals.
Fold, cut, unfold. That's your template. Takes maybe 5 minutes once you know your measurements.
According to Statista, the US craft industry generates over $44 billion annually, and event DIY is one of the fastest-growing segments. More people than ever are making their own giant flower installations — which means more people are running into the exact template sizing questions I'm answering right now.
If you find a template you love but it's the wrong size, don't redraw it. Use a photocopier or a projector to scale it up or down. Most copy shops can print at 200%, 300%, or even 400% if you need a truly giant petal.
For digital templates, I love using Canva or Adobe Express — both free — to resize a petal shape and print it tiled across multiple pages. You tape the pages together and you've got a 24-inch template printed from a regular home printer. Game changer.
If you're working with our Amazing Giant Flowers kits, the templates are already sized and pre-cut in EVA foam — so you skip the paper template stage entirely. But understanding the sizing logic still helps when you're customizing or adding extra petals to a design.
Finding or making a great template is step one. Actually using it well on foam is a whole different skill. Let me walk you through my process.
Step 1: Choose your foam thickness. For petals on flowers under 3 feet, I use 2mm EVA foam. It's flexible and easy to shape with a heat gun. For larger flowers — 3 to 5 feet — I go up to 4mm or 6mm for structure. The thicker the foam, the more dramatic the shaping you can achieve, but it also requires more heat and pressure.
Step 2: Trace, don't cut freehand. Place your paper template on the foam sheet and trace around it with a ballpoint pen or a fine-tip marker. The ink shows up clearly on most foam colors and doesn't bleed. I trace all my petals at once before I cut anything — it's so much faster and you can see exactly how many sheets you'll need.
Step 3: Cut with sharp scissors or a craft knife. Dull scissors are the enemy. They compress the foam edge and leave a ragged line that shows in the finished flower. I use 8-inch fabric shears for most petals — they give you enough blade length to cut in smooth strokes rather than choppy little snips.
For tight curves (like the tip of a ruffled carnation petal), a craft knife with a fresh blade gives more control. Change your blade every 20–30 cuts. Seriously. A dull craft knife tears foam instead of slicing it.
Step 4: Shape with a heat gun. This is where flat foam becomes a dimensional petal. Hold your heat gun about 3–4 inches from the foam surface and move it in slow, even passes. The foam will start to soften in about 5–8 seconds. Then use your hands, a rounded tool, or even a bowl to curve it into shape.
For cupped petals, press the center of the petal into a rounded surface while it's warm. For rolled edges, wrap the warm petal edge around a pen or dowel. Work quickly — EVA foam sets as it cools, usually within 10–15 seconds. If you don't like the shape, just reheat and try again. That's the magic of EVA.
Check out my deep-dive on heat gun techniques for shaping foam flower petals if you want to get really good at this part.
Step 5: Layer from outside in. Always build your flower from the outermost ring of petals inward. Glue the largest petals first, let them set, then overlap the next layer. Each layer should cover the base of the layer below it. This is what creates that beautiful dimensional depth that makes giant flowers look so realistic.
According to The Knot's annual wedding report, the average wedding in the US now costs over $30,000. Couples are actively looking for ways to create high-impact visuals without blowing the budget — and a set of giant foam flowers built from solid templates can replace thousands of dollars in fresh floral installations. I've seen our flowers used in setups that looked like they cost $10,000, built for under $500.
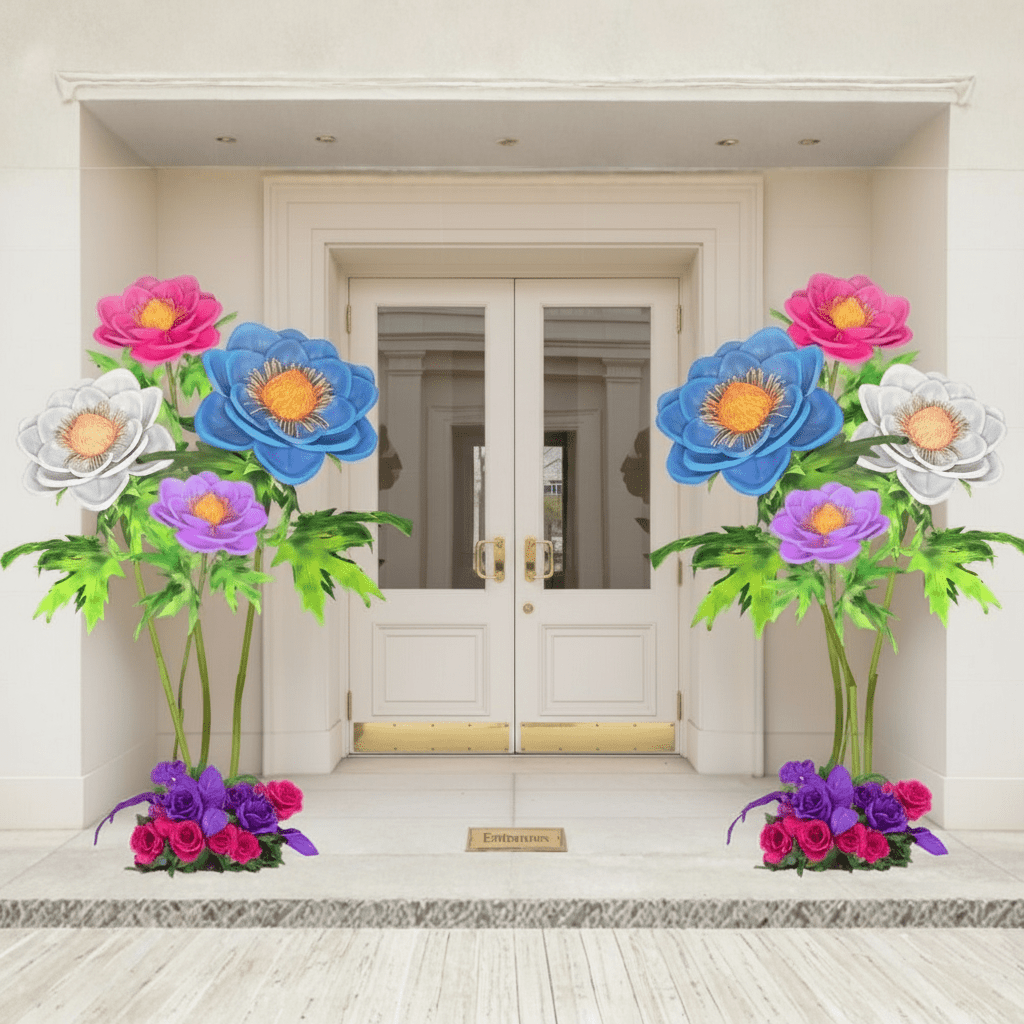
If you're building something like a DIY giant flower backdrop for photos, you'll want to make multiple sizes of the same petal template — maybe three sizes — so the backdrop has visual variety without looking chaotic. I always cut a small, medium, and large version of my main petal shape for backdrop work.
For wall installations specifically, lighter foam and thinner petals matter a lot. You don't want a 5-pound flower pulling off your wall at 2am during a wedding reception. Our wall decor flower guide covers the mounting hardware side of things in detail — definitely worth reading before you commit to a design.
One more thing I want to mention: paint and finish. Your template shape and your paint job work together. A beautifully shaped petal with a streaky, uneven paint job still looks amateur. I use a dry-brush technique with two coordinating shades — a base color and a slightly lighter highlight — to add depth to each petal before assembly. Our guide on foam board paint finishes walks through the exact products and techniques I use.
According to IBISWorld, the US floral industry is worth approximately $7.9 billion — and a growing slice of that is event and experiential floral design. Giant foam flowers sit right at the intersection of that trend and the DIY movement, which is why demand has exploded so much in the last few years.
If you're an event planner or small business owner, understanding petal templates also means you can customize on the fly. Client wants a 4-foot magnolia instead of a peony? You already know how to adjust the template shape and sizing. That flexibility is what separates decorators who can say yes to any request from those who are locked into a single look.
For more inspiration on how giant flowers translate into commercial settings, our post on large floral arrangement ideas for stunning displays is packed with real examples.
A HGTV trend report on DIY home décor noted that oversized statement pieces — including giant florals — have become one of the top requests for event styling and home staging. What started as a niche craft has become a genuine design movement.
And if you're making flowers for something like a quinceañera backdrop or a graduation party installation, scale matters even more. Those events call for flowers that read from 30–40 feet away. You want your biggest petals to be at least 16–18 inches so they register visually at that distance. Smaller petals just disappear.
According to Martha Stewart Weddings, DIY floral projects can save couples 40–60% on their floral budget when done with quality materials and proper planning. The template is where that planning starts.
I genuinely love this part of the process — the template stage feels like the moment before a flower exists, when it's still just potential. Getting it right sets everything else up for success.
If you want to skip the template-making entirely and jump straight to building, our pre-cut giant flower kits come with every petal already shaped in EVA foam, plus video tutorials that walk you through assembly step by step. We've got kits for peonies, dahlias, ranunculus, sunflowers, and more — all sized and ready to go.
What flower are you planning to make? Drop a comment or shoot me a message — I love seeing what people create, and if you're stuck on sizing a specific petal shape, just ask. I've probably made that exact flower at some point and I'm happy to share what worked.
Ready to Create Something Amazing?
Browse our collection of giant flower kits and start your next project.
Shop All Flowers