How to Curl Foam Flower Petals: 5 Techniques for Natural Shape

Key Takeaways
A heat gun or hair styler works really well, especially for 2mm and 4mm foam. Hold it 2–3 inches from the foam and move it in slow circles until the foam feels soft. You can also use the hot water dipping method — submerge the petal in 140–160°F water for 10–20 seconds, shape immediately, then run under cold water to set.
Both methods take a little longer than a heat gun, but they're absolutely effective. I've taught workshops where every single student used a hair styler and produced gorgeous, professional-looking petals.
Almost always, this comes down to one of two things: releasing the petal before it's fully cooled, or using foam that isn't true EVA foam. The cooling phase is what locks in the shape — you need to hold the curl for a full 15–30 seconds depending on thickness. If you're using craft foam from a dollar store, it may not respond to heat the same way quality EVA foam does.
Also check your heat level. If you're not getting the foam warm enough, it won't be truly pliable — and a petal that was only slightly warm will spring back quickly. You want the foam to feel noticeably soft before you start shaping.
Yes, but with caution. Acrylic paint on EVA foam can crack slightly if the foam is heated and flexed dramatically after painting. My recommendation: always curl your petals before painting. Shape first, paint second.
If you've already painted and need to adjust a curl, use the lowest heat setting on your heat gun and make very gentle adjustments. Check out our post on flawless foam board paint finishes for more tips on painting after shaping.
How long does it take to curl petals for a full giant flower?
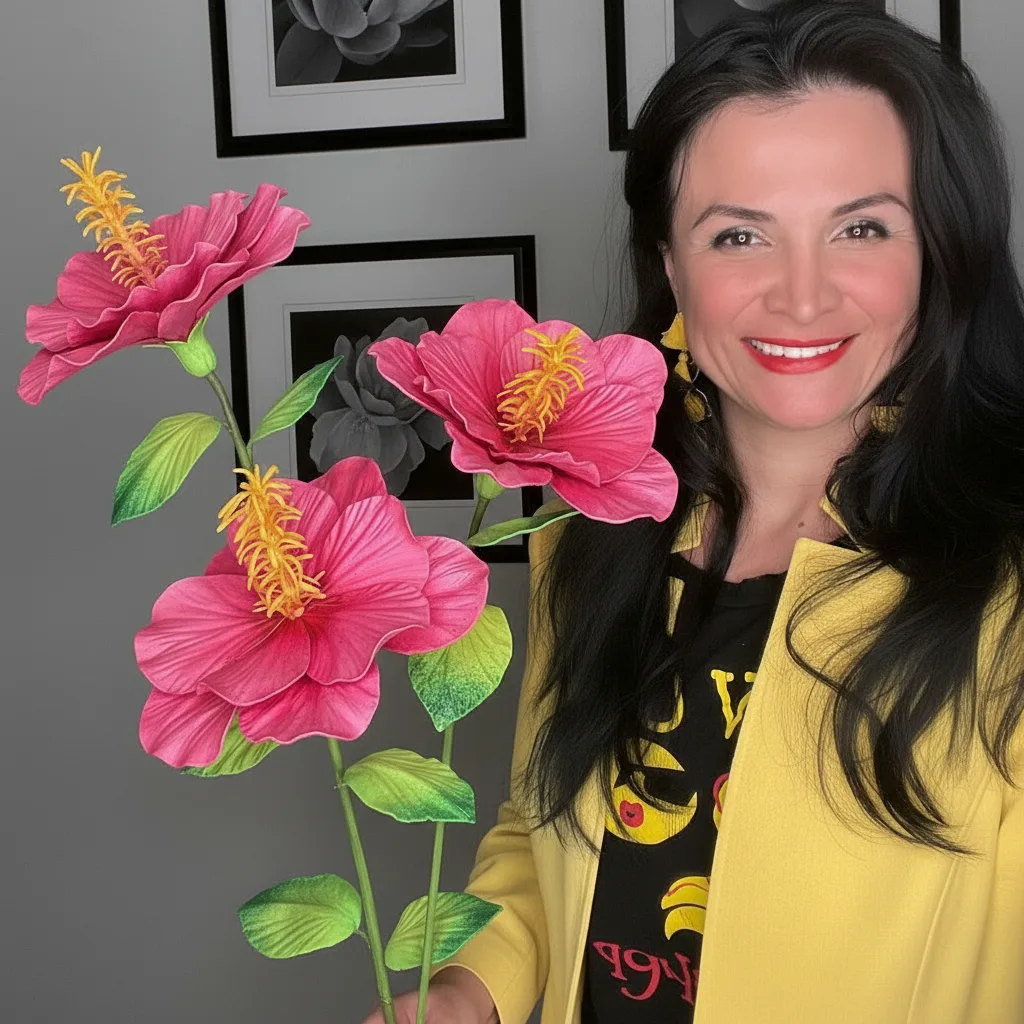
For a full giant flower with 5–8 petals, expect to spend about 15–30 minutes on curling alone, depending on your technique and foam thickness. Once you've done it a few times, your hands just know what to do and the whole process speeds up naturally.
I always tell my students: don't rush this step. The curling is where the magic happens, and those extra minutes are absolutely worth it when you see the finished bloom.
Frequently Asked Questions
What tools can I use to curl foam flower petals?
The most effective shaping tools are a heat gun, an iron hair styler, a household iron, or a flat grill. Each one applies consistent heat that makes EVA foam pliable enough to shape and hold a curve. I personally reach for my heat gun most often in the studio because it gives me the most control.
You can also use the hot water method — no heat tool required. Submerge your petal in hot water, shape it with your hands, then hold it under cold water to set the curl. It takes a little longer but works beautifully, especially for beginners who are nervous about heat.
Why do my curled petals keep going flat after shaping?
The most common reason is releasing the petal too soon. You need to hold the curl firmly for 15–30 seconds after shaping so the foam can cool and lock in the new position. Think of it like setting a curl in hair — the cooling phase is what actually sets the shape.
The other culprit is foam quality. True EVA foam has a memory that responds beautifully to heat shaping. Dollar-store craft foam often doesn't behave the same way. If you're struggling with petals that won't hold, the foam itself may be the issue.
Can I curl petals that have already been painted or decorated?
You can, but I strongly recommend shaping your petals before you paint them. Acrylic paint on EVA foam can develop tiny cracks when the foam is heated and flexed significantly after the paint has dried. Shape first, paint second — always.
If you absolutely need to adjust a curl after painting, use the lowest heat setting on your heat gun and make slow, gentle movements. Small tweaks are usually fine; dramatic reshaping after painting is where you risk the finish.
Does the thickness of the foam affect how I curl it?
Yes, and this is something I wish more tutorials talked about. Thinner foam (1.5mm–2mm) heats up quickly and curls easily with lighter pressure — it's very forgiving. Thicker foam (4mm–6mm) needs more heat and more sustained pressure to shape, but it also holds dramatic curves better once set.
Match your technique to your material. For thick foam, hold your heat source a little closer and give it a few extra seconds before you start shaping. For thin foam, work quickly — it heats fast and can over-soften if you linger too long in one spot.
I hope this guide takes the guesswork out of one of my favorite parts of the whole flower-making process. Once you get comfortable with curling, you'll start seeing the difference in every single bloom you make — and honestly, so will everyone else. If you have questions or want to share a flower you made using these techniques, I'd love to see it. Happy crafting from my Houston studio to your creative space, wherever you are! 🌸
Shop the supplies
Everything You Need for This Project
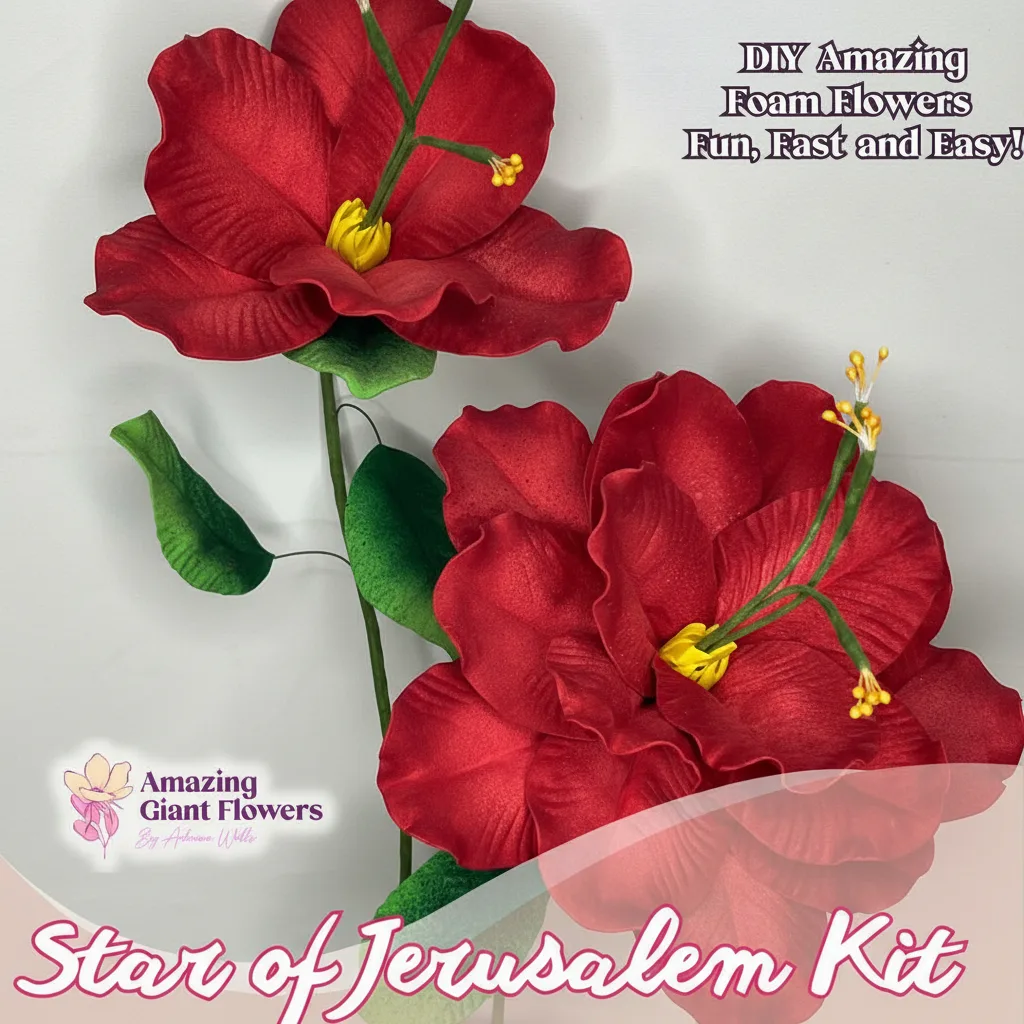
Real Touch Star of Bethlehem Foam Flower Kit — Large Tropical DIY Blooms (Star of Jerusalem) with Golden Pistils, Reusable Mold & Pre-Cut Petals
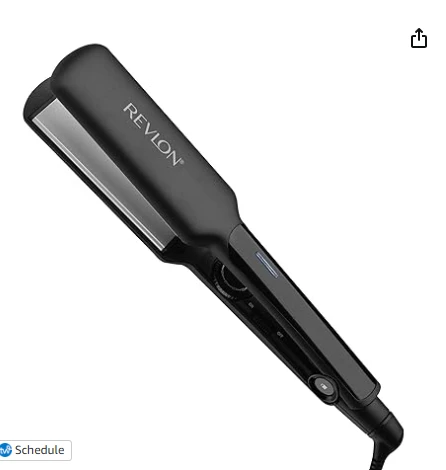
2" Flat Iron — Ceramic Plates for Petal Shaping
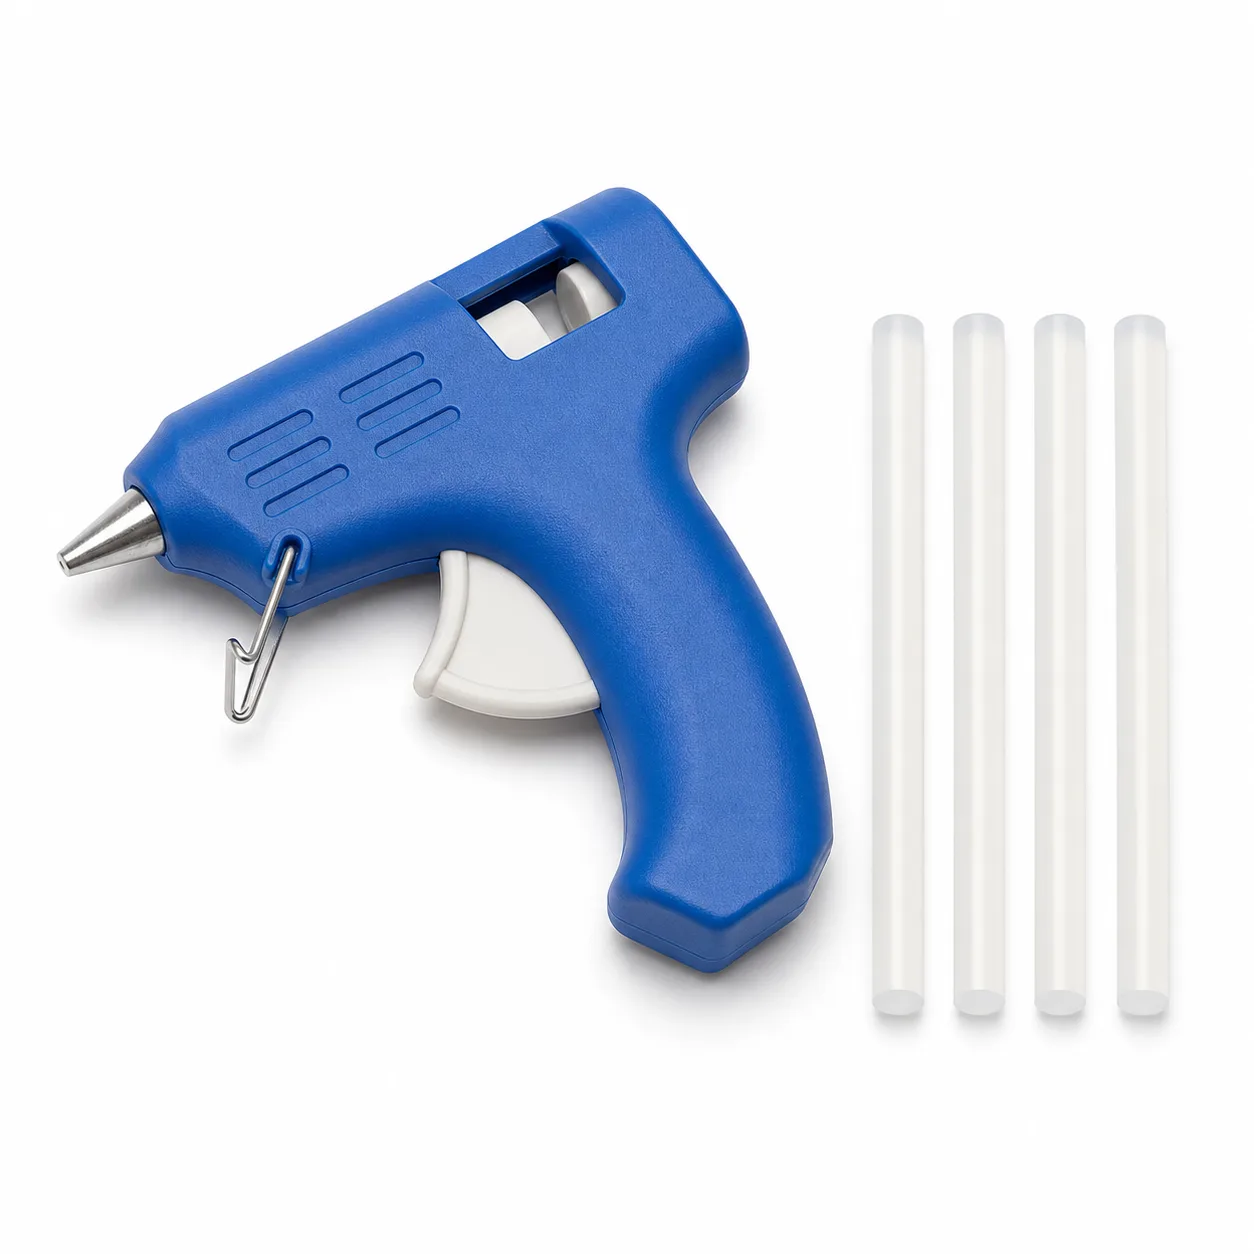
Hot Glue Gun + 4 Silicone Glue Sticks — Fast, Strong Petal Assembly
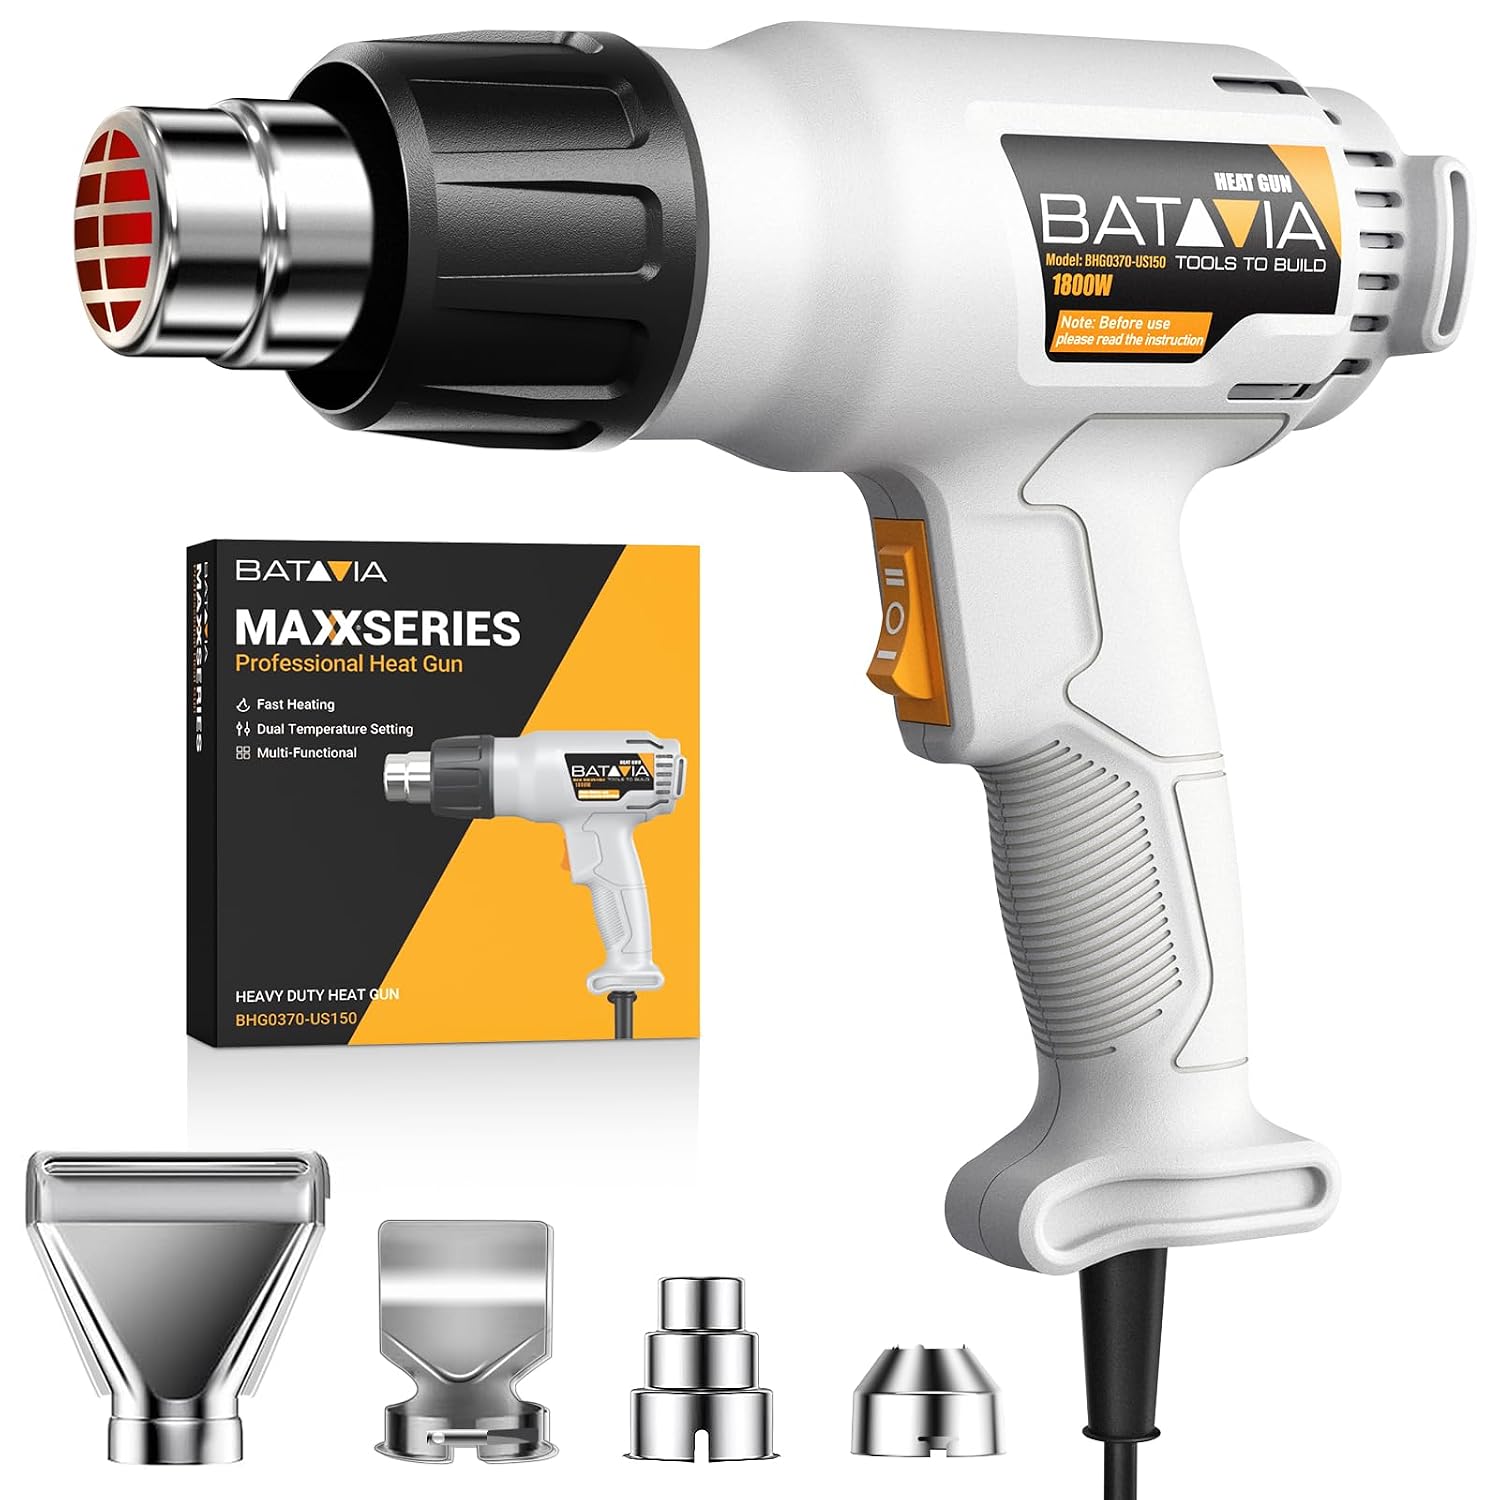
Heat Gun (Dual-Temp) — Thermoshaping Tool for Foam Flowers

Written by
Adriana WellsFounder & CEO of Amazing Giant Flowers
Adriana Wells is the founder and creative force behind Amazing Giant Flowers, a Texas-based company specializing in handcrafted giant foam flowers, luxury floral installations, and DIY flower-making supplies.
More about Adriana →Ready to Create Something Amazing?
Browse our collection of giant flower kits and start your next project today.