How to Make Giant Flowers Stand On Their Own
If you've ever spent hours crafting the most gorgeous giant flowers only to realize you have absolutely no idea how to make them stand up — girl, I've been there. The freestanding giant flower base is honestly the unsung hero of every stunning party setup, and once you understand how it works, everything clicks into place. Your flowers go from "cute craft project" to "wait, did you hire a professional?" in about an afternoon.
I'm Adriana, and I've been making giant flowers for parties, weddings, quinceañeras, baby showers — you name it — for years now. The number one question I get from party hosts is not about petal shapes or paint colors. It's: "How do I make these things actually stand on their own?" So today I'm giving you the full breakdown.
Whether you're decorating a backyard birthday bash, a sweet sixteen, or a graduation party, this guide is going to walk you through every single thing you need to know. Let's get into it.
Key Takeaways
Here's the thing about wall flowers — I love them. They're beautiful, they're dramatic, and they make incredible backdrops. But they need a wall. And walls are not always where the party is.
When you're setting up a dessert table, a welcome sign station, a photo op corner, or flanking an entrance — you need flowers that stand on their own two feet. Literally. Freestanding giant flowers give you total flexibility. Move them around. Cluster them. Space them out. Put them wherever the party needs a wow moment.
I've seen party hosts spend a fortune on balloon columns or floral rentals when they could have made something way more impressive themselves. And kept it. And used it again. That's the part nobody talks about — these flowers are reusable.
"A freestanding giant flower isn't just a decoration — it's a statement piece that travels with you, party after party."
What Makes a Freestanding Giant Flower Base Actually Work
Ok, this is where it gets really fun. Let me break this down so it makes total sense, even if you've never built anything like this before.
Every solid freestanding flower setup has three components working together:
Real talk? This is where most DIYers go wrong. They build a gorgeous flower, stick it on a skinny little pipe, and then wonder why it's wobbling every time someone walks past. The base needs to be proportionally weighted to the height and size of your flower.
A 5-foot flower needs a base with real substance. I usually recommend at least 15-20 pounds of counterweight. You can use a heavy decorative pot filled with sand or quick-set concrete, or a purpose-built weighted floral stand. Cover it with greenery, moss, or a fabric skirt and nobody ever sees the mechanics — they just see the magic.
💡 Pro Tip
If you're using a bucket as your base, fill it with quick-set concrete and insert your pipe while it's still wet. Let it cure for 24 hours. That flower is going nowhere. Wrap the bucket in kraft paper, ribbon, or a fabric sleeve to make it look intentional and pretty.
Not all parties are the same, and not all bases are the same. Here's how I think about it depending on the event type.
Indoors, you have more flexibility. The ground is flat, there's no wind, and you can use lighter bases without worrying about a gust knocking everything over. A weighted decorative pot or a simple disc base works beautifully on hardwood or tile.
Outdoors is a different story. Wind is your enemy. For outdoor parties, I always recommend either staking your pipe directly into the ground (if it's a lawn) or using a significantly heavier base — we're talking 25+ pounds. You can also use ground stakes with a crossbar system if you're on grass. Don't skip this step. I've seen entire flower arrangements go down like dominoes at an outdoor event and it is not a fun moment.
How Tall Should Your Flower Stand?
Our freestanding flower kits are designed to reach 5 feet tall — which is a showstopping height that photographs beautifully and gets noticed from across the room. But here's what I love: you can trim them shorter. Got a venue with low ceilings? Cut the stem down. Want a cluster of varying heights? Trim some to 3 feet, keep others at 5. The EVA foam cuts cleanly and the tutorials walk you through exactly how to adjust.
Alright, let me walk you through the actual build process. This is the part people get intimidated by, and I want to show you it's genuinely not that complicated. You've got this.
Choose your base container — a 5-gallon bucket works perfectly. Mix quick-set concrete according to the package directions and pour it in. Before it sets, insert your pipe or rod straight down the center. Use a level to make sure it's perfectly vertical. Let it cure fully — usually 24 hours — before you do anything else.
This is where our kits really shine. The petals come pre-cut from EVA foam, so you're skipping the hardest part. You'll use a heat gun to gently warm each petal and curve it into shape. If you've never done this before, check out our tutorial on heat gun techniques for shaping foam flower petals — it's a game changer and way easier than it sounds.
The natural curve you create in each petal is what makes the flower look real. Flat petals look flat. Curved petals look like an actual bloom. Take your time on this step.
Start from the center and work your way out. Layer your petals in concentric rings, securing each one with hot glue. Overlap them slightly — think about how a real flower grows. The center petals are smaller and more upright. The outer petals are larger and more relaxed.
For the center, you can use a rolled piece of foam, a foam ball, or even a large button-style center piece. Our kits include guidance on what to use for each flower style.
Once your flower head is complete, it's time to mount it. Thread your bendable pipe through the back of the flower center, or hot glue a mounting plate to the back of the flower and attach it to the top of your pipe. Make sure this connection is secure — reinforce with extra glue and let it cool completely before you stand the flower upright.
Now hide your mechanics! Wrap the bucket or base in fabric, ribbon, greenery, or decorative paper. Tuck in some faux leaves around the base of the stem. Add a few smaller blooms at the base if you want a lush, full look. The goal is for people to see a beautiful installation — not a bucket of concrete.
🌸 Ready to get started?
Browse our Freestanding Giant Flower Kits — pre-cut EVA foam, video tutorials included, starting at $80. Everything you need is right there.
Painting and Finishing Your Giant Flowers

Ok so here's something people don't always think about until the last minute — paint. EVA foam takes paint beautifully, but you need to use the right kind and apply it the right way or you'll end up with cracking or peeling.
I always recommend acrylic paint for EVA foam. It's flexible, it bonds well, and the colors stay vivid. For a deeper dive on technique, read my guide on flawless foam board paint finishes — seriously, it covers everything from primer to topcoat.
For party flowers, I love doing ombre effects — darker at the base of each petal, lighter at the tips. It catches the light beautifully and photographs incredibly well. Use a wide flat brush and blend while the paint is still wet.
💡 Pro Tip
Painting your petals before assembling the flower gives you much better coverage and access to all the edges. I always paint first, then glue. It saves so much time and frustration.
Creative Ways to Style Freestanding Giant Flowers at Your Party
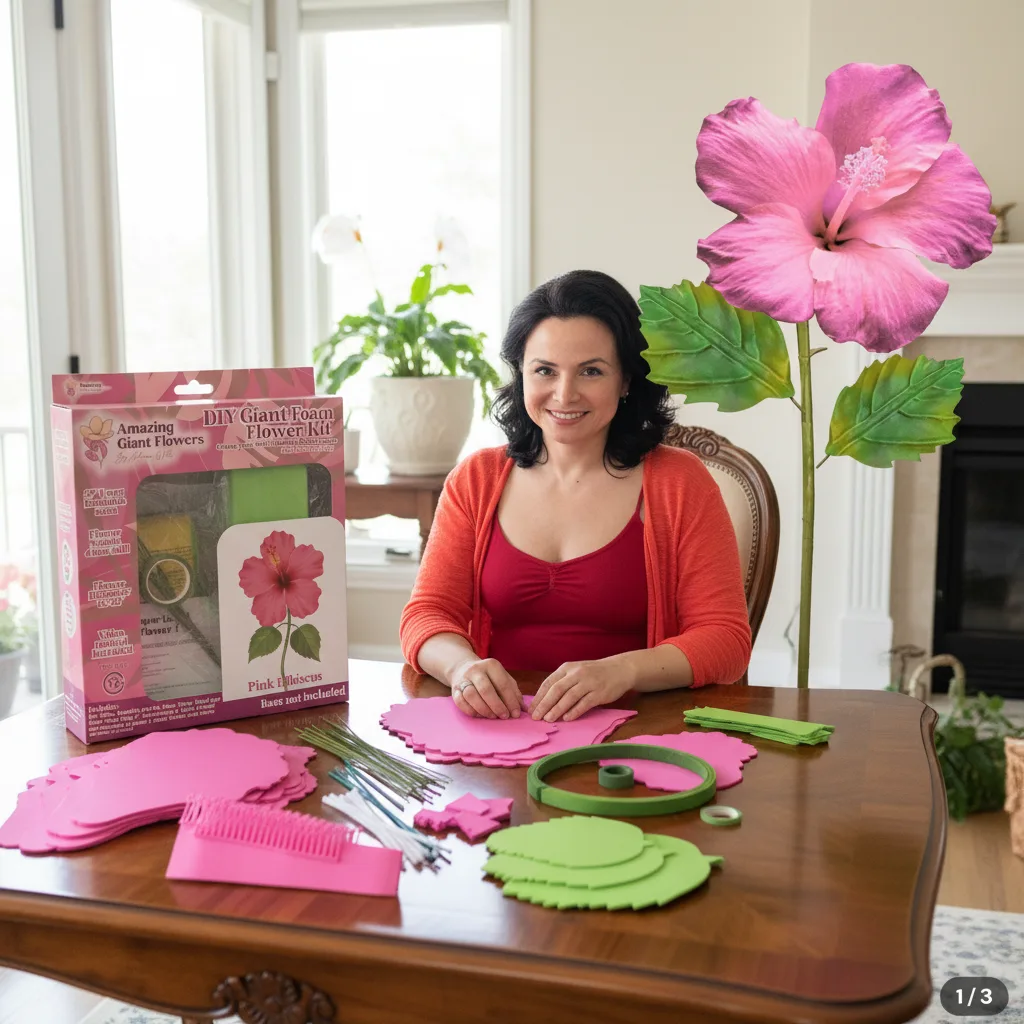
Here's where I get genuinely excited, because the styling possibilities are endless. Let me share some of my favorite setups I've seen (and created) for party hosts.
The Entrance Statement
Two giant flowers flanking your party entrance — one on each side — immediately signals to guests that something special is happening inside. Go tall here. Full 5 feet. Different flower types but matching colors. It's dramatic and welcoming at the same time.
The Dessert Table Backdrop
Cluster three to five freestanding flowers at varying heights behind your dessert table. Mix in some wall flowers on the backdrop if you have a surface to attach them to, and layer the freestanding ones in front. The depth and dimension this creates is absolutely stunning in photos. If you want more inspiration on this look, check out my post on giant flower centerpieces for events.
The Photo Op Corner
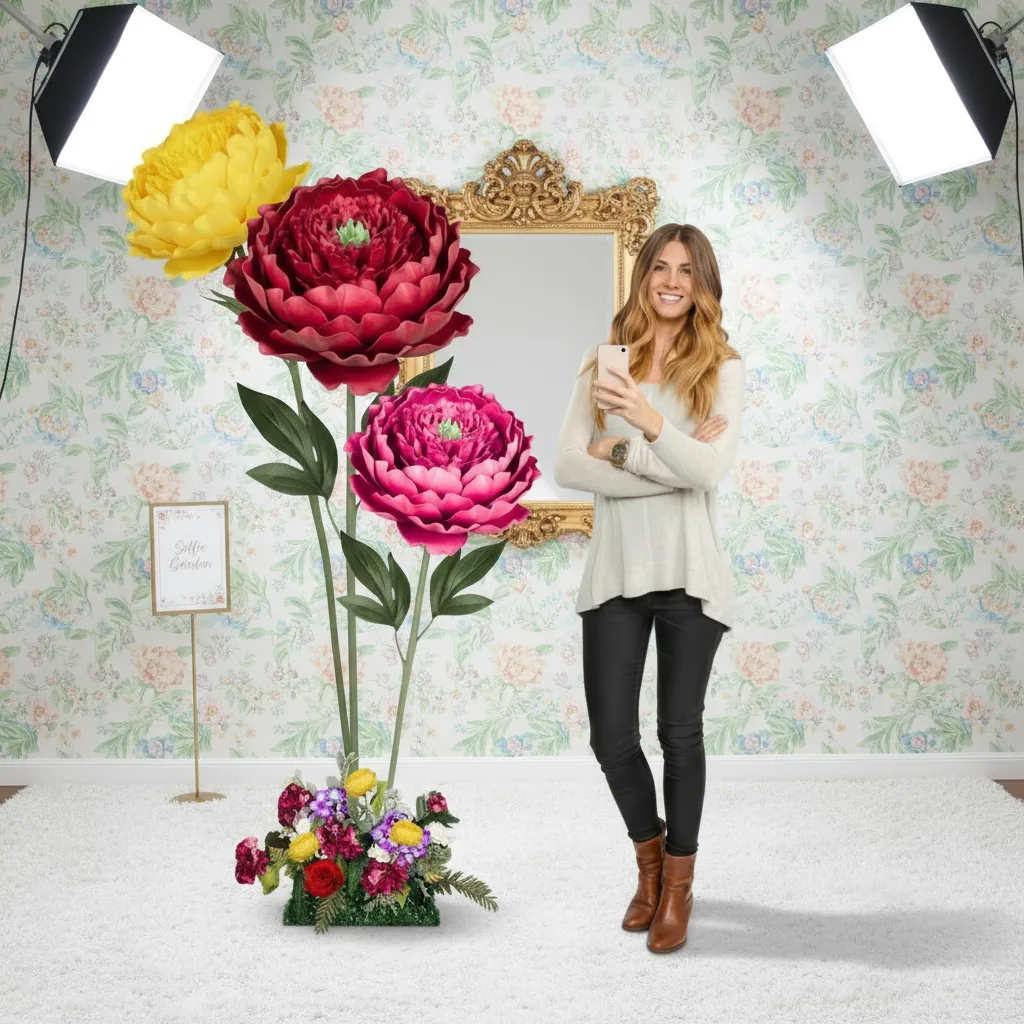
Freestanding flowers are perfect for photo ops. Create a little garden scene with three to four flowers at different heights, add a fun sign, and watch your guests line up to take pictures. This works especially well for graduation parties and baby showers.
"You don't need a professional event designer when you have giant flowers, a solid base, and a little creativity. The flowers do the heavy lifting."
Frequently Asked Questions
How heavy does my freestanding giant flower base need to be?
For a 5-foot flower indoors, I recommend at least 15–20 pounds of base weight. Outdoors, bump that up to 25+ pounds, or stake directly into the ground if you're on a lawn. The taller and wider the flower head, the more counterweight you need. When in doubt, go heavier — a stable flower is a happy flower.
Can I use these flowers outdoors?
Yes, absolutely — but take wind seriously. EVA foam flowers are lightweight, which is great for handling but means they catch wind easily. Use a heavier base, consider staking into the ground, and if you're expecting strong winds, it might be worth securing the stem to a nearby structure with a discreet zip tie or twine. Also seal your paint well so any light rain doesn't damage the finish.
Ready to Create Something Amazing?
Browse our collection of giant flower kits and start your next project today.