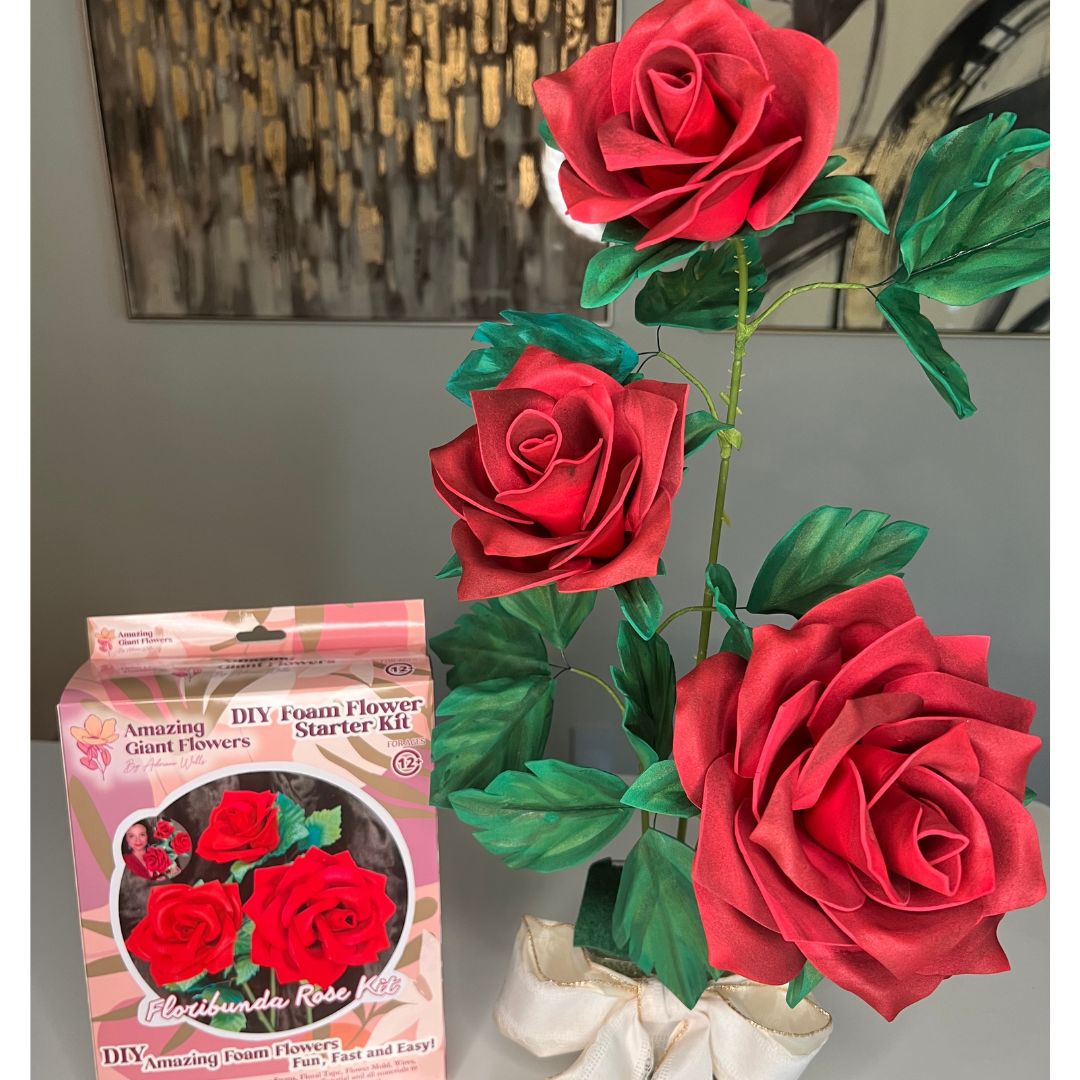
How to Store and Reuse Your Giant Foam Flowers
If you've ever made a set of giant foam flowers for a party or holiday display and then wondered what on earth do I do with these now? — you are so not alone. Learning how to store and reuse giant foam flowers is honestly one of the best skills you can pick up as a home decorator, because these beauties are way too good (and too much work!) to toss after one use.
I've been making giant flowers for years, and I'll be honest — my first few sets got a little beat up because I had no system. Petals got crushed, stems bent weird, and colors faded faster than they should have. Once I figured out the right storage approach, though? I started reusing the same flowers for multiple seasons, multiple parties, and even different rooms in my house. That's when it really clicked for me how cost-effective this whole thing is.
So today I'm walking you through everything — from how to prep your flowers before storing, to the best containers, to clever ways to bring them back out for a totally fresh look. Whether you made your own from our Freestanding Giant Flower Kits or you've got a mix of DIY blooms, this guide is for you.
Key Takeaways
EVA foam is incredibly durable — that's one of the reasons I love it so much. But it's not indestructible. If you just toss your flowers into a garbage bag or shove them in a closet, you're going to pull them out months later looking sad and wonky.
The good news? A little bit of care upfront means you can get three, five, even ten uses out of the same set of flowers. For home decorators especially, that's huge. You're not running a rental business with a warehouse — you're working with the space you have, and you want your investment to last.
What Damages Foam Flowers in Storage
Here's what I've seen ruin flowers over the years:
Once you know what to avoid, storage becomes way less intimidating. Let me walk you through it step by step.
This is the step most people skip. Don't skip it. Ten minutes of prep now saves you a lot of heartbreak later.
Lay all your flowers out on a table and look them over. Are any petals bent at a sharp angle? Any paint chipping? Any glue coming loose at the center? Fix small issues now while they're still small. A tiny petal that's lifting is a petal that'll be fully detached in six months if you ignore it.
For bent petals, I usually just use a heat gun on low for a few seconds to gently reshape them. If you haven't tried this technique yet, check out my post on Heat Gun Techniques: Shaping Foam Flower Petals Like a Pro — it's a game changer.
Use a dry microfiber cloth or a soft paintbrush to dust off any petals. If there are sticky spots or smudges, a barely-damp cloth works fine — just make sure the foam is completely dry before you pack anything away. Moisture trapped in storage is the enemy.
If your flowers are on bendable pipes or separate stems, take them apart. Store blooms flat and stems separately. This protects both pieces and makes packing so much more efficient.
Our Freestanding Giant Flower Kits are designed with this in mind — the 5-foot stems break down so you're not trying to stuff a full-height flower into a bin. You can also trim them shorter for different venues, which means the same kit works in a cozy apartment nook or a grand entryway.
💡 Pro Tip
Before disassembling, snap a quick photo of each flower arrangement from a few angles. When you're setting up six months later, you'll be SO glad you have a reference. I keep a little album on my phone just for this.
Step 4 — Let Everything Air Out
Especially if your flowers were used at an outdoor event or anywhere humid. Give them a few hours in a dry, room-temperature space before packing. I usually lay mine out overnight.
Ok, this is where it gets really fun — because there are actually some great options depending on how much space you have and how many flowers you're working with.
Those wide, flat under-bed storage bins? Perfect. Look for ones that are at least 6 inches deep — deeper is better if your flower heads are particularly dimensional. The flat shape means you can stack petals without crushing them, and the lid keeps out dust and pests.
Layer parchment paper or acid-free tissue paper between each flower. This prevents colors from transferring (yes, that can happen with painted foam if it sits pressed together for months) and adds a little cushioning.
Those tall cardboard wardrobe boxes — the ones movers use for hanging clothes — are honestly ideal for storing full-height stems upright. You can bundle stems loosely with a twist tie and stand them right in there. No bending, no warping.
If you have a particularly special set — maybe flowers you've spent hours painting with a gorgeous finish — a breathable garment bag hung in a closet works beautifully for the blooms. Just make sure the bag is breathable fabric, not plastic, so moisture doesn't get trapped.
Real talk? The storage is only half the battle. If you can't find what you need when you need it, you'll just end up buying more supplies instead of using what you have. I've done it. It's not fun.
I use masking tape and a Sharpie on every bin. I write:
Takes thirty seconds per bin and saves me so much time when I'm planning a new display.
This is honestly my favorite part to talk about, because it's where the real magic happens for home decorators. The same set of flowers can do so much more than you think with just a few small changes.
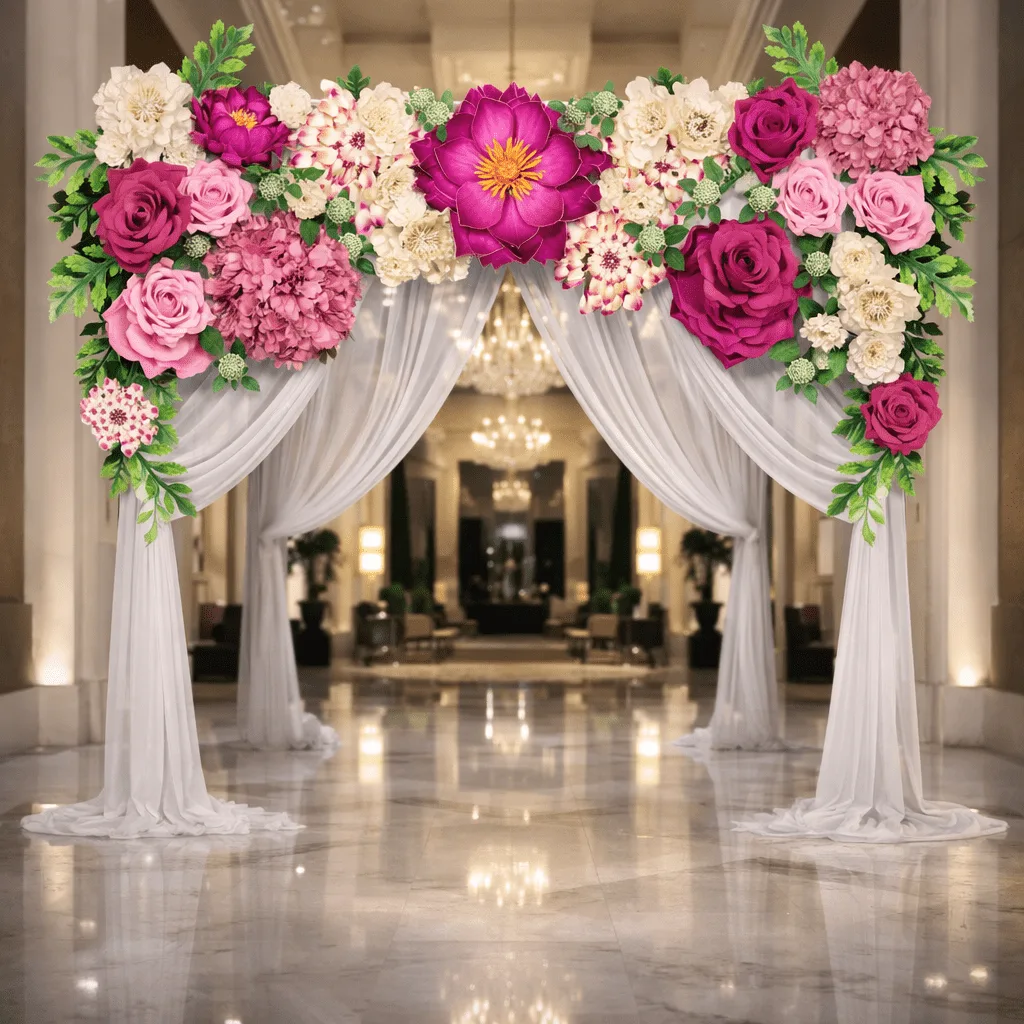
A cluster of blush and white giant flowers that stood behind a dessert table at a baby shower? Spread them out along a mantelpiece for Valentine's Day. Group them tightly in a corner for a spring entryway display. The flowers don't change — the styling does.
Add greenery, ribbon, or smaller accent blooms to completely transform the look. I love pairing our giant freestanding flowers with smaller wall flower kits for a layered display that feels totally different each time.
EVA foam takes paint beautifully, and you can absolutely repaint flowers you've already used. Going from a summer tropical palette to a moody autumn vibe? Totally doable. Check out Your Guide to Flawless Foam Board Paint Finishes for tips on getting a smooth, professional result.
Our freestanding kits start at 5 feet tall, but you can trim them shorter for lower ceilings, tabletop displays, or arrangements where you want a different visual weight. This flexibility is huge — it means one kit genuinely works in multiple rooms and settings.
🌸 Ready to build a collection worth keeping?
Browse our Freestanding Giant Flower Kits — pre-cut EVA foam, video tutorials included, priced from $80 to $180. These are made to last.
Not everyone has the same space or the same number of flowers to store. Here's a quick breakdown to help you figure out what makes the most sense for your situation.
I want to talk about this because it's something a lot of people don't think about until something goes wrong. EVA foam is tough, but your storage environment matters more than the container you choose.
Aim for 60–75°F. Consistently. Garages in Houston summers (I know this from personal experience) can hit 120°F, and that will warp foam. An interior closet, a spare bedroom, or a climate-controlled storage unit are all great options.
Keep it dry. If you live somewhere humid, toss a couple of silica gel packets into each storage bin. They're cheap, they absorb moisture, and they can save your flowers from peeling paint and loosening glue joints.
Direct sunlight will fade your colors over time. Keep bins in a dark spot, or at least away from windows. If you're using a garment bag in a closet, you're already set on this one.
If you want to understand more about what types of foam hold up best over time, I wrote a whole deep-dive: A Crafter's Guide to Every Type of Foam for Giant Flowers. Worth a read before you start your next project.
💡 Pro Tip
If you're storing flowers in a bin for more than three months, do a quick "check-in" halfway through. Open the bin, let things air out for an hour, and make sure nothing has shifted or compressed. It takes five minutes and can catch small problems before they become big ones.
Frequently Asked Questions
How long do giant foam flowers last if stored properly?
Honestly? Years. I have flowers I made back in 2019 that are still in great shape because I store them correctly. EVA foam itself doesn't degrade quickly — the weak points are usually the paint finish
Ready to Create Something Amazing?
Browse our collection of giant flower kits and start your next project today.