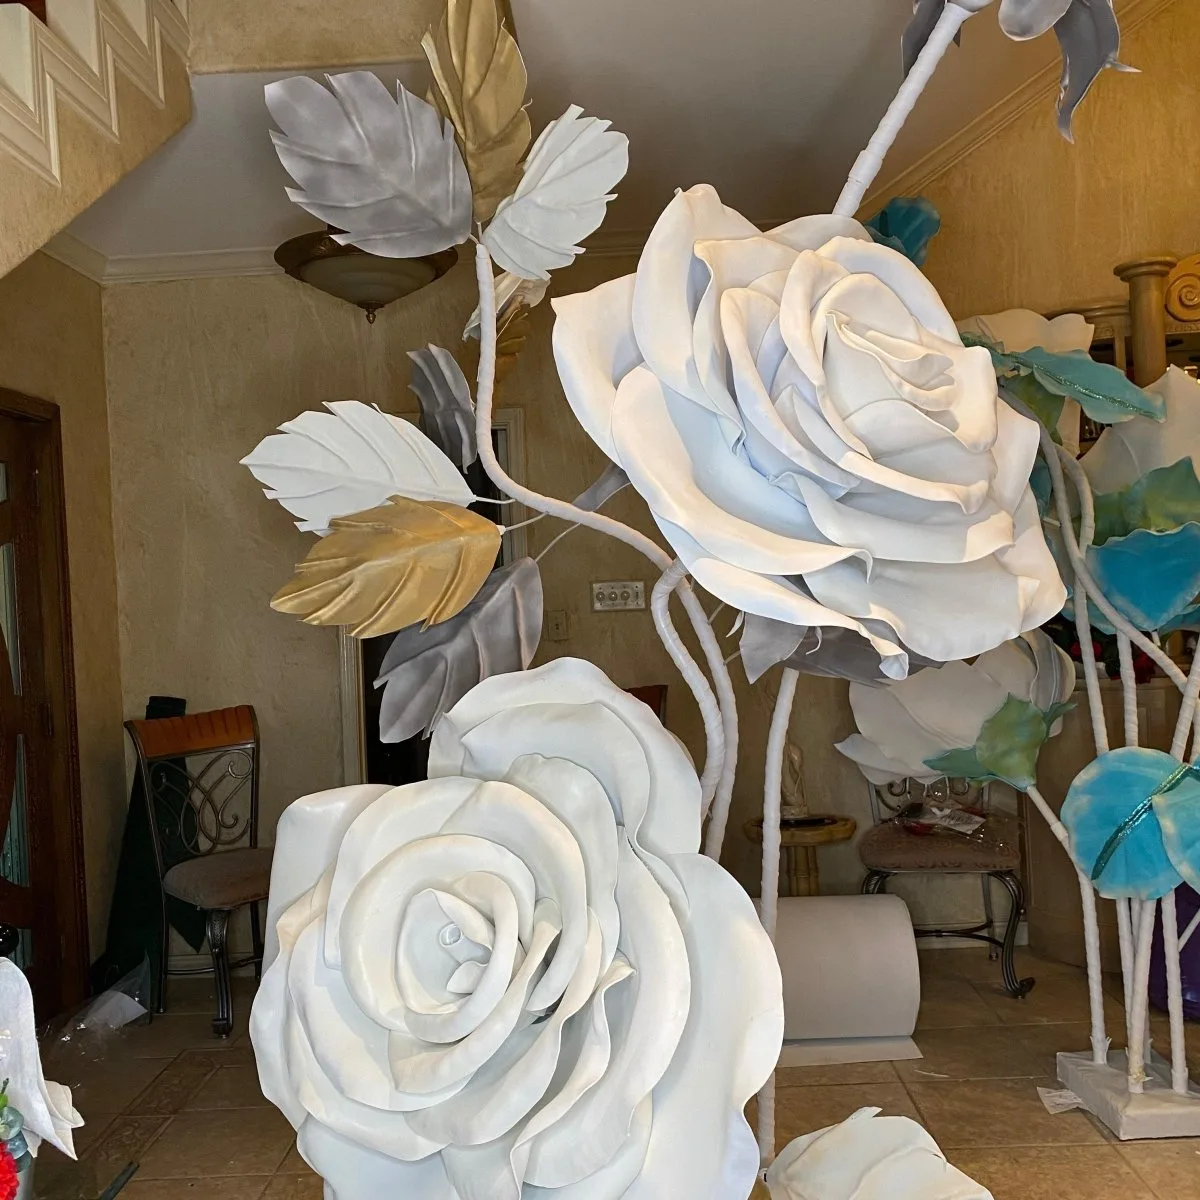
Life-Size Foam Flowers 101: A Beginner's First Kit
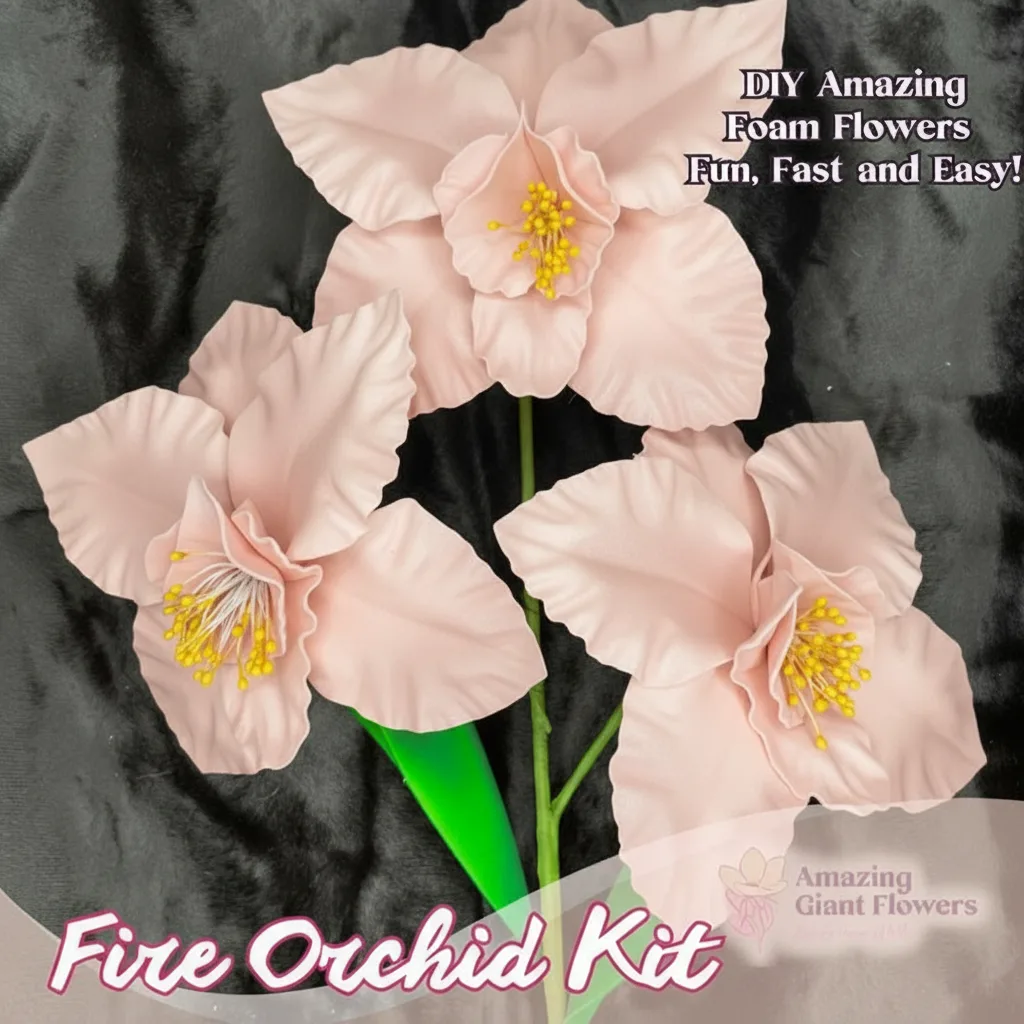
If you've been scrolling through Pinterest saving every gorgeous floral backdrop you see, thinking "I could never make that" — I need you to stop right there. Because that's exactly what I thought before I made my very first foam flower. And honestly? It was way easier than I expected. A good foam flower kit for beginners changes everything. It takes that overwhelming "where do I even start?" feeling and replaces it with a clear, step-by-step path to something genuinely beautiful.
I started Amazing Giant Flowers because I fell in love with the craft — but I remember being a total beginner, staring at a sheet of EVA foam with absolutely no idea what I was doing. That's why I designed our Life-Size Foam Flower Kits (Crafter Line) specifically for people who are just starting out. No experience needed. No special tools. Just you, the kit, and a little bit of excitement.
So if you're here because you want to make something stunning for a wedding, a baby shower, a birthday party, or just your living room wall — you're in the right place. Let me walk you through everything.
Key Takeaways
Let me break this down. A foam flower kit bundles everything you need to make life-size, realistic-looking flowers out of EVA foam. And when I say everything, I mean it.
Our Crafter Line kits include pre-cut petals in the exact shapes you need, plus a mold that helps you shape each petal into that gorgeous, natural curve. No guessing. No freehand cutting. No printing templates at 2am because you got the sizing wrong the first three times. (Ask me how I know.)
What's Inside the Kit
Here's what you'll find when you open one of our Life-Size Foam Flower Kits:
You'll just need a heat gun (or even a hair dryer on high heat to start), some hot glue, and your hands. That's it.
Real talk? I love what Lia Griffith does with paper flowers. Her work is beautiful. But paper has limits. It tears. It wilts in humidity. It cannot survive an outdoor summer event in Houston (trust me on this one).
Foam is waterproof, flexible, and incredibly durable. You can use your flowers indoors, outdoors, pack them up after the event, and pull them out again six months later looking just as fresh. If you want to go deeper on this comparison, I wrote a whole post on Foam Flowers vs Paper Flowers: Which Is Better for Events? — worth a read before you decide.
Not all kits are created equal — and as a beginner, the wrong kit can make the experience feel harder than it needs to be. Here's what I'd look for.
Some flowers are naturally easier to construct than others. When you're just starting out, I always recommend going for flowers with fewer petal layers and a more forgiving shape.
Our Crafter Line kits range from $34.99 to $49.99 depending on the flower style and how many blooms you get per kit (anywhere from 2 to 6 flowers). I'd suggest starting with a kit that makes at least 3–4 flowers so you get enough practice reps on your first go.
I've seen people try to save money by buying raw EVA foam sheets and cutting everything themselves. And look — if you want to go that route eventually, amazing. We have EVA foam sheets and flower molds sold separately for exactly that reason.
But as a beginner? The kit is worth every penny. You're not just buying materials — you're buying confidence and a clear path forward. The pre-cut petals alone save you hours of frustration.
💡 Pro Tip
If you're making flowers for a specific event, order your kit at least 2–3 weeks in advance. Not because it takes that long to make — but because you'll want time to practice one flower, see how you like it, and possibly make adjustments before the big day. Give yourself that breathing room.
How to Make Your First Life-Size Foam Flower: Step by Step
Ok, this is where it gets really fun. Let me walk you through the basic process so you know exactly what to expect before your kit even arrives.
Step 1: Lay out your petals. Sort them by size — most flowers are built from the outside in, with larger petals forming the base and smaller ones filling the center.
Step 2: Shape with heat. Hold each petal over your heat gun for just a few seconds, then press it into the mold. The foam softens instantly and holds whatever shape you give it. This is genuinely the most satisfying part of the whole process.
Step 3: Glue as you go. Start with your largest petals and work inward, layering and gluing each ring before moving to the next. The instructions in your kit will show you exactly where each petal goes.
Step 4: Build the center. This is where your flower really comes to life. The innermost petals are tightly curled and give the bloom that full, lush look.
Step 5: Let it cool, then admire your work. Seriously. Take a moment. You just made something beautiful.
🌸 Ready to get started?
Browse our Life-Size Foam Flower Kits collection and find your perfect match. Kits start at just $34.99 and everything you need is included.
Foam Flower Kits vs. Other Beginner Options: A Real Comparison
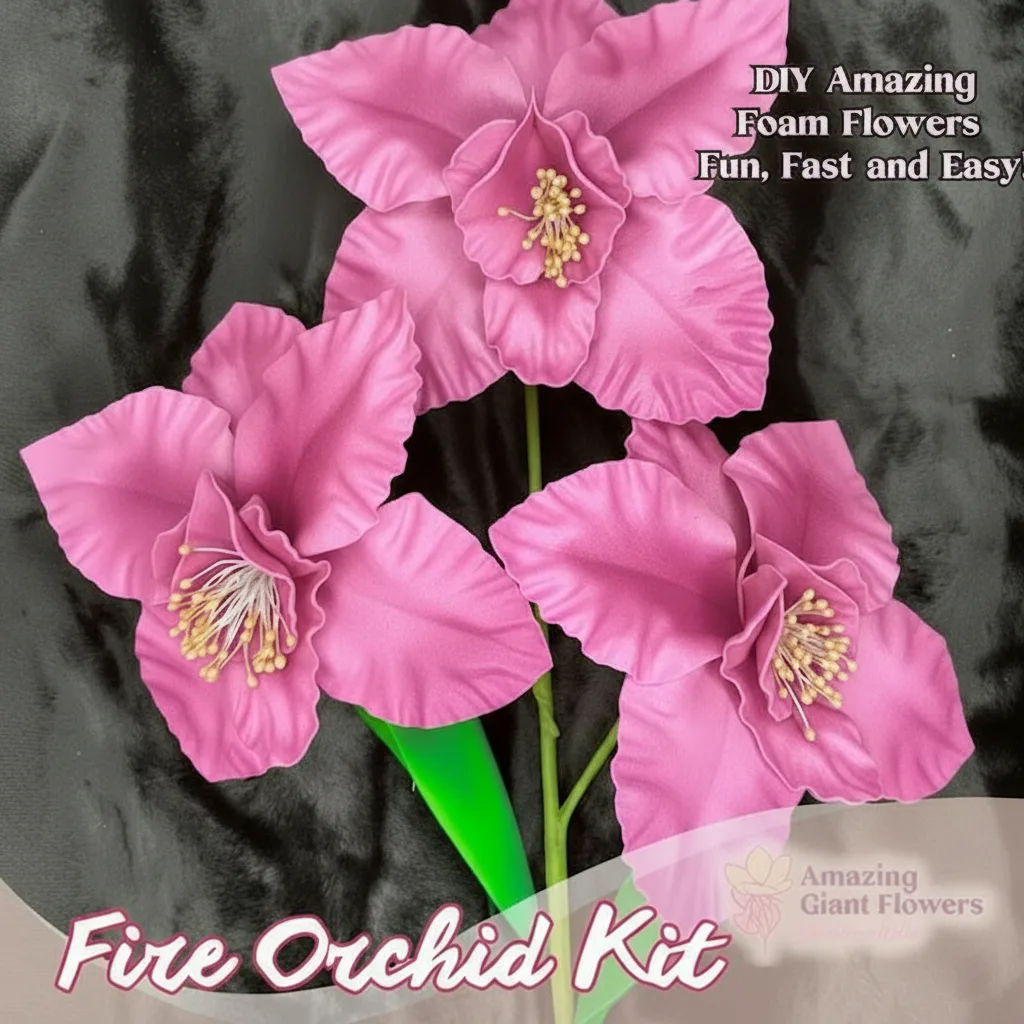
I know you've probably looked at other options — paper flower kits, fabric tutorials, pre-made silk flowers. So let me just lay it all out honestly.
| Feature | Life-Size Foam Flower Kit | Paper Flower Kit | Fabric Flower (DIY) | Pre-Made Silk Flowers |
|---|---|---|---|---|
| Beginner Friendly | ✅ Yes — everything pre-cut | ⚠️ Moderate — requires precise folding | ❌ Harder — requires sewing or wiring | ✅ No skill needed, but no customization |
| Realistic Look | ✅ Real-touch finish, 3D shape | ⚠️ Flat, clearly paper | ✅ Can be very realistic | ⚠️ Often looks artificial |
| Waterproof / Outdoor Use | ✅ Fully waterproof | ❌ Damages easily with moisture | ⚠️ Depends on fabric | ⚠️ Some are, some aren't |
| Reusable | ✅ Yes — event after event | ⚠️ Fragile over time | ✅ Yes | ✅ Yes |
| Price Range | $34.99–$49.99 per kit | $20–$40 per kit | $30–$60+ (materials only) | $15–$80+ per stem |
| Customizable Colors | ✅ Can paint foam easily | ✅ Yes | ✅ Yes | ❌ Limited to what's available |
The verdict is pretty clear to me — but I'll let you draw your own conclusions. 😊
What Can You Actually Make With Your First Kit?
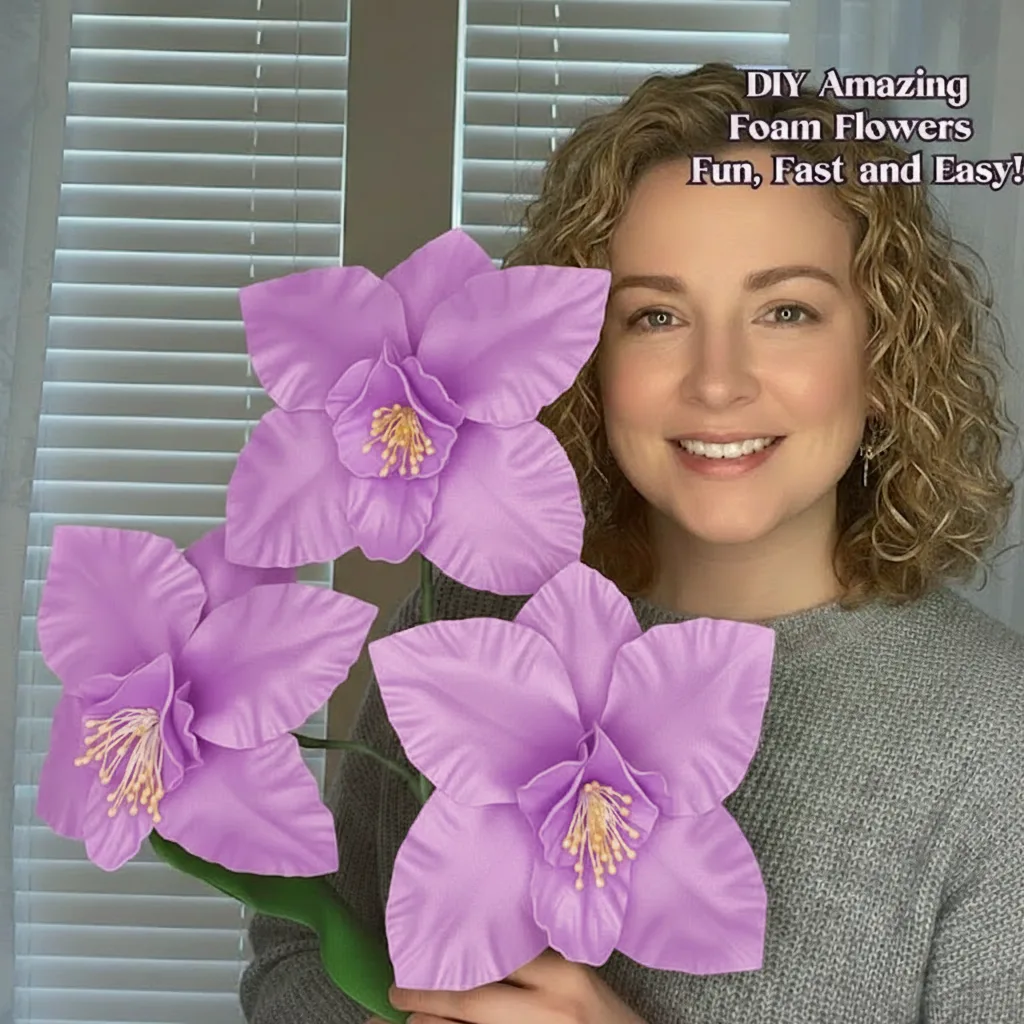
This is the question I get most from first-timers. And the answer is: way more than you'd think.
Event Decor That Wows
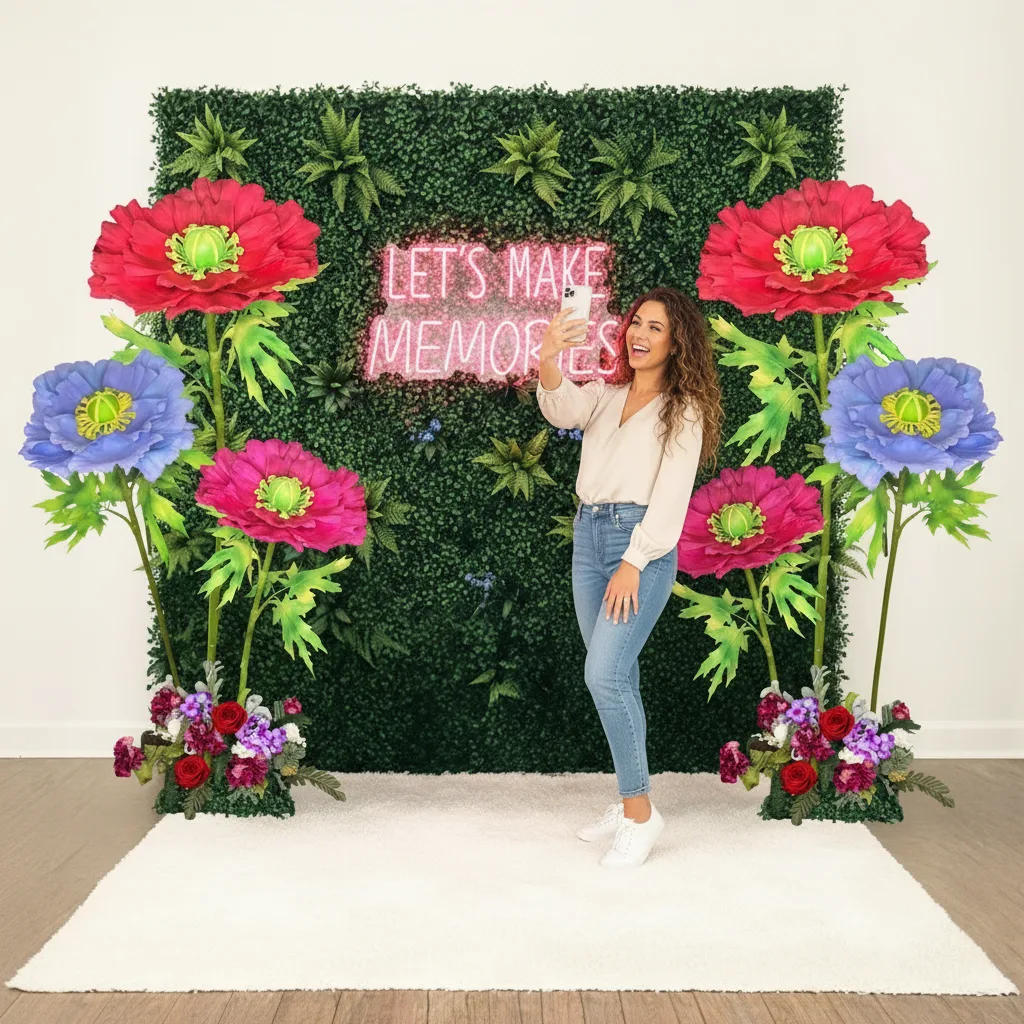
Even just 4–6 life-size flowers can transform a space. I've seen brides use a single kit to create a stunning ceremony table centerpiece. One of my customers made a baby shower backdrop with two kits that honestly looked like it came from a professional event company.
- Photo booth backdrops — a cluster of 6–10 life-size flowers creates an incredible backdrop. See our guide to the best photo booth backdrops for inspiration
- Wedding arches — start with one kit to practice, then build up. Our guide to foam flowers for wedding arches has everything you need
- Wall installations — even 4 flowers arranged on a wall looks intentional and gorgeous
- Centerpieces — life-size blooms in a tall vase are genuinely showstopping
- Graduation and quinceañera decor — check out our graduation party backdrop ideas for real project inspo
Home Decor You'll Actually Keep
Not everything needs to be for an event. I have foam flowers on my own living room wall that I made years ago. They still look perfect. That's the thing about foam — it doesn't fade, droop, or collect dust the way you'd expect. A quick wipe with a damp cloth and they're good as new.
💡 Pro Tip
Want to customize your foam flower colors? EVA foam takes paint beautifully. Check out our post on painting on foam core for techniques that give you a flawless, professional finish every time.
Common Beginner Mistakes — and How to Avoid Them
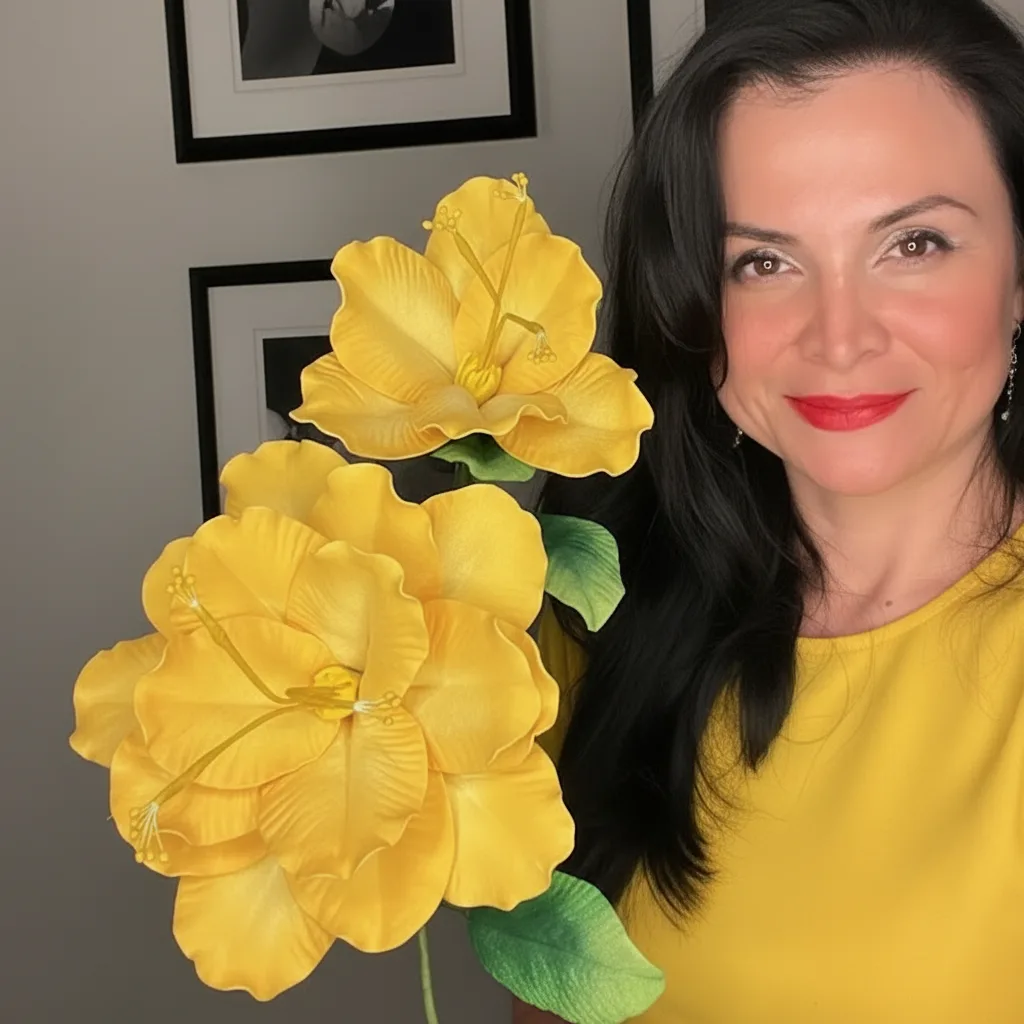
I've taught a lot of people this craft. Here are the mistakes I see most often, so you don't have to make them.
Using Too Much Glue
Hot glue strings are the enemy of a clean-looking flower. Use small, precise dots of
Ready to Create Something Amazing?
Browse our collection of giant flower kits and start your next project today.