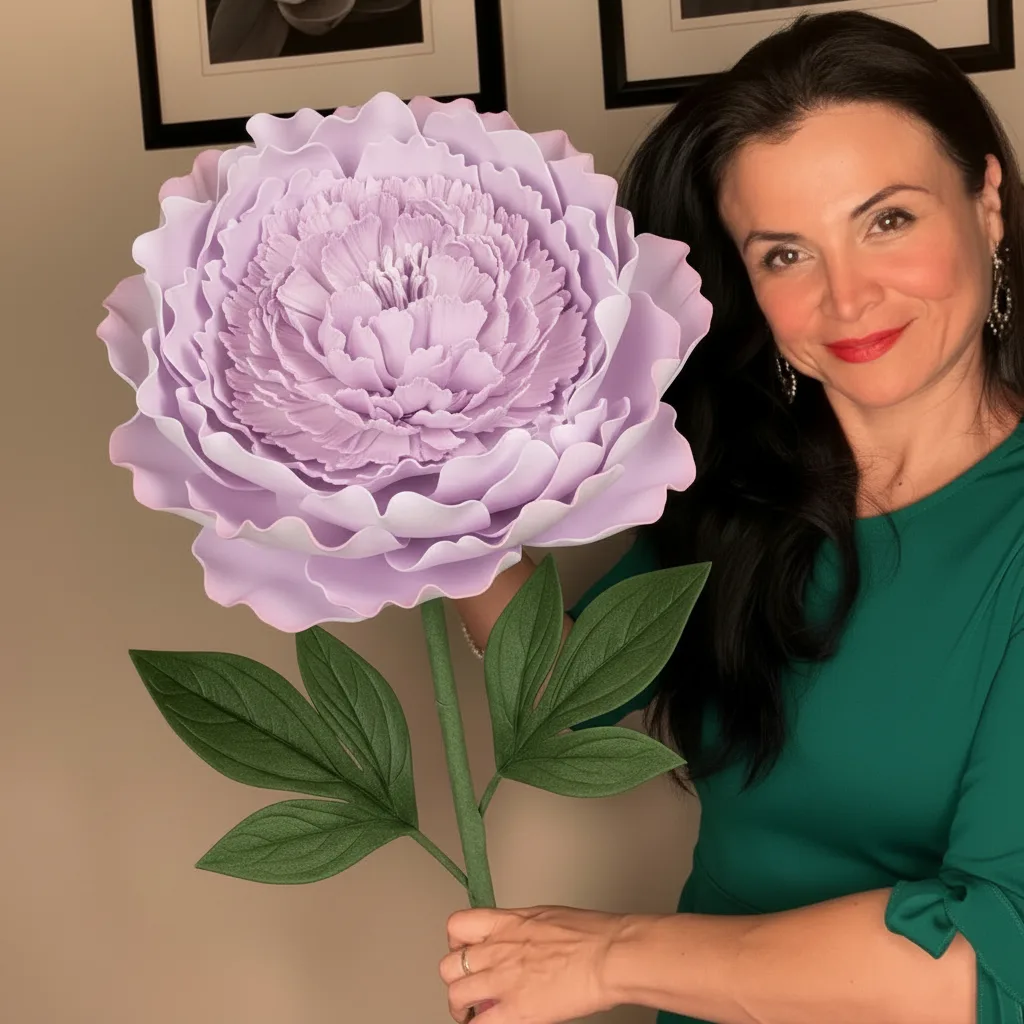
Real Touch Peony Craft Kit: A Step-by-Step Assembly Guide
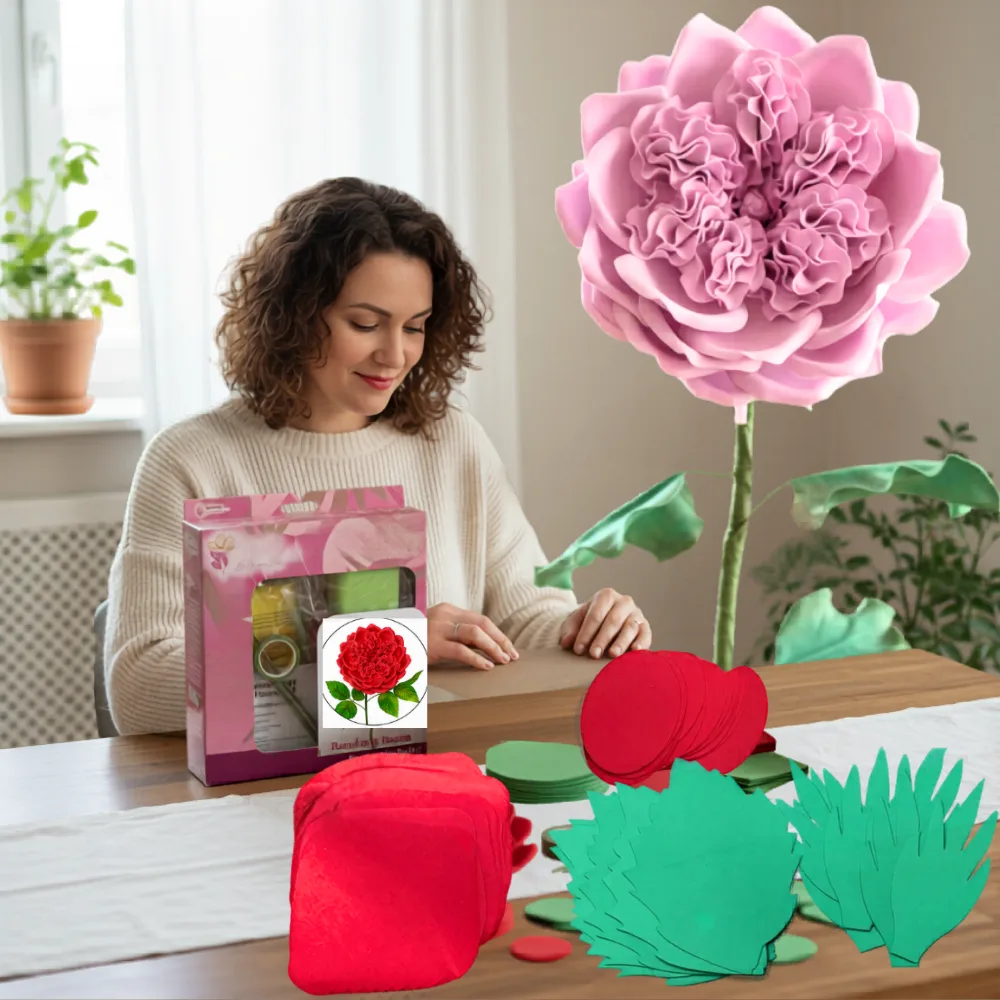
I still remember the first time I held a finished foam peony in my hands — the way the petals curved just right, the soft blush color catching the light. It looked so real that my neighbor asked if I'd ordered it from a florist. That's the magic of a real touch peony craft kit: you build something that genuinely stops people in their tracks, and you do it yourself, at your kitchen table, in an afternoon.
If you've been eyeing the Real Touch Foam Flower Kit collection and wondering whether the peony-style blooms are actually achievable for a beginner — yes, they absolutely are. This guide walks you through every step, from unboxing to final petal curl, so you know exactly what to expect before you even pick up a glue gun.
"The moment you press that last petal into place and step back — that's the moment you realize you just made something beautiful. And it didn't cost you a florist's invoice."
What's Inside a Real Touch Peony Craft Kit
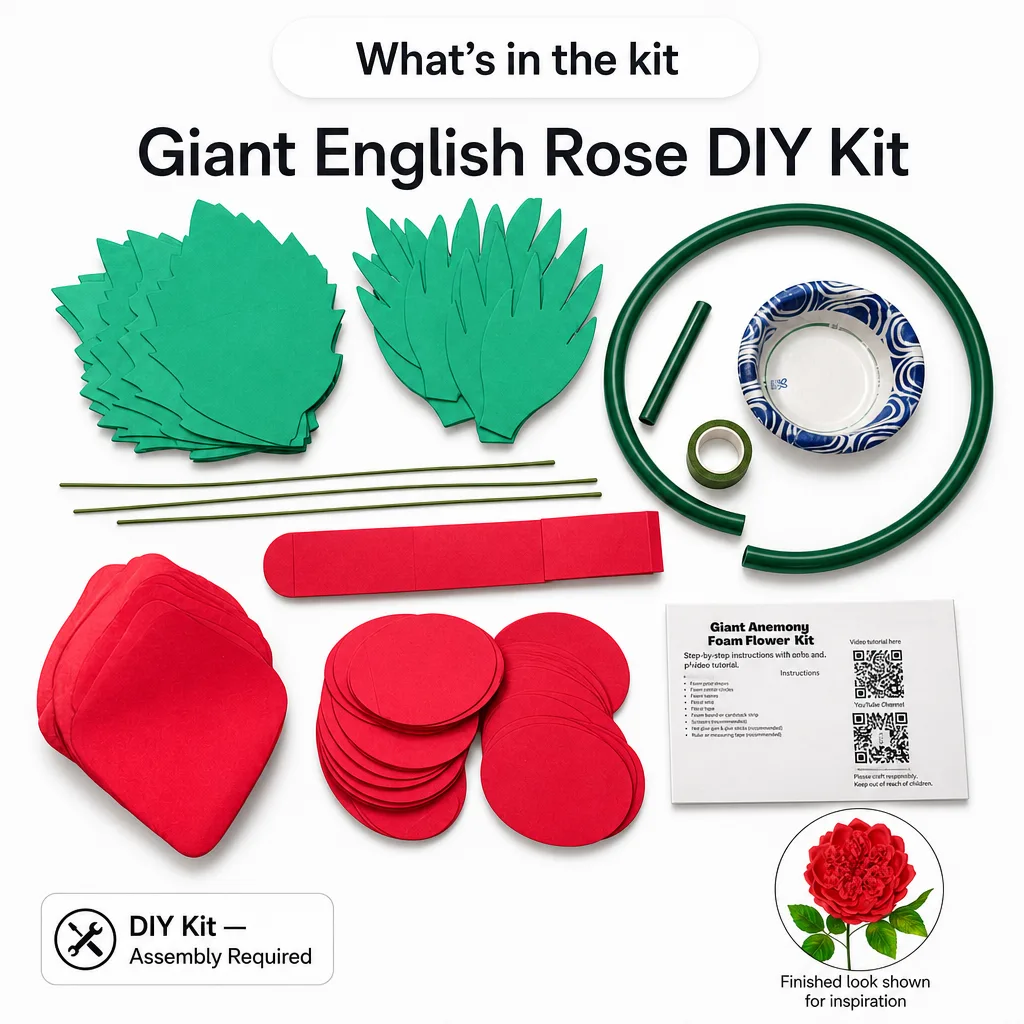
Before we get into the steps, let's talk about what you're actually working with. The Real Touch kits from Amazing Giant Flowers are designed for hobbyist crafters who want realistic results without a steep learning curve. Each kit includes pre-cut EVA foam petals, a reusable 3D mold, pistils or stamens (depending on the bloom), and leaves — everything you need except a hot glue gun and a few minutes of patience.
The "real touch" name comes from the foam itself. Unlike stiff craft foam, this EVA material has a slight give that mimics the feel of a fresh petal. When you heat it with a hair dryer or heat gun, it becomes pliable and holds the curved shape you press it into. That's the secret behind the lifelike look.
- Pre-cut petals — no scissors required; every petal is already shaped
- Reusable 3D mold — press heated petals into the mold for a consistent curve every time
- Pistils and leaves — the finishing details that make the bloom look complete
- Full color options — choose your shade before you order; the foam arrives pre-colored
- Step-by-step instructions — included in every kit, with photos for each stage

Tools You'll Need Before You Start Your Real Touch Peony Craft Kit
The kit covers the materials, but you'll want a few basic tools on hand before you sit down to build. None of these are specialty items — you probably already own most of them.
- Hot glue gun — a standard craft glue gun works perfectly; low-temp is fine for most steps
- Glue sticks — have extras; you'll use more than you think
- Hair dryer or heat gun — for shaping petals; a regular hair dryer on high heat works well
- Silicone mat or parchment paper — protects your work surface from glue drips
- Tweezers — helpful for placing small pistils precisely
💡 Pro Tip
Lay out all your petals by size before you start gluing. Most kits include petals in 2–3 sizes, and building from the smallest (center) outward to the largest (outer ring) gives you the most natural-looking bloom. A quick sort at the beginning saves a lot of backtracking later.
Step-by-Step: How to Assemble Your Real Touch Peony Craft Kit
Here's the full assembly process, broken into clear stages. I'll walk you through each one the way I'd explain it to a friend sitting across the table from me.
Step 1 — Prepare Your Workspace
Clear a flat surface and lay down your silicone mat. Plug in your glue gun and let it heat for 3–5 minutes. While it warms up, sort your petals into groups by size. You'll typically have small inner petals, medium mid-layer petals, and large outer petals. Keep the leaves and pistils in a separate pile so they don't get mixed in.
Step 2 — Shape the Inner Petals
Take your smallest petals and hold each one near (not touching) the hair dryer on high heat for 5–8 seconds. The foam will soften slightly. Immediately press it into the center cup of your 3D mold and hold for 10 seconds. When you release, the petal will hold a gentle inward curve. Repeat for all small petals. This is the step that makes the bloom look real — don't rush it.
Step 3 — Build the Center
Apply a small dot of hot glue to the base of your first small petal and press it upright at the center of your work surface. Add 3–4 more small petals around it, overlapping slightly, to form a tight bud shape. This is the heart of your peony. Hold each petal for 5 seconds while the glue sets.
Step 4 — Add the Mid-Layer Petals
Heat and shape your medium petals using the outer ring of the mold — this gives them a wider, more open curve than the inner petals. Glue them around the center bud, spacing them evenly and angling them slightly outward. Overlap each petal by about a third for a full, lush look. This layer is where the bloom really starts to open up.
Step 5 — Attach the Outer Petals
Your largest petals get the most dramatic curve — heat them and press into the widest part of the mold. Glue them around the outside of the bloom, angling them downward and outward so they drape naturally. These petals create the "skirt" of the peony. Don't worry if they're not perfectly symmetrical — real peonies aren't either, and that's part of the charm.
Step 6 — Add Pistils and Leaves
Tuck the pistils into the center of the bloom with a small dot of glue — they should peek out just above the inner petals. Then attach the leaves to the base of the flower, fanning them outward. The leaves are the finishing touch that grounds the bloom and makes it look like it just came off a stem.
💡 Pro Tip
If a petal cools before you get it into position, just reheat it for a few seconds. EVA foam is forgiving — you can reshape and reposition as many times as you need. There's no "ruined" petal in this process, only a petal that needs another 5 seconds of heat.
Real Touch Kits Worth Exploring After Your First Peony
Once you've built your first bloom, you'll want to keep going — I promise, that's how it works. The Real Touch Foam Flower Kit collection has a range of blooms that use the same basic technique, so your skills transfer immediately. Here are a few favorites to try next:
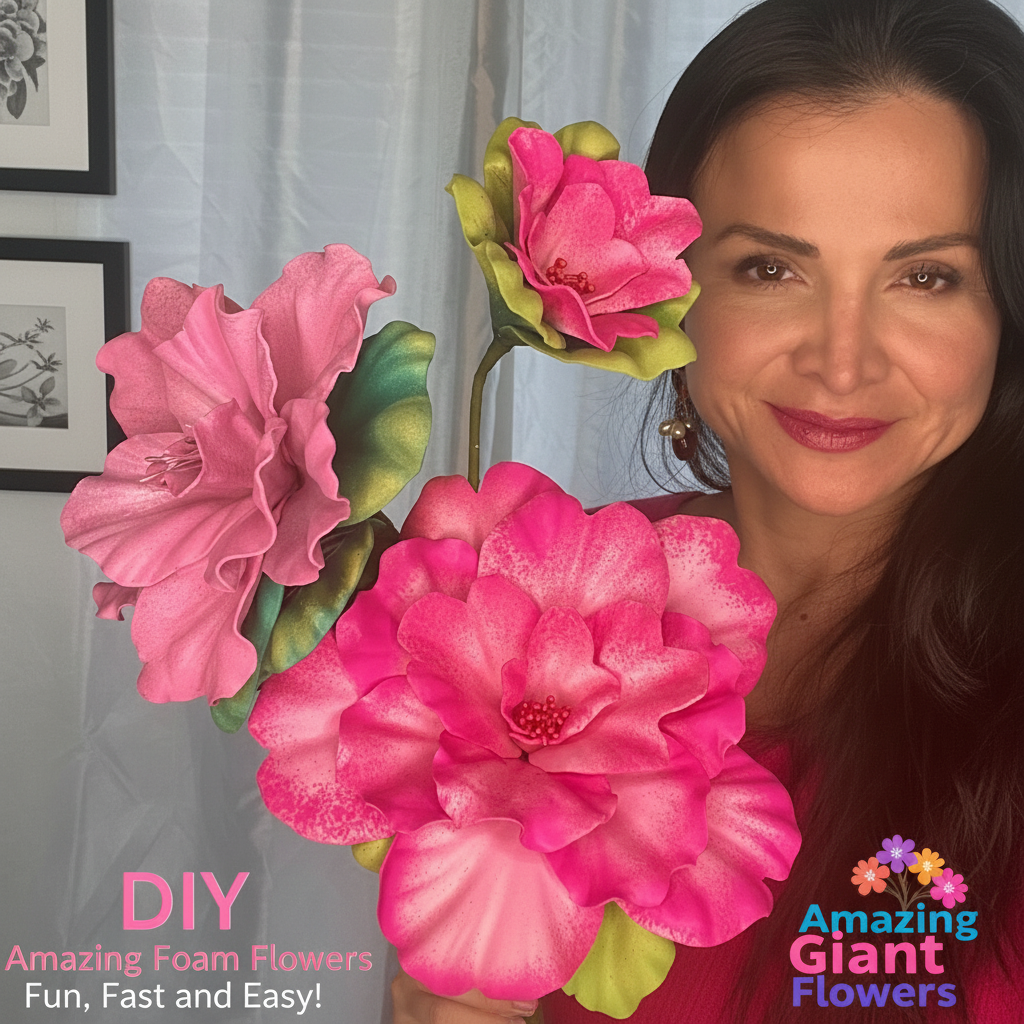
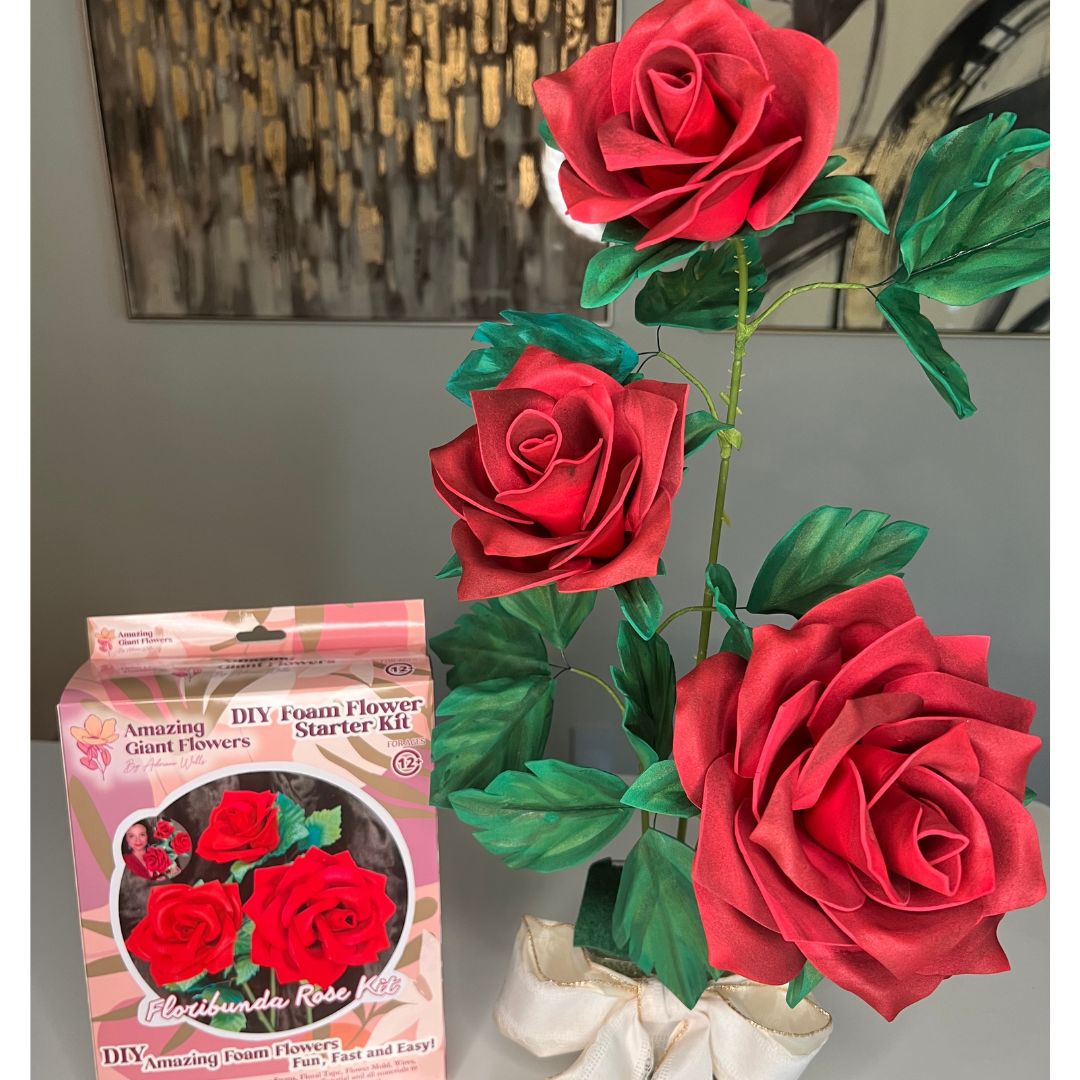
"Every kit in the Real Touch line uses the same heat-and-mold technique. Once you've built one bloom, you've unlocked the whole collection."
Common Questions About Real Touch Peony Craft Kits
How long does it take to build one bloom?
Most crafters finish their first bloom in 45–90 minutes. By your second or third, you'll be down to 30–45 minutes. The shaping step takes the most time at first, but it gets faster as you develop a feel for the foam.
Do I need any prior crafting experience?
Not at all. The kits are designed for beginners. If you can use a glue gun and a hair dryer, you have all the skills you need. The pre-cut petals remove the hardest part of paper flower making — the cutting and measuring — so you can focus entirely on shaping and assembly.
Can I use these blooms for events or just home decor?
Both! Real Touch blooms are popular for home decor, photo shoots, wedding table arrangements, and craft fairs. Because they're made from EVA foam, they're lightweight, durable, and won't wilt — which makes them ideal for any setting where fresh flowers would be impractical. Check out our post on Real Touch Foam Flower Kits: A Beginner Crafter's First Project for more inspiration on how crafters are using these blooms.
What's the difference between Real Touch kits and the giant freestanding kits?
Great question. The Real Touch / life-size kits make blooms at natural flower scale — roughly 4–8 inches across, depending on the variety. They're perfect for arrangements, centerpieces, and detailed craft projects. The Freestanding Giant Flower Kits make blooms 18–30 inches across — statement pieces for backdrops, events, and large-scale installations. Different tools, different scale, same satisfying build process.
Ready to Build Your First Real Touch Peony Craft Kit?
Here's what I love most about this craft: the finished bloom doesn't look like a "craft project." It looks like something you'd find in a high-end floral shop. And you made it yourself, with your own hands, in an afternoon. That's a feeling worth chasing.
The Real Touch Foam Flower Kit collection is the best place to start. Browse the full range, pick the bloom that speaks to you, and give yourself an afternoon to create something beautiful. If you want to see how other crafters are using these kits, our post on A Beginner Crafter's First Project is full of real examples and tips from people who were exactly where you are right now.
Your first bloom is waiting. Let's build it.
Ready to Create Something Amazing?
Browse our collection of giant flower kits and start your next project today.