How to Assemble a Wall Flower Kit in Under an Hour
If you've been wanting to transform a boring wall into something that actually stops people in their tracks, I promise you — learning to assemble a wall flower kit fast is way easier than you think. I'm talking under an hour, start to finish, even if you've never crafted a day in your life. I've watched total beginners unbox their first kit and have a jaw-dropping floral wall done before their coffee gets cold.
I started Amazing Giant Flowers because I genuinely believe your home deserves that "wow" moment. And the wall flower kit? It's my favorite product to recommend to home decorators because it delivers massive visual impact without requiring a single power tool, a contractor, or a crafting degree. Just your hands, a little patience, and maybe your favorite playlist.
So let me walk you through the whole process — from unboxing to stepping back and taking that photo you're definitely going to post. Let's do this.
Key Takeaways
Before we even talk about assembly, let's make sure you know what you're working with. When your kit arrives, open it up and lay everything out on a clean flat surface — a kitchen table works great.
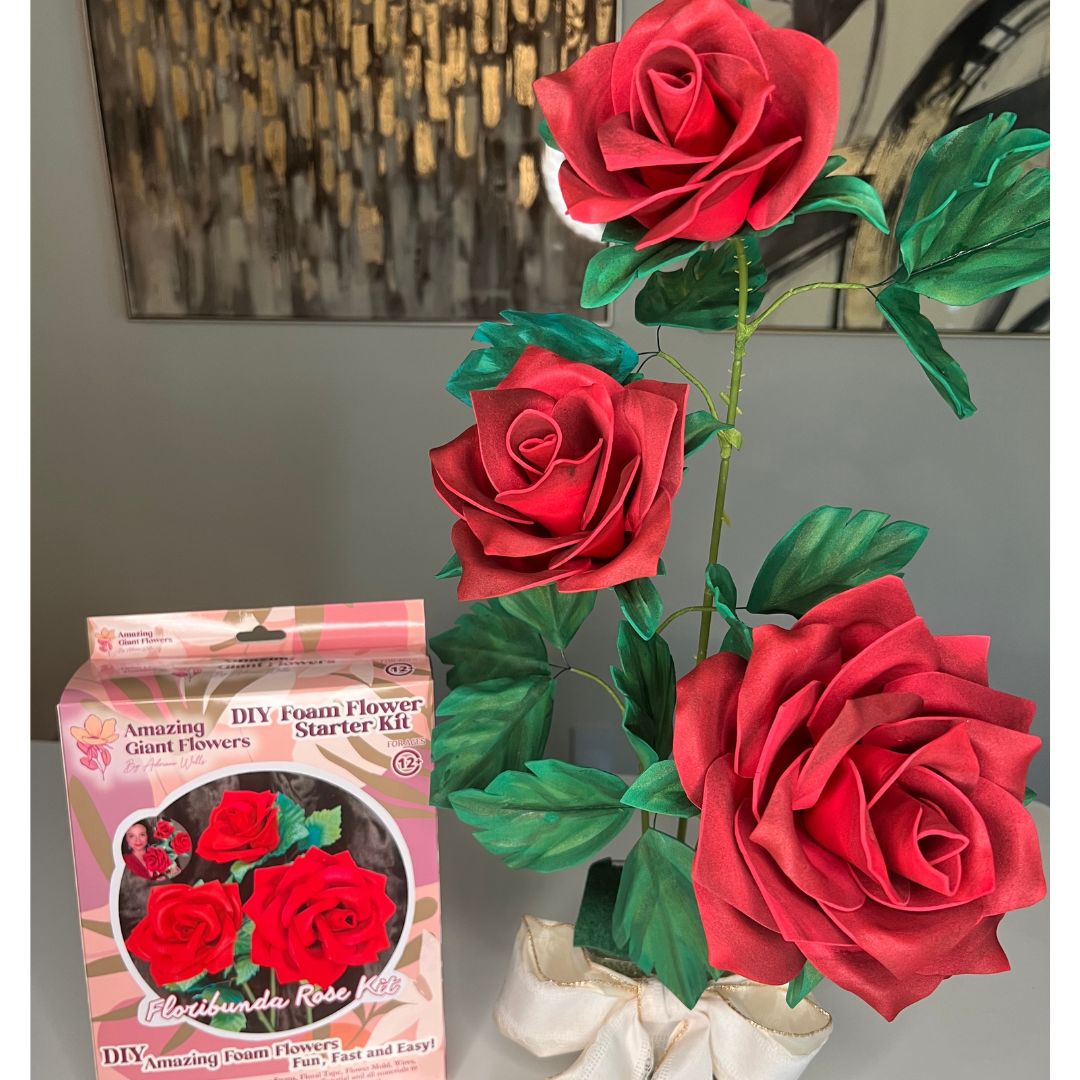
Every wall flower kit from Amazing Giant Flowers includes pre-cut EVA foam petals, a center piece, and assembly instructions. The petals are already shaped and scored, which is honestly the part that takes the longest when people try to DIY from scratch.
The foam itself is the same high-quality EVA foam we sell separately for advanced crafters. It's flexible, holds shape beautifully, and takes paint like a dream if you want to customize your colors.
Ok, this is where it gets really fun. I'm going to break this down into clear stages so you can actually move quickly without second-guessing yourself at every step.
I cannot stress this enough. Spend five minutes sorting before you touch the glue gun. Separate your petals by size — large, medium, small. Stack them in order. This one step alone will cut your assembly time in half.
Real talk? The people who message me saying "it took me three hours" almost always skipped this part. The people who sort first? They're done in 45 minutes, easy.
Step 2 — Shape Your Petals (10 minutes)
This is optional but honestly makes such a difference. Take your heat gun or even a regular hair dryer and gently warm each petal, then curl the edges up slightly with your fingers. It gives the flower that natural, dimensional look instead of lying completely flat.
If you want to go deeper on this technique, I wrote a whole guide on heat gun techniques for shaping foam flower petals — it's worth a read before your first kit.
💡 Pro Tip
Work in batches when shaping. Heat 4-5 petals, shape them all, set aside. Then move to the next group. This keeps your workflow moving instead of stopping and starting constantly.
Start with your largest petals. Arrange them in a circle on your flat surface first — don't glue yet. Just eyeball the spacing. You want them evenly distributed, tips pointing outward like a clock face.
Once you're happy with the arrangement, glue them one at a time, overlapping slightly as you go around. Press and hold each petal for about 10 seconds. Hot glue sets fast, so you don't have to wait long.
Step 4 — Layer Up (15 minutes)
Now add your medium petals on top of the base layer, offsetting them so they fall between the large petals below. This is what creates that lush, full look. Then your small petals go on top of those, again offset.
Work from the outside in, always. Never start in the middle and work out — you'll end up with gaps and uneven spacing.
The center piece is the finishing touch that makes everything look intentional and polished. Glue it right in the middle of your layered petals. Press firmly. Done.
Some people like to add a little extra dimension to the center by rolling a small piece of foam into a tight coil and gluing it in. Totally optional, but it looks gorgeous.
Here's where people get nervous, but it doesn't need to be complicated. For most walls, heavy-duty Command strips work perfectly for a single 18" or 24" flower. For a 30" bloom or a cluster arrangement, I recommend a few adhesive strips spread across the back for even weight distribution.
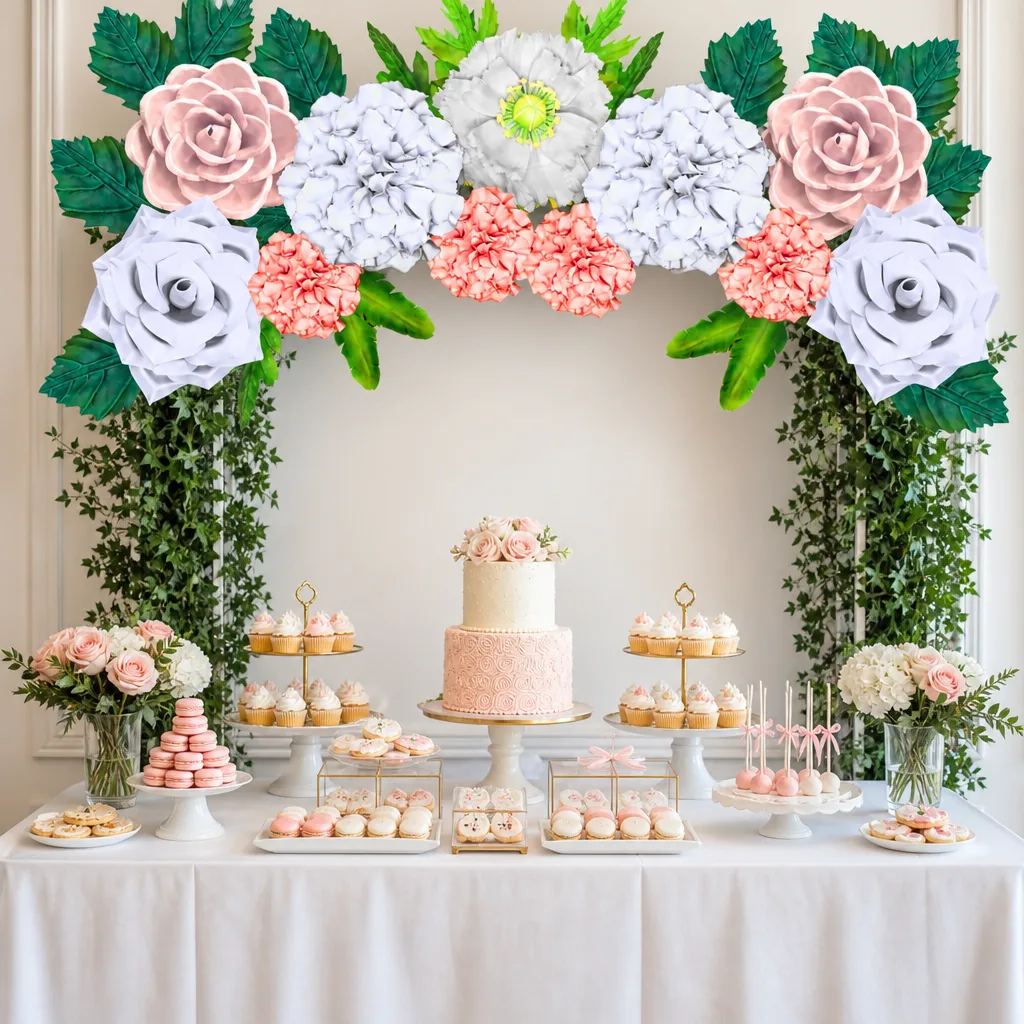
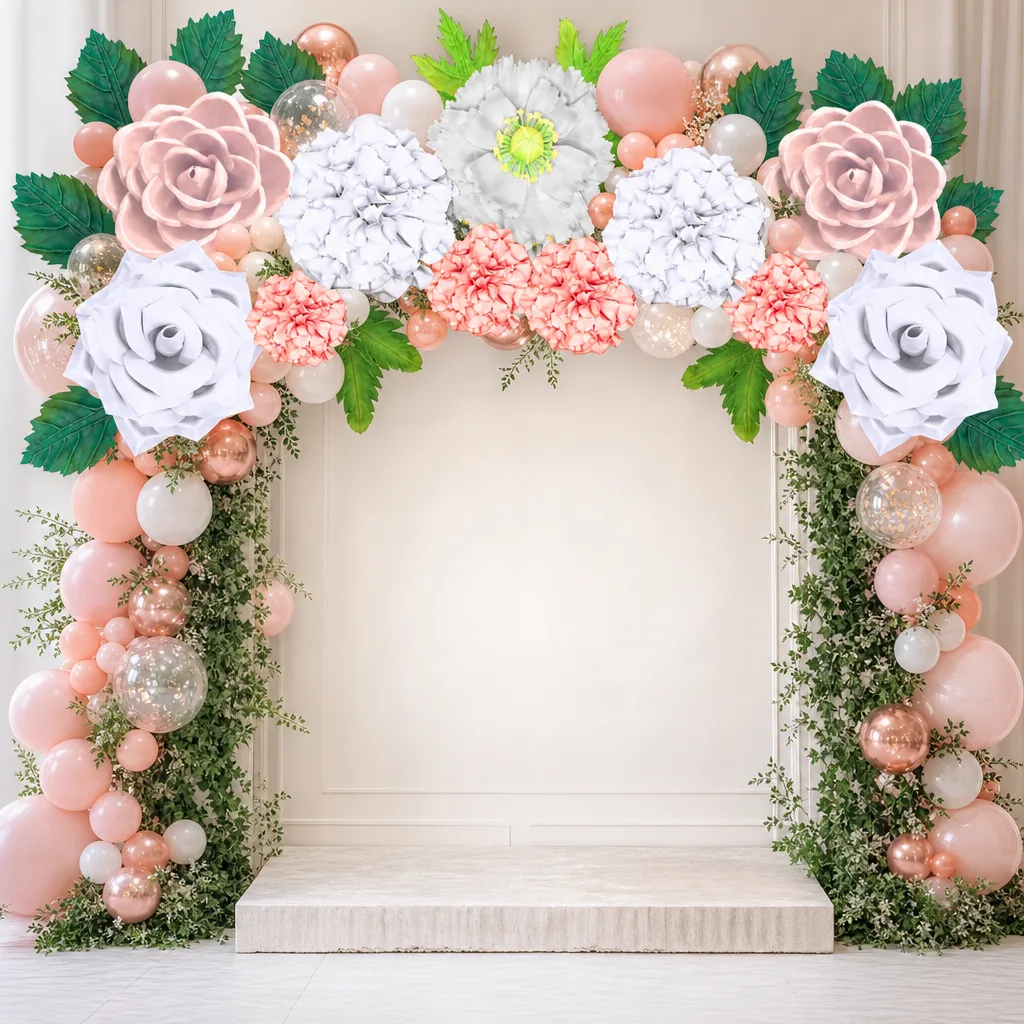
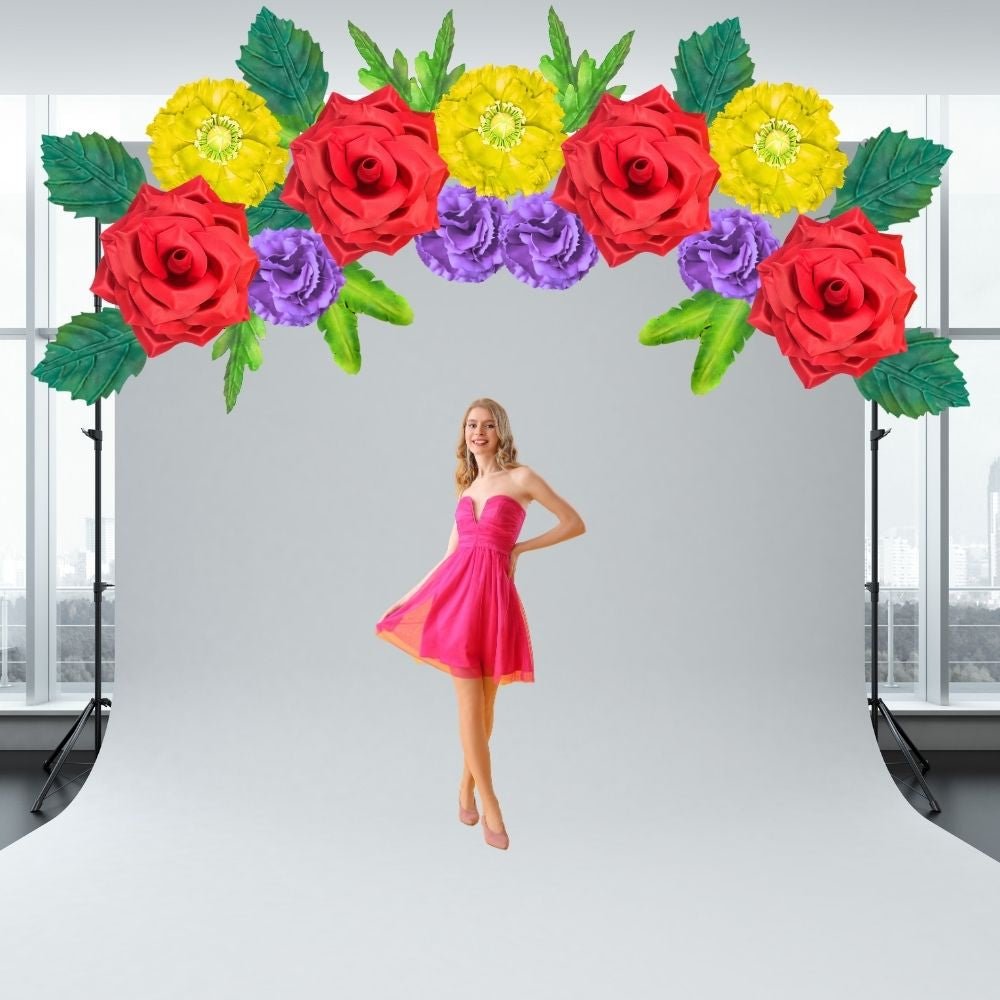
If you're doing a full wall arrangement with multiple flowers — which, yes, looks absolutely incredible — check out my guide on DIY giant flower backdrops for photos for layout tips that'll save you from the "I wish I'd planned this differently" regret.
Choosing the Right Size for Your Wall
This is honestly where most people get stuck before they even order. Let me make it simple.
My personal recommendation for first-timers? Start with an 18" kit to get comfortable with the process, then go bigger. Or honestly — grab a mix of sizes. A cluster of one 30", two 24", and three 18" flowers on a wall is one of the most stunning arrangements I've ever seen in a home.
One of my favorite things about EVA foam flowers is how beautifully they take paint. You can match any room palette, create ombre effects, or go bold with metallics.
Acrylic craft paint is your go-to. It's affordable, dries fast, and bonds well to foam. Apply it before or after assembly — both work, though I personally prefer painting petals individually before gluing so I get full coverage without missing spots.
For a polished finish, check out my guides on flawless foam board paint finishes and painting on foam core — both have tips that translate directly to flower kits.
🌸 Ready to get started?
Browse our Wall Flower Kit collection — sizes from 18" to 30", starting at just $37.99. Your walls are waiting.
A single flower on a wall is lovely. A thoughtfully arranged cluster? That's the kind of thing people walk into your home and immediately ask about.
If you want to go really big with a full backdrop wall, I'd also look into our freestanding flower kits to add dimension in front of your wall arrangement. The combination of wall-mounted and freestanding flowers creates this incredible layered effect that looks truly professional.
💡 Pro Tip
Before you commit to mounting anything, use painter's tape to mark the outline of each flower on your wall. Step back and live with the layout for a few hours. You'll catch anything that feels off before any adhesive touches the wall.
Common Mistakes (And How to Avoid Them)
I've seen a lot of first-time kits come together beautifully, and I've also seen a few go sideways. Here's what to watch out for.
Rushing the Glue
Hot glue sets in seconds, but if you don't press and hold for a full 10 seconds, petals can pop off later. Don't rush this step. Ten seconds per petal is nothing in the grand scheme of an hour-long project.
Skipping the Layout Step
I already said it, but I'll say it again — arrange before you glue. Every single time. Even experienced crafters do this. It takes two minutes and saves you from having to redo sections.
Using Too Much Glue
A little hot glue goes a long way on foam. Too much and it seeps out the sides, creating stringy messes that are annoying to clean up and can show through paint. A thin bead is all you need.
Ignoring Wall Weight Limits
EVA foam is lightweight, but a 30" flower with multiple layers does have some heft. Always check your Command strip weight rating before mounting. For heavier arrangements, use multiple strips or consider small adhesive hooks.
Frequently Asked Questions
Can I really assemble a wall flower kit in under an hour as a beginner?
Yes, absolutely. The 18" kit is genuinely achievable in 30–40 minutes for a first-timer who follows the steps in order. The 24" and 30" sizes take a bit longer — closer to 50–60 minutes — but still very much a one-sitting project. The key is sorting your petals before you start and not skipping the layout step.
Do I need to paint the flowers or do they come pre-colored?
Our kits come in natural EVA foam color, which gives you a beautiful blank canvas to customize exactly how you want. You can paint them any color with acrylic craft paint, leave them as-is for a minimalist look, or even use spray paint for a smooth, even finish. The choice is totally yours.
What's the best way to mount a wall flower kit without damaging my walls?
Heavy-duty Command strips are the go-to for renters or anyone who doesn't want to put holes in their walls. For a single 18" or 24" flower, two or three strips distributed across the back work great. For larger 30" flowers or clusters, spread more strips for even weight distribution. Always follow the manufacturer's instructions for applying and removing Command strips to avoid any wall damage.
Can I use wall flower kits outdoors?
Our wall flower kits are designed primarily for indoor use. EVA foam can handle brief outdoor exposure for events, but prolonged sun and moisture will degrade the material over time. If you want outdoor durability, sealing your finished flower with a product like Mod Podge Clear Acrylic Sealer can help extend its life significantly.
How many flowers do I need for a full wall backdrop?
It really depends on the wall size and how full you want the look. For a lush, full backdrop on
Ready to Create Something Amazing?
Browse our collection of giant flower kits and start your next project today.