Beginner Cosplay Armor: Your First EVA Foam Build
So you've decided to build your first cosplay. Maybe you saw someone at a convention rocking the most incredible armor and thought — I want to do that. Or maybe you've been scrolling Pinterest at midnight, saving every foam build you can find, and now you're finally ready to actually start. Either way? You are in the right place.
Beginner cosplay armor feels intimidating at first. I totally get it. When I started experimenting with EVA foam years ago — before Amazing Giant Flowers was even a thing — I stood in my garage holding a sheet of foam and had absolutely no idea what I was doing. But here's what I learned fast: this material is incredibly forgiving. And once it clicks? You'll wonder why you waited so long.
EVA foam is genuinely the best starting point for any new cosplayer. It's lightweight, easy to cut, heats up beautifully for shaping, and it's affordable enough that you can mess up and try again without crying over wasted money. This guide is going to walk you through everything — from picking the right thickness to finishing your first piece with confidence. Let's do this.
Key Takeaways
Real talk? There are a dozen materials people use for cosplay armor — Worbla, craft foam, resin, 3D-printed pieces. And they all have their place. But for a first build, EVA foam wins every single time. Here's why I'm so confident about that.
EVA foam cuts cleanly with a sharp craft knife. It doesn't shatter, crack, or warp at room temperature. If you cut a piece wrong, you just cut another one. The material cost is low enough that mistakes don't sting.
When you apply heat — from a heat gun or even a hair dryer on high — EVA foam becomes pliable and moldable. You can curve it around your arm, press it into a dome shape, or create beveled edges that look incredibly professional. Then it cools and holds that shape permanently. It's honestly a little magical the first time you do it.
It's Lightweight Enough to Wear All Day
Convention days are long. A full day on the floor in heavy armor is brutal. EVA foam keeps your costume light and wearable, which matters more than people realize until they're three hours into a con and their shoulders are screaming.
This is the same reason I use EVA foam for giant flower installations — it's strong, it holds its shape, but it won't weigh down a structure or a person. Check out our full EVA foam collection to see the range of thicknesses we carry.
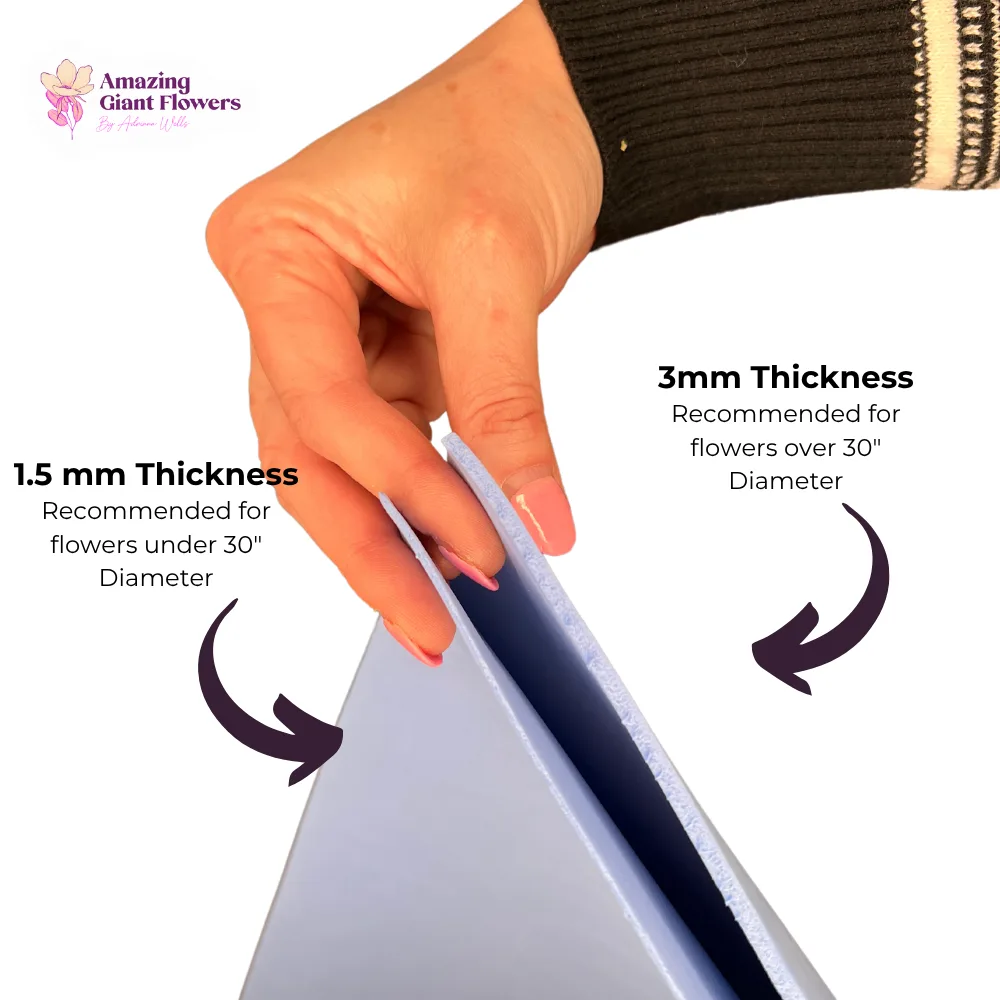
This is the part most beginners skip — and then they wonder why their armor looks a little off. Thickness matters. A lot. Different parts of your build need different foam weights, and once you understand this, your work will level up immediately.
Here's how I think about it when I'm planning a build:
Most beginner builds will use a combination of 6mm for structure and 2mm or 4mm for detail layers. That combination alone can get you through an entire suit of armor.
One of the biggest mistakes I see new cosplayers make is buying every tool they can find before they've even touched foam. Stop. Here's the honest short list of what you actually need to get started.
💡 Pro Tip
Keep a small bowl of water nearby when using a heat gun. If you overheat a piece and it starts to bubble, you can quickly dip it in cool water to stop the process. Saved many a piece in my early days doing this.
Ok, this is where it gets really fun. I'm going to walk you through building a simple shoulder pauldron — it's the perfect first project. Big enough to feel satisfying, simple enough that you won't lose your mind.
Never go straight to foam. Seriously, never. Use newspaper or kraft paper to make your pattern first. Tape it to your body (or a dress form), check the shape, adjust it, and only then transfer it to foam. This single habit will save you so much material.
For a basic pauldron, you're looking at a roughly fan-shaped piece that wraps over the shoulder. Start flat, then heat-shape it to curve once it's cut.
Step 2 — Cut Your Foam Cleanly
Trace your pattern onto the foam with a Sharpie. Cut with your craft knife in one smooth, confident stroke. Don't saw back and forth — that creates ragged edges. One clean pull. If the edge is rough, a quick pass with sandpaper smooths it right out.
Step 3 — Heat Shape the Curve
Hold your heat gun about 3–4 inches from the foam surface and move it in slow, even passes. You'll see and feel the foam start to soften — it becomes almost rubbery. Then curve it over your shoulder (or a rounded object like a bowl) and hold it in place for 20–30 seconds while it cools. Done. It holds that shape permanently.
For more on this technique, our guide on the best way to cut foam for DIY crafts goes deeper into clean cutting methods that apply directly to cosplay work.
Step 4 — Add Detail Layers
This is where your pauldron goes from "foam shape" to "armor piece." Cut strips and geometric shapes from 2mm or 4mm foam and glue them onto the surface with contact cement to create raised detail lines, panel divisions, and decorative elements. Think about the reference images of your character and replicate those shapes.
Step 5 — Seal the Surface
Raw EVA foam is porous. If you paint it without sealing, the paint soaks in unevenly and looks terrible. Seal it first. Options include:
- Plasti-Dip: Spray or brush on. Creates a flexible rubbery coating that takes paint beautifully.
- Mod Podge (multiple coats): Budget-friendly option that works well for smaller pieces.
- Foam clay skim coat: For a smoother, more resin-like finish.
Step 6 — Paint and Finish
Acrylic paints work great on sealed EVA foam. For metallic armor looks, I love using a dark base coat (black or dark gray), then dry-brushing a metallic silver or gold on top. That technique gives you incredible depth and makes it look like actual metal. Our post on flawless foam board paint finishes has some great techniques that translate directly to cosplay painting.
🌸 Ready to get started?
Browse our EVA foam collection — rolls and sheets from 2mm to 10mm, ready to ship. Find your perfect thickness and start building today.
Attaching Your Armor: Straps, Snaps, and Wearability
A beautiful piece of armor that falls off your shoulder five minutes into a convention is useless. Attachment is just as important as construction. Here's what actually works.
Elastic and Velcro
For most beginner builds, elastic straps with velcro closures are the simplest and most reliable system. Glue or sew elastic loops onto the back of your foam pieces, then use velcro to attach them to an undersuit or bodysuit layer. Easy to put on, easy to take off, and adjustable.
Snap Closures and Chicago Screws
For pieces that take more stress — like pauldrons that move with your arms — Chicago screws or rivet snaps pushed through the foam give you a much more secure attachment point than glue alone. You can find these at any craft or leather supply store.
Magnets for Quick Changes
This is a little more advanced, but even beginners can do it: embed small neodymium magnets into the foam using contact cement. They let you pop pieces on and off instantly. Great for photo ops where you need to remove a piece quickly.
Common Beginner Mistakes (And How to Avoid Them)
I've made all of these. Every single one. So you don't have to.
- Using a dull blade: Torn edges, uneven cuts, frustration. Replace your blade after every few hours of cutting. They're pennies each.
- Skipping the paper pattern step: I said it before, I'll say it again. Paper first. Always.
- Rushing the contact cement: You have to wait for it to get tacky on BOTH surfaces before pressing them together. If you rush it, the bond is weak. Wait for it.
- Painting unsealed foam: It looks patchy and absorbs paint unevenly. Seal first, every time.
- Starting with something too complex: A full helmet is not a first project. A pauldron or bracer is. Build your skills in order.
Your first build doesn't have to be perfect. It has to teach you something. And EVA foam is the most patient teacher you'll ever have.
Frequently Asked Questions
What thickness of EVA foam should a beginner start with?
I always recommend starting with 6mm foam for your main structural pieces. It's thick enough to hold its shape and give your armor real presence, but it's still easy to cut and heat-shape without a ton of experience. Pair it with some 2mm foam for detail layers and you have everything you need for a first build.
Can I use hot glue instead of contact cement?
You can, and a lot of beginners do — it's faster and easier to work with. But honestly? Contact cement is worth learning. Hot glue creates visible strings, can melt slightly under heat gun use, and the bonds tend to fail at stress points over time. Contact cement creates a flat, invisible seam that's genuinely strong. Use hot glue to tack pieces in place while you figure out placement, then reinforce with contact cement for the final build.
Do I need a heat gun or can I use a hair dryer?
A hair dryer on its highest setting can work for gentle curves on thinner foam (2mm–4mm). But for anything thicker or more
Ready to Create Something Amazing?
Browse our collection of giant flower kits and start your next project today.