Caring for Flower Molds So They Last for Years
If you've ever pressed a fresh mold into foam or gumpaste and gotten that perfectly crisp petal vein — you know the feeling. That's the magic. And honestly? proper flower mold care is the only thing standing between that magic lasting one year or ten.
I'll be real with you. When I first started making foam flowers, I treated my molds like they were indestructible. Tossed them in a bin, stacked them, left residue on them. And then one day I pulled out a mold I loved and the detail was just... gone. Soft edges. Mushy veining. I was heartbroken. That mold cost me time AND money to replace.
So I learned the hard way so you don't have to. Whether you're pressing EVA foam petals for a wedding arch or rolling out gumpaste for a cake topper, these molds are a real investment — and they deserve to be treated like one.
Key Takeaways
Here's what nobody tells you when you buy your first set of molds: detail loss is almost always gradual. It doesn't happen overnight. It sneaks up on you over dozens of uses until one day you realize your rose petals look more like dinner rolls than flowers.
The surface of a quality mold — like the ones in our flower mold collection — has incredibly fine texture. Veins, ridges, curves. That detail is what makes a foam peony look like a real peony. Once that surface degrades, you can't get it back.
The Main Culprits Behind Detail Loss
- Residue buildup: Dried foam paint, gumpaste, or adhesive left in the mold fills in fine texture over time.
- Abrasive cleaning: Scrubbing with rough sponges or brushes physically removes surface detail.
- Heat damage: Leaving molds near a heat gun, in a hot car, or in direct sunlight causes warping and softening.
- Pressure storage: Stacking heavy items on top of molds compresses and distorts their shape.
- Chemical damage: Harsh solvents break down silicone at a molecular level — even when the damage isn't immediately visible.
"The mold doesn't fail you. You just forget that it needs a little love too."
Flower Mold Care 101: Cleaning the Right Way
Ok, this is where most crafters go wrong. Cleaning feels like a simple thing, but the how matters enormously. I've seen people ruin a $30 mold with a $2 scrub brush. Don't be that person.
If you're using your molds with EVA foam, the main thing you're dealing with is residual paint or adhesive. Here's my go-to process:
Sugar work leaves a different kind of residue — often sticky, sometimes crystallized. The approach is similar but with a few extra considerations since food safety matters here.
💡 Pro Tip
A cheap electric toothbrush (the kind you'd find at a dollar store) is honestly one of the best mold-cleaning tools I've found. The soft rotating bristles get into fine detail without scratching. Game changer for intricate veining patterns.
Using the right release agent isn't just about getting your piece out cleanly. It's also about protecting the mold surface from material bonding directly to it — which is exactly what causes tearing and micro-damage over time.
A very light dusting of baby powder or cornstarch works beautifully for EVA foam. It prevents the foam from sticking while leaving zero residue on your finished petal. I use a fluffy makeup brush to apply it — just a whisper of powder, not a snowstorm.
Some crafters use a tiny spritz of water instead. That works too, especially for thinner foam sheets. Just don't over-wet the mold.
Vegetable shortening or white fat is the classic choice — a tiny amount rubbed into the mold with your fingertip. Cornstarch also works for gumpaste and gives a slightly drier release. Avoid oil sprays with additives; they can leave a film that builds up over time and blurs your detail.
🌸 Ready to get started?
Browse our flower mold collection — double-sided molds designed for both foam crafters and cake decorators, built to last for hundreds of uses.
How to Store Your Molds So They Keep Their Shape
Storage is honestly where I see the most preventable damage. People finish a project, toss their molds in a bin, pile stuff on top, and wonder why the edges are soft six months later. The way you store your molds directly affects how long they perform.
The Best Storage Methods
- Flat storage in a dedicated drawer or tray: Lay molds flat, single layer if possible. This is the gold standard.
- Hanging storage: Punch a small hole in the tab (if your mold has one) and hang on a pegboard. Zero pressure, easy access, looks great in your craft room.
- Ziplock bags or individual sleeves: Great for protecting molds from dust and scratches when stored in a bin. Label the outside so you're not digging through everything.
- Binder storage: Slip flat molds into clear page protectors in a three-ring binder. I actually do this for my smaller molds and it's such a space-saver.
What to Avoid
- Never store near a heat source — radiators, sunny windowsills, near your heat gun station.
- Don't stack heavy objects on top — books, tool boxes, other craft supplies. The weight deforms mold cavities slowly.
- Avoid airtight containers without ventilation if the molds aren't 100% dry — moisture gets trapped.
"A mold stored with care is a mold that's ready to work the moment you need it — crisp edges, perfect detail, every single time."
Flower Mold Care Across Different Materials: A Quick Comparison
Because our molds are double-sided and designed for both foam AND sugar work, I get questions all the time about whether care changes based on the material. Short answer: yes, a little. Here's the breakdown.
| Factor | EVA Foam Use | Gumpaste / Sugar Use |
|---|---|---|
| Release Agent | Baby powder or cornstarch, light dusting | Vegetable shortening or cornstarch |
| Cleaning Method | Warm soapy water, soft brush | Warm water, food-safe dish soap |
| Sanitizing | Not required | Diluted white vinegar rinse recommended |
| Toughest Residue | Dried acrylic paint, hot glue | Crystallized sugar, hardened shortening |
| Heat Sensitivity | High — keep away from heat gun | High — keep away from oven/warm surfaces |
| Drying Before Storage | Important | Critical — food safety concern |
| Estimated Lifespan (with care) | Hundreds of uses, several years | Hundreds of uses, several years |
Inspecting Your Molds: How to Catch Problems Early
I do a quick mold inspection every few months — especially before a big project. It takes two minutes and it's saved me from mid-project disasters more times than I can count. If you're working on something like a giant flower wedding arch, the last thing you want is to discover mid-build that your petal detail is gone.
What to Look For
- Soft or rounded edges where there used to be crisp lines — early sign of surface wear.
- Discoloration or staining — usually cosmetic, but worth noting if it's in the detail areas.
- Sticky or tacky surface — can indicate chemical degradation or residue buildup.
- Tears or nicks in the mold cavity — these will transfer to your finished pieces.
- Warping or curling — the mold won't sit flat and won't press evenly.
Caught something early? A deep soak and gentle clean can sometimes restore function if it's just buildup. True physical damage, though, means it's time to replace. And honestly, if you've gotten years of use out of a mold, that's a win.
💡 Pro Tip
Press the mold into a piece of plain white air-dry clay or a scrap of foam to "test print" before a big project. You'll instantly see if the detail is still crisp — no guessing, no wasted material on your actual project.
Building Good Mold Habits Into Your Workflow
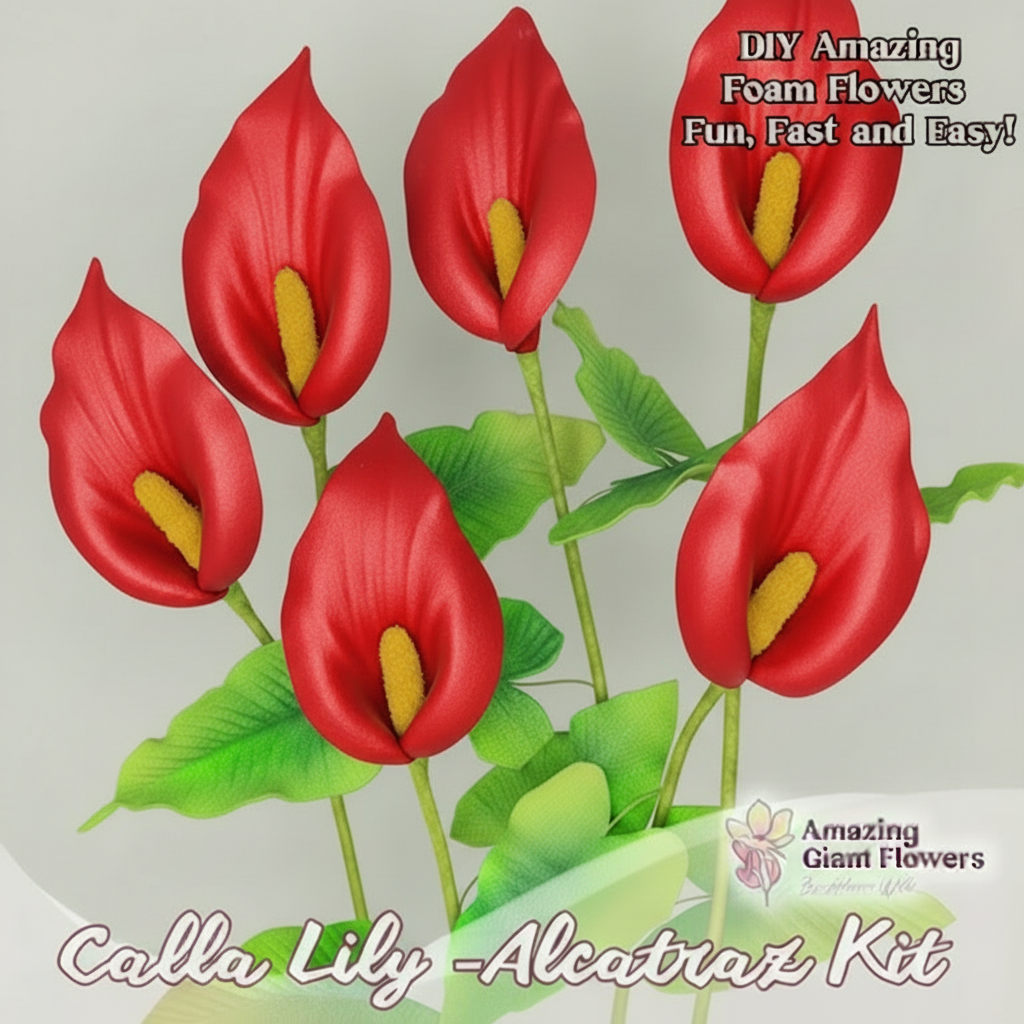
Real talk? The crafters who get years of life out of their molds aren't doing anything complicated. They've just built a few small habits that become second nature.
If you're deep into a project — say you're making foam flowers for a DIY flower backdrop — it's easy to get into production mode and skip the cleanup. I get it. But even a quick wipe between uses makes a massive difference over time.
My End-of-Session Routine
- Wipe every mold with a damp cloth before putting it away — no exceptions.
- Do a full wash on any mold that had paint, adhesive, or sugar on it.
- Air dry on a clean towel while I'm cleaning up my workspace.
- Return molds to their designated storage spot — not a random pile on the table.
That's it. Fifteen minutes of care at the end of a session adds years to your molds. And when you're investing in quality tools to make things like the flowers in our life-size foam flower kits, protecting that investment just makes sense.
Ready to Create Something Amazing?
Browse our collection of giant flower kits and start your next project today.