
The Complete Guide to Building a Giant Peony from a Kit

If you've been dreaming about building your very first giant flower but feel a little intimidated by where to start, this giant peony kit guide is exactly what you need. I remember when I first started making oversized blooms — I had foam sheets everywhere, zero clue which petals went where, and honestly? A lot of hot glue burns. That's exactly why I designed our kits the way I did. So you could skip all the chaos and go straight to the good part.
Peonies are hands-down one of the most requested flowers I get asked about. They're lush, layered, romantic — and they photograph beautifully. Whether you're decorating for a wedding, a baby shower, a quinceañera, or just your living room because you deserve it, a giant peony is going to stop people in their tracks.
The best part? You don't need any prior crafting experience to pull this off. Our freestanding giant flower kits come with pre-cut EVA foam pieces and step-by-step video tutorials, so you're never guessing. Let me walk you through the whole process — from unboxing to that final "oh wow" moment.
Key Takeaways
Ok, let me set your expectations in the best possible way. When you open one of our kits, it's not a mystery bag of random foam pieces. Everything is organized and labeled because I know what it feels like to stare at a pile of parts with no idea what's what.
Here's what you'll find inside a standard freestanding giant peony kit:
You'll also want to have a few things on hand before you start: a hot glue gun (low-temp is fine), a heat gun, and your paint of choice. I always recommend acrylic paint for EVA foam — if you want the full breakdown on getting a flawless finish, check out Your Guide to Flawless Foam Board Paint Finishes.
Real talk? EVA foam is magic for giant flowers. It's lightweight, flexible, and it responds beautifully to heat — which means you can curve and shape every single petal to look exactly like the real thing. If you want to geek out on foam types (and honestly, it's worth knowing), I wrote a whole breakdown over at A Crafter's Guide to Every Type of Foam for Giant Flowers.
I'm not going to send you on a wild shopping spree. The tool list is short. But the right tools make a huge difference — especially for beginners.
💡 Pro Tip
When using your heat gun, keep it moving in slow circles about 3–4 inches from the foam. Hold the petal over a round object — like a bowl or your knee — while it's warm to set the curve. It cools fast, so you have about 10 seconds to shape it. Don't rush, just repeat. For a deep dive on this technique, I love this post on Heat Gun Techniques: Shaping Foam Flower Petals Like a Pro.
Step-by-Step: Building Your Giant Peony
This is where it gets really fun. I'm going to walk you through the build process the same way I'd explain it to a friend sitting across from me at my craft table.
Yes, before assembly. Always paint first. It's so much easier to get paint into every fold and edge before the petals are glued together. Peonies look best with a gradient effect — deeper color at the base of each petal, lighter toward the tips.
For a blush peony, I like starting with a dusty rose base and dry-brushing a soft cream toward the edges. For a hot pink version, start with magenta and blend toward coral. Let everything dry completely — about 30 minutes — before you start shaping.
Sort your petals by size first. Peonies have a beautiful layered structure — large cupped outer petals, medium ruffled mid-petals, and tiny tight inner petals. Shape each group separately.
For the outer petals, you want a gentle cup — not too dramatic. For the inner petals, curl the tips backward slightly to mimic that tightly packed peony center. This is what makes the difference between "pretty flower" and "oh my gosh is that real?"
Counterintuitive, I know. But peonies are built from the inside out. Start by gluing your smallest inner petals around the foam center piece, standing them upright and slightly angled inward. Pack them close together — peonies are lush. Don't be shy.
Work your way outward with medium petals, then large. Each row should slightly overlap the one before it. Tilt the petals a little more outward as you go — this creates that gorgeous open-bloom silhouette that makes peonies so iconic.
Keep stepping back and looking at your flower from a few feet away. That's your audience's perspective. Adjust as you go. There's no wrong way to do this — just keep layering until it looks full and lush to you.
Step 5 — Attach to the Stem
Once your bloom is built, it's time to connect it to the bendable pipe stem. The stem is flexible, so you can angle the flower head however you like — slightly tilted looks especially natural and beautiful. Use hot glue to secure the base of the bloom to the top of the pipe, and let it set fully before standing it upright.
"The moment you stand your giant peony upright for the first time and step back — that's the moment you become a maker. And trust me, you'll never look at a plain wall the same way again."
How to Display Your Giant Peony

One of the things I love most about our freestanding kits is how versatile they are. The flower stands up to 5 feet tall out of the box, but you can absolutely trim the stem shorter for low ceilings, tabletop displays, or kids' parties where you want everything at eye level for little ones.
Freestanding vs. Wall-Mounted
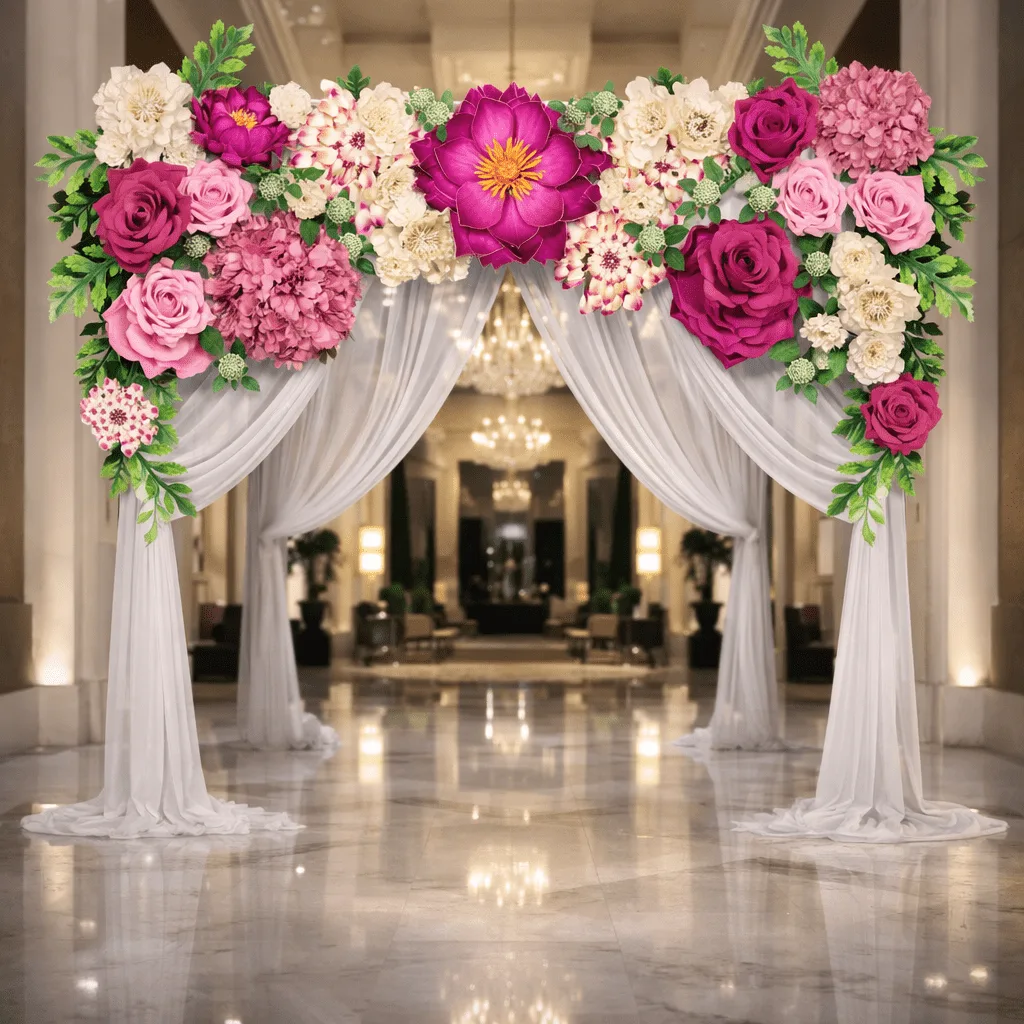
Freestanding flowers are incredible for ceremony aisles, photo booth backdrops, and entrance displays. They stand on their own — no wall needed. If you want to cover a large wall instead, our wall flower kits are designed specifically for that. You can also mix both for a layered, dimensional look that is absolutely stunning in photos.
Grouping for Maximum Impact
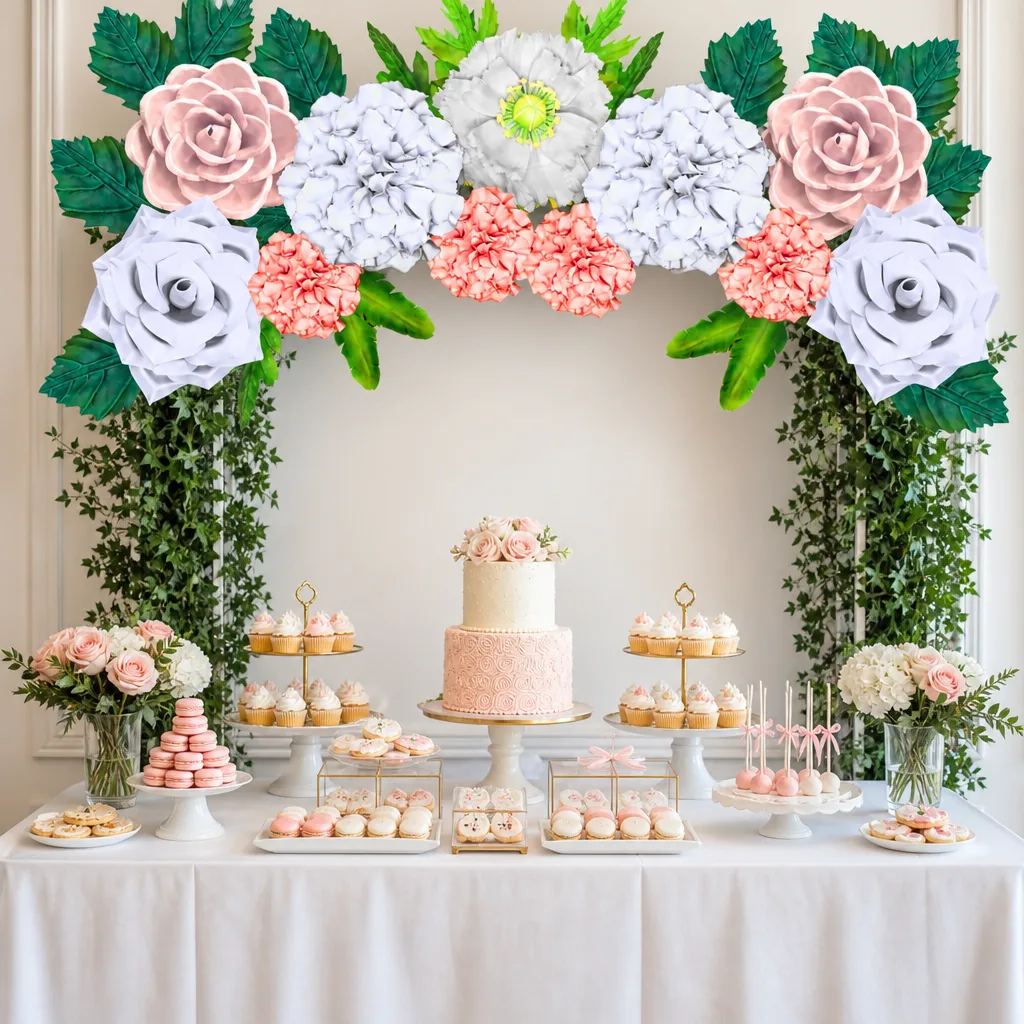
One giant peony is gorgeous. Three is showstopping. I always recommend odd numbers — groups of 3 or 5 flowers at varying heights create the most dynamic displays. Mix your peony with a couple of giant roses or dahlias for a garden-style arrangement. If you're planning something bigger, my post on Freestanding Giant Flower Arrangements for Events has a ton of inspiration.
🌸 Ready to build your first giant peony?
Browse our full Freestanding Giant Flower Kits collection — kits start at $80 and everything you need is included.
Giant Peony Kit Guide: Choosing the Right Kit for Your Event
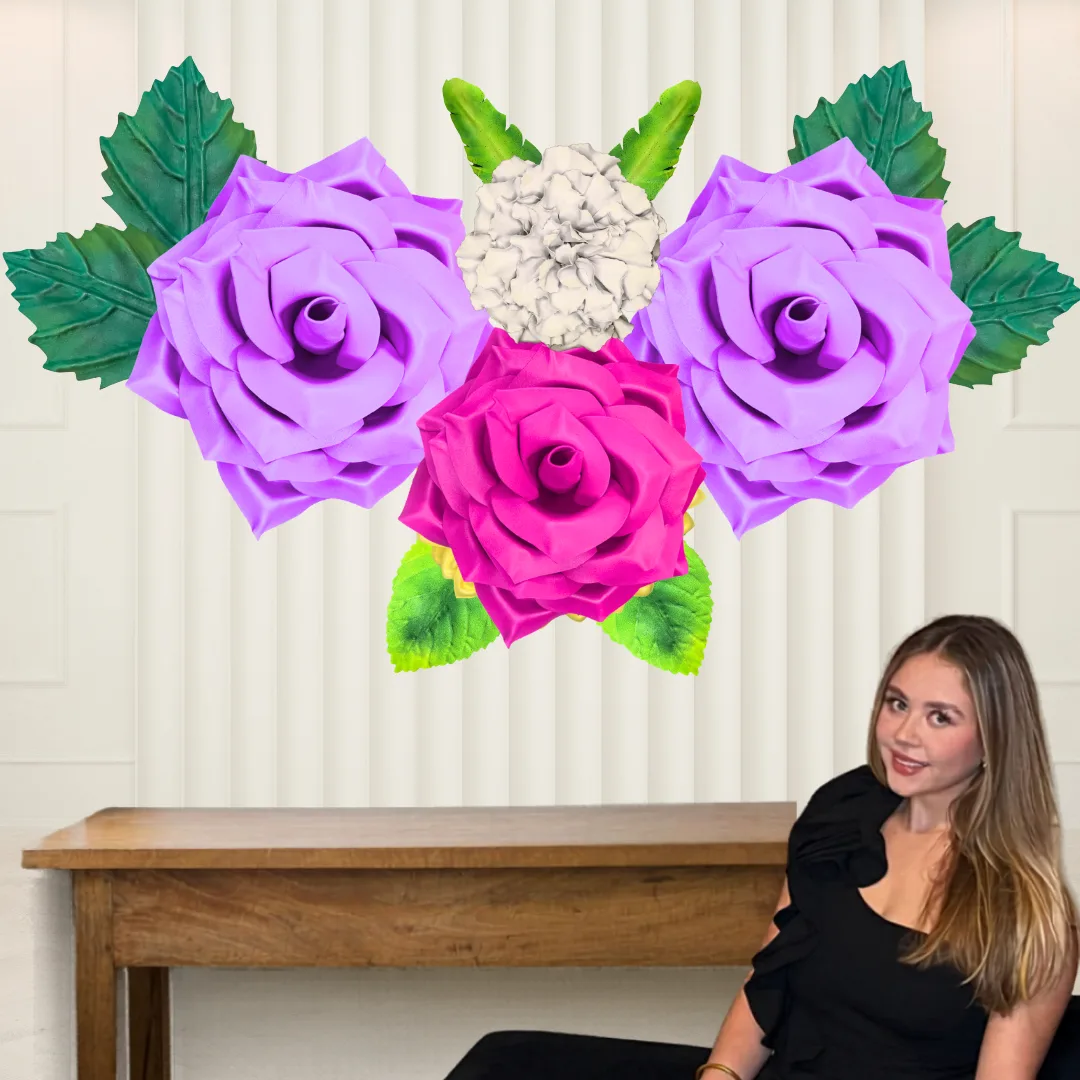
Not all events need the same setup. Here's a quick comparison to help you figure out which direction to go based on what you're planning.
| Event Type | Recommended Kit Size | Suggested Quantity | Best Display Style |
|---|---|---|---|
| Wedding Ceremony | Full 5-ft height | 6–10 flowers | Aisle lining + arch accent |
| Baby Shower | Trimmed to 3–4 ft | 3–5 flowers | Backdrop cluster or dessert table |
| Quinceañera | Full 5-ft height | 8–12 flowers | Grand entrance + photo wall |
| Photo Booth | Mix of heights | 4–6 flowers | Freestanding cluster behind backdrop |
| Corporate Event | Full 5-ft height | 4–8 flowers | Brand color flowers flanking signage |
| Home Décor | Trimmed to 2–3 ft | 1–3 flowers | Corner statement piece |
Common Beginner Mistakes (And How to Avoid Them)
I've seen a lot of first builds — including my own disasters — and there are a few things that trip people up every time. Let me save you the heartache.
- Skipping the heat-shaping step: Flat petals = flat flower. It won't look like a peony. It'll look like a foam plate. Take the extra 20 minutes to shape every petal. It's worth it.
- Using too little glue: Petals need a solid bead of hot glue, especially at the base. Skimping means petals that droop or fall off mid-event. Nobody wants that.
- Painting after assembly: Paint goes on before shaping and assembly. Always. Otherwise you'll be painting into tiny crevices with a toothpick and regretting your life choices.
- Not letting glue dry fully: I know you're excited. I know. But give each section a full minute before moving on. Rushing = wonky petals.
- Forgetting to step back: You're working up close, but your guests will see this from 6 feet away. Check your flower from a distance every few rows. Adjust as you go.
💡 Pro Tip
If a petal goes on crooked or a section looks off, you can carefully reheat the glue joint with your heat gun and reposition. EVA foam is forgiving — don't panic, just adjust.
Frequently Asked Questions
How long does it take to build a giant peony from a kit?
For a complete beginner, expect about 3 to 5 hours for your first peony — including painting, shaping, and assembly. Once you've done one, your second will take half the time. I promise. The video tutorial walks you through each phase so you're never stuck wondering what comes next.
Do I need any special skills to use this kit?
Nope. Zero. If you can use a hot glue gun and follow along with a video, you can build this flower. I designed these kits specifically for people who have never made a giant flower before. The pre-cut pieces take all the guesswork out of sizing and shaping.
Can I reuse the giant peony after the event?
Absolutely — that's one of the biggest advantages of EVA foam over paper flowers. EVA is durable, water-resistant, and holds its shape beautifully. Store your peony in a large box with tissue paper padding between petals and it'll be ready for the next event. Many of my customers use their flowers for multiple weddings, markets, and pop-ups. If you're curious about how foam compares to paper long-term, I break it all down in Foam Flowers vs Paper Flowers: Which Is Better for Events?
What if I want to make the flower shorter than 5 feet?
Easy. The bendable pipe stem can be cut down with wire cutters or heavy-duty scissors. Just decide your target height, measure from the bottom of the stem, and trim. The flower head stays exactly the same — you're just adjusting the stem length. This makes our kits perfect for tabletop arrangements, low-ceiling venues, or kids' events.
Can I paint the peony any color I want?
Yes, and this is honestly one of my favorite things about EVA foam. Standard acrylic craft paint works beautifully on it. You can match any wedding color palette
Ready to Create Something Amazing?
Browse our collection of giant flower kits and start your next project today.

