Cosplay on a Budget: Full Build From One EVA Roll

So you've got a convention coming up, a costume idea that's been living rent-free in your head for months, and exactly one student-budget paycheck standing between you and your dream build. I've been there. Well, not as a cosplayer exactly — but as someone who has spent years figuring out how to make EVA foam do absolutely everything, I can tell you this: a single roll of EVA foam can take you further than you think.
A budget cosplay build doesn't mean a cheap-looking cosplay. It means being smart about your materials. And the smartest material in the game right now? EVA foam. Lightweight, shapeable, paintable, and shockingly affordable when you buy it as a raw roll rather than in pre-cut kits. One roll. One costume. Let me show you how.
I started Amazing Giant Flowers using the exact same foam you're about to read about. I use it for giant petals, armor-style props, theatrical sets — the range is wild. And student cosplayers have been some of my favorite customers because they get creative in ways that honestly inspire me every single time.
Key Takeaways
Real talk? The cosplay community has known about EVA foam for years. But a lot of beginners still walk into craft stores and grab the wrong thing — craft foam sheets that are too thin and flimsy, or upholstery foam that's way too heavy and hard to shape. EVA foam is the sweet spot.
EVA stands for Ethylene-Vinyl Acetate. It's a closed-cell foam, which means it doesn't absorb moisture, it holds paint beautifully, and it responds to heat in a way that lets you curve and mold it without any fancy equipment. A $20 heat gun from a hardware store is all you need to start shaping.
What makes it perfect for a budget cosplay build
- Cost per square foot is low — especially when you buy in rolls vs. individual sheets
- It cuts cleanly with a sharp utility knife or scissors (thinner gauges)
- It glues to itself with contact cement for strong, flexible bonds
- It takes texture — you can press patterns into it with heat to simulate leather, scales, or metal
- It's lightweight — you can wear a full set of armor for 8 hours at a con and not want to die by noon
I always tell people: if you're going to invest in one material for your craft room or your cosplay kit, make it EVA foam. Check out our EVA foam rolls and sheets — we stock everything from 2mm all the way up to 10mm so you can grab exactly what your build needs.
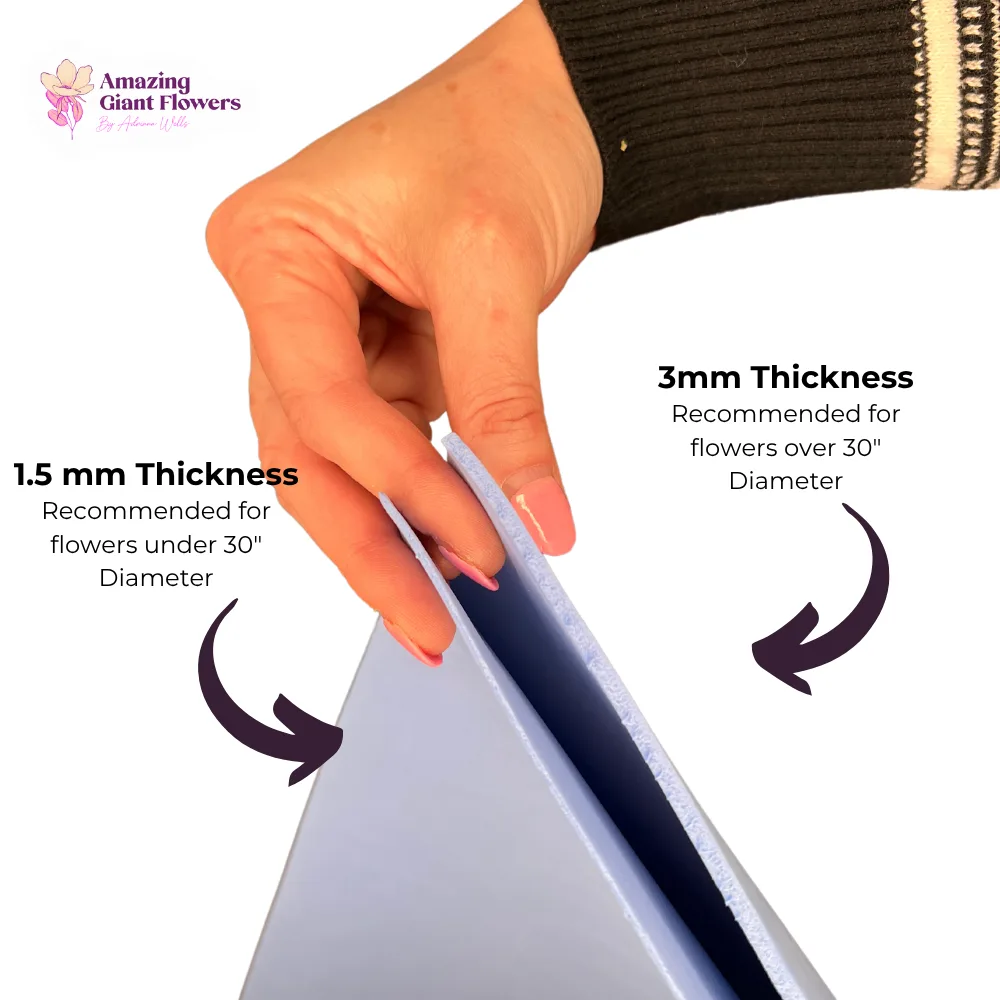
This is honestly where most beginners go wrong. They grab one thickness and try to use it for everything. But here's the thing — a breastplate and a decorative flower appliqué have completely different structural needs. Matching thickness to function is what separates a wobbly build from one that photographs like a pro made it.
This is your go-to for layered details, floral embellishments, scale patterns, and anything that needs to curve tightly. I use 2mm constantly for giant flower petals, and cosplayers use it for the same reason — it bends without cracking, it layers beautifully, and it adds dimension without bulk.
Great for: capes, fabric-like ruffles, decorative trim, small prop details, fairy wings.
This is the workhorse of any cosplay build. Five and six millimeter EVA foam holds its shape after heat forming, accepts texture beautifully, and is thick enough to look substantial without being heavy. Chest plates, shoulder pauldrons, gauntlets, shin guards — this is your thickness.
When you need something that stands on its own — a sword, a shield base, a helmet shell — go thick. Ten millimeter EVA foam can be carved, sanded, and built up into truly impressive structural pieces. It's heavier, so use it strategically.
💡 Pro Tip
For a full armor costume, I'd suggest buying one roll of 6mm for your main panels and supplementing with a smaller roll or sheet pack of 2mm for details. That combo covers 90% of most builds without blowing your budget.
Ok, this is where it gets really fun. Let me actually break down the math for you because I think it'll surprise you.
A standard EVA foam roll from our shop covers a generous amount of surface area. When you think about the pieces that make up a typical cosplay — chest, back, shoulders, arms, legs, accessories — you're working with a lot of flat pattern pieces that get heat-formed into 3D shapes. Flat cuts are efficient. You can nest pieces together like a puzzle to minimize waste.
Rough material breakdown for a medium-complexity armor build
- Chest and back plate: roughly 18" x 24" of 6mm foam total
- Shoulder pauldrons (pair): roughly 12" x 16" of 6mm foam
- Gauntlets (pair): roughly 10" x 20" of 5mm foam
- Shin guards (pair): roughly 12" x 24" of 6mm foam
- Decorative details and trim: roughly 24" x 36" of 2mm foam
Add that up and you're looking at a very manageable amount of material. One roll handles it. Especially if you're thoughtful about your pattern layout before you cut.
Here's a quick reference table I put together based on what I see our cosplay customers actually building. Bookmark this one.
Let me walk you through the actual workflow because I think knowing the full process upfront saves you from a lot of expensive mistakes.
Print or draw your patterns on paper first. Then lay them out on the foam before making a single cut to see how efficiently you can nest everything. Trace with a ballpoint pen or fine-tip marker — it shows up clearly and doesn't bleed.
This step is where you figure out whether one roll actually covers your whole build. Spoiler: if you plan well, it almost always does. If you want to go deeper on clean cutting technique, I wrote a whole guide — The Best Way to Cut Foam for Flawless DIY Crafts — that covers everything from blade angle to heat sealing edges.
A heat gun set to medium is your best friend here. Wave it evenly across the surface — don't hold it in one spot or you'll scorch. Once the foam becomes slightly tacky and flexible, curve it over your hand, a ball, or whatever shape you need and hold it for 15-20 seconds until it cools. It'll hold that shape permanently.
For detailed petal and curve shaping, check out my post on Heat Gun Techniques: Shaping Foam Flower Petals Like a Pro — the techniques translate directly to cosplay armor curves.
Contact cement is the gold standard for EVA foam assembly. Apply to both surfaces, let it get tacky (about 60 seconds), then press together. The bond is nearly instant and very strong. Hot glue works in a pinch for smaller details but can pull away from smooth foam surfaces over time.
This is what takes a foam build from "obviously foam" to "wait, is that real metal?" You have a few options:
For more on paint finishing foam surfaces, my guide Your Guide to Flawless Foam Board Paint Finishes has tons of technique detail that applies here too.
💡 Pro Tip
To create a convincing battle-worn metal look on a budget, paint your base coat black, let it dry completely, then dry-brush silver acrylic over raised edges and textures. Finish with a dark brown wash in the recesses. Takes 20 minutes and looks incredible in photos.
Adding Floral and Fantasy Elements to Your Foam Costume
Ok here's where my world and the cosplay world collide in the most fun way. A huge number of fantasy, fairy, and botanical-inspired costumes incorporate oversized floral elements — think flower crowns that are actually structural, giant petal shoulder pieces, vine-wrapped armor, floral gauntlets.
The same EVA foam you're using for armor panels is exactly what I use to make giant
Ready to Create Something Amazing?
Browse our collection of giant flower kits and start your next project today.