DIY Giant Flower Arch From Freestanding Kits (No Welding)
So you've been pinning wedding arches for months, and every single one you love has giant flowers on it. Same. And now you're wondering — can I actually make a diy flower arch that looks like that without hiring a florist, renting equipment, or learning to weld? Yes. A thousand times yes. And I'm going to show you exactly how.
Here's what most people don't realize: if you already own a few of our Freestanding Giant Flower Kits, you have almost everything you need to build a stunning arch. No metal fabrication. No industrial tools. No contractor budget. Just your kits, a little creativity, and maybe a free Saturday afternoon with your partner and some good music playing.
I've watched so many crafty couples pull this off — people who had never built anything in their lives — and the results genuinely blew me away. One of my brides, Melissa, sent me photos after her wedding and I literally teared up. She built the whole arch herself in her garage the week before. It was breathtaking. That's the kind of thing I want for you too.
Key Takeaways
Let me be real with you for a second. When most people think "flower arch," they imagine some complicated metal frame that needs to be welded together, or a rental structure that costs $500 for a weekend. That's just not the reality anymore.
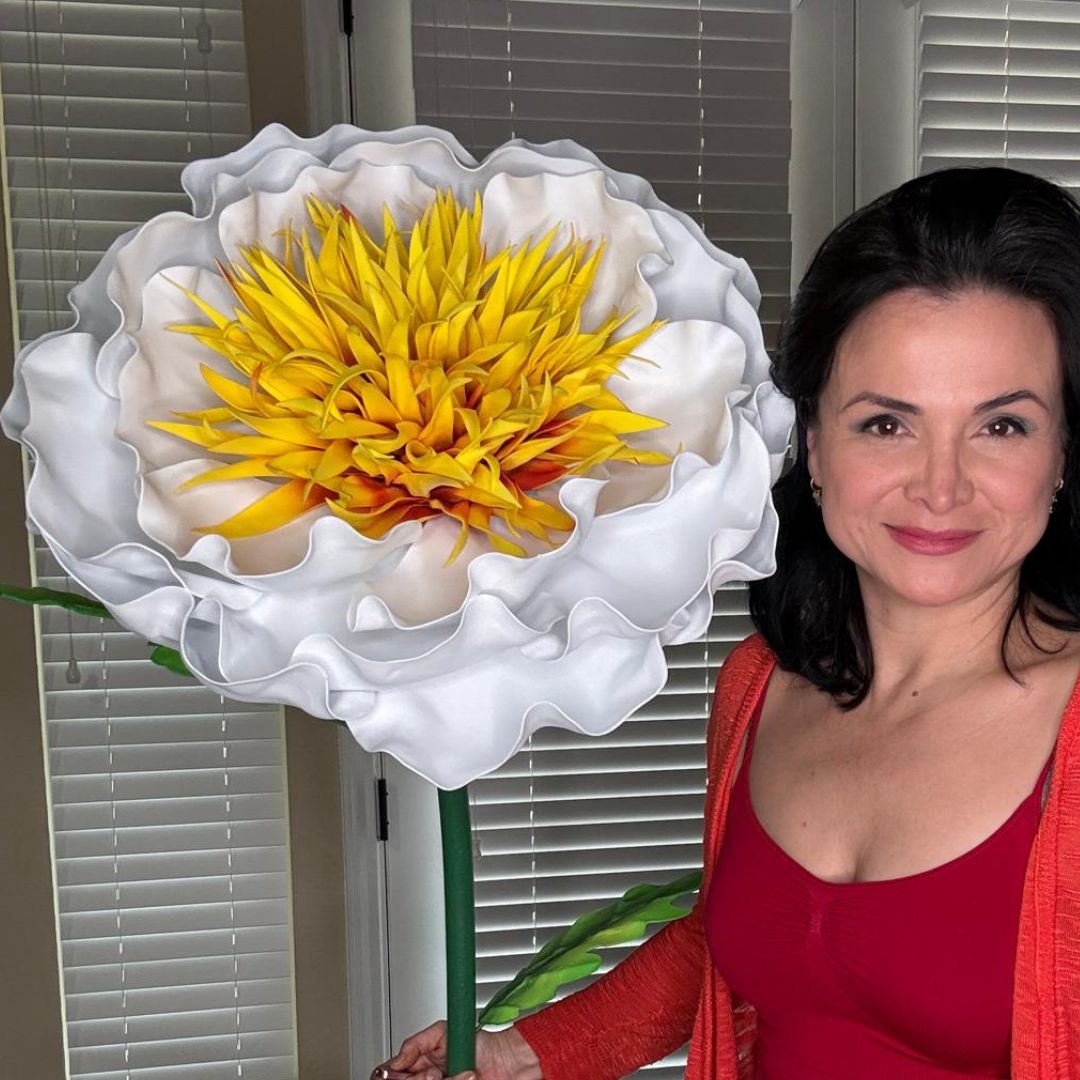
Our Freestanding Giant Flower Kits were designed to stand on their own — which means the structural work is already built into the design. Each flower stands 5 feet tall right out of the box, and you can trim them shorter for lower ceilings or tighter spaces. The EVA foam is pre-cut, so you're not starting from scratch.
The genius of using these kits for an arch? You're essentially clustering freestanding structures together and connecting them with bendable pipes to create that beautiful curved overhead effect. It's modular. It's flexible. And it's completely doable on a weekend.
What Makes EVA Foam the Right Material
EVA foam is lightweight, easy to shape with heat, and incredibly durable. I've seen these flowers used outdoors in Houston summer heat (which, trust me, is brutal) and they hold up beautifully. If you want to go deeper on working with this material, check out A Crafter's Guide to Every Type of Foam for Giant Flowers — it'll save you a lot of guesswork.
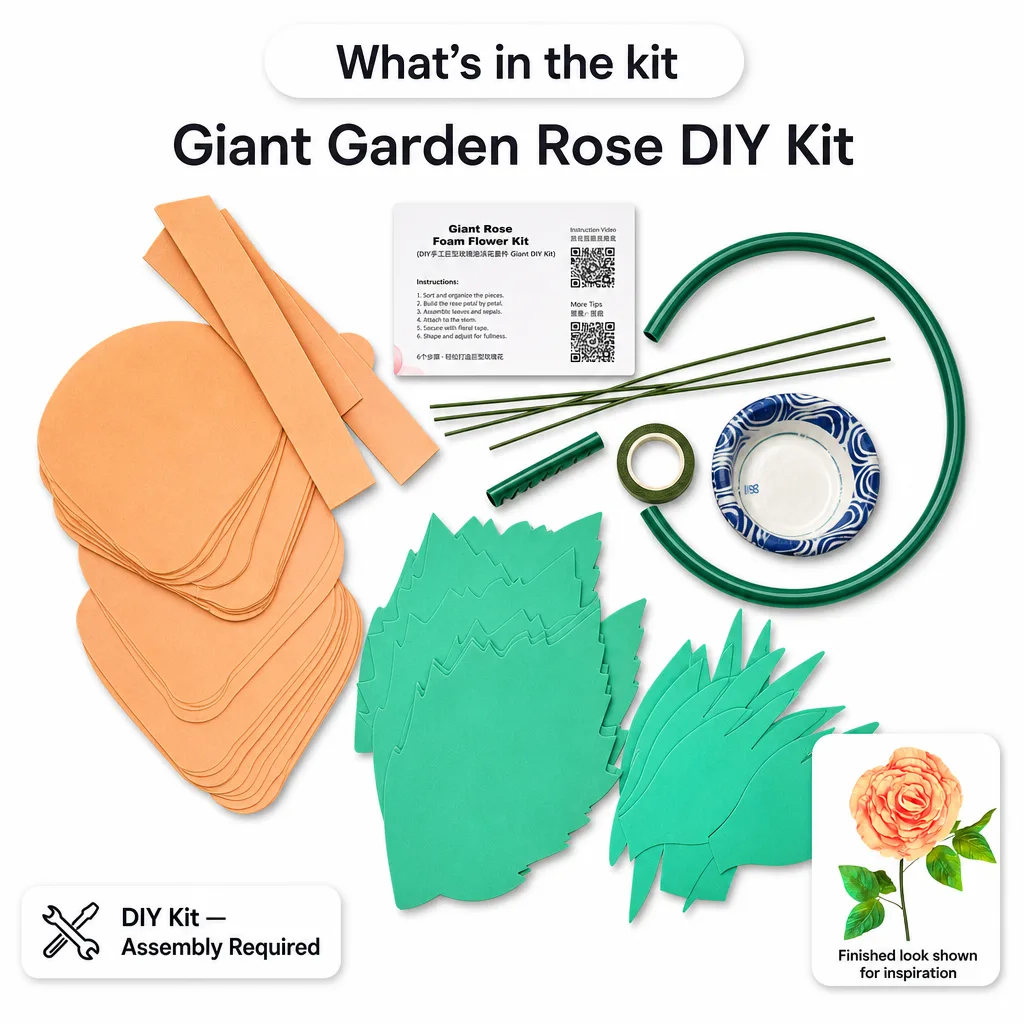
The pre-cut petals in our kits mean you spend your time assembling and styling, not cutting and measuring. That's a huge deal when you're also planning a wedding.
Because each kit is designed to be self-supporting, you're not fighting gravity the whole time. The base is stable. The stem is sturdy. You're just connecting the dots between flowers to form your arch shape — and that's where the fun really starts.
Ok, let's get practical. Here's what you're actually working with before you start building anything.
🌸 Ready to get started?
Browse our Freestanding Giant Flower Kits collection and find your perfect match — prices start at just $80.
This is where it gets really fun. I'm going to walk you through the process the way I'd explain it to a friend sitting across from me.
Before you touch a single flower, measure your ceremony space. A standard wedding arch is about 7–8 feet wide and 7–8 feet tall at the peak. But honestly? Your venue, your rules. Smaller backyard ceremony? Go 6 feet wide. Grand ballroom? Push it to 9 or 10.
Sketch it out on paper first. Mark where your two freestanding "towers" of flowers will go on each side, and where the overhead curve will be. This sketch is your map — don't skip it.
Step 2 — Build Your Side Columns First
Start by assembling 3–4 freestanding flowers on each side of your arch. These are your columns. Position them close together — you want overlap, not gaps. The flowers are 5 feet tall, so your columns will already have great height before you even add the overhead curve.
Use zip ties at the base to connect the stems loosely. You want some flexibility here — you'll be adjusting as you go.
This is the step that makes the whole thing work. Take your bendable pipes and gently curve them into your arch shape. They're designed to hold their shape once bent, so take your time getting the curve right.
Attach the ends of your pipe curve to the top of each flower column using zip ties and floral wire. Test the stability before you start adding flowers to the top. Give it a gentle shake. If it wobbles a lot, add another connection point.
Now for the most satisfying part. Take your wall flower kits and attach them along the top of the pipe curve. These don't need to freestand — they just need to be secured to the pipe with wire or zip ties, and then hot glued in place.
Work from the center outward, overlapping petals as you go. Don't be afraid to trim stems shorter to get flowers sitting closer to the pipe. You want full and lush, not sparse and spaced out.
💡 Pro Tip
Build and style your arch in the actual venue if at all possible. Lighting, ceiling height, and floor surface all affect how your arch looks and stands. What looks perfect in your garage might need adjustments once it's in a ballroom with 20-foot ceilings.
Choosing Your Flower Varieties and Color Palette
Real talk? The color palette is where most couples get stuck. You've got a vision board, a wedding color scheme, and approximately 47 opinions from family members. Let me simplify this.
Flower Styles That Work Best for Arches
Not all flower styles have the same visual impact at arch scale. Here's what I've seen work beautifully:
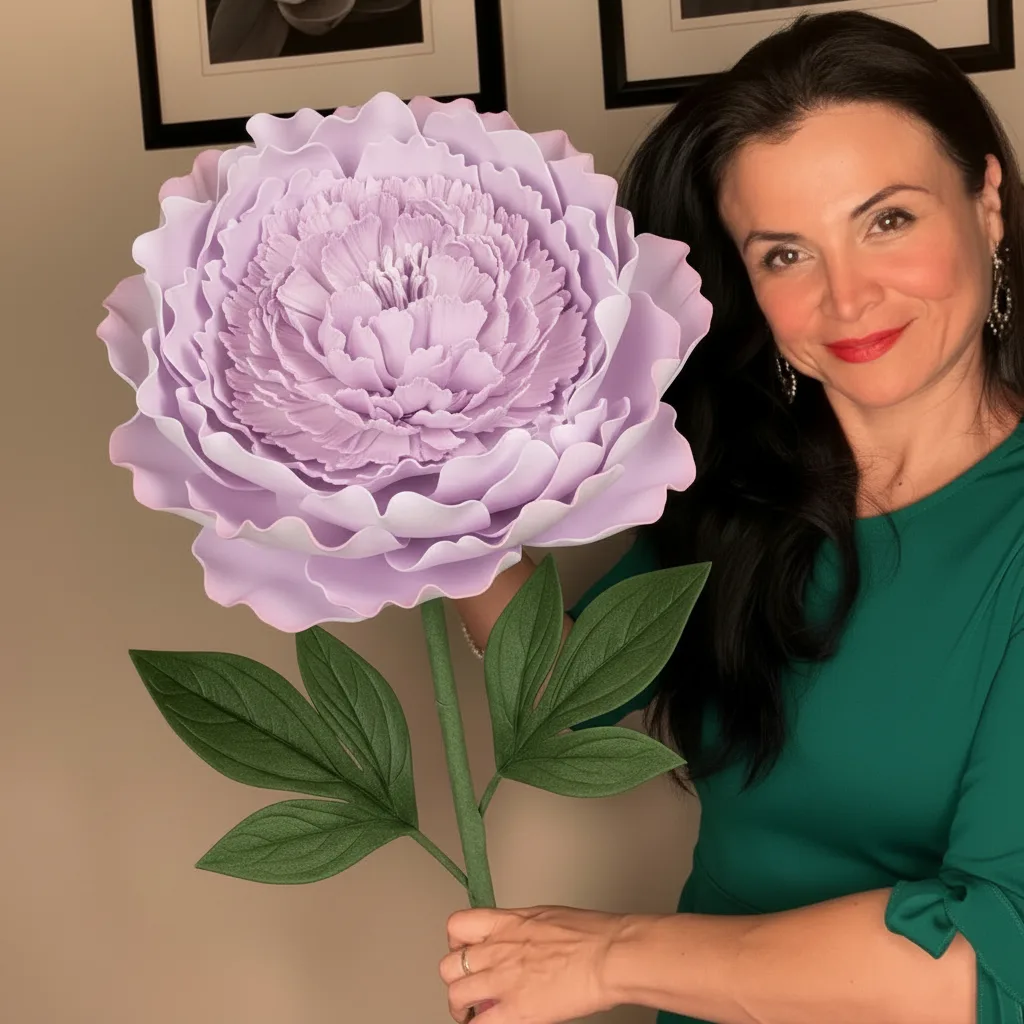
- Ranunculus and peonies: Lush, layered, and romantic. Perfect for garden-style weddings.
- Dahlias: Geometric and dramatic. Gorgeous for modern or boho aesthetics.
- Roses: Classic. Never wrong. Works with literally every color palette.
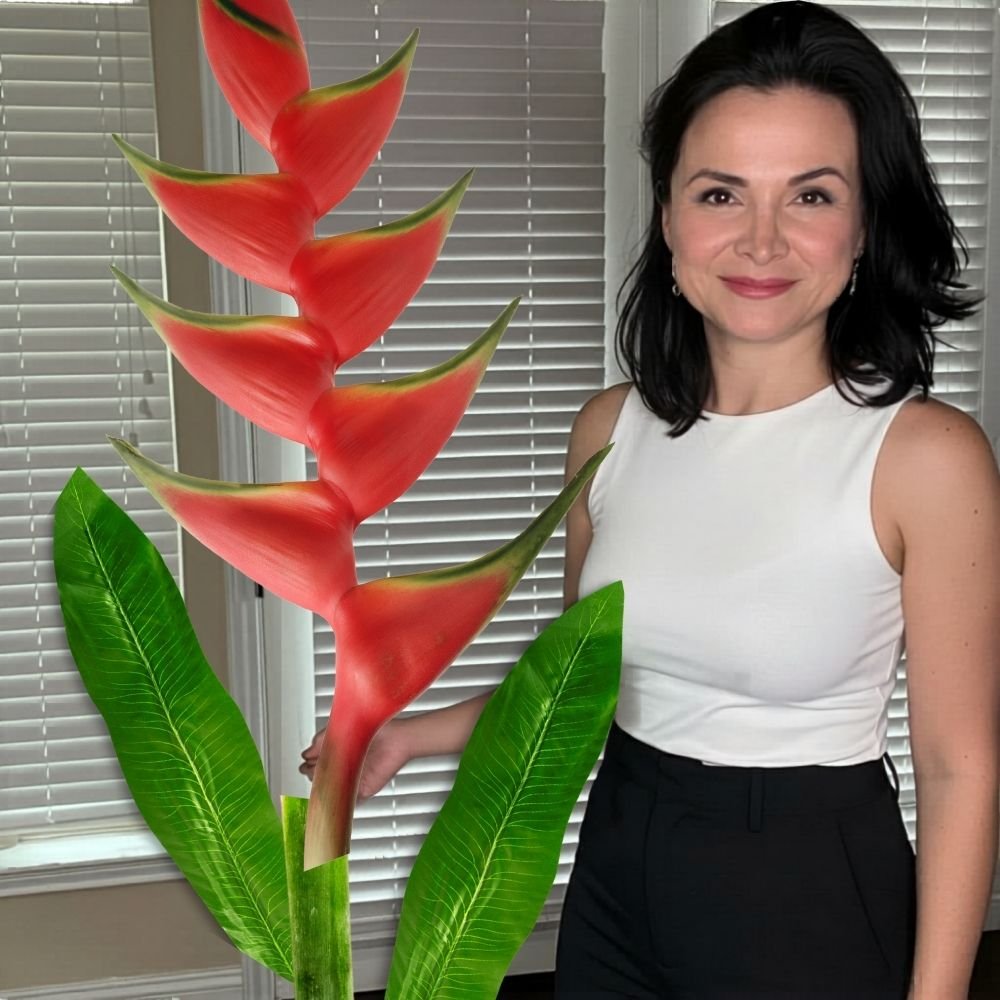
- Tropical blooms: Hibiscus, protea, bird of paradise — stunning for outdoor or destination-style ceremonies.
Color Mixing Tips
I always tell couples: pick one dominant color, one secondary color, and one accent. So if you're doing blush and white, your accent might be a deep burgundy or a dusty sage. That third color is what makes it look intentional and styled rather than random.
"The flowers you build with your own hands will always mean more than anything you could have rented — and your guests will feel that energy the moment they walk in."
DIY Flower Arch Styles: Which One Fits Your Wedding?
Not every arch looks the same, and that's a beautiful thing. Here's a quick breakdown to help you figure out which style is calling your name.
| Arch Style | Look & Feel | Kits Needed | Best Venue Type | Approx. Cost (DIY) |
|---|---|---|---|---|
| Full Arch | Flowers all the way around, lush and full | 10–14 kits | Ballroom, barn, garden | $800–$1,400 |
| Half Arch | Flowers on one side cascading overhead | 6–8 kits | Intimate venues, small spaces | $480–$800 |
| Column Only | Two tall flower towers, no overhead curve | 4–6 kits | Outdoor, low-ceiling venues | $320–$600 |
| Asymmetric Arch | Organic, modern — more flowers on one side | 7–10 kits | Modern, editorial, boho | $560–$1,000 |
| Square Frame Arch | Geometric frame with corner flower clusters | 6–8 kits | Industrial, minimalist venues | $480–$800 |
Styling Tips to Make Your Arch Look Professional
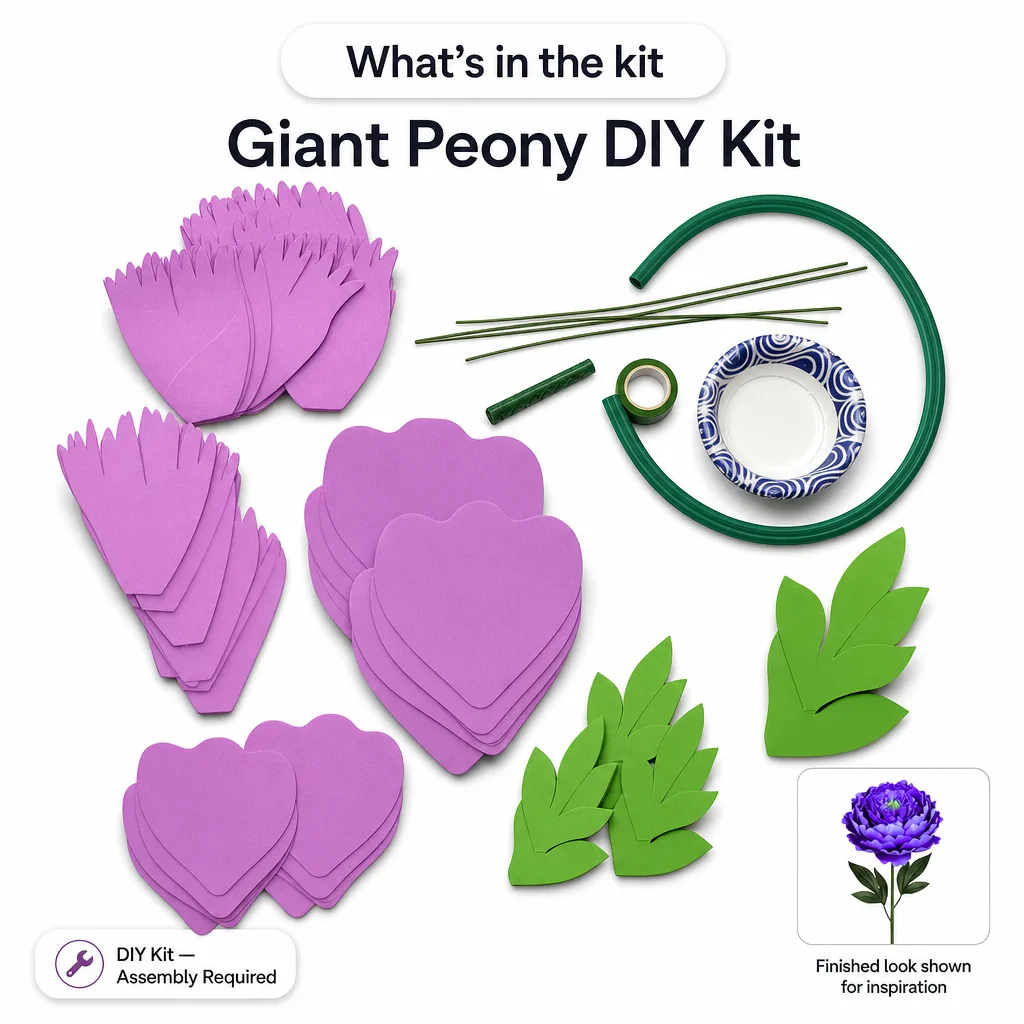
Building the structure is one thing. Making it look like a professional florist did it? That's a whole other skill. Here's what I've learned from watching hundreds of people build with our kits.
Layer Your Flower Sizes
Don't use all the same size flowers. Mix large statement blooms with medium filler flowers and tiny accent pieces. The variation in scale is what makes it look real and intentional, not craft-project-y.
Fill the Gaps
Gaps are the enemy of a lush arch. Use extra EVA foam to cut simple leaf shapes, small buds, or filler blooms. Tuck them in wherever you see negative space. This is honestly the difference between "pretty good" and "jaw-dropping."
If you want more inspiration for large-scale flower arrangements, Large Floral Arrangement Ideas for Stunning Displays is a great read for getting your eye trained on what "full" actually looks like.
Think About the Back
Your guests will see the back of your arch too — especially during the ceremony. You don't need it to be as detailed as the front, but add a few flowers and some greenery to the back so it looks finished from every angle. Your photographer will thank you.
Greenery and Texture
Real or faux greenery woven through your arch makes the flowers pop. Eucalyptus,
Ready to Create Something Amazing?
Browse our collection of giant flower kits and start your next project today.