Tracing and Cutting Petal Templates from EVA Foam the Clean Way

Key Takeaways
- The right tracing tool makes a massive difference — ballpoint pens drag and distort EVA foam; use a fine-tip marker or a scratch awl instead.
- Foam thickness matters: 2mm EVA is best for layered petals, while 6mm–10mm EVA works for structural base petals that need to hold shape.
- A sharp craft knife or a dedicated foam cutter will always outperform scissors for clean, professional edges.
- Consistent template anchoring — using tape or weights — prevents template drift and keeps every petal identical.
- Cutting in a single, confident pass (not sawing back and forth) is the single biggest upgrade most beginners can make.
Why EVA Foam Is the Material of Choice for Giant Petal Templates
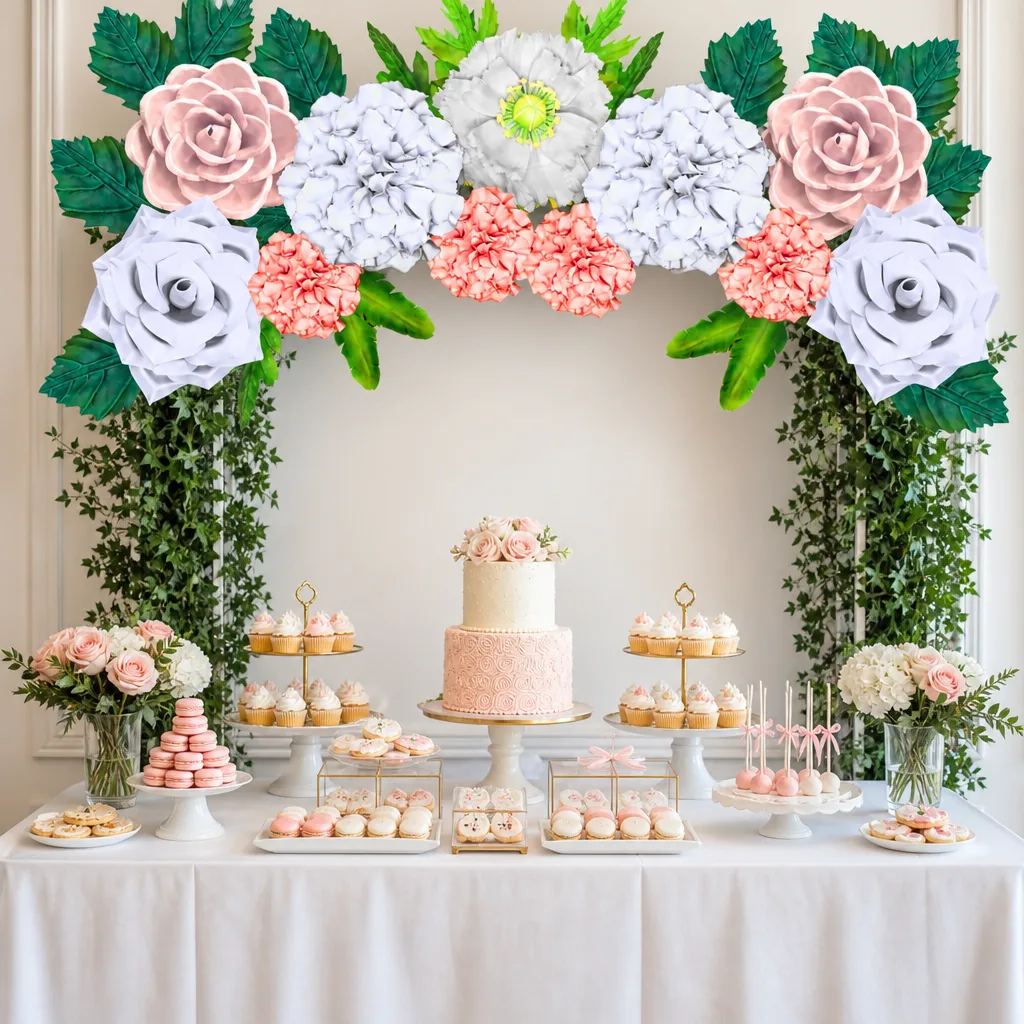
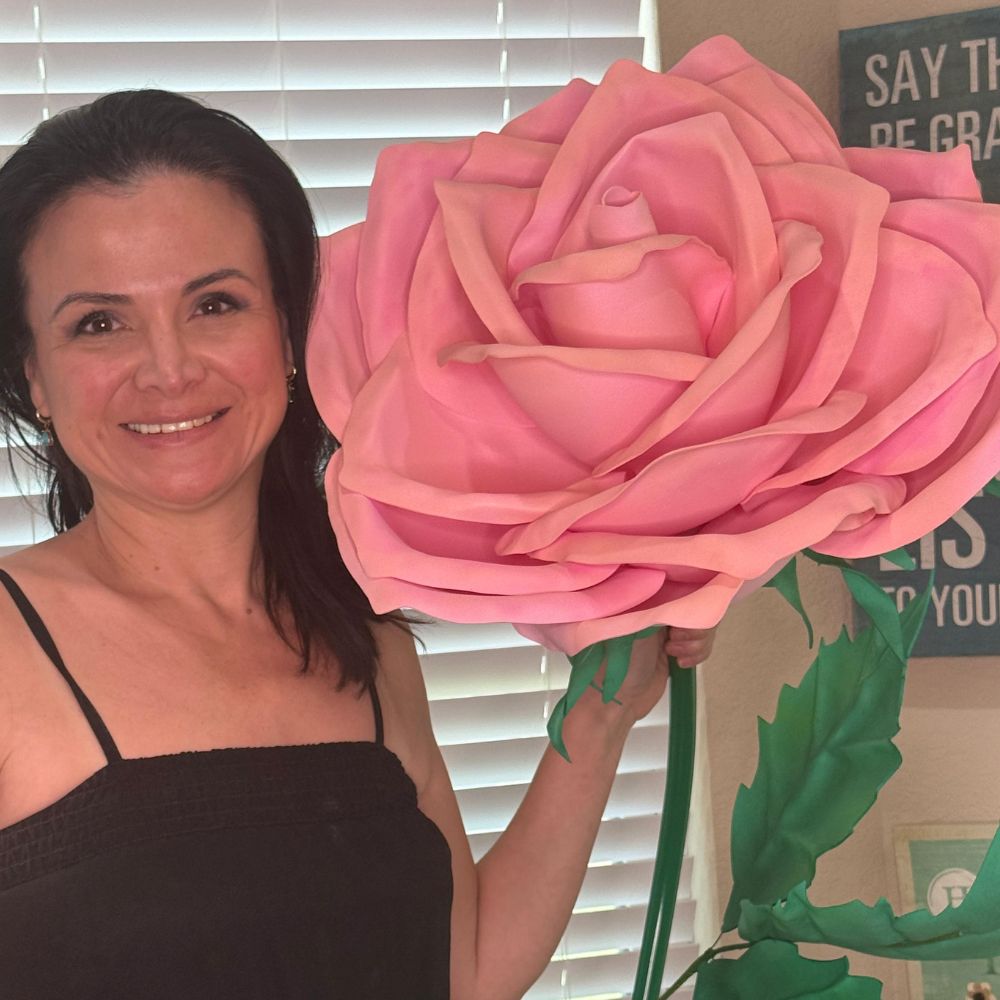
According to a Grand View Research market report, the global EVA foam market was valued at over $9 billion and continues to grow — largely because crafters, event designers, and commercial decorators have discovered just how versatile this material really is. For giant flowers specifically, EVA foam gives you something paper and fabric simply can't: structural integrity at scale. A 4-foot petal made from paper will droop. A 4-foot petal made from 6mm EVA foam? It holds its shape all night long.
If you want to dive deeper into all the foam options out there, I wrote a whole guide on every type of foam for giant flowers — it's worth a read before you buy anything.
Choosing the Right EVA Foam Thickness for Your Petals

Thin Foam (2mm–3mm)
2mm EVA foam is my favorite for layered, delicate petals — think ranunculus, anemones, or any flower with lots of overlapping layers. It's easy to cut, easy to curl with a heat gun, and drapes beautifully.3mm gives you just a little more body. Great for medium-sized flowers where you want petals that hold a slight curve on their own without extra support.
Medium Foam (4mm–6mm)
This is the sweet spot for most giant flower projects. 6mm EVA foam is what I use for the main structural petals of a freestanding flower — the big outer petals that form the base layer of a dahlia or sunflower.It's thick enough to be rigid, but still flexible enough to shape with heat. If you're building a flower that's 3–5 feet tall, this is your workhorse thickness.
Thick Foam (8mm–10mm)
Honestly? I use this sparingly. 10mm EVA is great for base structures, stems, and any element that needs to be load-bearing. But for petals themselves, it can be hard to cut cleanly and difficult to curve without cracking.| Foam Thickness | Best For | Cutting Tool | Heat Shaping |
|---|---|---|---|
| 2mm–3mm | Layered, delicate petals; ranunculus, anemone | Scissors or craft knife | Excellent — curls easily |
| 4mm–6mm | Main structural petals; dahlias, sunflowers, roses | Craft knife or foam cutter | Good — needs more heat |
| 8mm–10mm | Base structures, stems, load-bearing elements | Hot wire foam cutter | Difficult — tends to crack |
| High-density EVA (closed-cell) | Commercial/outdoor displays; long-term installations | Hot wire cutter recommended | Moderate |
How to Make Petal Templates (Before You Even Touch the Foam)
What to Use for Your Template Material
I've tried everything over the years. Here's what actually works:- Cardstock or cardboard: My absolute favorite. It's stiff enough to trace around without shifting, and you can cut it with regular scissors. A cereal box works perfectly in a pinch.
- Thin craft foam (2mm): Great for templates you'll use hundreds of times. It won't bend or warp like paper does after repeated use.
- Mylar or acetate sheets: If you're doing large commercial orders, these are worth the investment. They're essentially indestructible and trace cleanly every time.
- Printed paper templates: Fine for a one-time project, but they shift when you trace over them. Always tape them down or transfer to cardstock first.
Drawing Your Petal Shape
If you're starting from scratch, draw your petal shape on paper first. Think about the flower you're making — a rose petal is very different from a dahlia petal which is very different from a tropical hibiscus petal.For a standard giant rose petal at roughly 14–18 inches long, I draw a teardrop shape with a slightly pointed tip and a wider, slightly notched base. The notch at the base is what allows the petal to sit naturally against the flower center.
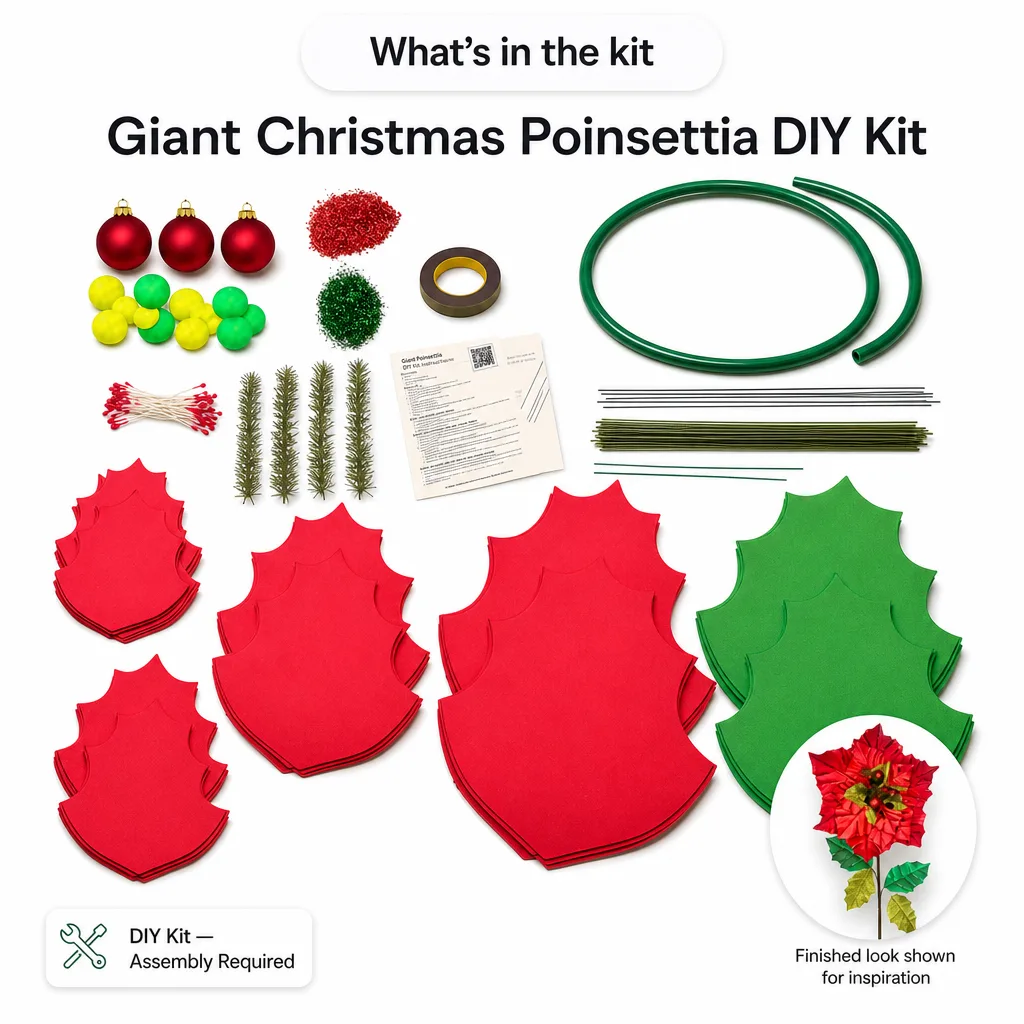
Real talk? If drawing freehand intimidates you, our pre-cut kits at Amazing Giant Flowers come with every template already made. But if you're going the DIY route, keep reading — I'll walk you through everything.
Scaling Your Templates
For a 2-foot flower, your outer petals should be roughly 10–12 inches long. For a 4-foot flower, you're looking at 18–24 inches for the outer layer.A good rule of thumb: your largest petal length should be about 50–60% of your desired finished flower diameter. So for a 3-foot flower, aim for outer petals around 18–22 inches long.
The Right Way to Trace EVA Foam Petal Templates

Best Tools for Tracing on EVA Foam
- Fine-tip permanent marker (like a Sharpie): My go-to for light-colored foam. The tip glides without dragging and leaves a crisp, visible line. Use the fine point, not the chisel tip.
- Silver or white paint marker: Essential for dark-colored foam. A regular black Sharpie disappears on black or navy EVA. A silver Posca marker is perfect here.
- Scratch awl or bone folder: For foam you don't want any visible marks on — you lightly score a line instead of drawing one. This works beautifully on premium foam that'll be painted later.
- Chalk pencil: A softer option that wipes away after cutting. Great for when you want zero residual marks.
Anchoring Your Template — Don't Skip This
This is the step most beginners skip and then wonder why their petals are all slightly different sizes. Template drift is real.Before you trace a single line, secure your template to the foam. I use small pieces of low-tack painter's tape at the corners. Just enough to hold it in place while I trace, but gentle enough that it won't tear the foam surface when you peel it off.
Alternatively, use small binder clips along the edges if your template is thick enough. The goal is zero movement while your marker goes around the perimeter.
Tracing Technique: Slow and Steady
Hold the marker at a 90-degree angle to the foam — straight up and down, not angled. An angled marker creates a line that's slightly outside your template edge, which means your petal will be slightly larger than intended. Multiply that across 30 petals and suddenly your flower looks off.Move the marker in one smooth, continuous motion around the template. Don't stop and start. Don't go back to fix a wobbly section while the template is still down — that creates double lines and confusion.
Trace the full outline, then lift the template and check your line. If there's a wobbly section, you can clean it up freehand with the marker before you cut.
Cutting EVA Foam Petal Templates: Tools and Technique

Best Cutting Tools for EVA Foam Petals
- Sharp craft knife (X-Acto or similar): My number one recommendation for 2mm–6mm foam. The key word is sharp. A dull blade drags and tears. Change your blade more often than you think you need to — I swap blades every 20–30 cuts on a big project.
- Rotary cutter: Incredible for long, sweeping curved cuts on thinner foam (2mm–4mm). If you've used one for fabric, the technique is identical. Use a self-healing cutting mat underneath.
- Sharp scissors (fabric scissors or Fiskars): Totally valid for 2mm–3mm foam, especially for beginners. The trick is long, smooth cuts — open the scissors wide and use the full blade length, not the tips.
- Hot wire foam cutter: Best for thicker foam (8mm+) and straight or gently curved cuts. Not ideal for intricate petal shapes, but great for base pieces.
- Die-cut machine (Cricut or Silhouette): If you're making a LOT of the same petal, a cutting machine is a game-changer for thin foam (2mm). Takes setup time but produces perfectly identical petals every single time.
The Single-Pass Cutting Method
Here's the biggest upgrade you can make to your cutting technique right now: cut in one confident, continuous pass.Most beginners saw back and forth with a craft knife, or make short choppy cuts with scissors. This creates jagged, stepped edges that are really hard to fix later. Instead, commit to the cut. Pull the blade smoothly from one end of the curve to the other in a single motion.
For a craft knife, press firmly enough to cut all the way through in one pass. If you're not getting through, your blade is dull — don't press harder, just change the blade.
Cutting Curves Cleanly
Curves are where EVA foam cutting gets tricky. For tight curves at a petal tip, I rotate the foam rather than changing the direction of my knife. Keep your blade moving in the same direction and turn the foam underneath it.For the wide, gentle curves along the sides of a petal, a rotary cutter on a mat is honestly the cleanest option. You can arc it beautifully in one smooth motion.
Always Cut on a Self-Healing Mat
Please don't cut on your kitchen table. I learned this the hard way. A self-healing cutting mat protects your surface, keeps your blade from dulling too fast, and gives you a non-slip work surface. A 24" x 36" mat is the minimum size I'd recommend for giant petal work.Common Mistakes When Tracing and Cutting EVA Foam Petals
Using a Ballpoint Pen to Trace
Ballpoint pens indent the foam as you draw. That indentation doesn't disappear — it shows up on your finished petal, especially after painting. Always use a marker, not a pen.Cutting Outside the Line
When you cut, cut just inside the traced line — you want to remove the marker line entirely. If you cut outside it, you'll have a thin strip of marked foam along the petal edge that's really hard to hide.Letting the Template Shift
I already mentioned this but it's worth repeating. If your template moves even 2–3mm mid-trace, your petal shape changes. On a 20-inch petal, that's enough to make it visibly asymmetrical. Tape it down. Every time.Skipping the Mat
Cutting on a hard surface (table, floor, cardboard) dulls your blade instantly and creates drag. A dull blade on EVA foam is a recipe for torn, ragged edges. Use the mat.Rushing the Cuts
Giant flower petals are big. A single petal can take 30–60 seconds to cut cleanly if you're doing it right. That's not slow — that's correct. Rushing leads to jagged edges, missed curves, and wasted foam.Batch Cutting: How to Cut Multiple Identical Petals Efficiently
Stack Cutting for Thin Foam
For 2mm–3mm EVA foam, you can stack 2–3 layers and cut through all of them at once with a sharp craft knife. This triples your output without any extra tracing time.The key is making sure all layers are perfectly aligned before you start. Use binder clips or tape to hold the stack together, then cut slowly — you need slightly more pressure to get through multiple layers cleanly.
Trace Once, Cut Many
For a single flower, I trace the full set of petals in one session before cutting anything. That way I can optimize my foam layout — fitting petals together like puzzle pieces to minimize waste.According to The Knot, couples spend an average of $1,500–$2,500 on wedding flowers. Giant foam flowers can dramatically cut that cost — but only if you're not wasting expensive foam sheets through inefficient cutting. Smart layout matters.
Label Your Petals by Layer
As you cut, flip each petal over and write the layer number lightly in marker on the back — L1, L2, L3, etc. Giant flowers have multiple petal layers, and it's incredibly easy to mix them up when you have 30+ petals on your table.If you're building a flower for a wedding or event backdrop, check out my post on giant flower wedding arches — it covers exactly how many petals you'll need per flower and how to organize your build.
Finishing Your Cut Petals: Edges, Smoothing, and Prep for Painting
Smoothing Rough Edges
Even with a sharp blade, EVA foam can leave slightly rough or slightly compressed edges. A quick pass with fine-grit sandpaper (220 grit) along the cut edge smooths everything out beautifully.For a more polished look, I sometimes run a heat gun briefly along the cut edge — about 2–3 inches away, moving constantly. The gentle heat slightly seals and smooths the foam edge. Don't hold it in one spot or you'll melt the petal.
Shaping Petals with Heat
This is where EVA foam really shines over any other material. Once your petals are cut, a heat gun lets you curl, cup, and shape them into organic, natural-looking forms.Hold the petal over a rounded form (a bowl, a ball, even your knee) and apply heat from about 4–6 inches away. The foam will soften in about 10–15 seconds. Press it into your desired curve and hold for another 10 seconds while it cools. It will hold that shape permanently.
Prepping for Paint
Before painting, wipe your cut petals down with a slightly damp cloth to remove any marker residue, foam dust, or fingerprints. Let them dry completely.If you're using acrylic paint, a thin coat of Mod Podge or a foam-specific primer helps the paint adhere and prevents that streaky, soaked-in look. I go deep on painting techniques in my guide on flawless foam board paint finishes — highly recommend reading that before you open a paint bottle.
Frequently Asked Questions
What is the best tool for tracing petal templates onto EVA foam?
A fine-tip permanent marker is the best all-around tool for tracing EVA foam petal templates. It glides without dragging, leaves a crisp line, and is visible on most foam colors. For dark foam, use a silver or white paint marker instead. Avoid ballpoint pens — they indent the foam surface and leave marks that show through paint.
Can I cut multiple layers of EVA foam at once?
Yes — for 2mm–3mm EVA foam, you can stack 2–3 layers and cut through all of them in one pass with a sharp craft knife. Make sure the layers are perfectly aligned and held together with tape or binder clips before cutting. For foam thicker than 4mm, cut each layer individually for the cleanest results.
How do I get smooth curves when cutting EVA foam petals?
The key is to rotate the foam rather than changing your blade direction mid-cut. Keep your knife or scissors moving in a consistent direction and turn the foam piece underneath your hand. For long sweeping curves, a rotary cutter on a self-healing mat gives the smoothest results. Always use a sharp blade — dull blades are the number one cause of jagged curves.
What thickness of EVA foam should I use for giant flower petals?
2mm–3mm EVA foam is ideal for delicate, layered petals like ranunculus or anemones. 6mm EVA foam is the best choice for the main structural petals of large freestanding flowers. For flowers 3–5 feet tall, the outer layer petals should generally be made from 6mm foam to hold their shape without support.
How do I prevent my petal template from shifting while I trace?
Secure your template with low-tack painter's tape at all four corners before you start tracing. This prevents even the slightest drift that can make petals come out asymmetrical. For templates you use repeatedly, consider making them from thin craft foam or mylar — they're stiffer and easier to anchor than paper templates.
Do I need to sand EVA foam after cutting?
Not always, but it's worth it for a polished finish. A quick pass with 220-grit sandpaper along cut edges removes any roughness and gives you a cleaner surface for painting. Alternatively, a brief pass from a heat gun (held 2–3 inches away, kept moving) slightly seals the foam edge for a smooth, professional look.
Getting your tracing and cutting technique right is honestly the foundation of everything else in giant flower making. Once you can consistently cut clean, identical petals, building beautiful flowers becomes so much more enjoyable — and so much faster. If you want to skip the learning curve on templates entirely, our pre-cut kits at Amazing Giant Flowers come with every petal pre-cut and ready to shape. But if you love the full DIY process as much as I do, I hope this guide gives you the confidence to grab that craft knife and go for it. I'd love to see what you make — come find me and share your flowers!
Ready to Create Something Amazing?
Browse our collection of giant flower kits and start your next project today.