The Event Pro's Checklist for a Flawless Giant Flower Setup
If you've been doing events long enough, you know that the difference between a gorgeous install and a stressful disaster is almost always in the prep. I learned that the hard way back when I was still figuring out this whole giant flower thing — showing up to a venue without the right tools, winging measurements, hoping the stems would hold. Not fun. That's exactly why I put together this giant flower setup checklist — so you can walk into every event calm, confident, and ready to blow your clients away.
Event pros, this one's for you. Whether you're dressing a wedding ceremony, a brand activation, a quince, or a corporate gala, freestanding giant flowers are one of the most impactful decor elements you can offer. But they do require a system. And once you have that system? You'll wonder how you ever worked without it.
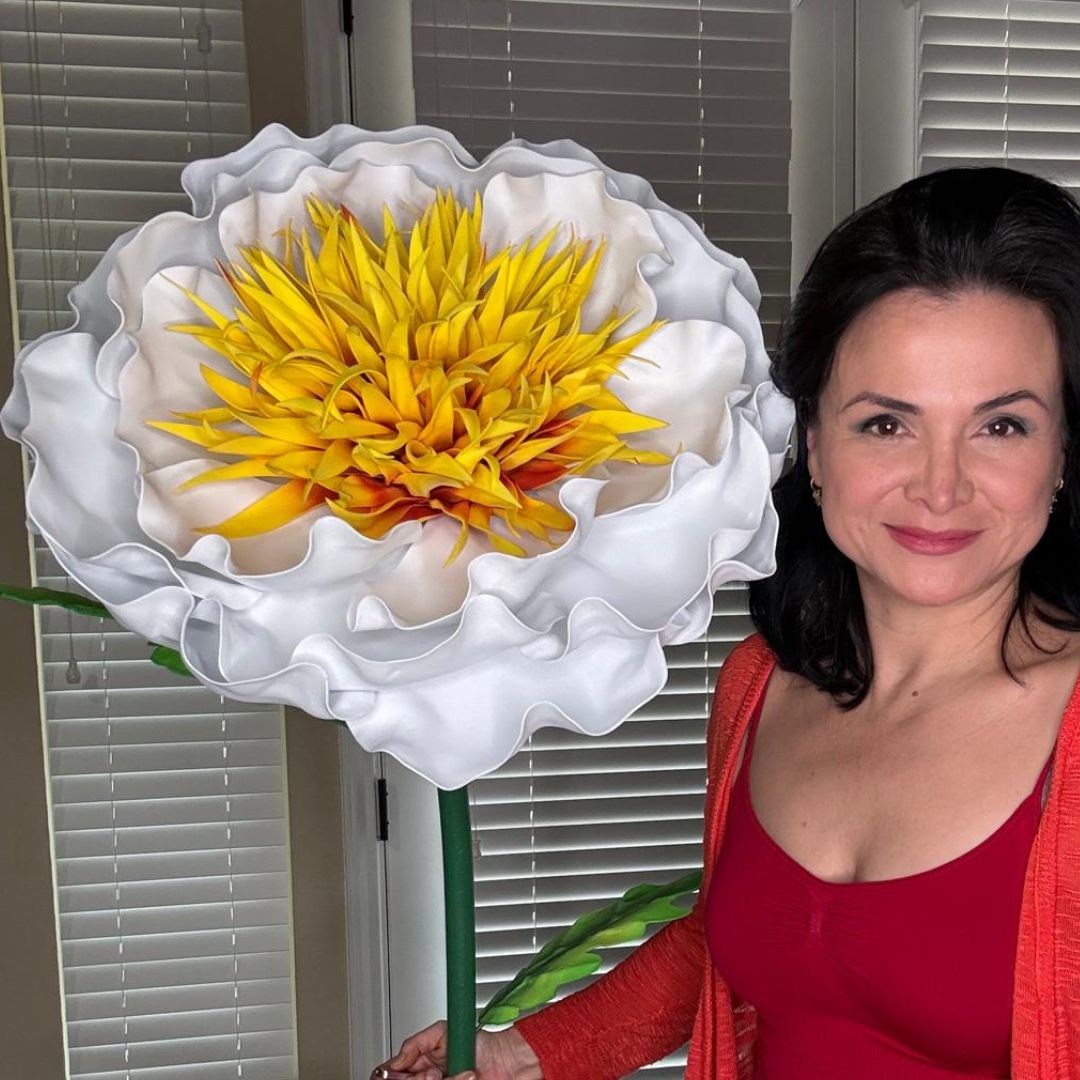
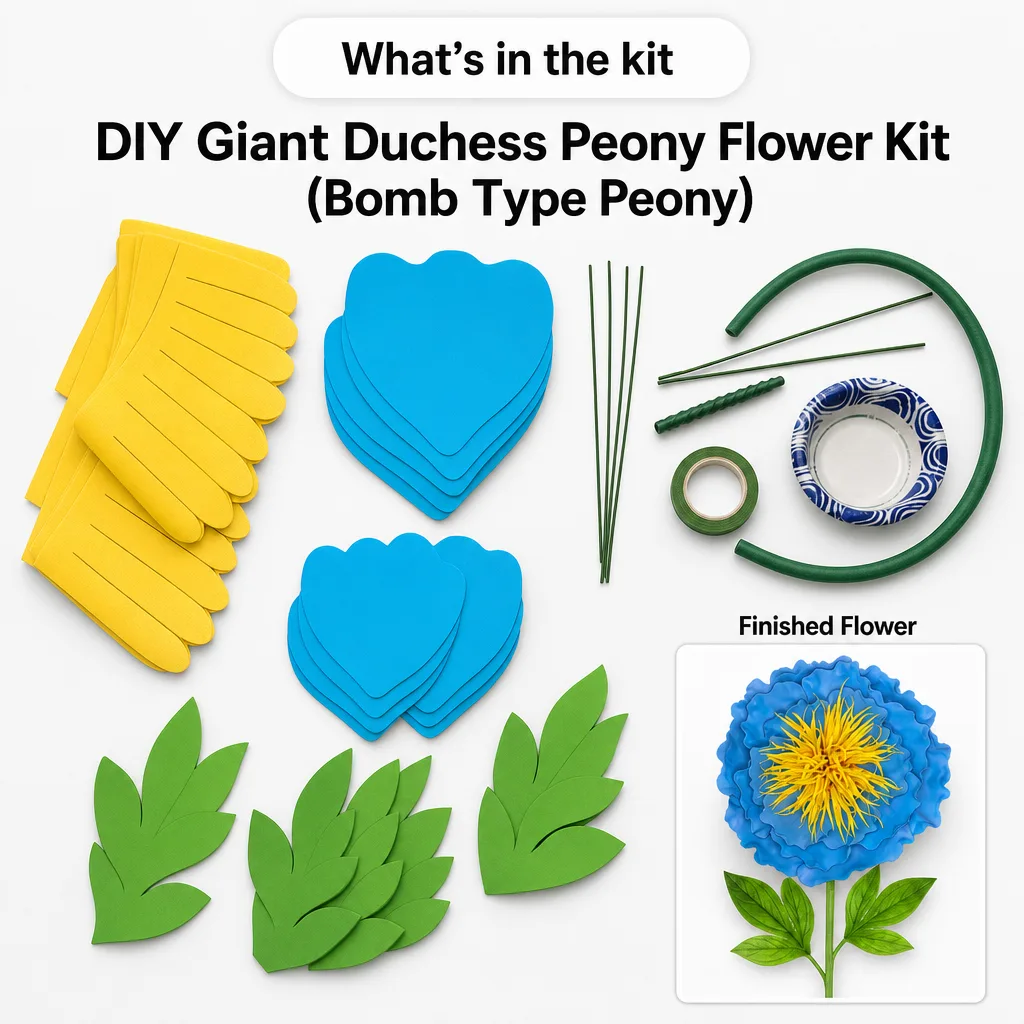
So let me walk you through everything — from your pre-event prep to the final walkthrough — using our Freestanding Giant Flower Kits as the backbone. These are 5-foot tall, pre-cut EVA foam kits that come with video tutorials, and they are genuinely the easiest way to build a professional-grade giant flower setup. Let's get into it.
Key Takeaways
Real talk? Giant flowers have had a moment for a few years now, and that moment is not slowing down. I see it in my own orders, I see it in the DMs I get from planners, and I see it every time someone posts an install on Instagram and the comments explode.
The reason is simple: they're a high-impact, high-perceived-value decor element that photographs beautifully, works at almost any event type, and — when you use a quality kit — doesn't require a fine arts degree to pull off.
I've had event planners tell me that adding freestanding giant flowers to their packages let them raise their prices significantly. One planner in Dallas told me she added three flower installs to a corporate event proposal and the client didn't even blink at the upgraded quote. That's the power of visual impact.
"A giant flower setup done right doesn't just decorate a space — it transforms it. And your clients will pay for transformation."
What Makes Freestanding Flowers Different From Wall Installations
With wall flower kits, you're anchoring everything to a surface. Freestanding flowers are a different beast — they need to support their own weight, stand upright on various floor surfaces, and stay put even when guests are brushing past them.
That's why the stem system matters so much. Our kits use bendable pipes that give you flexibility in positioning without sacrificing stability. More on how to work with those in a minute.
This is where the magic — or the mess — gets made. Everything that happens on setup day is a direct result of what you did (or didn't do) in the days before. Here's my full pre-event checklist.
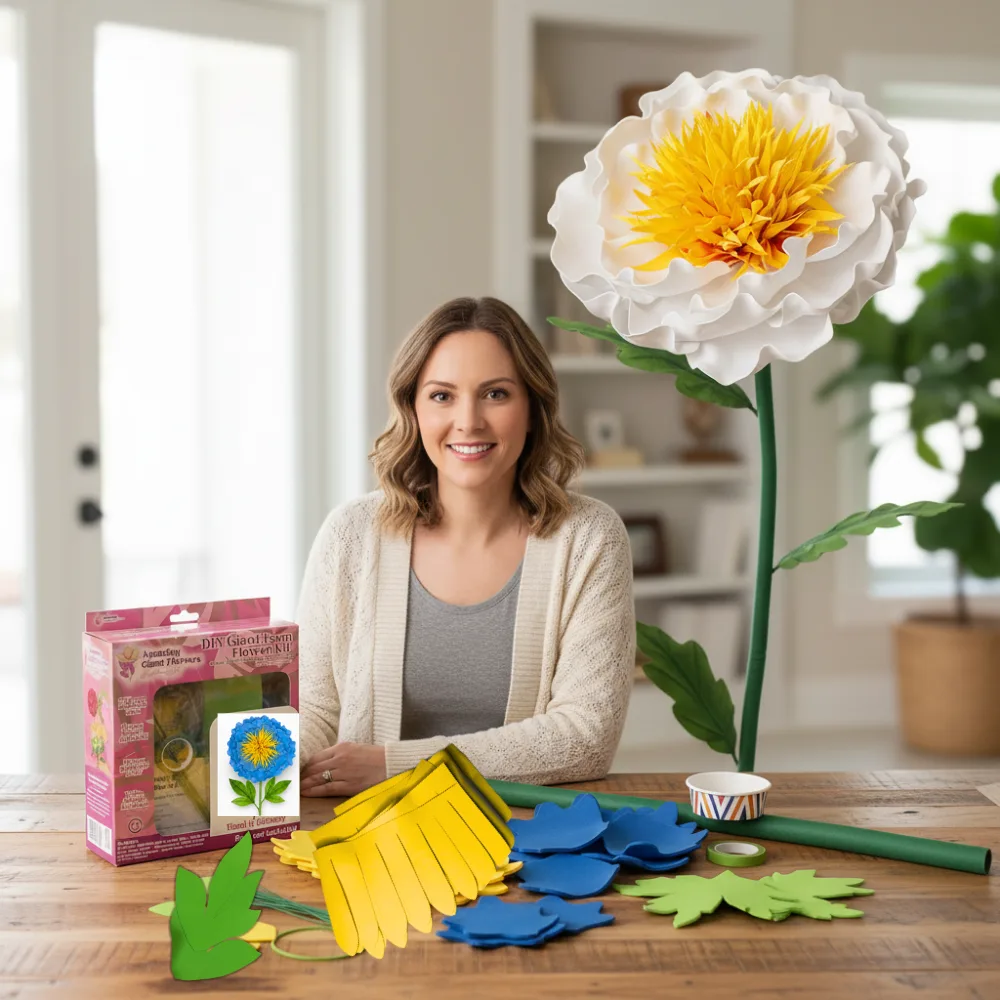
I cannot stress this enough. Do not build on-site. Pre-building is what separates the pros from the people who are still hot-gluing petals at 6pm when the event starts at 7.
Our Freestanding Giant Flower Kits come with pre-cut EVA foam pieces and video tutorials, so the build process is genuinely manageable. But it still takes time. Budget at least 2-3 hours per flower for your first few builds, and about 1-1.5 hours once you're in the groove.
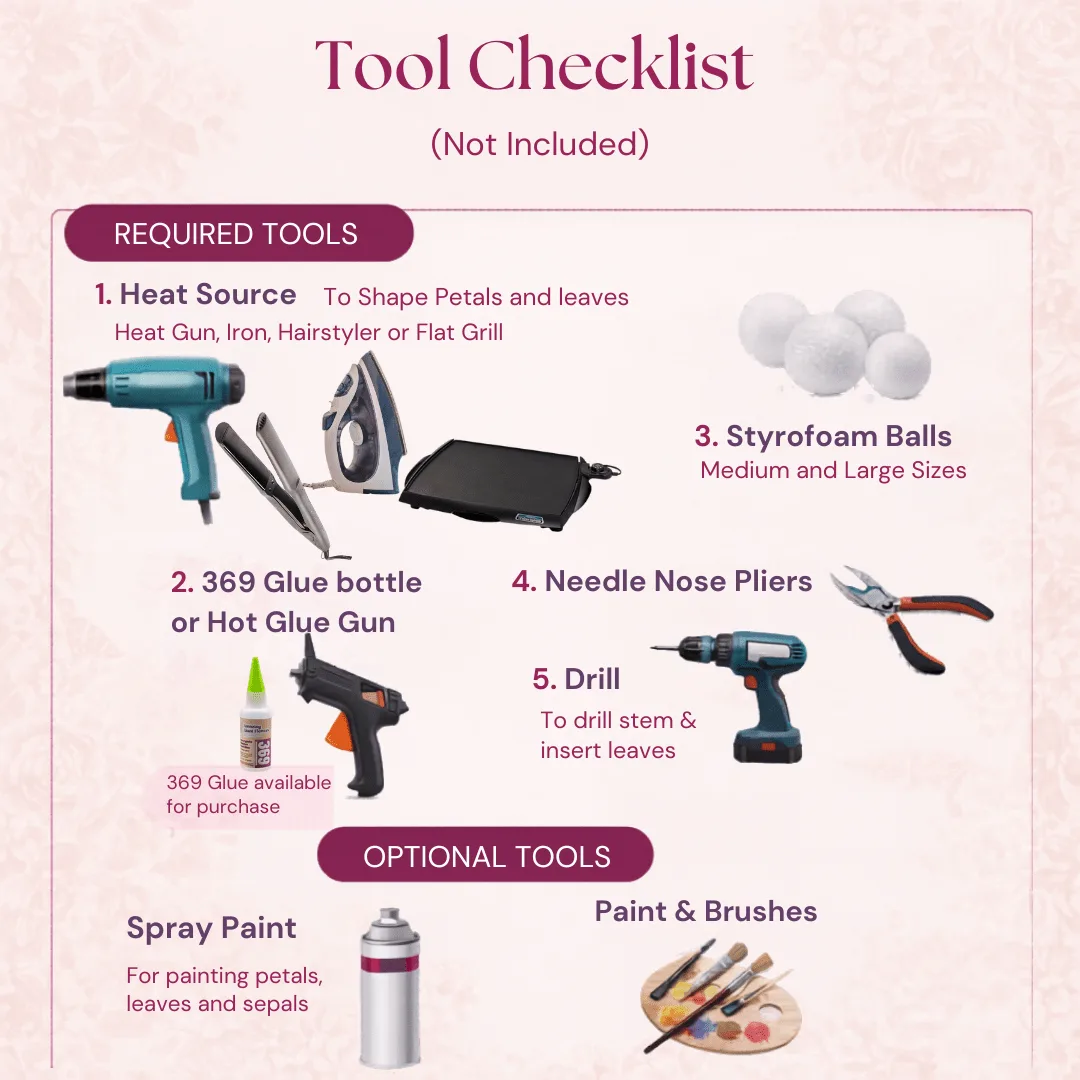
Here's what travels with me to every single install:
💡 Pro Tip
Pack everything the night before in labeled bins — one bin per flower installation. When you're rushing on event day, you'll thank yourself for the organization. I use clear plastic bins so I can see exactly what's inside without digging.
Setup Day: Your Giant Flower Setup Checklist in Action
Ok, this is where it gets really fun. You've prepped, you've built, you've packed. Now it's go time.
Before you unload a single flower, walk the venue. Identify exactly where each flower is going and mark the spots with painter's tape if the venue allows it. This saves so much back-and-forth once you start placing heavy arrangements.
Check for things like air conditioning vents (they can knock lightweight petals loose), direct sunlight coming through windows (can affect foam colors in long installs), and foot traffic patterns so you're not placing flowers where guests will constantly bump them.
While you can pre-build the flower heads, the stem assembly usually happens on-site because fully assembled 5-foot flowers are genuinely difficult to transport without damage. Bring your bendable pipes and connect them once you're in position.
If you're working on carpet, you can often push the stem base directly into the carpet for extra grip. On hardwood or concrete, use a weighted base or a floral foam block inside a decorative pot to anchor everything securely.
Step back frequently. Like, way more than feels necessary. What looks good up close often looks off from across the room. I always do a "guest perspective" check — I walk to where guests will first see the arrangement and look at it from their angle.
Adjust stem angles using the bendable pipe feature. This is one of my favorite things about our kits — you can angle flowers toward each other to create a canopy effect, tilt them outward for a garden feel, or keep them straight and tall for a dramatic, formal look.
Step 4: Final Walkthrough
Before you pack up your tools and call it done, do a proper final walkthrough. Here's my quick final checklist:
🌸 Ready to get started?
Browse our Freestanding Giant Flower Kits — pre-cut EVA foam, video tutorials included, priced from $80 to $180. Everything you need to build a stunning install.
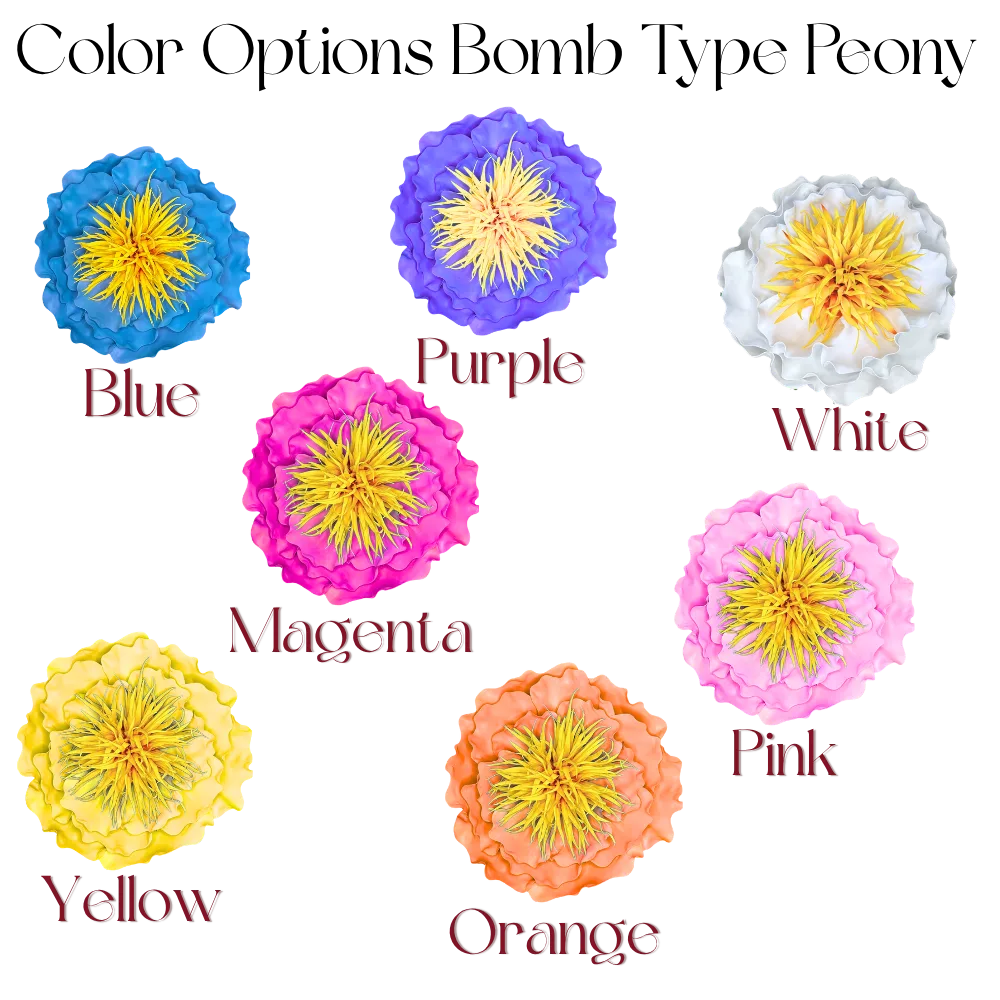
Not every event calls for the same flower setup. Here's how I think about matching kits to events — and how to use this as a guide when you're quoting clients.
If you want to go deeper on budgeting these installs for clients, I wrote a whole breakdown over at Giant Flower Event Budget: How Much Does It Really Cost? — it's one of my most-read posts for a reason.
Our kits use EVA foam — and if you haven't worked with it before, let me tell you, it's a game-changer compared to paper or cardstock flowers. It's lightweight, durable, water-resistant, and it holds paint beautifully.
The finish on your flowers is what clients see up close. A sloppy paint job will undercut even the most beautiful petal shape. I always recommend two thin coats of acrylic paint rather than one thick coat — it prevents cracking and gives you a more even finish.
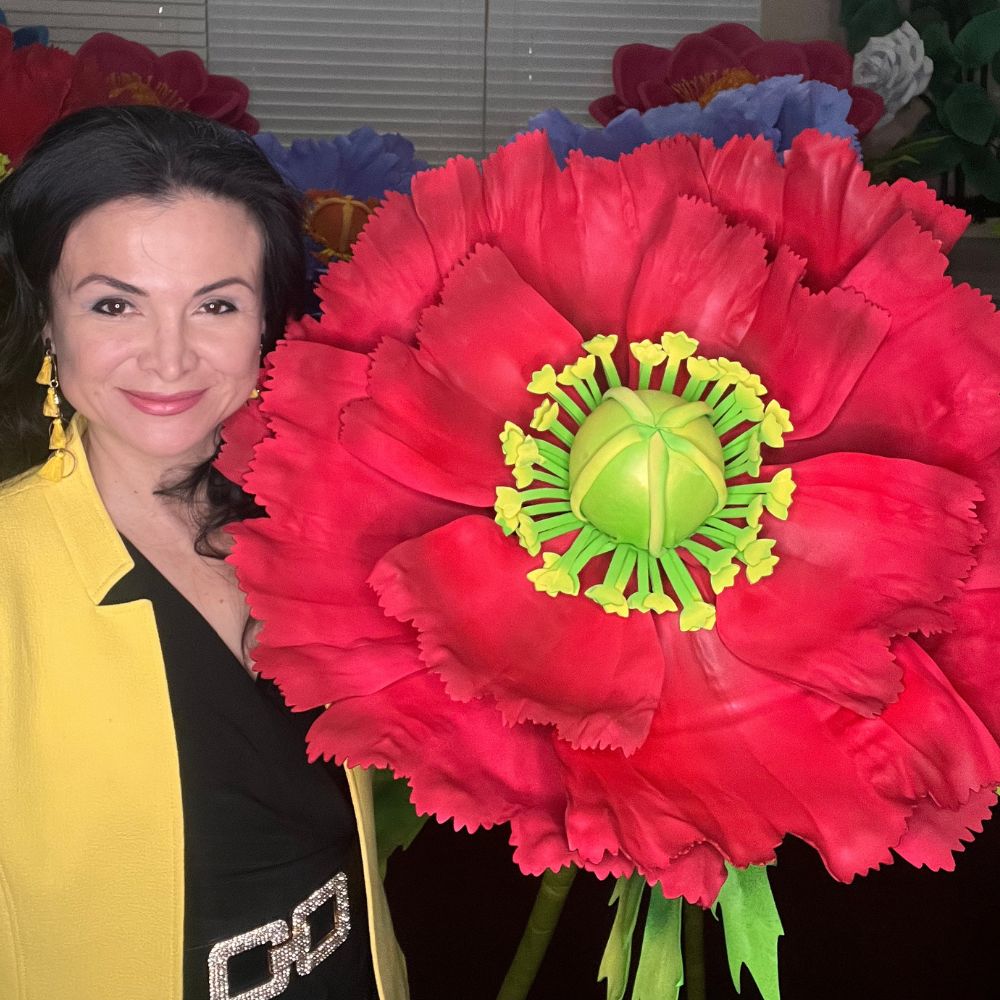
For a deep dive on getting that finish perfect, check out Your Guide to Flawless Foam Board Paint Finishes — I walk through exactly what products I use and how to get that professional look every time.
This is the secret to flowers that look real instead of flat. A heat gun lets you curl and shape EVA foam petals into natural-looking curves. It takes a little practice, but once you get the feel for it, you'll never go back to flat petals.
I have a full tutorial on this at Heat Gun Techniques: Shaping Foam Flower Petals Like a Pro — bookmark it before your first build.
💡 Pro Tip
Always do a test petal before you heat-shape your whole batch. EVA foam responds differently depending on thickness and room temperature. A 30-second test saves you from accidentally over-curling an entire set of petals.
Common Mistakes Event Pros Make (And How to Avoid Them)
Even experienced decorators run into these pitfalls. I've made most of them myself, which is exactly why I'm sharing them with you now.
- Skipping the venue walkthrough. Never assume you know a space. Ceiling heights, floor surfaces, and lighting all change how your install looks and what bases you'll need.
- Forgetting extra glue sticks. Hot glue guns eat through silicone sticks fast, especially on large installs. Always pack more than you think you need — 369 glue is a great backup for flat bonds.
- Assuming bases are included. They're not — bases and stands are sold separately. Order them well in advance so they arrive before your event date.
- Building on-site. I already said it, but it's worth repeating. Pre-build everything at home or in your studio. Always.
- Not testing petal shaping first. Whether you're using a heat gun, iron, flat grill, or hair styler, always do a test petal before shaping the full batch. Foam thickness and room temperature both affect results.
The good news? Every single one of these mistakes is completely avoidable with a little planning. That's the whole point of this checklist — so you walk into every event feeling confident and prepared.
Frequently Asked Questions
How far in advance should I start building flowers for an event?
I recommend starting your builds at least one week before the event, especially if it's your first time working with a particular kit or color palette. This gives you buffer time for a second coat of paint, any touch-ups, and packing without rushing.
Budget 2–3 hours per flower for your first few builds, and around 1–1.5 hours once you're more comfortable. For a large install with 8–10 flowers, that's a significant time commitment — plan accordingly.
Do the giant flower kits come with bases or stands?
No — bases and stands are sold separately from our kits. Our Freestanding Giant Flower Kits include pre-cut EVA foam pieces and video tutorials, but you'll need to add a base to your order. Don't wait until the last minute on this one.
If you're anchoring flowers on-site, weighted bases work well on hard floors, and on carpet you can often push the stem directly in for extra grip. Either way, plan your anchoring method before event day.
What tools do I need to shape EVA foam petals?
You can shape EVA foam petals using a heat gun, iron, flat grill, or hair styler — any of these will give you that beautiful natural curve. The heat gun is my personal favorite for control and speed, but all four options work well.
Whatever tool you use, always do a test petal first. Foam responds differently based on thickness and ambient temperature, and a quick 30-second test will save you from over-shaping an entire batch.
What's the best way to glue petals so they hold up through a long event?
I use either 369 glue or a hot glue gun with silicone sticks — both are sold separately and both create a strong, lasting bond on EVA foam. For petals that need to hold a curve, hot glue sets fast and keeps the shape right where you want it.
Make sure your foam surface is clean and dry before gluing, and hold each petal firmly for a few seconds after applying. Rushing the glue step is one of the most common reasons petals shift during an event.
I hope this giant flower setup checklist takes some of the stress out of your next event install. Whether you're a seasoned event pro or you're building your very first flower wall, a little preparation goes such a long way — and you deserve to actually enjoy the process. If you ever have questions as you're building, don't hesitate to reach out. I'm rooting for every single one of your setups. 🌸
Shop the supplies
Everything You Need for This Project
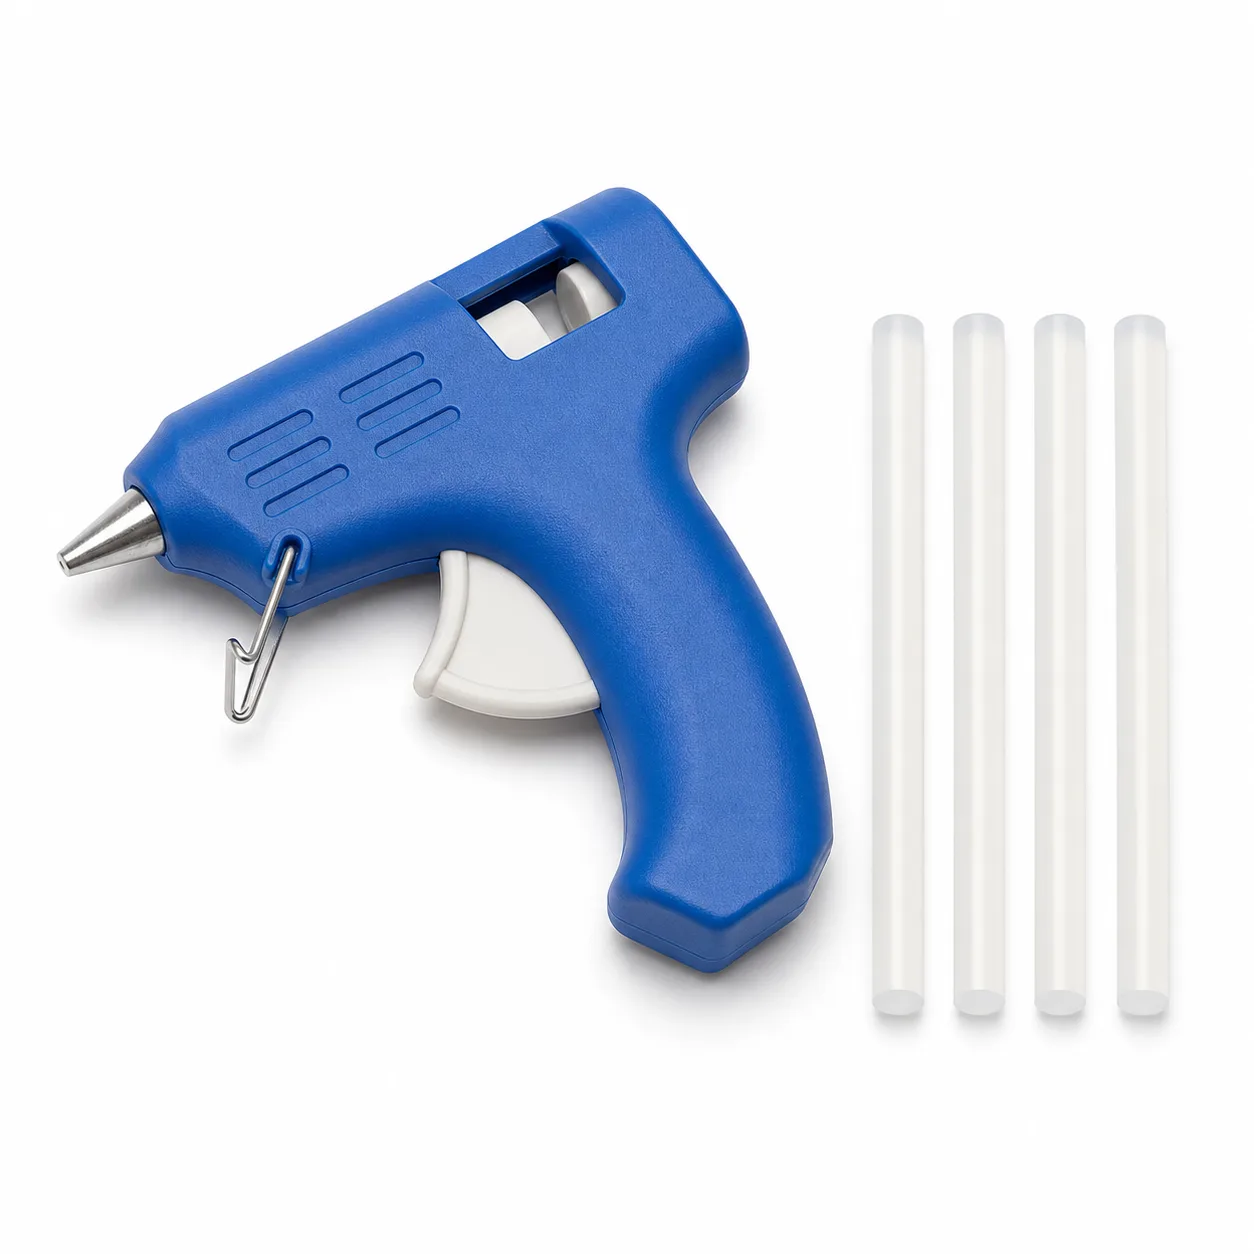
Hot Glue Gun + 4 Silicone Glue Sticks — Fast, Strong Petal Assembly
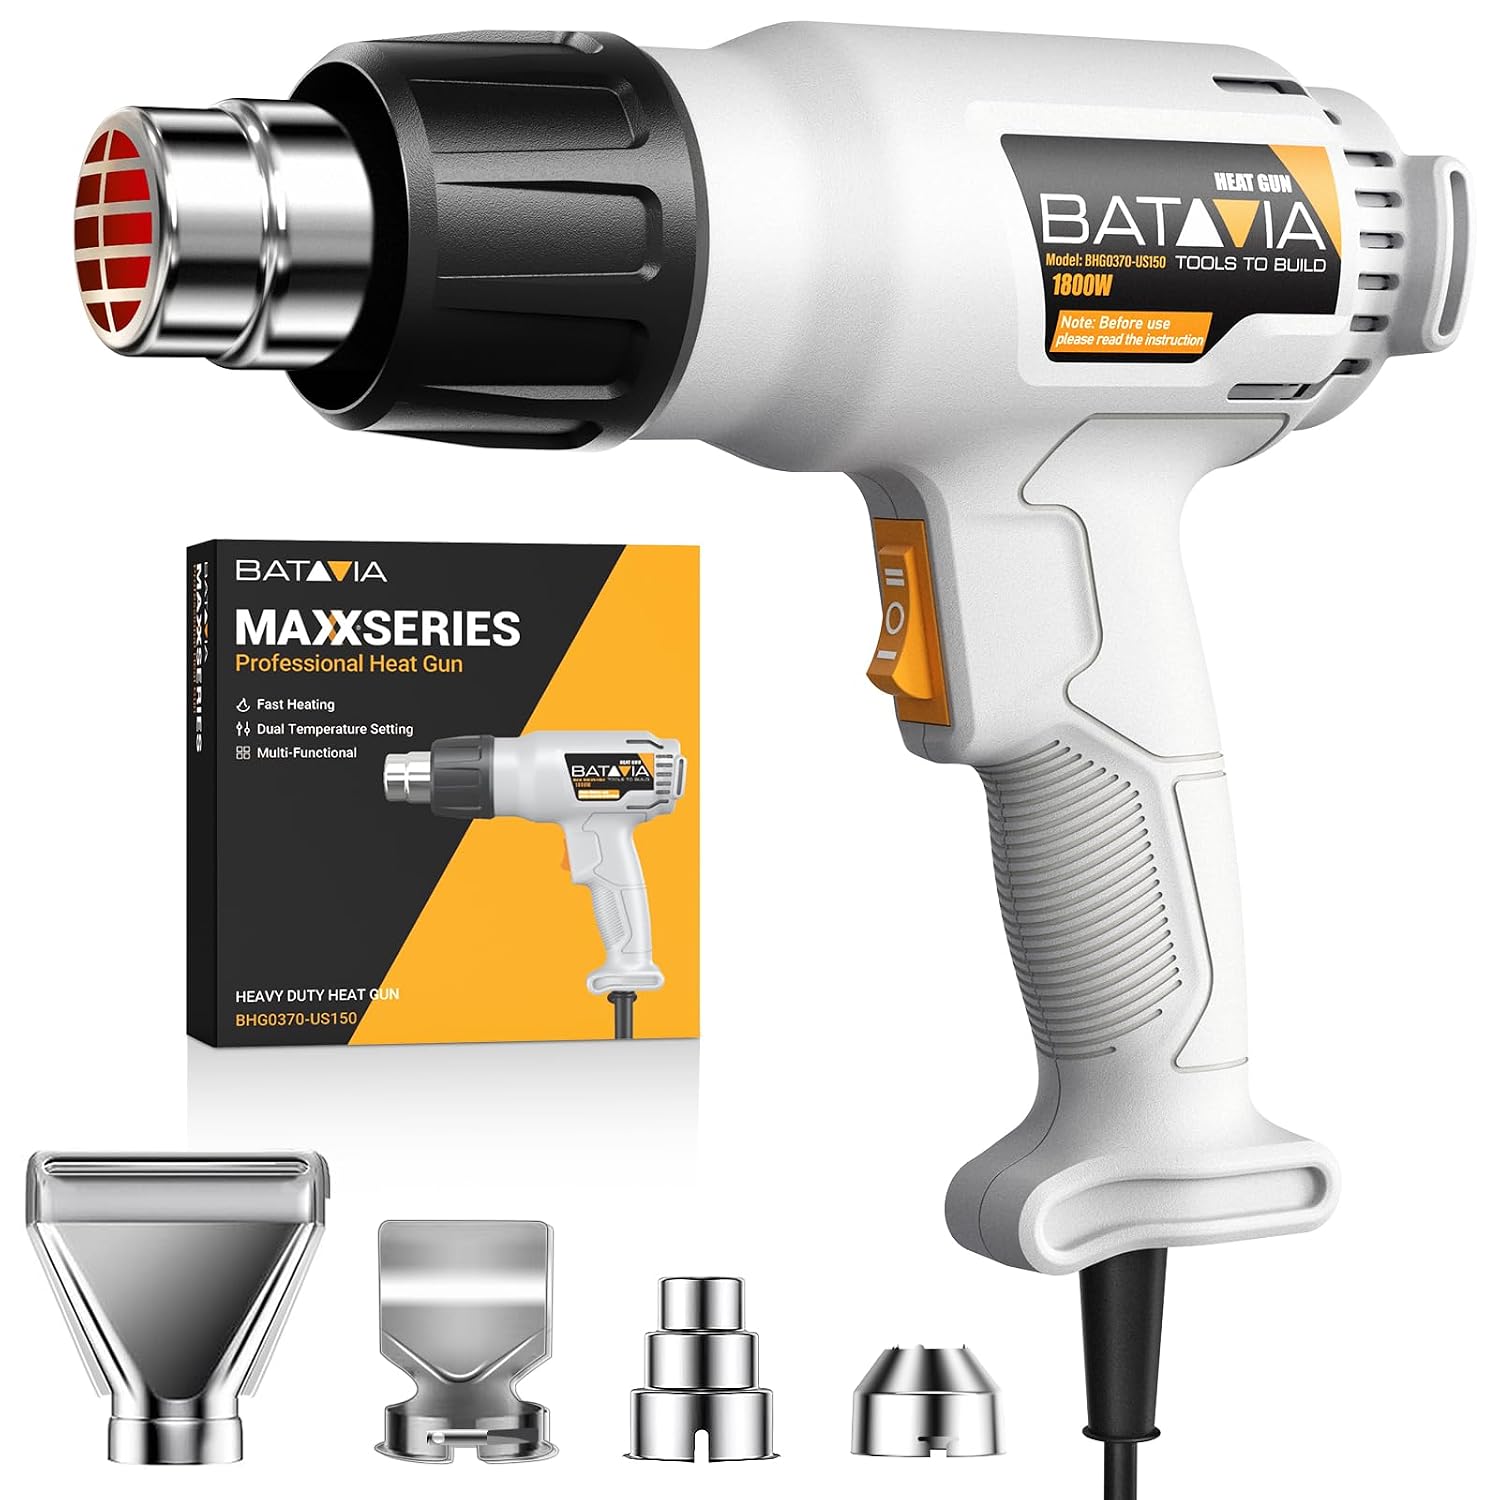
Heat Gun (Dual-Temp) — Thermoshaping Tool for Foam Flowers
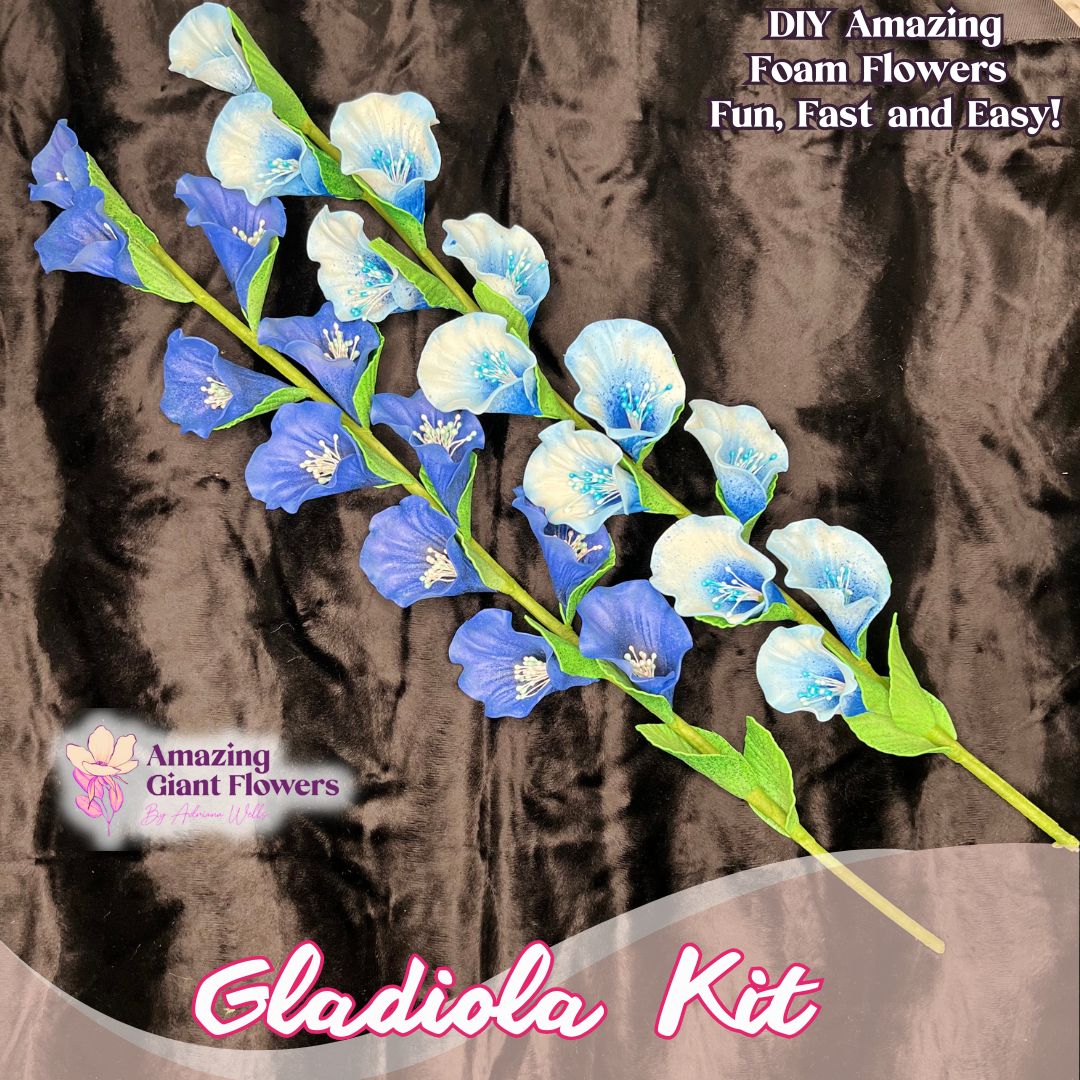
Real Touch Gladiolus Foam Flower Kit (Gladiola) — Two Tall 24" DIY Stems with Reusable Mold, Pre-Cut Petals & Leaves
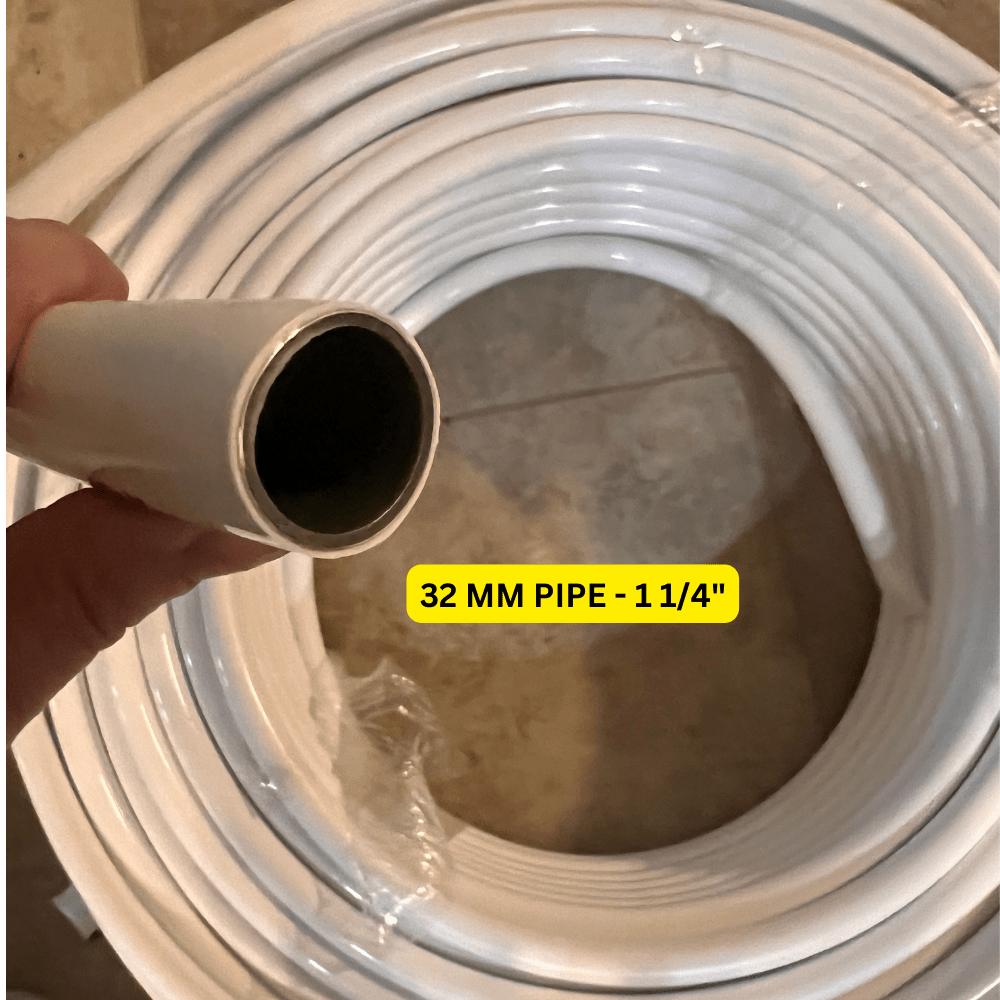
Bendable Pipe 32mm | Extra Heavy-Duty PVC Stem for Giant Flowers

Written by
Adriana WellsFounder & CEO of Amazing Giant Flowers
Adriana Wells is the founder and creative force behind Amazing Giant Flowers, a Texas-based company specializing in handcrafted giant foam flowers, luxury floral installations, and DIY flower-making supplies.
More about Adriana →Ready to Create Something Amazing?
Browse our collection of giant flower kits and start your next project today.