Painting Foam Flowers: Techniques for Realistic Giant Blooms
If you've ever held a freshly assembled giant foam flower and thought, "This is beautiful — but how do I make it look truly alive?" — you're in exactly the right place. Mastering foam flower painting techniques realistic enough to fool guests at a wedding or quinceañera is easier than you think, and the results are absolutely breathtaking. Whether you're a DIY bride, an event planner, or a crafter leveling up your skills, this guide will walk you through every brush stroke, blend, and finishing trick you need.
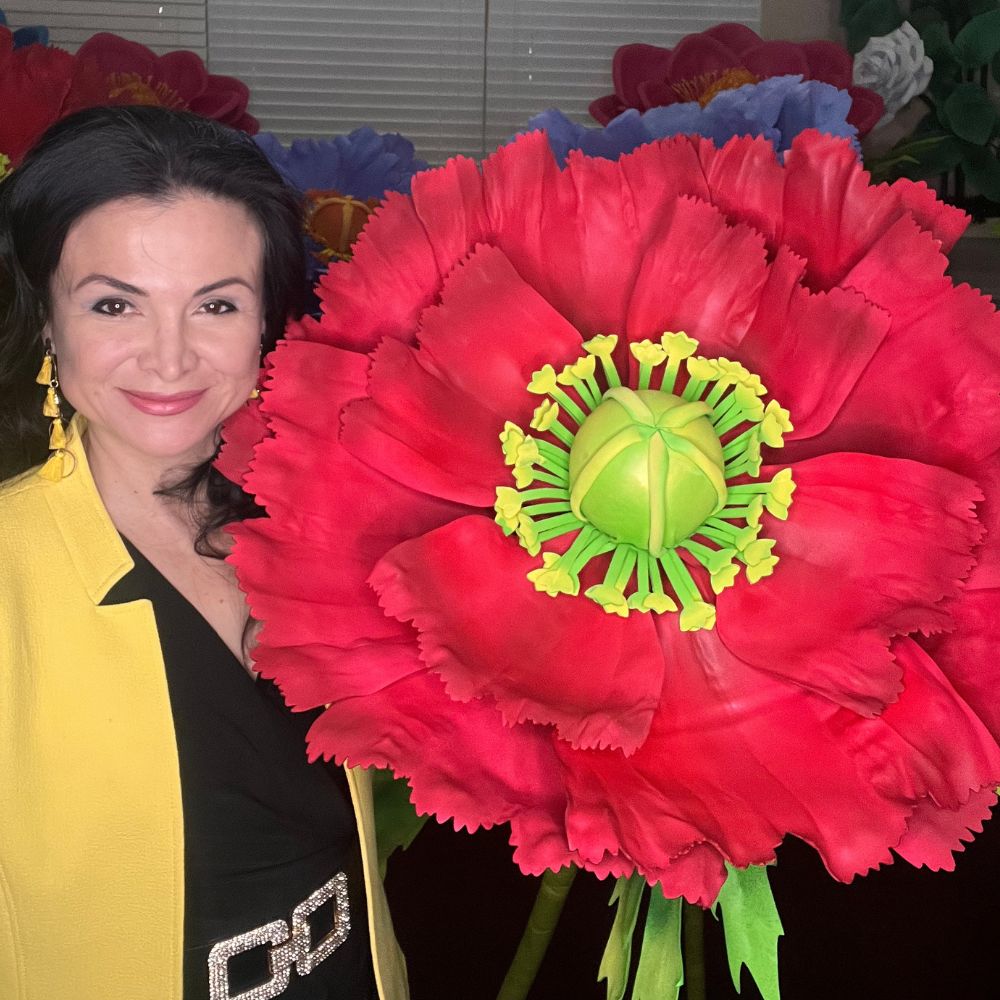
A giant foam flower fresh out of the kit is a blank canvas — full of potential but not yet alive. Paint is what transforms flat EVA foam petals into dimensional, light-catching blooms that look like they were just cut from a garden.
The difference between a flower that looks "crafty" and one that looks jaw-droppingly realistic almost always comes down to how it was painted. Shading, highlighting, and color variation are the secrets that professional event designers use — and today, we're sharing all of them.
💡 Pro Tip
Before you paint, always assemble your petals loosely and test your color palette against your event's linens, florals, or backdrop. Colors look very different on white foam versus in context with your full décor scheme.
Great results start with the right tools. You don't need an art degree or an expensive setup — but a few key supplies will make a massive difference in your final look.
Our Amazing Giant Flowers kits come with high-quality EVA foam sheets that accept paint beautifully, giving you a smooth, consistent base to work with. Here's what to gather before your painting session:
Paint Types That Work Best on EVA Foam
Not all paints are created equal when it comes to foam. The wrong formula can crack, peel, or stiffen your petals — which defeats the purpose of using flexible EVA foam in the first place.
💡 Pro Tip
Paint your petals before final assembly whenever possible. It's much easier to paint a flat petal than to reach into a fully assembled 4-foot flower. Keep your Amazing Giant Flowers kit loosely assembled during painting, then glue petals into final position once dry.
Every realistic foam flower painting technique starts with a solid, even base coat. Think of this as laying the ground before planting — it sets the tone for every layer that follows.
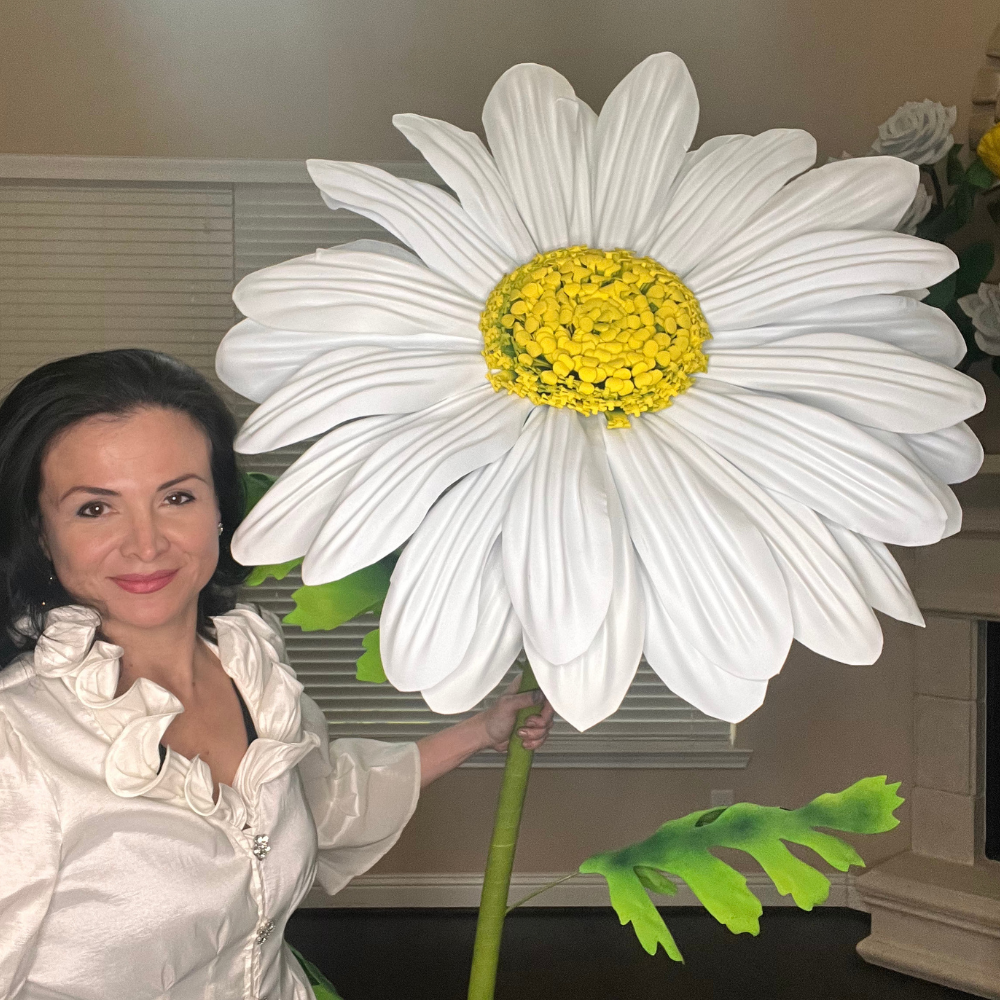
Choose your dominant petal color as your base. For a blush peony, that might be a soft dusty rose. For a tropical hibiscus, a vivid coral. For an elegant white magnolia, start with a warm cream rather than stark white — pure white can look harsh and flat.
This is where the magic happens. Shading is the single most powerful foam flower painting technique for achieving a realistic look — it creates the illusion of three-dimensional form on a flat surface. Real flower petals are darker at their base (where they meet the center) and lighter toward the edges and tips.
Mimicking this natural gradient is what separates a craft-fair flower from a florist-quality giant bloom.
The Wet-on-Wet Blending Technique
This technique creates seamless color transitions that look incredibly natural. Work quickly, as acrylic dries fast on foam.
Dry brushing adds a subtle, luminous texture that catches light exactly the way real petals do. Load a flat brush with a highlight color (a shade or two lighter than your base), then wipe most of the paint off on a paper towel until almost nothing transfers. Lightly drag this near-dry brush across the petal surface from base to tip. The raised texture of the foam catches the pigment, creating a beautiful, organic shimmer.
Real flower petals have veins — those delicate lines that radiate from the center outward. Adding them to your giant foam flowers is a detail that most people skip, but it's one of the most impactful things you can do for realism, especially for large-scale blooms where the petal surface is highly visible.
For a 3–5 foot flower, veins are visible and expected. Skipping them can make even beautifully shaded petals look slightly artificial up close.
💡 Pro Tip
Study reference photos of the actual flower you're recreating before painting veins. A garden rose has very different vein patterns than a tropical bird of paradise or a classic peony. A 30-second Google image search can completely transform the authenticity of your finished bloom.
One of the most common questions we hear is, "What colors do I mix to get that perfect shade?" Here are tried-and-true color recipes for the most popular giant foam flower varieties, all using standard acrylic craft paints.
These recipes pair beautifully with the giant foam flower kits available in our Amazing Giant Flowers shop — and they work just as well on our EVA foam sheets if you're building custom petals from scratch.
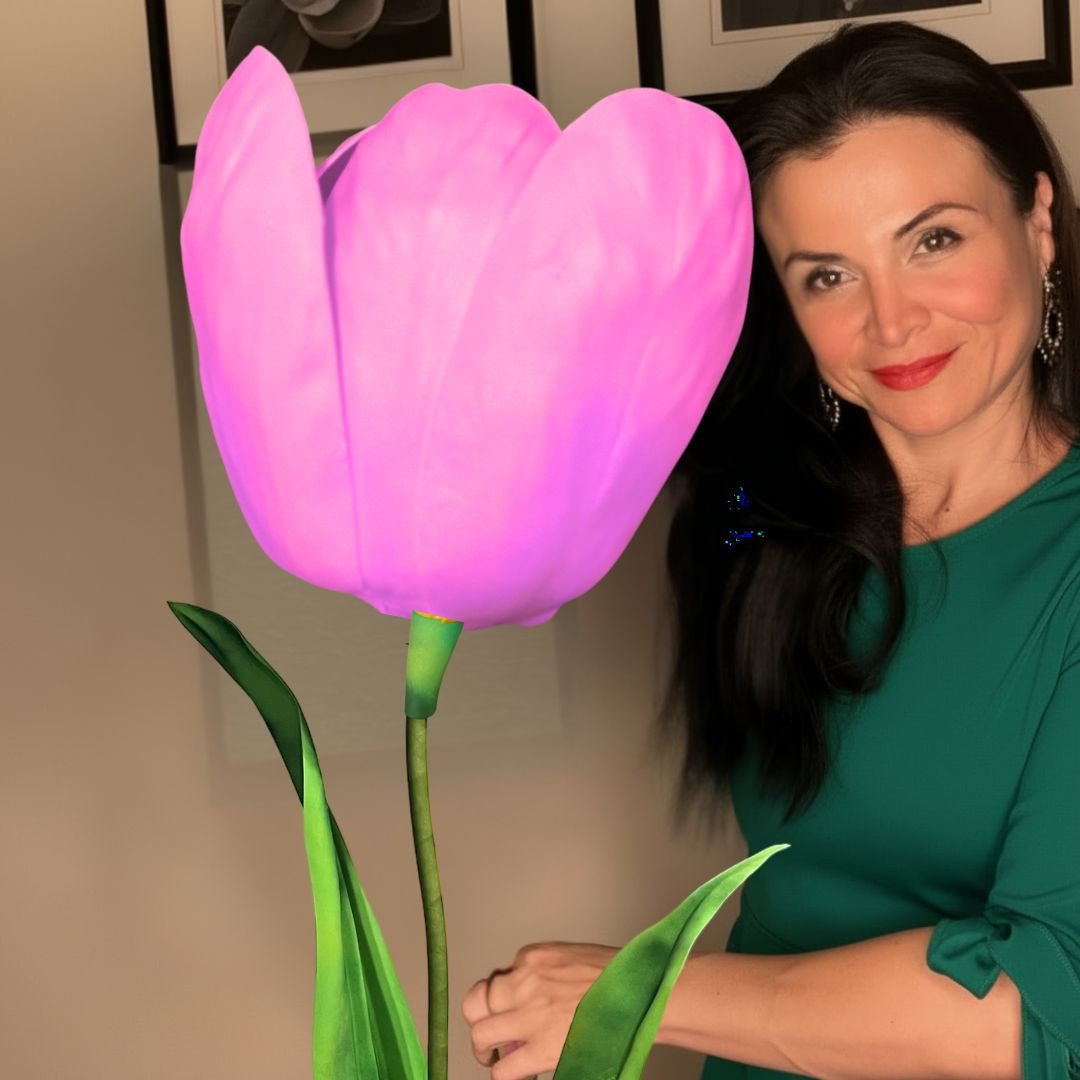
Ombre foam flowers are having a major moment in 2026 — and for good reason. A single flower that transitions from deep magenta at the center to the softest blush at the petal tips creates a visual drama that photographs like a dream. If you're creating a DIY giant flower backdrop for photos or a giant flower wedding arch, ombre blooms are an absolute showstopper.
All that beautiful painting deserves protection. Sealing your finished foam flowers locks in your work, adds a professional finish, and dramatically extends the life of your blooms — especially important for flowers used at outdoor events in Houston's humid climate.
A good sealer also unifies the sheen across your flower, making all those layered painting techniques look intentional and polished rather than patchy.
- Matte sealer — Most realistic; mimics the natural, non-glossy surface of real petals. Best for roses, peonies, and magnolias.
- Satin sealer — A subtle sheen that works beautifully for tropical flowers like hibiscus and bird of paradise.
- Gloss sealer — Use sparingly; great for flower centers and stamens to add a dewy, just-bloomed look.
- Apply sealer in light, even coats from 12–14 inches away to avoid pooling
- Two thin coats of sealer are better than one heavy coat
- Allow 1 hour between sealer coats and 24 hours before heavy handling
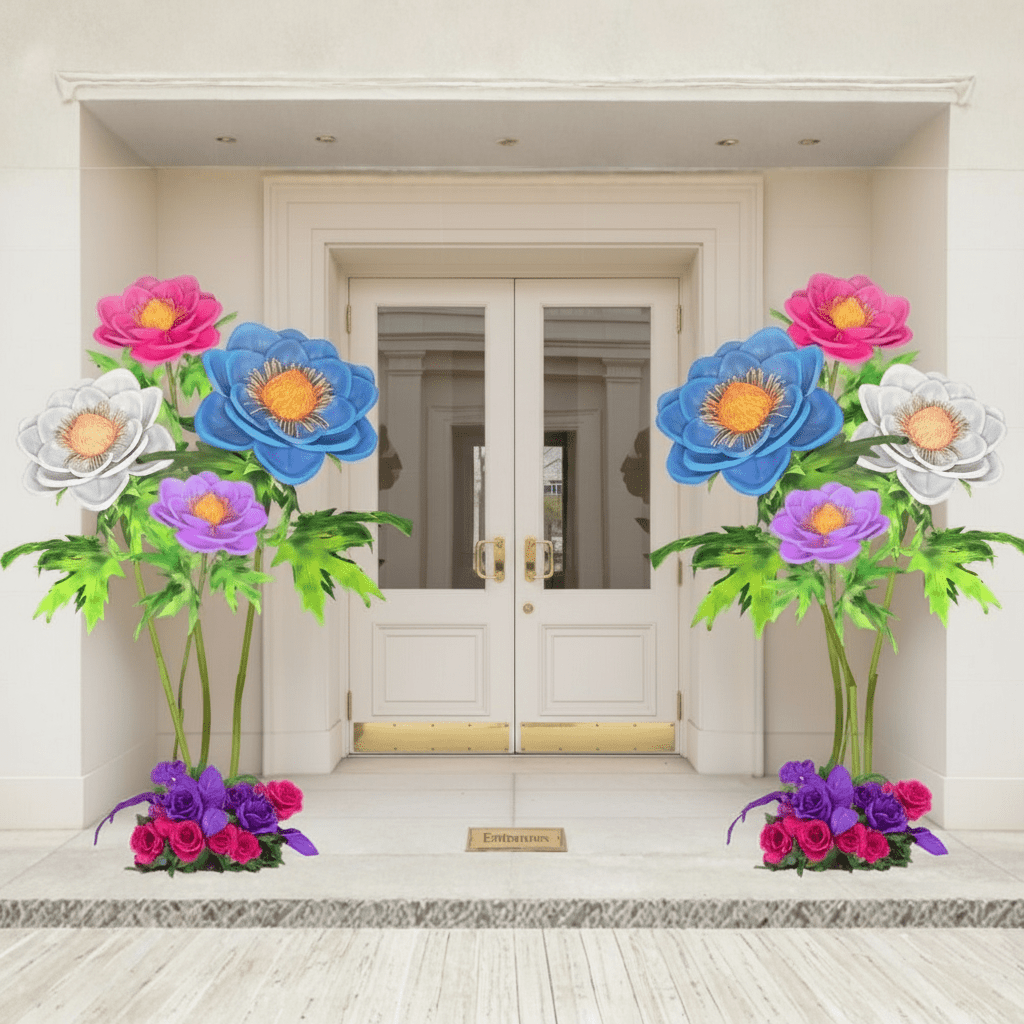
Once sealed, your painted giant foam flowers are ready to be fully assembled and displayed. Whether you're building a oversized flower arch backdrop, a freestanding giant flower arrangement, or a baby shower backdrop, your painted blooms will look absolutely stunning.
Key Takeaways
- Paint is transformative — even a simple base coat and light shading elevates foam flowers from craft-level to event-professional quality.
- Always use acrylic or fabric paint on EVA foam — avoid solvent-based formulas that can warp or dissolve your petals.
- Paint petals before final assembly whenever possible for easier, cleaner coverage and blending.
- Shading at the petal base (2–3 shades darker than your base color) is the single most impactful foam flower painting technique for realism.
- Petal veins are a small detail with enormous impact — 5 to 9 softened veins per petal adds authentic botanical character.
- Ombre effects create dramatic, photogenic blooms perfect for wedding arches, photo backdrops, and quinceañera displays.
- Always seal your finished flowers with a matte or satin spray sealer to protect your work and unify the final look.
Ready to Create Something Amazing?
Now that you have the painting techniques to bring your giant foam flowers to life, it's time to get your hands on the best materials to work with. Browse our full collection of Giant Flower Kits, EVA Foam Sheets, and crafting supplies at Amazing Giant Flowers — everything you need to create breathtaking, realistic blooms for weddings, quinceañeras, baby showers, and beyond. Your masterpiece is waiting!
Ready to Create Something Amazing?
Browse our collection of giant flower kits and start your next project.
Shop All Flowers