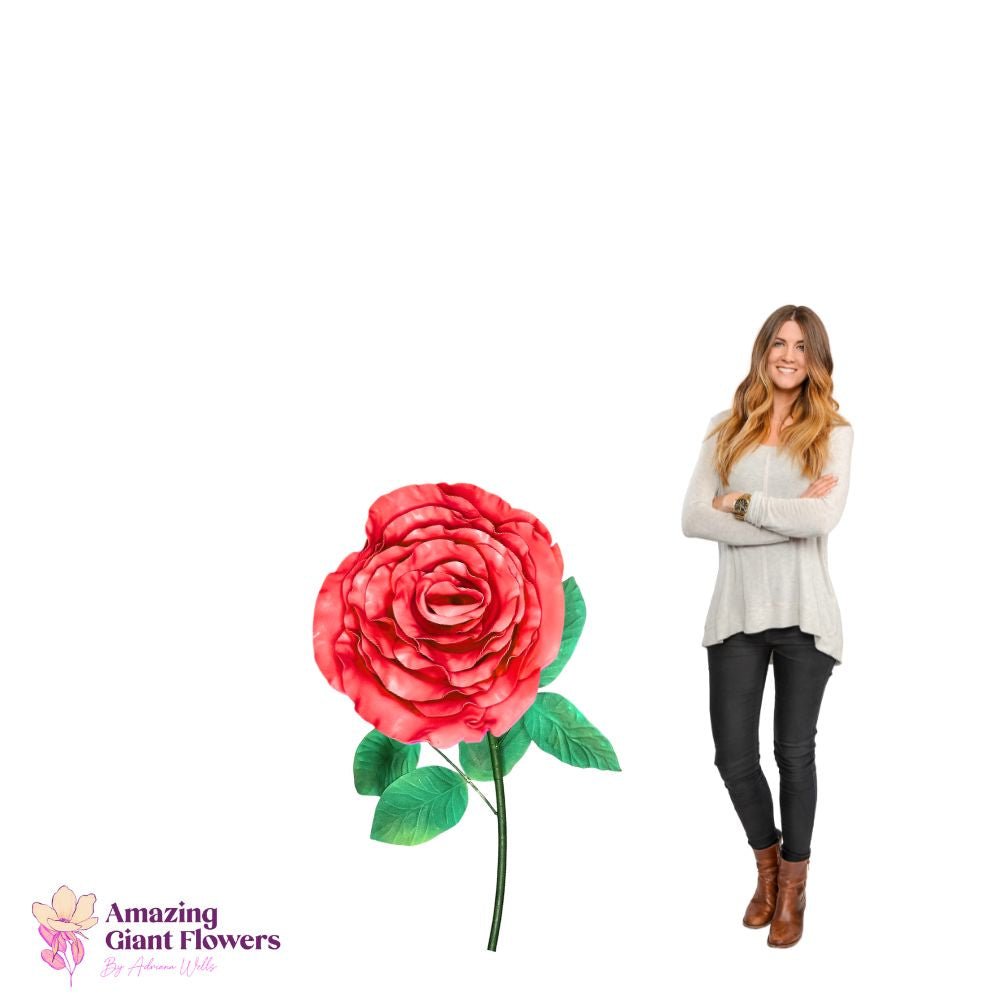
Giant Flower Centers & Cores From Scrap EVA Foam
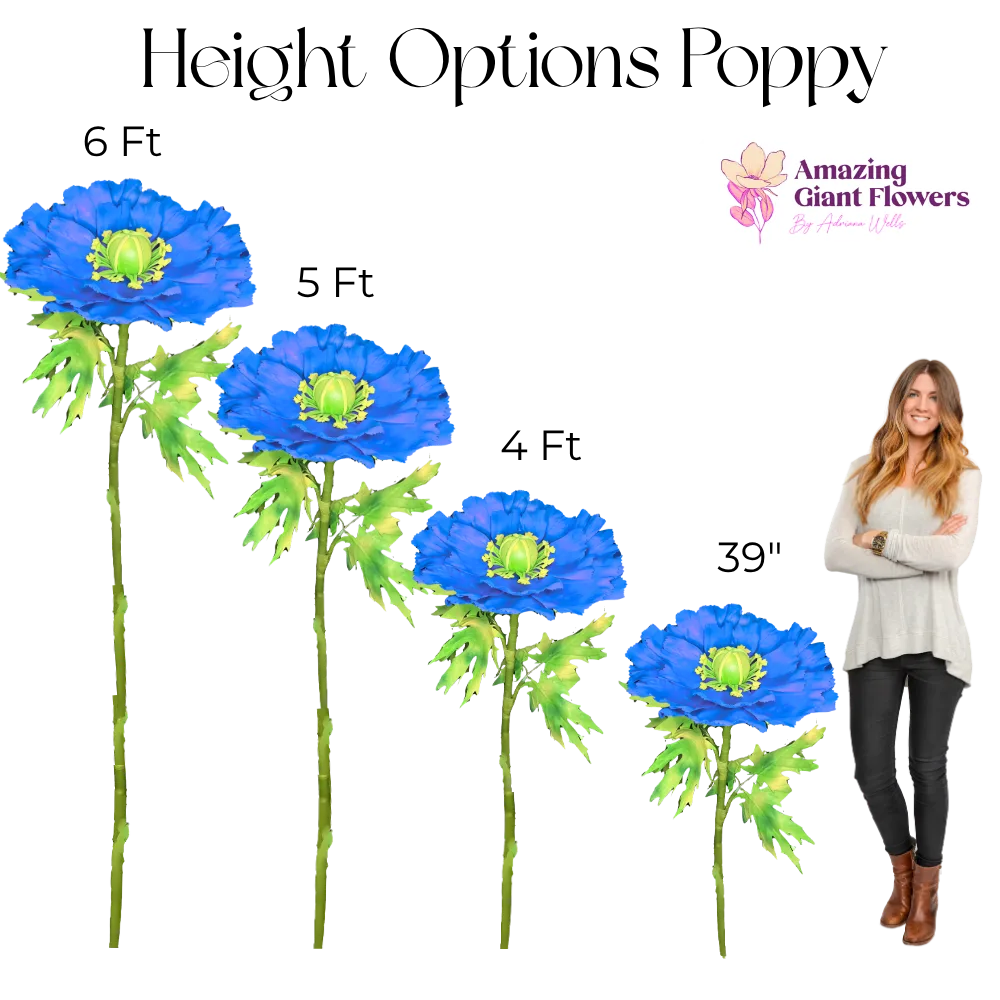
If you've been doing any kind of foam crafting for a while, you've got a pile of scraps somewhere. I know you do. I have them too — little offcuts from petals, weird triangles left over from cutting curves, strips that seemed too small to matter. And if you've ever Googled eva foam scraps ideas, you probably got a bunch of generic suggestions that felt... underwhelming. Make a keychain? Cool, but that's not why you're here.
Here's what I want to talk about today: those scraps are literally flower centers and cores waiting to happen. No joke. Some of my best-looking flower centers came from pieces I almost threw away. And if you're a thrifty crafter — which, same — the idea of squeezing every last inch out of a roll of EVA foam is not just satisfying, it's genuinely smart building practice.
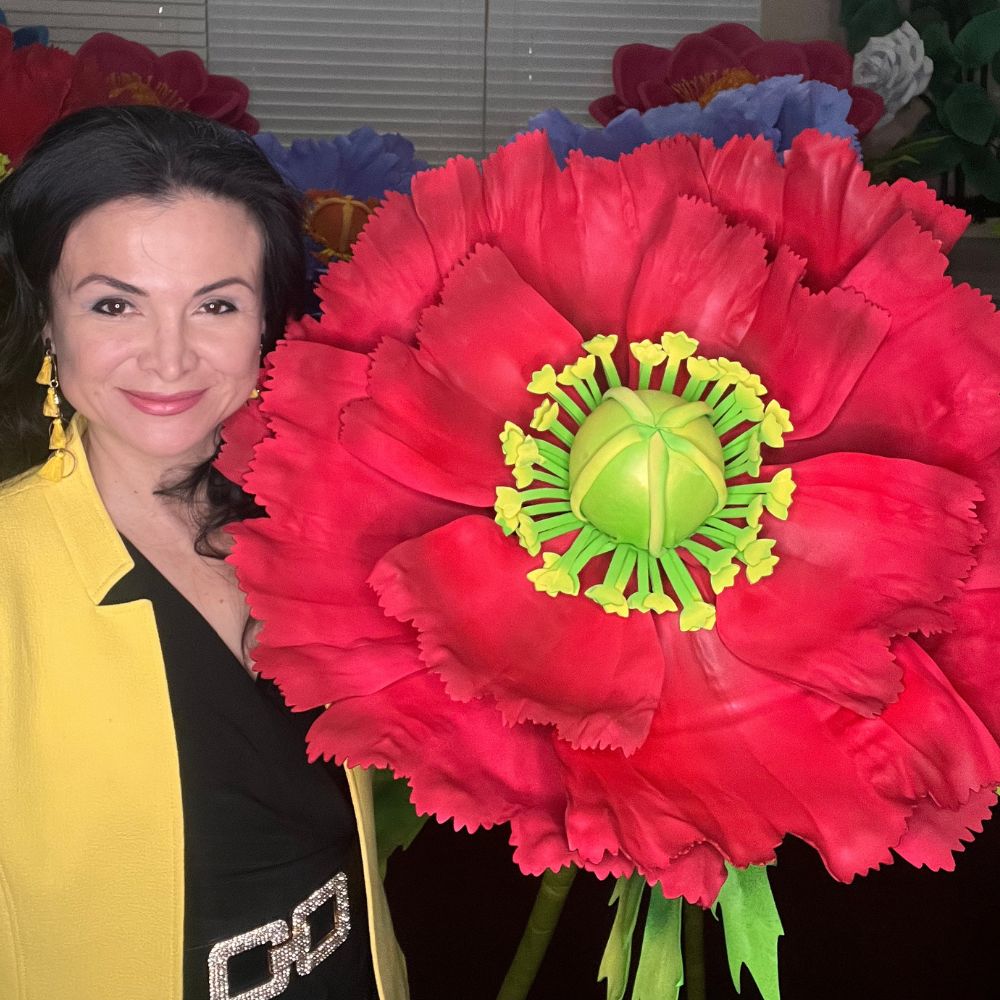
So let's dig into this. I'm going to show you exactly how I use scrap EVA foam to build beautiful, sturdy flower centers and cores, what thicknesses work best for what, and how to think about zero-waste building from the very first cut.
Key Takeaways
Why Scrap EVA Foam Works
Here's the thing about giant flower centers: nobody needs them to be pristine. They're going to get covered in paint, wrapped in more foam, or hidden under a cluster of stamens. That means they're the ideal candidate for your ugliest, most random scraps.
When I first started making giant flowers, I was cutting fresh foam for every single part of the flower. Centers, cores, everything. And I felt so guilty every time I swept those offcuts into the trash. One day I just... stopped. I started keeping a bin. And within a week I had enough scrap material to build a dozen flower centers without touching a fresh roll.
The core of a giant flower — that inner cylinder or dome that your petals attach to — doesn't need to be beautiful. It needs to be the right diameter, reasonably dense, and heat-stable. Scrap EVA foam checks all three boxes.
What Makes EVA Foam Ideal for This Specifically
EVA foam bonds to itself incredibly well with hot glue. That means you can stack oddly shaped pieces, press them together, and end up with a solid block that behaves just like a single piece of foam. You can then carve it, sand the edges, heat-shape it, and paint it. No one will ever know it started as a pile of leftovers.
If you want to read more about how different foam types behave, I wrote a whole breakdown over in A Crafter's Guide to Every Type of Foam for Giant Flowers — it's worth a read before you invest in new material.
Sorting EVA Foam Scraps By Thickness
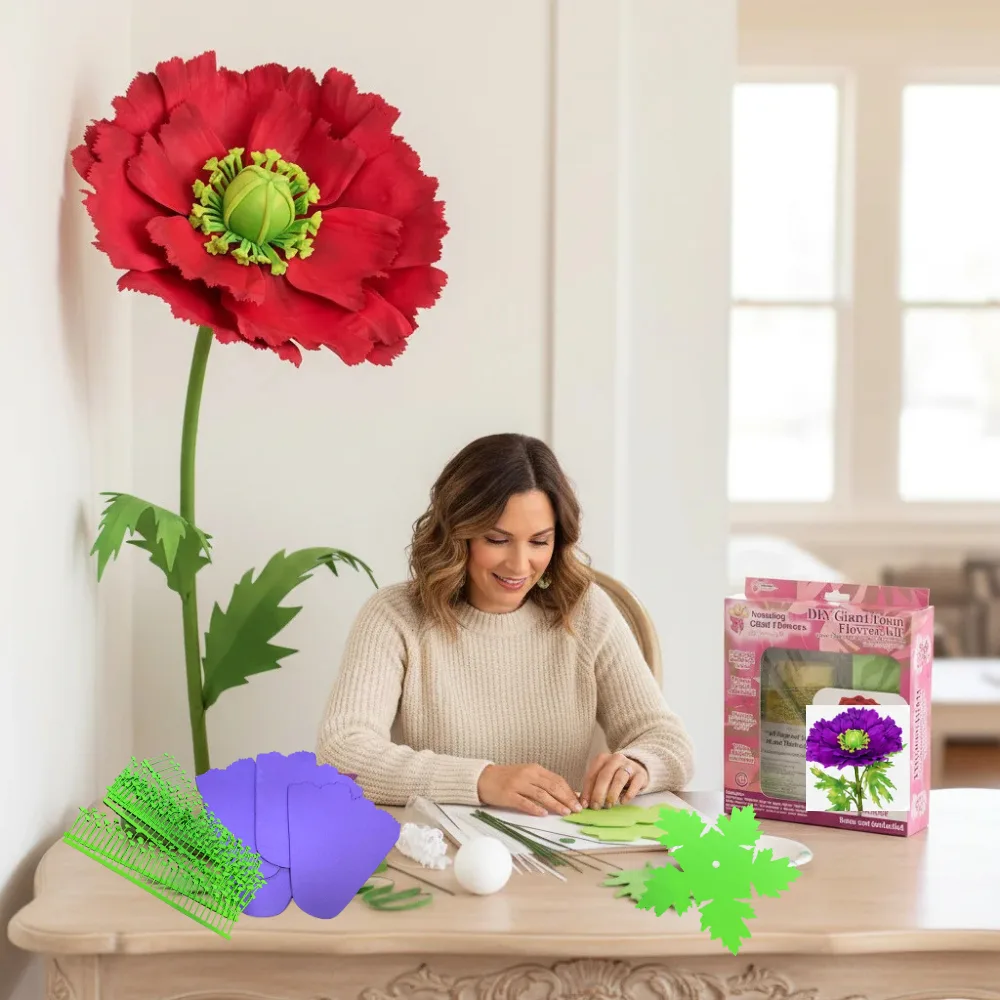
Before you can use your scraps well, you need to know what you have. I keep three bins in my studio:
Takes about five minutes to sort a pile. And once it's sorted, you'll find yourself reaching for the scrap bin first instead of last.
💡 Pro Tip
Use a permanent marker to write the thickness on the back of each scrap when you cut it. Future you will be so grateful. Especially when you're mid-project and don't want to stop to measure.
Ok, this is where it gets really fun. Let me walk you through the actual techniques I use in my own studio.
This is my absolute favorite for roses, ranunculus, and anemone-style flowers. Take a long strip of 2mm or 3mm scrap foam — doesn't matter if it's a little uneven — and roll it tightly from one end. Secure with hot glue as you go. You'll end up with a tight little cylinder that looks exactly like a rose bud center.
The width of your strip determines the height of the center. A 2" wide strip gives you a short, flat center. A 4" wide strip gives you something more dome-like. Play with it. There's no wrong answer.
2. The Stacked Disc Core
Cut your scrap chunks into rough circles — they don't have to be perfect — and stack them like pancakes with hot glue between each layer. Once it's dry, use a craft knife or scissors to shave the edges into a smoother cylinder or dome shape. This method is incredible for sunflowers and dahlias where you need a big, flat center disc.
I've made centers as wide as 8 inches this way using nothing but scraps. The layered structure actually makes it stronger than a single piece of foam that size.
Real talk? Sometimes you just need a sphere. Grab a bunch of thin scrap pieces, crumple them loosely, and compress them into a ball shape while applying hot glue to hold everything together. Let it cool, then keep compressing and adding glue until you've got a solid-enough ball to work with.
This works great for poppy centers and protea-style flowers. Once it's painted and textured, it looks completely intentional.
If you're building a flower that needs to sit on a stem — like for a freestanding flower kit — you need a core with a hole through the middle for your pipe or wire. Here's how I do it with scraps: cut strips of medium-thickness foam and wrap them around your pipe or bendable pipe, gluing as you go, building up layers until you hit the diameter you want. It's basically like wrapping a handle in grip tape.
The result is a perfectly centered core with the pipe already integrated. Zero drilling, zero guessing.
5. The Textured Surface Center
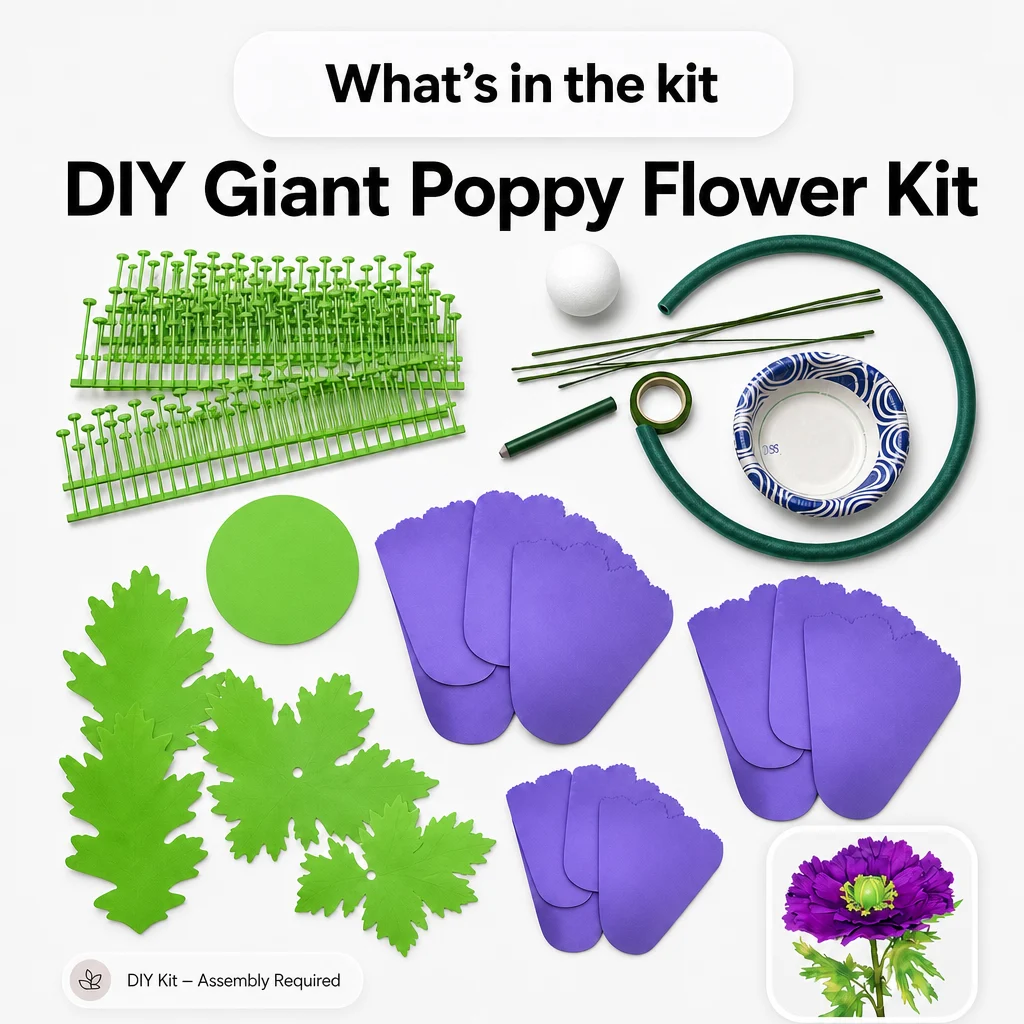
This one's more decorative than structural. Take small, irregular scrap pieces — even tiny triangles and crescents — and glue them onto a base disc in overlapping layers, like scales or seeds. Think sunflower seed pattern, or the center of a coneflower. It looks incredibly detailed and organic, and it's literally made from the weirdest little offcuts you have.
Once you paint it with a couple of tones and add a little dry-brushing (check out my tips in Your Guide to Flawless Foam Board Paint Finishes), it looks like you spent hours sculpting it. You didn't. You spent twenty minutes gluing trash together. I mean that in the most loving way possible.
I get asked this a lot. Here's my honest breakdown of how I use each thickness from our EVA foam collection — both fresh sheets and the scraps that come from cutting them.
The real secret to zero-waste building isn't just using scraps — it's planning your cuts so you generate useful scraps instead of random ones. I know that sounds obvious, but it changed everything for me.
When you're cutting petals from a sheet, don't just cut one petal and move to the next. Arrange all your templates on the foam first — like a puzzle — and find the layout that leaves the biggest, most usable offcuts. Those long strips along the edges? Perfect for rolled centers. That corner triangle? That's your next textured scale piece.
I always cut my petals first, then look at what's left and figure out what center shapes I can get from the remaining material. Nine times out of ten, I can get everything I need without touching a fresh piece. This alone probably saves me 15–20% of my foam budget per project.
Our flower molds are designed to help you get consistent shapes — and when you're using scraps, consistency matters more, not less. Press your stacked or rolled scrap core into a mold while the glue is still slightly warm and you'll get a much cleaner shape than trying to carve it freehand.
🌸 Ready to stock up on the good stuff?
Browse our full EVA foam collection — from 2mm all the way to 10mm — and start building smarter from roll one.
Ok so you've built this beautiful little core from scraps. Now what? A few finishing steps make all the difference between "obviously leftover foam" and "wow, did you sculpt that?"
Honestly? Sometimes my scrap-built centers look better than the ones I cut from fresh foam. There's something about the organic variation in the layers that gives them character.
Yes, absolutely. The smallest pieces are actually great for the textured surface technique I described — those seed-scale patterns on sunflower or coneflower centers. You just need enough surface area to grip with your glue gun. If a piece is big enough to pick up with two fingers, it's big enough to use.
For anything structural (like a core that needs to hold petals), you'll want pieces at least 3"–4" across so you can stack them effectively. But even those can come from combining several tiny pieces glued flat before stacking.
What's the best glue for bonding EVA foam scraps together?
Hot glue is my everyday go-to — it bonds fast, holds well, and EVA foam loves it. For anything that needs to be extra strong (like a core that's going to have heavy petals attached), I'll sometimes use contact cement instead and let it cure fully before building on top of it. Just make sure you're working in a ventilated space with contact cement.
Avoid super glue on EVA foam — it can make the foam brittle over time and the bond isn't as flexible as you need for something that might get handled or transported.
Do scrap-built cores hold up as well as cores cut from a single piece of foam?
In most cases, yes — and sometimes even better. A stacked and glued core has multiple bonding layers that distribute stress. The one area where a single piece wins is if you're doing very precise carving or routing, where you need a completely uniform density throughout. For standard flower building? Scrap cores are totally solid.
What thickness of EVA foam should I buy if I want to minimize waste?
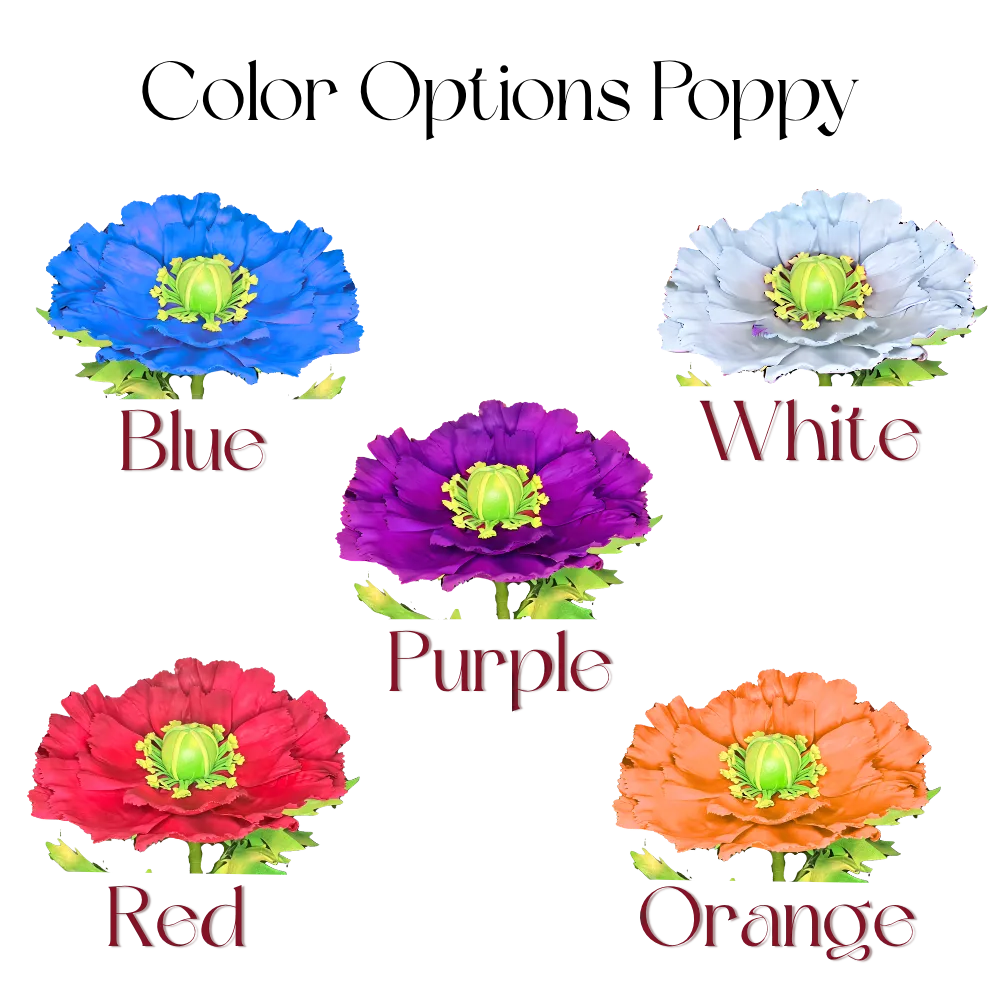
Honestly, I'd recommend starting with 3mm and 6mm as your two workhorses. The 3mm gives you flexible strips for rolling and layering, and the 6mm gives you structural bulk. Between those two, you can handle petals, cores, and centers — and the scraps from each thickness are immediately useful for the other tasks. Check out our full EVA foam shop to see all the options.
Can I use scrap EVA foam for cosplay and prop work too, or is this just for flowers?
Oh, totally — EVA foam scraps are a cosplay maker's best friend. The same stacking and layering techniques work great for building up armor details, creating raised surface textures on props, and filling in gaps in larger builds. The flower center techniques I described here translate directly to things like gem settings, button details, and layered scale armor. EVA foam is EVA foam — it doesn't know what it's supposed to be until you decide.
And honestly, that's what I love most about this material. It's endlessly forgiving, endlessly reusable, and endlessly creative — especially when you stop seeing the offcuts as waste and start seeing them as a second supply cabinet.
Frequently Asked Questions
Can I shape scrap EVA foam the same way I shape full sheets?
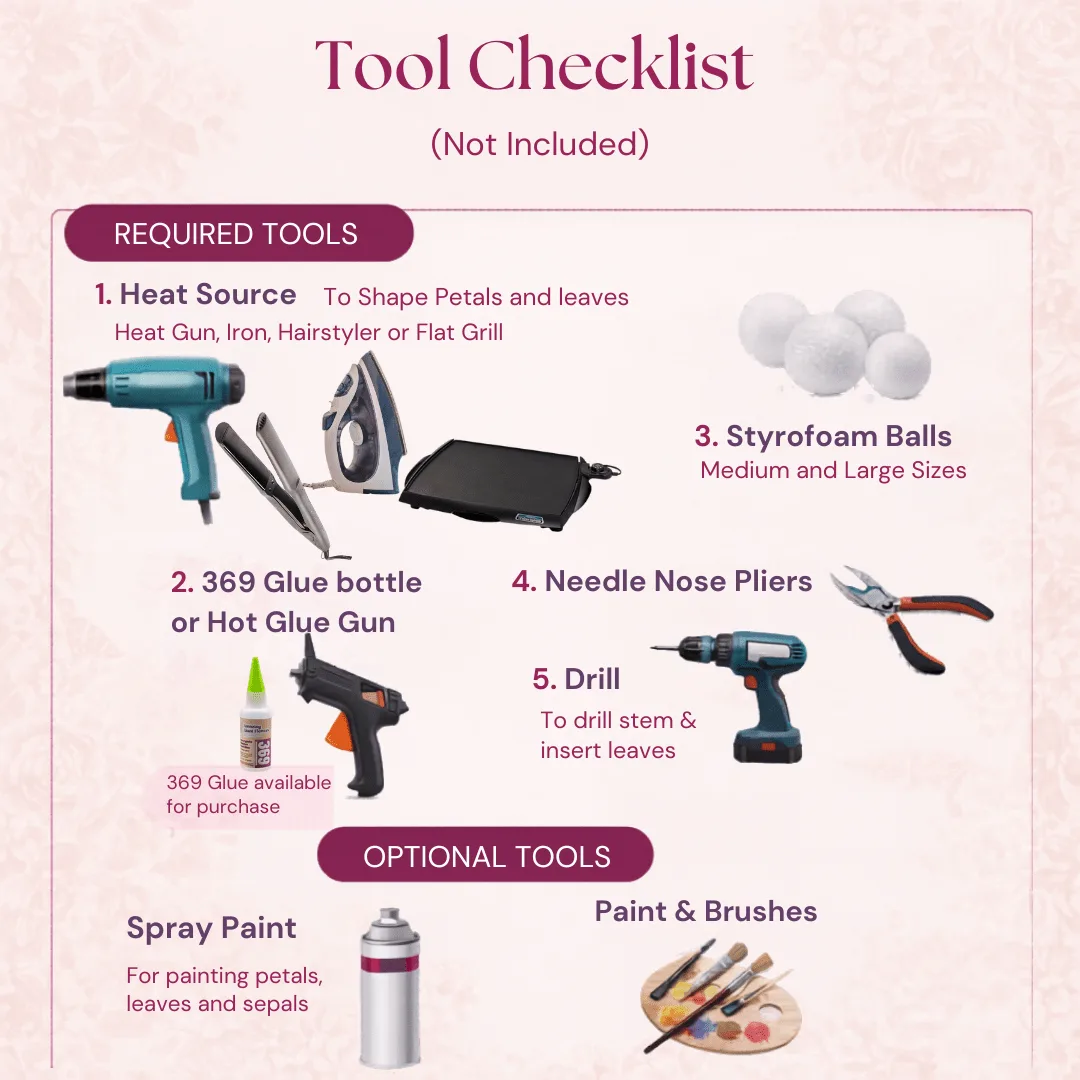
Yes — scraps respond to heat exactly the same way fresh foam does. I use a heat gun, a flat grill, an iron, or a hair styler to shape pieces before gluing them into place. Smaller pieces actually heat up faster, so just work quickly and have your mold or form ready to press the piece into while it's still warm.
The only thing to watch is that thin scraps (2mm and under) can overheat quickly, so keep your tool moving and don't linger too long in one spot.
What glue works best when bonding lots of small scrap pieces together?
For most scrap-building I reach for my hot glue gun with silicone sticks — it grabs fast and lets me work piece by piece without everything shifting around. If I'm doing a large stacked core with many layers, I'll switch to 369 glue for a stronger, more even bond across the whole surface. Both are available in our shop, sold separately.
The key with tiny pieces is to apply glue to the foam, not to the other surface — you get better control and less stringing that way.
How do I store EVA foam scraps so they're actually useful later?
I sort mine by thickness into labeled zip bags or shallow bins — one for 2mm, one for 3mm, one for 6mm, and a catch-all bin for anything thicker. When I sit down to build a center, I just grab the bin I need instead of digging through a chaotic pile. It takes five extra minutes after each project and saves so much time later.
I also keep a small bag specifically for the tiniest offcuts — the crescents, triangles, and slivers — because those are my texture pieces and I never want to accidentally toss them.
Do I need any special tools to get started with scrap-built flower centers?
Not at all — this is genuinely one of the most beginner-friendly techniques I know. A hot glue gun, silicone sticks, a heat gun or iron for shaping, and your pile of scraps is all you need to build a beautiful center. No special cutters, no expensive equipment.
If you want to level up, our flower molds are a wonderful addition because they help you get a consistent, polished shape while the glue is still warm. But they're absolutely optional — plenty of gorgeous centers come straight off a flat work surface.
I hope this gives you a whole new way to look at that pile of offcuts sitting next to your craft table. Those scraps aren't leftovers — they're your next flower center waiting to happen. If you try any of these techniques, I'd love to see what you make. Tag me, share your photos, and as always, happy crafting from my Houston studio to yours. 🌸
Shop the supplies
Everything You Need for This Project
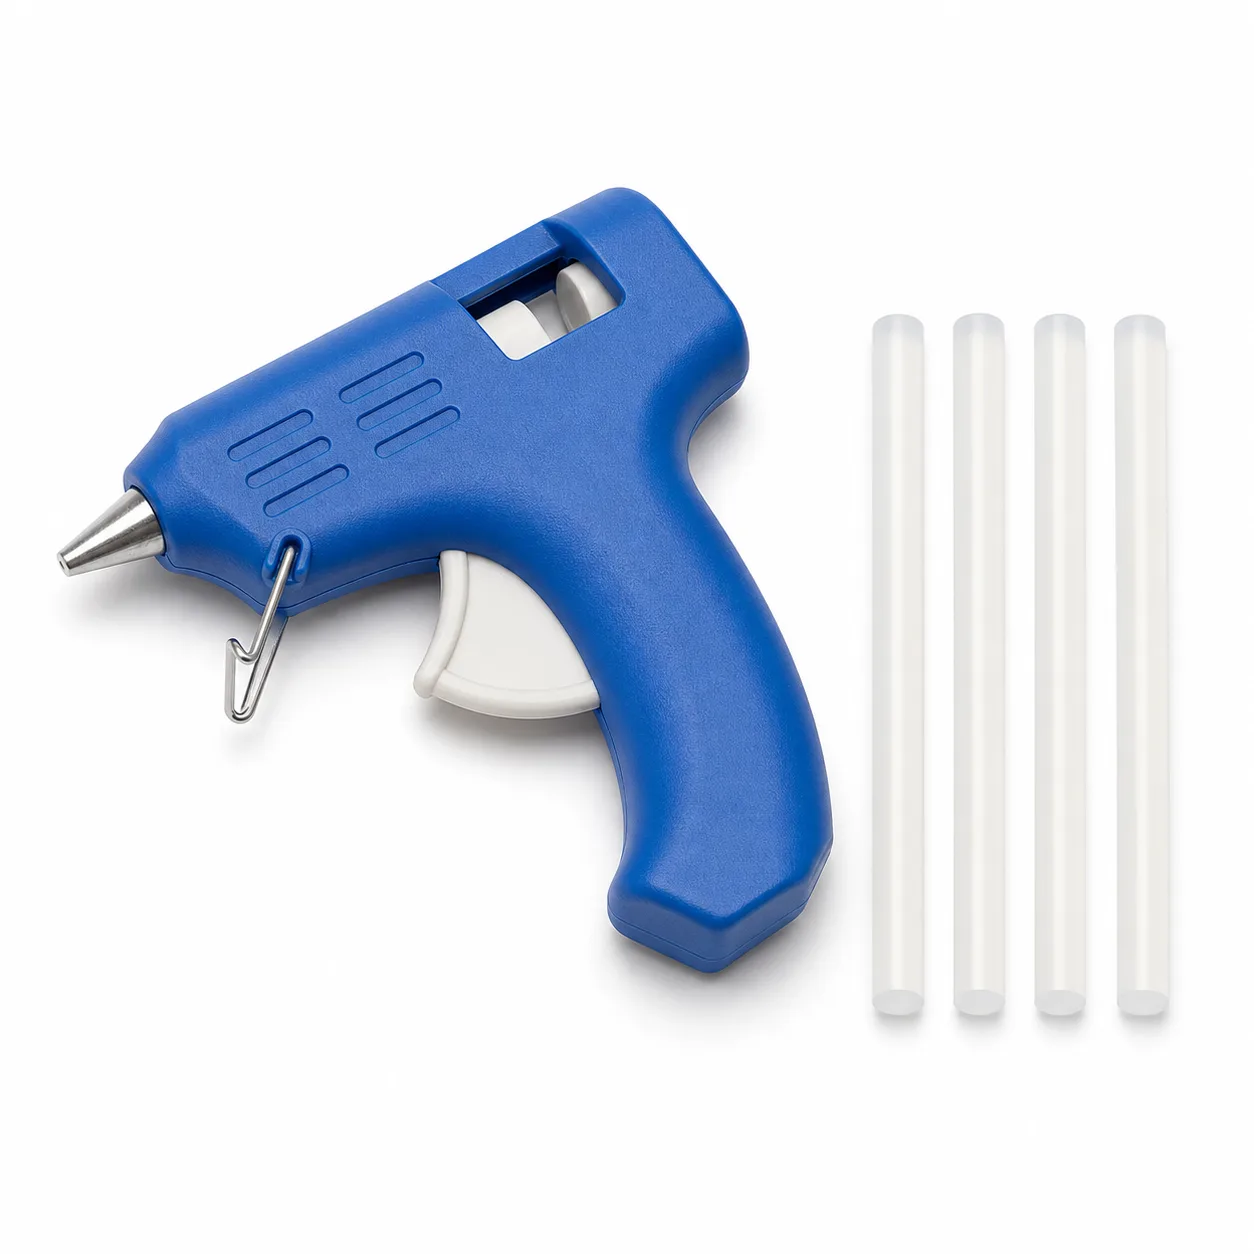
Hot Glue Gun + 4 Silicone Glue Sticks — Fast, Strong Petal Assembly
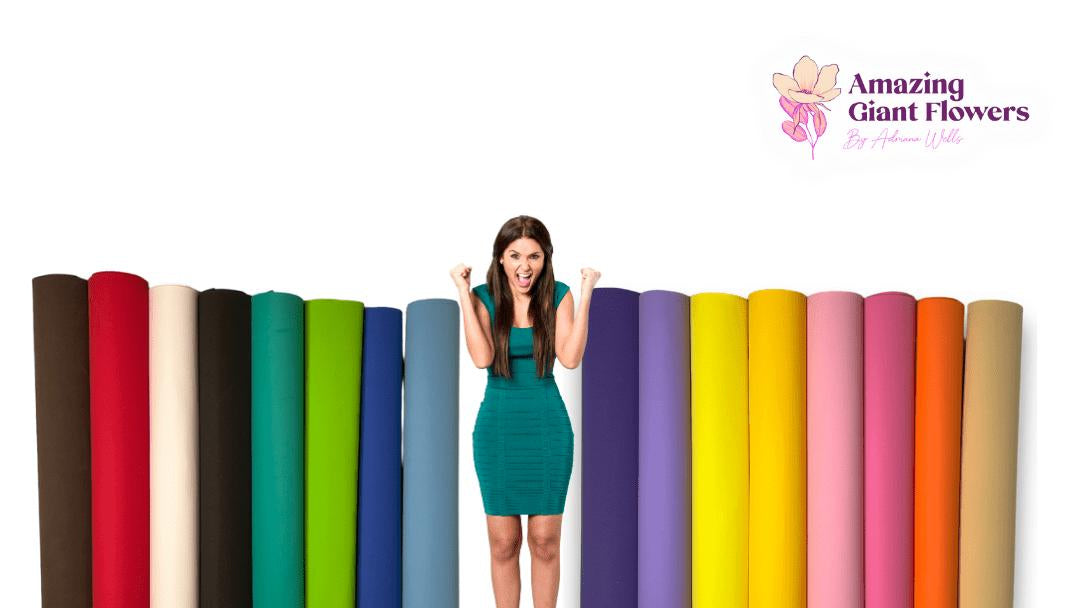
EVA Foam Material | 3mm Thick | 55" x 100" Roll
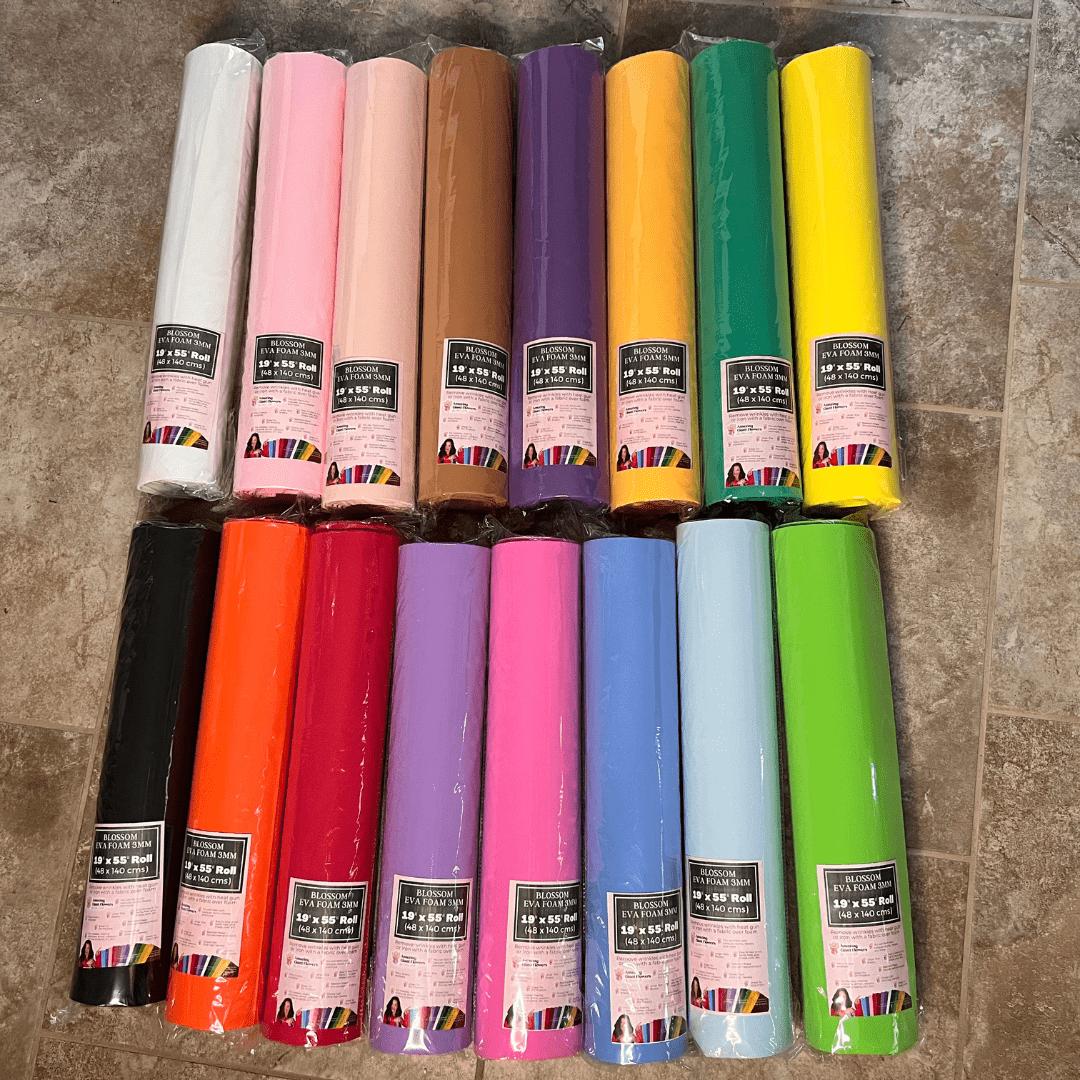
EVA Foam for Cosplay | 3mm Thick | 19" x 55" Roll
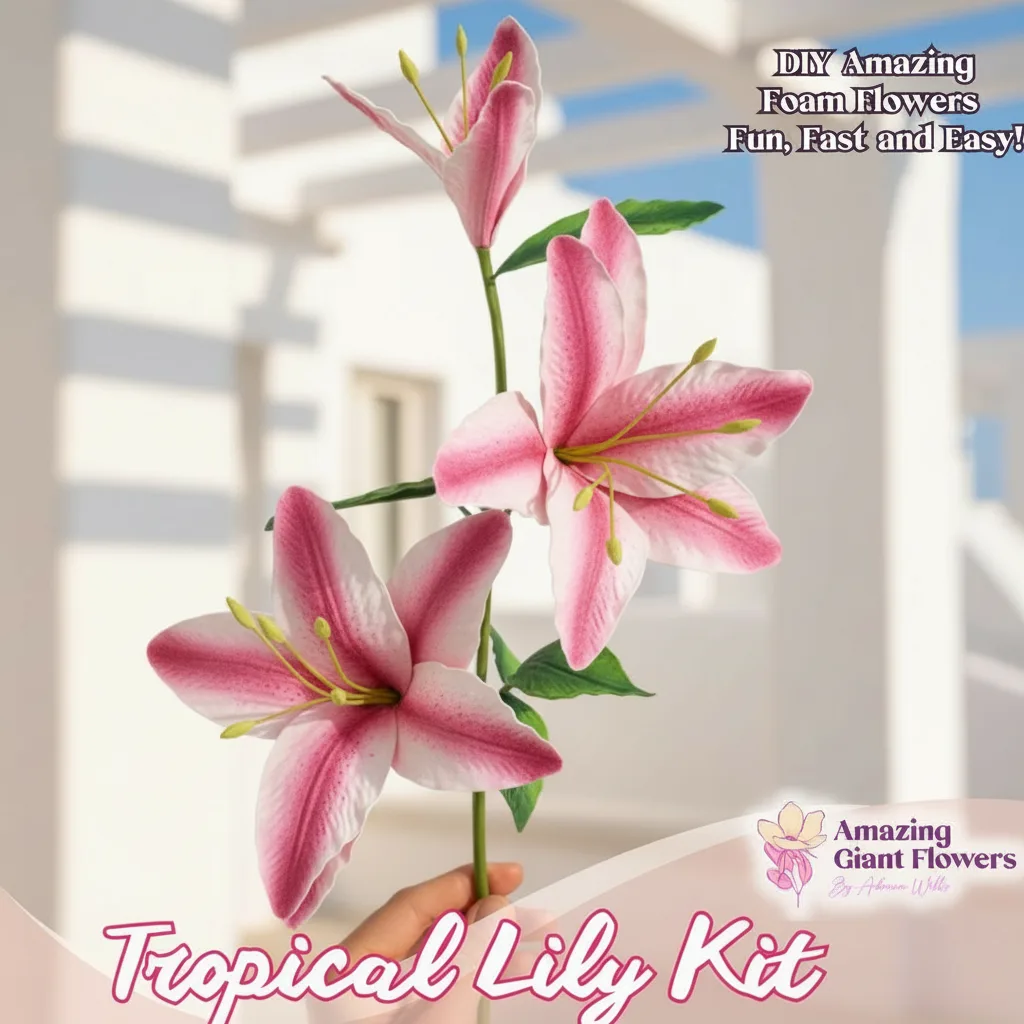
Real Touch Stargazer Lily Foam Flower Kit — Tropical DIY Lilies with Painted Center, Reusable Mold & Pre-Cut Petals

Written by
Adriana WellsFounder & CEO of Amazing Giant Flowers
Adriana Wells is the founder and creative force behind Amazing Giant Flowers, a Texas-based company specializing in handcrafted giant foam flowers, luxury floral installations, and DIY flower-making supplies.
More about Adriana →Ready to Create Something Amazing?
Browse our collection of giant flower kits and start your next project today.