How to Make Realistic Sepals and Leaves for Giant Flowers
If you've ever finished a gorgeous giant bloom and then stood back and thought, something's missing — I promise you, it's the sepals and leaves. I get this question all the time, and honestly, it's the detail that separates a flower that looks like a craft project from one that looks like it belongs in a Disney parade float. This giant flower sepal leaves tutorial is going to walk you through everything I know about making them look real, dimensional, and absolutely stunning.
Sepals are those green leaf-like pieces that sit right at the base of a flower, hugging the stem just below the petals. Leaves, obviously, are what branch off the stem. Together, they do something magical — they ground the whole flower, give it context, and make it feel like it actually grew somewhere instead of being hot-glued together on your kitchen table (no judgment, mine too).
We're going to cover materials, cutting, shaping, veining, coloring, and how to attach everything so it stays put through a wedding, a corporate event, or a toddler's birthday party. Let's get into it.
Real talk? Most DIY tutorials skip this part entirely. They show you how to make petals, stack them, add a center — done. And the flowers look fine. But fine isn't what we're going for here.
Think about a real rose. The sepals curl slightly outward. They have texture. They're not perfectly flat. They catch light differently than the petals do. That variation is what makes your brain say flower instead of craft.
According to a Brides.com survey, couples spend an average of $2,000–$2,500 on fresh wedding flowers — and a huge chunk of that cost is labor for exactly this kind of detail work. When you make giant foam flowers yourself, you get that same lush, layered look for a fraction of the price.
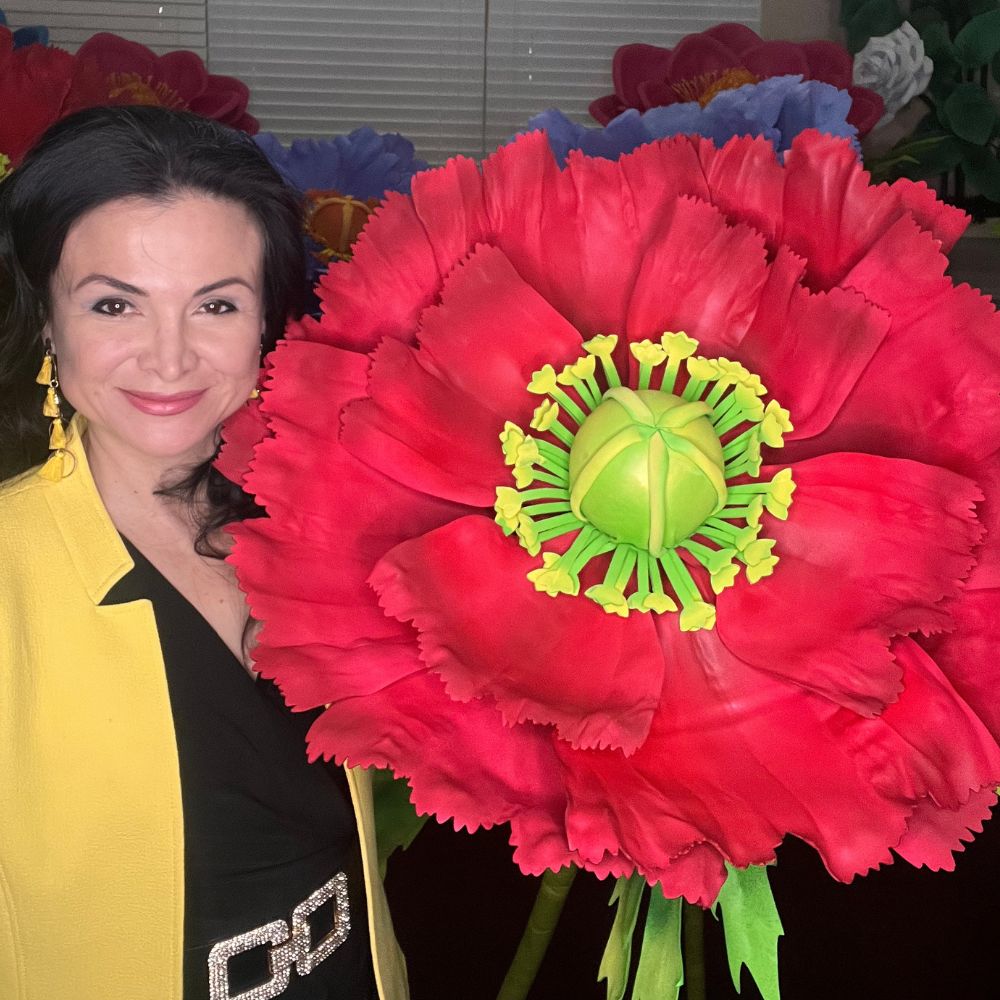
I've made flowers for events where guests genuinely walked up and touched the petals to check if they were real. That doesn't happen without the supporting cast — the sepals, the leaves, the little details that tell the whole story.
And here's something else nobody talks about: leaves and sepals add structural stability. When you attach them correctly, they help reinforce the base of your flower, keeping petals from drooping or pulling away from the stem over time. Functional AND beautiful. That's my kind of craft.
Let me be straight with you about materials because this is where people go wrong. Not all foam is created equal, and the wrong choice will haunt you.
For giant flower work — we're talking blooms in the 2-to-5-foot range — you need EVA foam. It's flexible, it takes heat beautifully, it holds paint, and it doesn't crack or crumble like cheaper craft foam will.
You can grab EVA foam sheets and bendable pipe stems right from our shop at Amazing Giant Flowers — I've sourced specifically for giant flower work, so you're not guessing on thickness or flexibility.
Okay, this is where it gets really fun. The shape you cut is everything. A sepal that's too symmetrical looks fake. A leaf with perfectly smooth edges looks like a kindergarten cutout. Imperfection is your friend here.
Let me walk you through the process I use for different flower types, because sepals and leaves are NOT one-size-fits-all.
Sepal Shapes by Flower Type
Before you cut a single piece of foam, look up a reference photo of your flower. Seriously. Spend five minutes on it. A rose sepal looks completely different from a dahlia sepal or a sunflower's ray-leaf situation.
For leaves that branch off the stem, I always cut them in pairs — a larger one and a slightly smaller one. In nature, leaves aren't identical twins. Vary your sizes by about 20-30% between paired leaves and your arrangement will look so much more organic.
One technique I love: after cutting your basic shape, go back in with small scissors and make tiny irregular notches along the edges. Just little snips, randomly spaced. It breaks up that too-perfect outline and adds so much realism. Takes about 30 extra seconds per leaf. Absolutely worth it.
If you're making multiples — like for a giant flower wedding arch or a full backdrop — make yourself a cardboard template first. Trace it onto your foam sheets and cut in batches.
For a 3-foot flower, I typically cut sepals that are 8-10 inches long. For a 5-foot flower, scale up to 14-16 inches. The rule of thumb: your sepal length should be roughly 25-35% of your total flower diameter.
Cutting is step one. But a flat, painted piece of foam still looks like a flat painted piece of foam. Shape is what makes it sing.
This is where your heat gun becomes your best friend. If you haven't used one for foam flower work before, check out our deep dive on heat gun techniques for shaping foam flower petals — a lot of those same principles apply to leaves and sepals.
Here's my process, step by step:
Step 1 — Press your veins first. Before any heat, use a ballpoint pen or embossing tool to press vein lines into the foam. Press firmly but don't cut through. Do a central vein down the middle, then branch out at 30-45 degree angles on each side. Real leaves have veins that follow the shape of the leaf — they curve slightly, they're not perfectly straight.
Step 2 — Apply heat to shape. Hold your heat gun about 3-4 inches from the foam surface and move it in slow, sweeping passes. The foam will start to soften within about 5-8 seconds. While it's warm and pliable, curl the edges, pinch the tip, cup the center slightly. Work fast — you have about 10-15 seconds before it sets again.
For sepals, I curl the tips backward (away from the flower center) to mimic how real sepals behave. For leaves, I create a gentle central fold — like the leaf is slightly cupped along its spine — which catches light beautifully and looks incredibly natural.
Step 3 — Let it cool completely before painting. I know, I know. It's tempting to just grab the paint. But warm foam doesn't hold paint the same way. Give it at least 2-3 minutes to fully cool and set its shape.
Step 4 — Base coat in your mid-tone green. Don't go straight to your darkest or lightest color. Start in the middle — something like a sap green or medium olive — and cover the whole piece. Let it dry. Acrylic dries fast on EVA foam, usually 5-10 minutes for a thin coat.
Step 5 — Add depth with darker tones. Mix a darker green (or add a touch of brown or burgundy to your green) and brush it into the vein lines, the base of the leaf, and the shadowed areas. Use a dry brush technique — load your brush, then wipe most of the paint off on a paper towel, then lightly drag it across the surface. This is called dry brushing and it's a game-changer for texture.
Step 6 — Highlight the edges and tips. Take a lighter yellow-green and dry brush it along the outer edges and the very tip of each leaf. In nature, the edges of leaves often catch more light and appear slightly lighter. This single step adds so much dimension.
For a more polished finish, especially if your flowers are going to be photographed or used in a professional setting like a retail display, check out our guide on flawless foam board paint finishes — some of those sealing and finishing techniques apply beautifully to EVA foam leaves too.
According to Statista, the US event planning industry is valued at over $5 billion, and floral décor consistently ranks among the highest-spend categories. Professional-looking details like realistic leaves and sepals are exactly what separate DIY event décor that gets photographed and shared from décor that blends into the background.
One more painting tip before we move on: don't skip the back of your leaves. If your flowers are going in an arch or a backdrop, people WILL see the backs. I paint mine a slightly lighter, more muted version of the front. It takes an extra few minutes and it makes such a difference — especially in photos. Speaking of which, if you're building a full backdrop, our DIY giant flower backdrop guide has a ton of tips for how to arrange everything for maximum impact.
You've cut beautiful shapes. You've got gorgeous painted, dimensional leaves. Now let's talk about how to actually attach them so they stay put and look intentional — not like an afterthought.
The attachment method depends on whether you're making a freestanding flower or a wall-mounted flower. The approach is a little different for each.
For freestanding flowers with pipe stems: wrap your leaf base around a piece of bendable wire or pipe stem and secure it with a thin bead of hot glue. Then wrap the whole thing with floral tape (green) to clean it up. This gives your leaf a "spine" that lets you position it exactly where you want and adjust the angle. Leaves that are wired look alive. Leaves that are just glued flat look stuck on.
For wall-mounted flowers: attach your sepals directly to the back of your foam flower base before you add your petals. Layer them out evenly — I usually do 5-7 sepals arranged in a star pattern. Use a generous bead of hot glue and press firmly for a full 30 seconds. EVA foam bonds well to EVA foam with hot glue, but you need that full contact time.
For leaves on wall-mounted pieces, I often glue them to a small piece of foam backing first, then attach that to the stem area. It gives you a cleaner look and distributes the weight better. Never glue a large leaf directly by just its tip or its base — it will eventually peel. Glue it along the central spine for maximum hold.
A The Knot report on wedding flower trends noted that lush greenery and foliage-forward designs have been among the top floral trends for several consecutive years. Giant foam flowers with well-made leaves tap directly into this aesthetic — and they don't wilt in a Houston summer, which, trust me, is not a small thing.
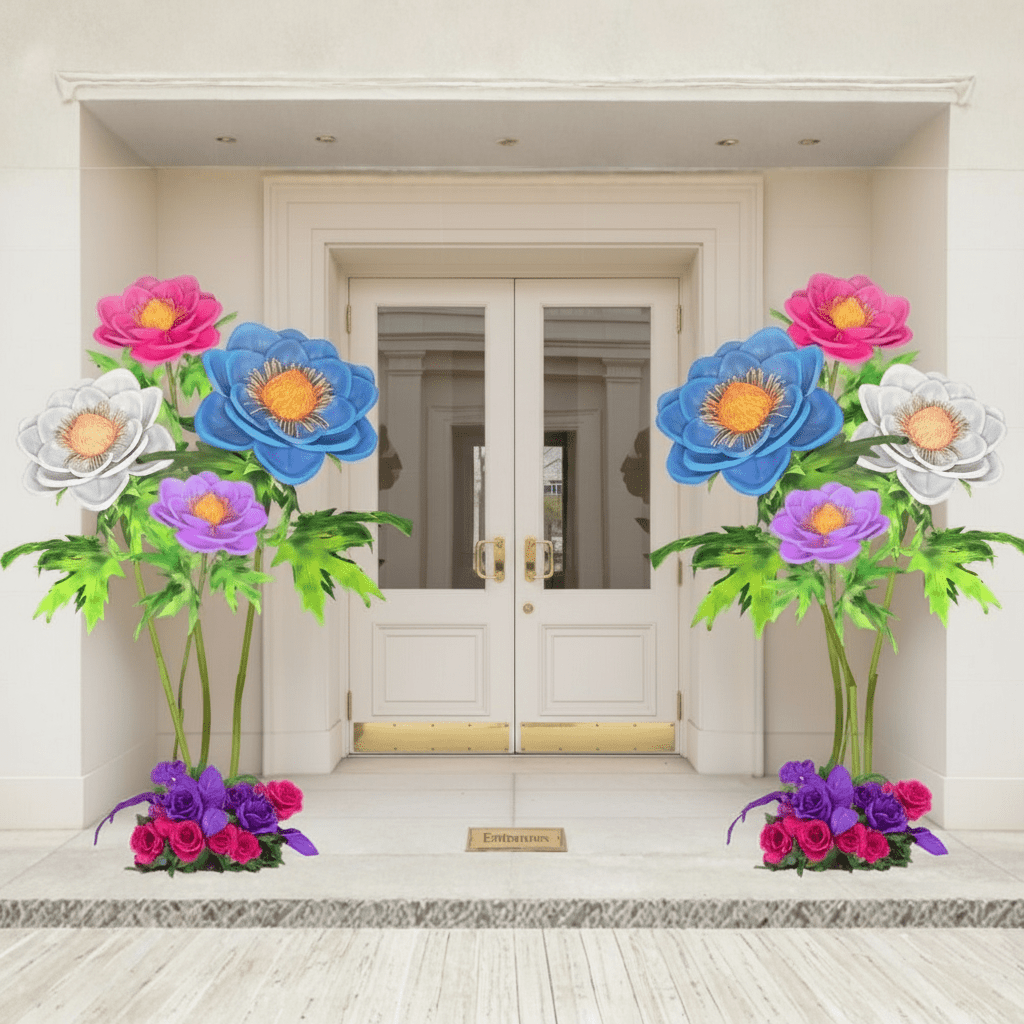
If you're building something big — like a full floral arch — you'll want to think about leaf placement strategically. Cluster leaves in groups of 2-3, vary the sizes within each cluster, and let some of them overlap slightly. That overlapping is key. In nature, leaves don't space themselves out evenly like soldiers. They tumble over each other, catch each other, create depth. Mimic that and your arrangement will look lush and full instead of sparse and stiff.
For giant flower wedding arches specifically — one of my absolute favorite applications for detailed leaf work — I go heavy on the foliage at the base and lighter toward the top. It creates a natural, grounded feeling. Our full guide on how to make an oversized flower arch backdrop gets into the full construction process if you're planning something at that scale.
According to WeddingWire, foliage and greenery can account for 20-40% of a florist's total floral budget. Making your own giant foam leaves means you're saving real money while getting a look that photographs beautifully and lasts forever — not just through one ceremony.
And if you're using these flowers for something beyond weddings — like a retail display, a quince, a baby shower setup — the same leaf and sepal techniques apply. I've used them for everything from quinceañera backdrops to boutique visual merchandising displays, and the finished look is always the detail that gets the most comments.
One last thing on attachment: seal your glue joints. Once everything is attached and dry, go back with a thin layer of hot glue along the seam where your sepal or leaf meets the flower base, and smooth it with a dampened fingertip (quickly — it sets fast). This creates a cleaner, more finished edge and reinforces the bond. It's a 30-second step that makes the whole thing look so much more professional.
According to IBISWorld, the US floral industry generates nearly $8 billion annually — and a growing segment of that is artificial and alternative floral décor, driven by durability, sustainability, and cost. Giant foam flowers with realistic leaves and sepals sit right at the heart of that shift.
Also — and I say this with love — don't forget to step back and look at your work from a distance. Details that look slightly rough up close often disappear completely from 6 feet away. And details that look amazing up close look even better from across the room. That's the magic of this scale. You're not making jewelry. You're making something that fills a space and creates an atmosphere.
According to a report from Martha Stewart Weddings, oversized botanical installations continue to trend upward as couples and event planners look for statement pieces that photograph well and create immersive environments. Realistic leaves and sepals are a big part of what makes those installations feel cohesive and intentional rather than costume-y.
If you've made it this far, you now know more about giant flower sepals and leaves than 95% of DIY crafters out there. Seriously. Most people skip this whole section of the process and then wonder why their flowers don't look quite right. You're not going to have that problem.
Go make something beautiful. And if you want a head start with pre-cut kits that already include sepal pieces — so you're not starting from scratch — come visit us at Amazing Giant Flowers. I designed every kit with exactly these details in mind, because I know how much they matter. What flower are you making first? I'd genuinely love to know.
Ready to Create Something Amazing?
Browse our collection of giant flower kits and start your next project.
Shop All Flowers