How to Hang a Giant Flower Wall Without Damaging Walls
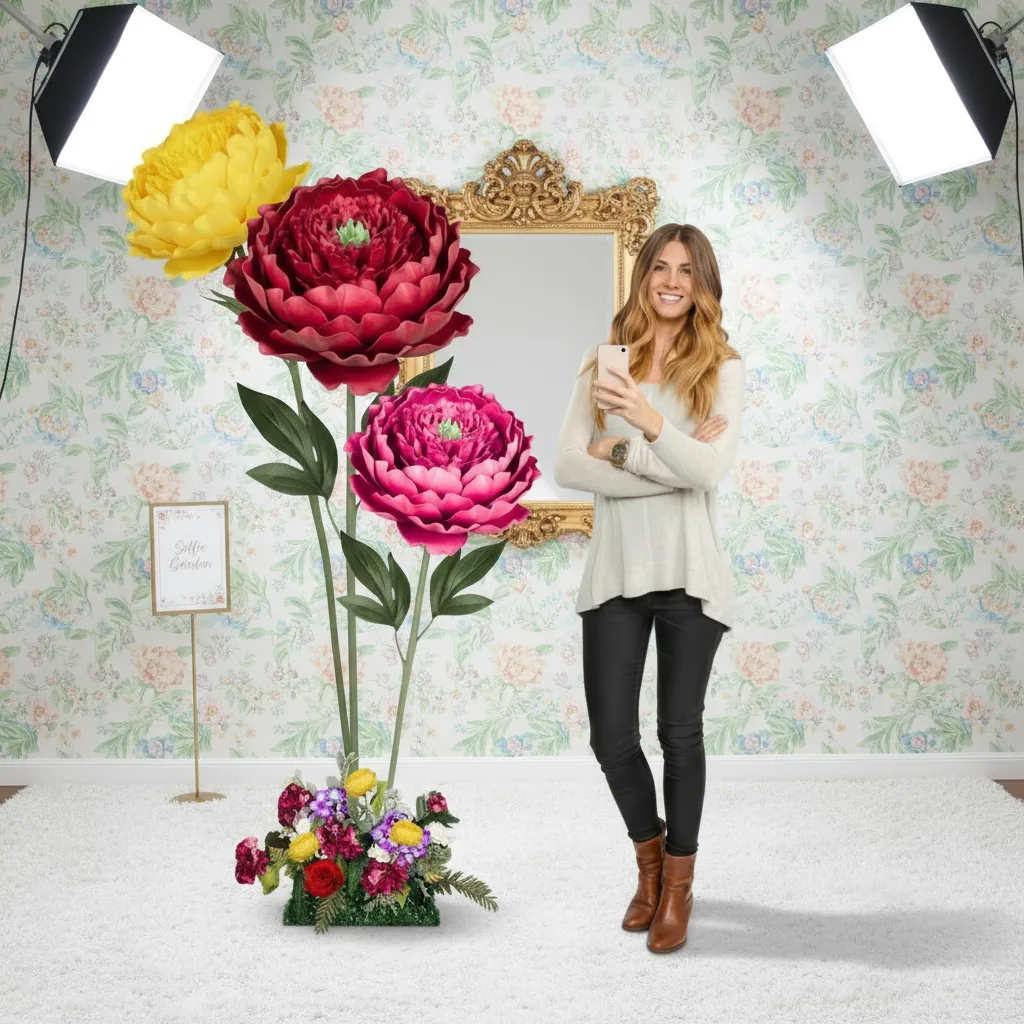
So you want to hang a giant flower wall in your home — and honestly, same. There is something so magical about walking into a room and being greeted by a wall full of oversized blooms. It instantly transforms a plain, boring wall into a full-on statement moment. But I get it — you're also looking at your freshly painted walls thinking, "please don't let this be a disaster."
Good news: it doesn't have to be. I've helped thousands of home decorators (and event planners, and brides, and boutique owners) get giant flowers up on walls without a single hole they regret. And today I'm walking you through everything I know — the tools, the techniques, the little tricks I've picked up over years of doing this.
Whether you're decorating a nursery, creating a dreamy bedroom accent wall, or building a photo-worthy corner in your living room, this guide is for you. Let's get into it.
Key Takeaways
Real talk? Giant flower walls hit different in a home setting versus an event. At a party, they're up for a few hours. In your home, they live with you. They become part of your space, your vibe, your daily backdrop.
I've had customers send me photos of their kids' rooms, their master bedrooms, their home offices — all transformed by a cluster of oversized blooms. One mom told me her daughter cried happy tears when she walked into her newly decorated room. That's the power of this stuff.
And the best part? Our Wall Flower Kits are designed specifically for this. They're lightweight EVA foam — not heavy, not fragile, not complicated. They're made to go up on walls beautifully and stay there.
"You don't need to be a contractor or an artist to hang a giant flower wall — you just need the right kit, the right adhesive, and a little patience with the layout."
What You'll Need Before You Start
Your Flower Kit
First things first — let's talk about the flowers themselves. Our Wall Flower Kits come in three sizes you can use as standalone wall pieces: 18", 24", and 30". Prices start at just $37.99, which honestly is a steal for the impact you get.
The 18" is perfect for tighter gallery walls or accent clusters. The 24" is my personal sweet spot — big enough to wow, manageable enough to hang solo. The 30" is a full showstopper. I'd use two or three of those and call it a day.
Here's what I recommend having on hand before you even open your kit:
I can't stress this enough. Surface prep is the difference between flowers that stay up for months and flowers that end up on your floor at 2am. I've heard the horror stories. Don't skip this.
Wipe down your wall with rubbing alcohol on a clean cloth. This removes dust, oils, and any residue that would prevent adhesive from bonding properly. Let it dry completely — give it at least 5 minutes.
If your wall has a textured finish (like orange peel or knockdown), adhesive strips alone might not be enough. More on that in a minute.
Not all walls are created equal, and your mounting strategy should match your surface:
💡 Pro Tip
If you're renting and have textured walls, try using a thin piece of foam board as an intermediary. Mount the foam board to the wall with adhesive strips, then attach your flowers to the foam board. The foam board gives the adhesive a perfectly smooth surface to grip — and when you're done, you remove the board cleanly. Game changer.
How to Hang a Giant Flower Wall Step by Step
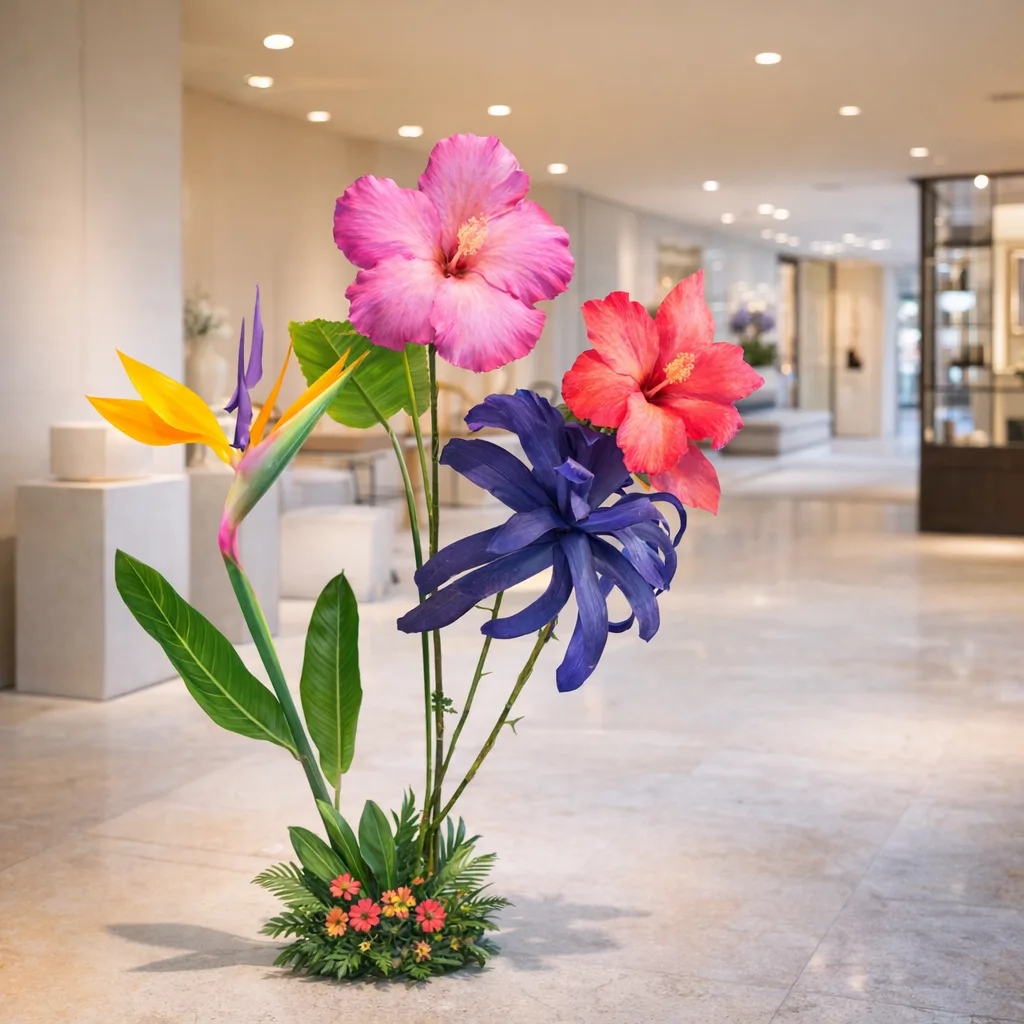
Ok, this is where it gets really fun. Let me walk you through my actual process — the same one I share with customers who call me panicking the night before their big reveal.
Before anything goes on the wall, lay your flowers out on the floor in front of it. Arrange them the way you want them to look. Take a photo. This is your blueprint.
Trust me, doing this on the floor is so much easier than trying to figure it out while holding a 30" flower against the wall with one hand and a level in the other.
Use small pieces of painter's tape to mark where the center of each flower will sit. This gives you a visual guide without any commitment. Step back, squint a little, adjust. Get it right before you touch a single adhesive strip.
Here's how I do it for our EVA foam Wall Flower Kits:
Press the strips firmly onto the back of the flower. Hold for 30 seconds. Let them sit for an hour before mounting if you can — the adhesive sets better.
Peel the backing off your strips, align your flower with your painter's tape guide, and press firmly against the wall. Hold it there for at least 60 seconds. Don't just slap it up and walk away — give that adhesive time to bond.
Then — and this is important — don't touch it for an hour. Let it cure. I know it's tempting to immediately start rearranging. Resist.
Peel off your guide tape slowly, step back, and admire your work. Seriously. Take a moment. You just hung a giant flower wall without a single regret-worthy hole in your wall. You earned that moment.
🌸 Ready to get started?
Browse our Wall Flower Kits — starting at $37.99 in 18", 24", and 30" sizes — and find your perfect match.
Choosing the Right Size: A Quick Comparison

One of the most common questions I get is: "Which size should I get?" Honestly, it depends on your wall space and the vibe you're going for. Here's a breakdown that might help:
I know a lot of you reading this are renters. Or maybe you just repainted and the thought of putting a hole in that perfect wall makes your stomach drop. I hear you. Here are my favorite damage-free strategies:
The number one mistake people make with Command strips is removing them wrong. Don't pull the flower straight off the wall. Instead, stretch the tab straight down slowly — that's how the adhesive releases cleanly. Pull it sideways or yank it and you risk taking paint with it.
Always follow the weight limits too. Don't try to hang a 30" flower with strips rated for 5 lbs. Match your hardware to your flower size.
For heavier flowers or situations where you need extra security, industrial-strength Velcro strips are incredible. They hold more weight than standard Command strips and allow you to reposition the flower easily. The wall side stays put; the flower side detaches and reattaches as needed.
If you're going all-out — like covering an entire wall — consider mounting your flowers onto a large panel of foam board or thin plywood, then leaning that panel against the wall. Zero wall contact from the flowers themselves. If you want to go deeper on this approach, check out my guide on DIY Giant Flower Backdrop for Photos — I walk through the whole panel method there.
💡 Pro Tip
When using adhesive strips in a humid room like a bathroom, apply them in the morning when humidity is lowest — usually after the space has aired out. Moisture is the enemy of adhesive bonding. Give strips a full 24 hours to cure before putting any weight on them in high-humidity spaces.
Hanging the flowers is one thing. Arranging them beautifully is another. Here are a few layout styles I love for home spaces:
Mix two or three sizes — say, a couple of 30" flowers surrounded by 24" and 18" blooms — in a loose, asymmetrical grouping. Let them overlap slightly at the edges. This looks the most natural and lush, like flowers actually growing on the wall.
All one size, evenly spaced, in a clean grid pattern. This works beautifully with 18" flowers in a modern or minimalist space. It's graphic, intentional, and surprisingly striking. If you love a more structured look, this is your move.
Start with your largest flowers at the top of a corner where two walls meet, and cascade down with progressively smaller sizes. It creates this gorgeous waterfall effect. I've seen this in nurseries and it is absolutely dreamy.
Want more inspo? My post on White Flowers on Wall has some stunning layout ideas specifically for home spaces — definitely worth a look if you're going for that airy, romantic vibe.
"The best flower walls aren't perfectly symmetrical — they're perfectly you. Don't overthink the layout. Trust your eye, step back often, and let the flowers do the talking."
When a Nail Actually Makes Sense

I know I've been singing the praises of damage-free hanging, and I stand by all of it. But I also want to be honest with you: sometimes one small nail is the smarter, safer choice.
If you have textured walls, if you're hanging a 30" flower in a high-traffic area where it might get bumped, or if you're doing a permanent installation you never plan to change — a single nail into a stud is going to give you peace of mind that no adhesive strip can match. One tiny nail hole is easy to patch later. A flower crashing off the wall and taking paint with it is not.
Use a stud finder, drive a small finish nail at a slight upward angle, and loop a piece of picture wire or a sawtooth hanger onto the back of your flower. Solid as a rock.
Frequently Asked Questions
How much weight can I hang with Command strips?
Command Large Picture Hanging Strips hold up to 16 lbs per pair. Our EVA foam flowers are very lightweight — even a 30" flower typically weighs well under 2 lbs — so adhesive strips are more than capable for most installations. Just make sure you're using the correct number of strips for the size of flower, and always follow the manufacturer's instructions for application and removal.
Will adhesive strips damage my painted walls?
Ready to Create Something Amazing?
Browse our collection of giant flower kits and start your next project today.