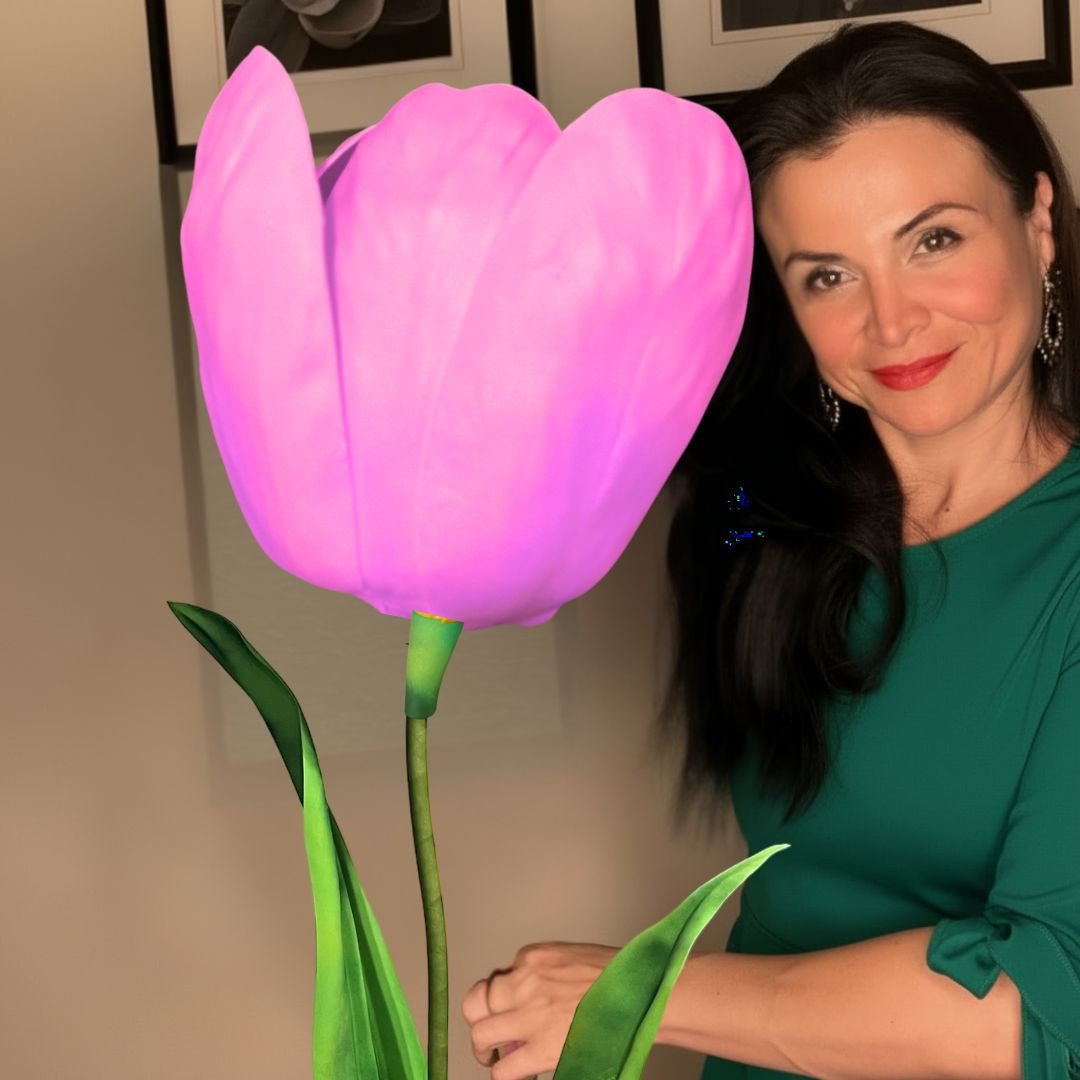
Heat-Shaping EVA Foam: The Technique That Changes Everything
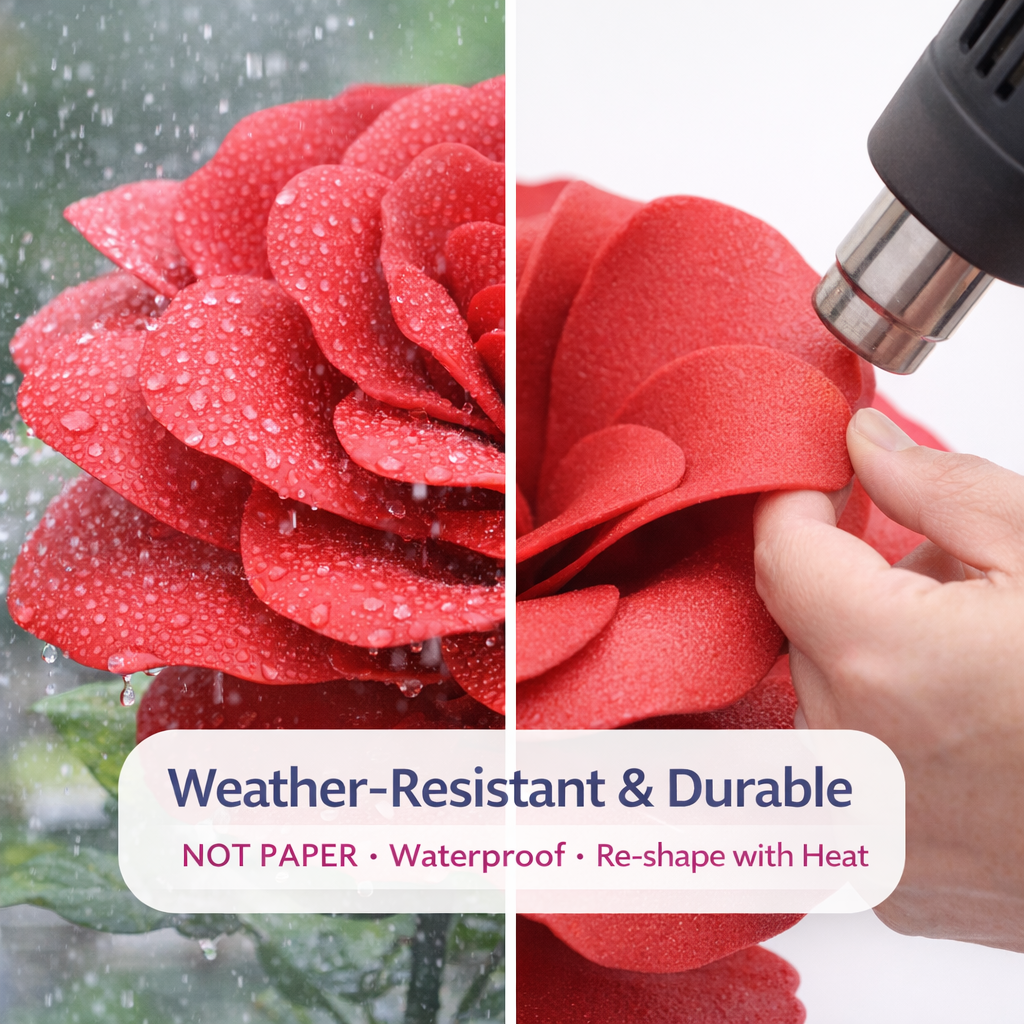
If you've ever tried to build a prop that actually holds its shape under stage lights, at a convention, or through a full weekend of wear — you already know that how to heat shape eva foam is the skill that separates okay builds from jaw-dropping ones. I'm not exaggerating. This single technique changed the way I approach every foam project I touch.
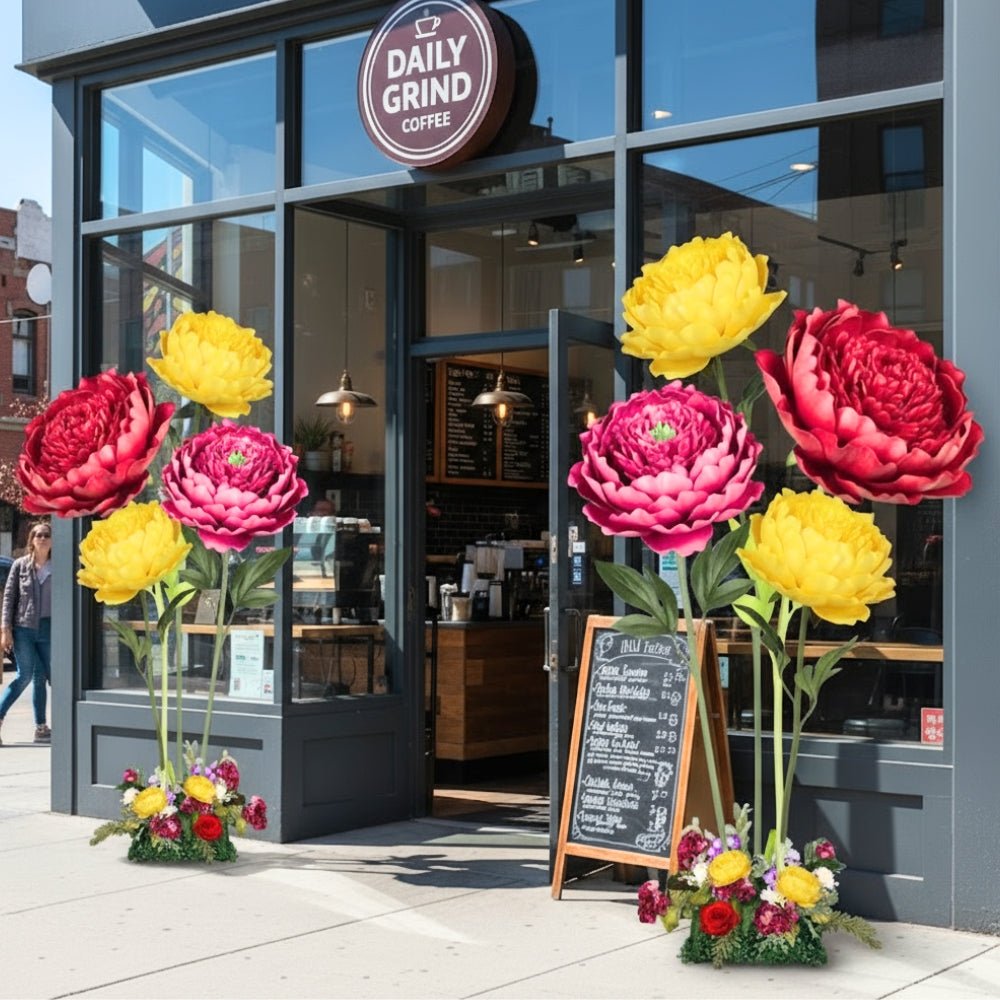
I started working with EVA foam years ago, mostly for giant flowers. But I watched the prop-making community fall in love with this material for the same reason I did: it's incredibly forgiving until you add heat, and then it becomes exactly what you need it to be. Armor plates with real curvature. Structural petals that don't flop. Dimensional details that actually read from the back row of a theater.
So let me walk you through everything I know. The tools, the temperatures, the thickness choices, the mistakes I made so you don't have to. Whether you're building cosplay armor, a theatrical set piece, or a massive floral installation, this is the guide I wish I'd had from day one.
Key Takeaways
Real talk? I've worked with cardboard, paper, fabric, wire armatures, and even floral foam. Nothing behaves like EVA. It's lightweight, durable, paintable, cuttable with basic tools, and — this is the big one — it has thermal memory.
That means when you heat it, it becomes pliable. When it cools, it remembers the shape you gave it. Permanently. That's not a feature you get from paper or fabric.
What Makes EVA Different From Other Craft Foams
Not all foam is created equal. EVA (ethylene-vinyl acetate) is denser and more resilient than the cheap craft foam sheets you find at dollar stores. It holds detail better. It survives being painted, sealed, and handled roughly. And it doesn't crumble or compress permanently under pressure.
If you want to go deep on the different foam types available, I wrote a whole breakdown over in A Crafter's Guide to Every Type of Foam for Giant Flowers — it's worth a read before you buy anything.
Here's how I think about thickness for prop work specifically:
We carry all of these in our EVA foam shop — rolls and sheets depending on what your project needs.
You don't need a fancy studio setup. I shaped foam on my kitchen table for the first two years of this business. But you do need the right tools — and skimping here will cost you time and frustration.
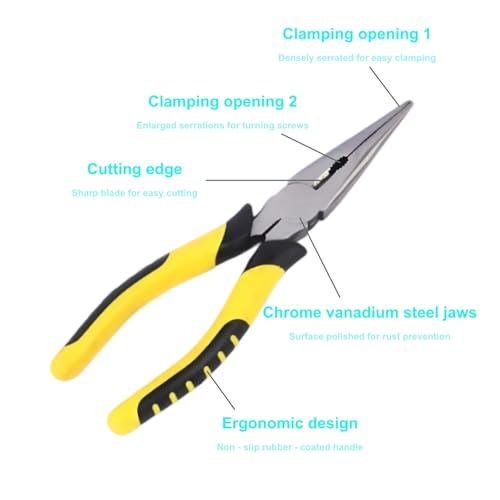
A heat gun is my top recommendation. Period. It gives you localized control, which means you can heat one section of a piece while leaving the rest flat. That's everything when you're shaping complex curves.
Heat presses are great for flattening or creating uniform texture across a large sheet. Ovens (set very low, 150–200°F) work in a pinch for warming large pieces evenly before hand-forming. But for precision prop work? Heat gun wins every time.
💡 Pro Tip
Keep a bowl of cold water nearby while you work. If you overheat a section and it starts to bubble or warp wrong, press it flat against a cool surface immediately. EVA has a short window before it sets — cold water speeds up that reset.
How to Heat Shape EVA Foam: Step by Step

Okay, this is the part you came for. Let me break this down the way I'd explain it to someone standing next to me in the workshop.
Always cut before you shape. EVA is much easier to cut flat. Once it has a curve baked in, clean cuts become harder. Get your shape exactly right on the flat sheet, then move to heat.
If you want tips on getting cleaner cuts, my post on The Best Way to Cut Foam for Flawless DIY Crafts covers all my favorite techniques.
Hold your heat gun 4–6 inches from the foam surface. Move it in slow, sweeping passes — never hold it in one spot. You're looking for the foam to become slightly glossy and flexible. That usually takes 10–20 seconds per section depending on thickness.
Thicker foam (8mm–10mm) needs more time and sometimes heat on both sides. Don't rush it. Rushing is how you get bubbles and burn marks.
The working window is short — roughly 15–30 seconds once you pull the heat away. Curve it over your form, press it into a mold, or shape it by hand. Apply firm, even pressure. Hold it until it cools, which takes another 20–40 seconds.
Ok, this is where it gets really fun. You can layer shapes — curve a base piece, then add a thinner detail layer over top, heat the detail piece separately and press it into the curve. Suddenly you have dimensional, organic-looking surfaces that look like they took a professional sculptor hours.
Step 4 — Use Molds for Repeatable Results
If you're making multiples — like armor pieces for both sides of a costume, or a set of matching prop flowers — molds are non-negotiable. We have flower molds designed specifically for this, and they work beautifully with EVA foam.
Press your heated foam into the mold, hold for 30 seconds, release. Every piece comes out identical. That consistency is what makes a professional build look professional.
I know. Waiting is hard. But if you try to glue, paint, or manipulate a piece that's still warm, you'll lose the shape. Give it a full 2–3 minutes before touching it again. I usually shape a batch of pieces in sequence so I'm never just standing there waiting.
Once you've got the basics down, there's a whole world of techniques that push what's possible with EVA. These are the ones I reach for on my more ambitious builds.
For 8mm and 10mm foam, heating only one side creates an uneven temperature gradient — the outside gets pliable but the core stays stiff. Heat one side for 10 seconds, flip, heat the other for 10 seconds, then shape. You'll feel the difference immediately.
Want a sharp, defined bend instead of a soft curve? Score the back of the foam with a knife (don't cut all the way through — about 50% depth), then apply heat. The score line becomes a hinge. Perfect for angular armor, geometric props, and architectural details.
Here's one I love: while the foam is still warm from the heat gun, press textured objects into the surface. Mesh fabric, leather, rubber stamps, even the back of a brush. The foam picks up the texture and holds it permanently. It's an incredible way to add surface detail without painting it on.
For more detail on heat gun work specifically, I have a whole post on Heat Gun Techniques: Shaping Foam Flower Petals Like a Pro that goes deep on this.
For large props that need to hold a specific position — think a giant flower on a stand, or a wing that needs to stay extended — I wrap shaped EVA foam around bendable pipes. The pipe gives you the structural skeleton, the foam gives you the surface. Together? Indestructible.
Shaping is only half the job. If you skip the sealing step, your paint will crack, peel, or absorb unevenly — and all that beautiful shaping work gets hidden under a bad finish.
EVA foam is slightly porous and flexible. Standard acrylic paint alone doesn't bond to it well — it flexes and chips. A proper sealer fills the surface pores and creates a skin that paint adheres to permanently.
My go-to options: Plasti-Dip (spray or brush-on), Mod Podge for lighter builds, or Flexbond for anything that needs to survive heavy use. Two thin coats, let each dry fully, then paint.
Painting Sealed EVA for a Professional Finish
Once sealed, EVA takes paint beautifully. Acrylic craft paints, spray paints, even metallic finishes all work. I always recommend thin layers built up gradually rather than one thick coat — it keeps the surface from cracking when the foam flexes slightly.
For more on getting paint finishes right on foam surfaces, check out Your Guide to Flawless Foam Board Paint Finishes — tons of practical tips in there.
🌸 Ready to start your next build?
Browse our full range of EVA foam sheets and rolls — from 2mm detail work to 10mm structural builds. Everything you need, shipped fast.
Common Mistakes (And How to Avoid Them)
I've made every one of these. Consider this your shortcut past the frustrating learning curve.
- Holding the heat gun too close or too long: You'll get bubbles, burns, or foam that melts instead of shapes. Keep it moving. 4–6 inches away.
- Trying to shape cold foam: It'll fight you and crack. Always heat first, shape second.
- Gluing before fully cooled: Warm foam shifts. Your bond will be off. Wait the full cool-down time.
- Using the wrong thickness for the job: 2mm armor will never hold its shape. 10mm petals will look chunky and stiff. Match the thickness to the purpose.
- Skipping the seal coat: Honestly? Skip the cheap stuff when it comes to sealers. A $10 can of Plasti-Dip saves a $40 paint job.
Ready to Create Something Amazing?
Browse our collection of giant flower kits and start your next project today.