Holiday Foam Flowers: Poinsettias & Amaryllis
If you're anything like me, you start eyeing your holiday decor situation sometime in October — and by November you're deep in a Pinterest rabbit hole wondering why everything either looks cheap or costs a fortune. That's exactly how I discovered the magic of holiday foam flowers. Specifically, poinsettias and amaryllis made from real-touch EVA foam. They look so good people literally reach out to touch them at my studio.
Here's what changed everything for me: foam doesn't wilt. It doesn't drop petals on your white tablecloth. It doesn't care that your house is 74 degrees and bone dry from the heater running nonstop. You make these beauties once, pack them away carefully in January, and pull them out next December looking just as stunning as day one.
If you're a seasonal decorator — someone who goes ALL in on Christmas, loves a dramatic holiday tablescape, or just wants your home to feel like a Hallmark movie set — this one's for you. Let me show you why foam poinsettias and amaryllis are about to become your new favorite holiday tradition.
Key Takeaways
Real talk? I've made flowers out of almost everything. Paper, fabric, silk, crepe. And I love them all for different reasons. But when it comes to holiday decorating specifically, foam wins every single time. Here's why.
The holidays are not gentle. You've got kids grabbing things, guests bumping into displays, candles flickering nearby, and boxes being dragged in and out of storage. EVA foam handles all of it.
Paper flowers? One splash from the eggnog punch bowl and you're done. Silk? Fades after a few seasons under bright lights. Foam is waterproof, flexible, and surprisingly tough. I've had foam poinsettias that are going on their fourth Christmas and still look incredible.
The Real-Touch Finish Is a Game Changer
Our kits use a real-touch foam finish that mimics the velvety texture of actual poinsettia bracts and the waxy smoothness of amaryllis petals. Guests genuinely do a double-take. One of my decorating clients texted me after her holiday party: "Three people asked where I bought my fresh flowers. I told them I made them. They didn't believe me."
That's the reaction you want. That's the reaction foam delivers.
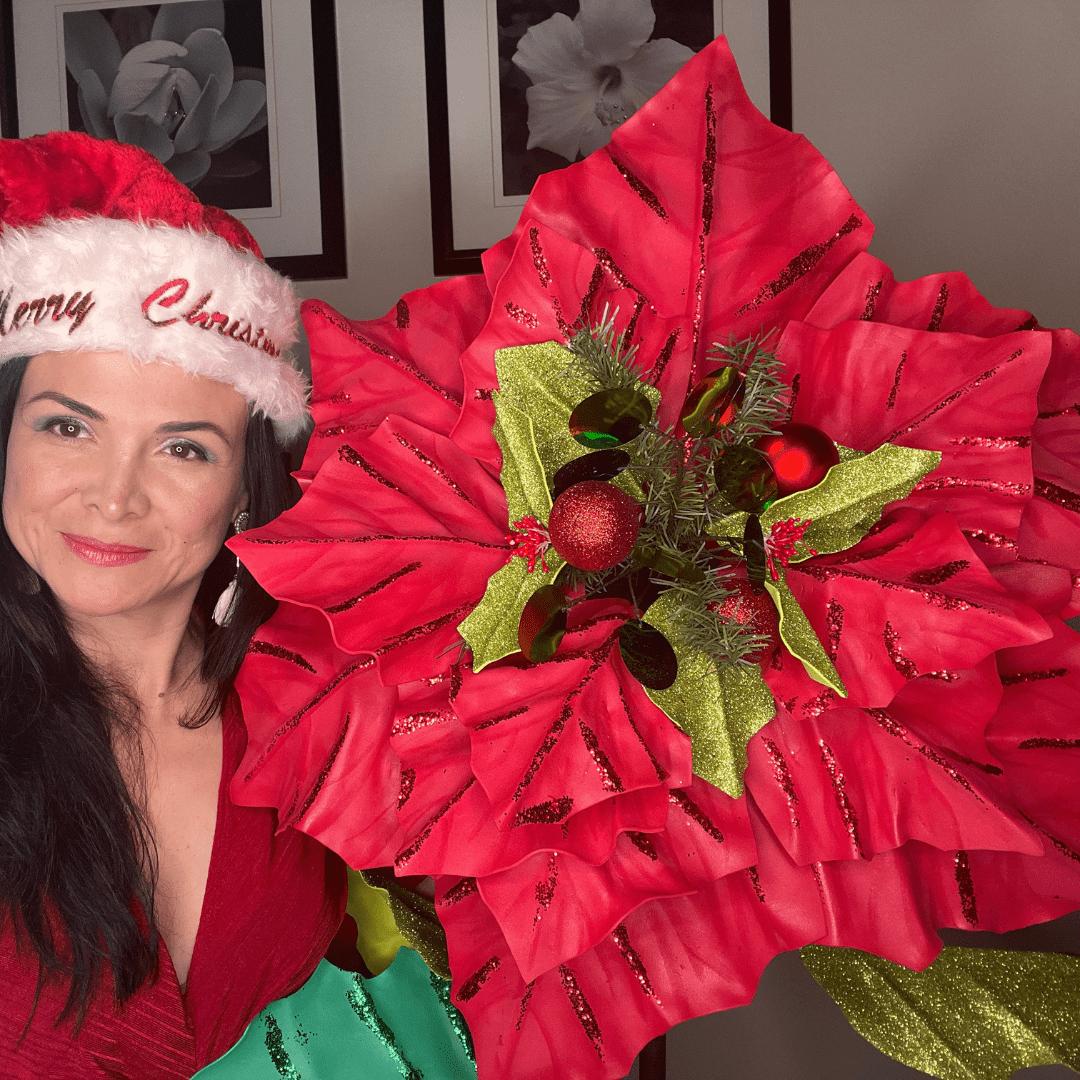
Ok, this is where it gets really fun. Poinsettias are honestly one of the most satisfying flowers to make in foam because the result is SO dramatic and SO recognizable. Everyone knows a poinsettia. When you nail it in foam, the impact is immediate.
Here's something a lot of people don't realize: those big red "petals" on a poinsettia? They're actually bracts — modified leaves. The actual flowers are those tiny yellow clusters in the center. This matters for your foam version because you're layering two different shapes and textures.
Our Life-Size Foam Flower Kits come with pre-cut petals in the exact shapes you need, plus the mold to give each bract that natural curve. No freehand cutting, no guessing. Just shape, assemble, and style.
Classic red is always stunning, but don't sleep on these combinations:
You can paint your foam with acrylic paint before assembly to get exactly the shade you want. If you're new to painting foam, I highly recommend checking out my guide to flawless foam board paint finishes — it covers everything from prep to sealing.
💡 Pro Tip
Use a heat gun on low to gently curl the edges of your poinsettia bracts inward after shaping in the mold. It adds that natural, slightly cupped look that makes foam flowers look incredibly real. Just keep the gun moving — don't hold it in one spot. My full technique breakdown is in this heat gun shaping guide.
Making Life-Size Foam Amaryllis for the Holidays

Amaryllis is having a serious moment in holiday decor and honestly? I'm here for it. There's something so dramatic about those tall, trumpet-shaped blooms in deep red or white. They look expensive. They look like something you'd see in a high-end hotel lobby during December.
The amaryllis petal is smooth, waxy, and slightly translucent — which is exactly what real-touch foam replicates beautifully. The petals have a natural curve and a gentle ridge down the center. With our mold included in the kit, you get that shape every single time without having to be an expert.
Each amaryllis bloom has 6 petals arranged in two layers of three, which makes assembly satisfying and logical. Once you make one, you'll want to make six. Trust me on this.
Here's where seasonal decorators really get to shine. A few ideas I love:
🌸 Ready to make your holiday flowers?
Browse our Life-Size Foam Flower Kits — everything you need is included, and kits start at just $34.99.
I get asked all the time: "Adriana, why not just use paper flowers? They're cheaper." And I get it. Paper flowers are beautiful — I've made thousands of them. But for holiday decor that lasts, the comparison isn't even close. Let me show you.
Honestly, when you break it down like that, the value of foam is undeniable. Especially when you factor in that you're getting a mold AND pre-cut petals in our kits — not just raw materials. You can also dive deeper into this comparison in my post on foam flowers vs. paper flowers if you want the full breakdown.
So you've made your flowers. Now what? This is the part I genuinely love — because life-size foam flowers are incredibly versatile. They're not just for one spot. Let me walk you through my favorite placement ideas for seasonal decorators.
Your mantel is prime real estate during the holidays. I like to create a cascading arrangement with 3-4 life-size foam poinsettias anchored on one side, trailing into a garland of faux greenery. Mix in some pine cones, ribbon, and candles. The result looks like something out of a magazine.
Use varying sizes if you can — our kits make flowers at different scales depending on how you layer the petals. Bigger blooms in the back, smaller ones in front. Classic design principle, massive impact.
The Holiday Table: Centerpieces That Wow
A cluster of 4-6 life-size foam amaryllis in white or deep red, arranged in a low bowl with some faux eucalyptus and gold ribbon, is genuinely stunning on a holiday dinner table. Your guests will talk about it. I promise.
The best part? You set it up once and it stays perfect through every meal, every party, every gathering all season long. No wilting. No water changes. No emergency flower runs before Christmas dinner.
Front Door and Entryway Drama
Want to make a statement before guests even walk in? Attach 2-3 large foam poinsettias to your wreath. Or create a freestanding arrangement in a tall planter on either side of your front door. If you want to go really big, check out my ideas for freestanding flower arrangements — the same principles apply beautifully to holiday setups.
💡 Pro Tip
Store your finished foam flowers in a large hat box or shallow storage bin with tissue paper between the layers. Don't crush the petals. Stored properly, these flowers will look just as good next December — and the December after that. I have holiday foam flowers that are 5 years old and still going strong.
Getting Started: What's in the Kit and What You'll Need

I designed our Life-Size Foam Flower Kits specifically so that beginners can succeed on their first try. No experience required. No special tools required (beyond a few basics you probably already own).
What's Included in Every Kit
- Pre-cut EVA foam petals in the exact shapes for your flower variety
- Flower mold for consistent, professional-looking petal curves every time
- Step-by-step instructions with photos
- Makes 2–6 life-size flowers depending on kit size ($34.99–$49.99)
What You'll Want to Have on Hand
These are the extras you'll need to complete your flowers — none of them are complicated, and you may already have some at home.
- A shaping tool — a heat gun, iron, flat grill, or hair styler all work beautifully for curving and shaping your foam petals
- Glue — we recommend 369 glue or a hot glue gun with silicone sticks (both sold separately in our shop)
- A base or stand — sold separately; a weighted vase, floral foam block, or decorative planter all work great depending on your display
- Wire or floral stem — for attaching petals and building out the bloom structure
- Scissors or wire cutters — for trimming stems and any finishing touches
That's really it. Once you have those basics together, you're ready to sit down and make something beautiful. Most crafters finish their first bloom in under two hours — and the second one goes even faster.
Frequently Asked Questions
Can I make holiday foam flowers if I've never crafted with EVA foam before?
Absolutely, yes. I designed these kits with first-timers in mind. The petals come pre-cut, the mold guides your shaping, and the step-by-step photo instructions walk you through every stage. You do not need any prior foam crafting experience to get a beautiful result.
If you can hold a heat gun or iron and squeeze a glue gun, you can make these flowers. My best advice: go slowly on your first petal, get a feel for how the foam responds to heat, and then you'll fly through the rest with confidence.
What shaping tools work best for holiday foam flowers?
You have a few great options: a heat gun, a household iron, a flat grill, or a hair styler. Each one applies gentle heat that softens the EVA foam so you can press it into the mold and hold the curve as it cools. The mold included in your kit does the heavy lifting — you just apply heat and press.
Personally, I reach for my heat gun most often because it gives me precise control, but plenty of my customers love using an iron they already own. Any of those four tools will give you gorgeous results.
Is a base or stand included with the holiday foam flower kit?
Bases and stands are not included in the kits — they're sold separately in our shop. This is actually intentional, because the right base really depends on where and how you plan to display your flowers. A tabletop centerpiece calls for something different than a freestanding entryway arrangement.
Popular options include weighted decorative vases, floral foam blocks set inside a planter, or purpose-built flower stands. Check our shop for the bases we carry, and don't hesitate to reach out if you're not sure which one fits your project.
How do I store my holiday foam flowers after the season?
Store them in a large hat box or shallow storage bin with tissue paper tucked between the layers to protect the petals from being crushed. Keep the box somewhere cool and dry — avoid attics that get very hot in summer, as prolonged extreme heat can affect the foam over time.
Stored with a little care, your holiday foam flowers will come out looking just as fresh next year. I have pieces that are five years old and still display beautifully every December. That kind of longevity is one of my favorite things about working with EVA foam.
I hope this gives you everything you need to dive into your holiday foam flowers with total confidence. Whether you're making a dramatic poinsettia wreath, a stunning amaryllis centerpiece, or a full entryway display, I genuinely can't wait to see what you create. This is my favorite time of year to craft, and I love that you're spending part of it making something beautiful with your own hands. Happy making — and happy holidays from me and the whole Amazing Giant Flowers family here in Houston. 🌸
Shop the supplies
Everything You Need for This Project
Holiday Flower Decor Poinsettia Kit – Pre-Cut Easy
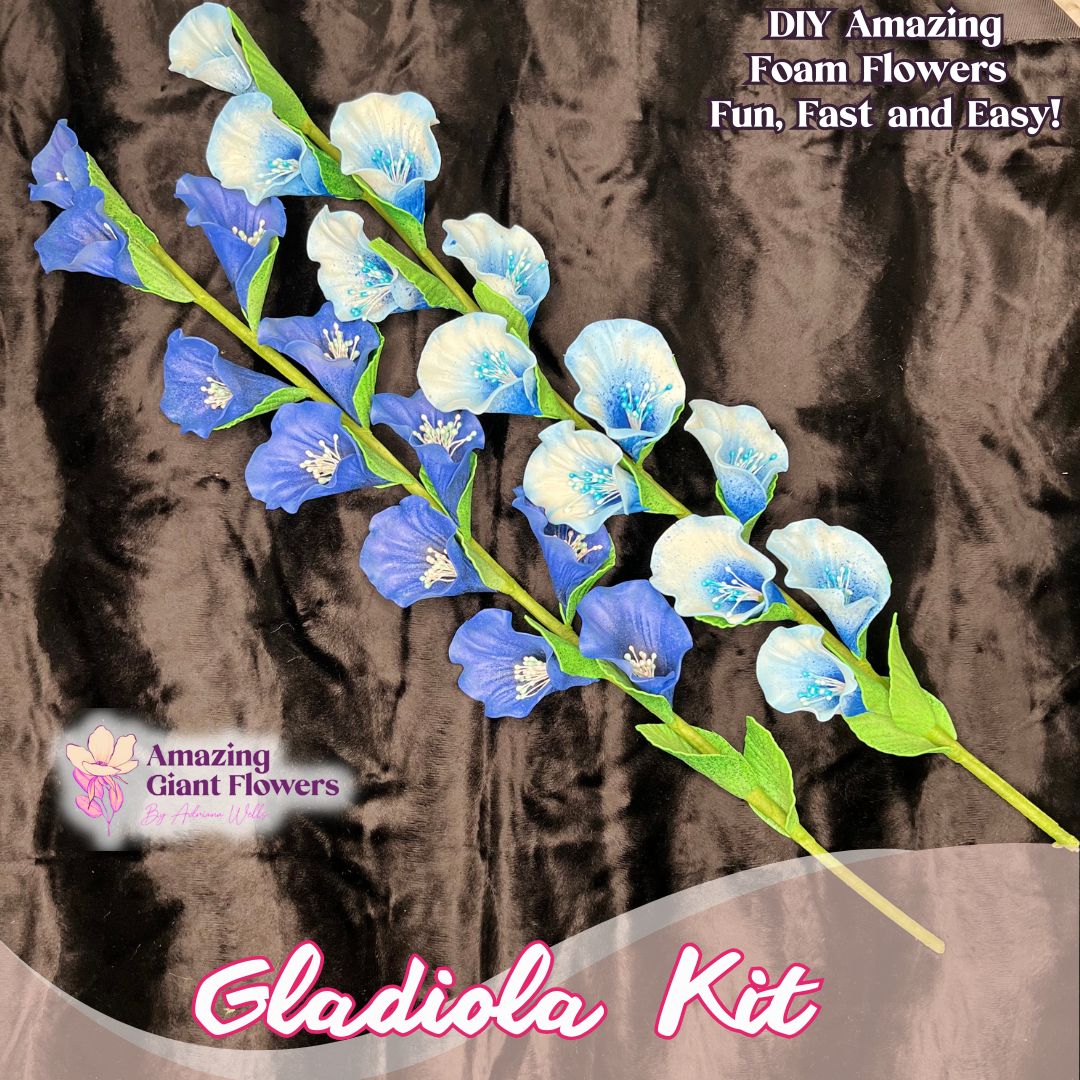
Real Touch Gladiolus Foam Flower Kit (Gladiola) — Two Tall 24" DIY Stems with Reusable Mold, Pre-Cut Petals & Leaves
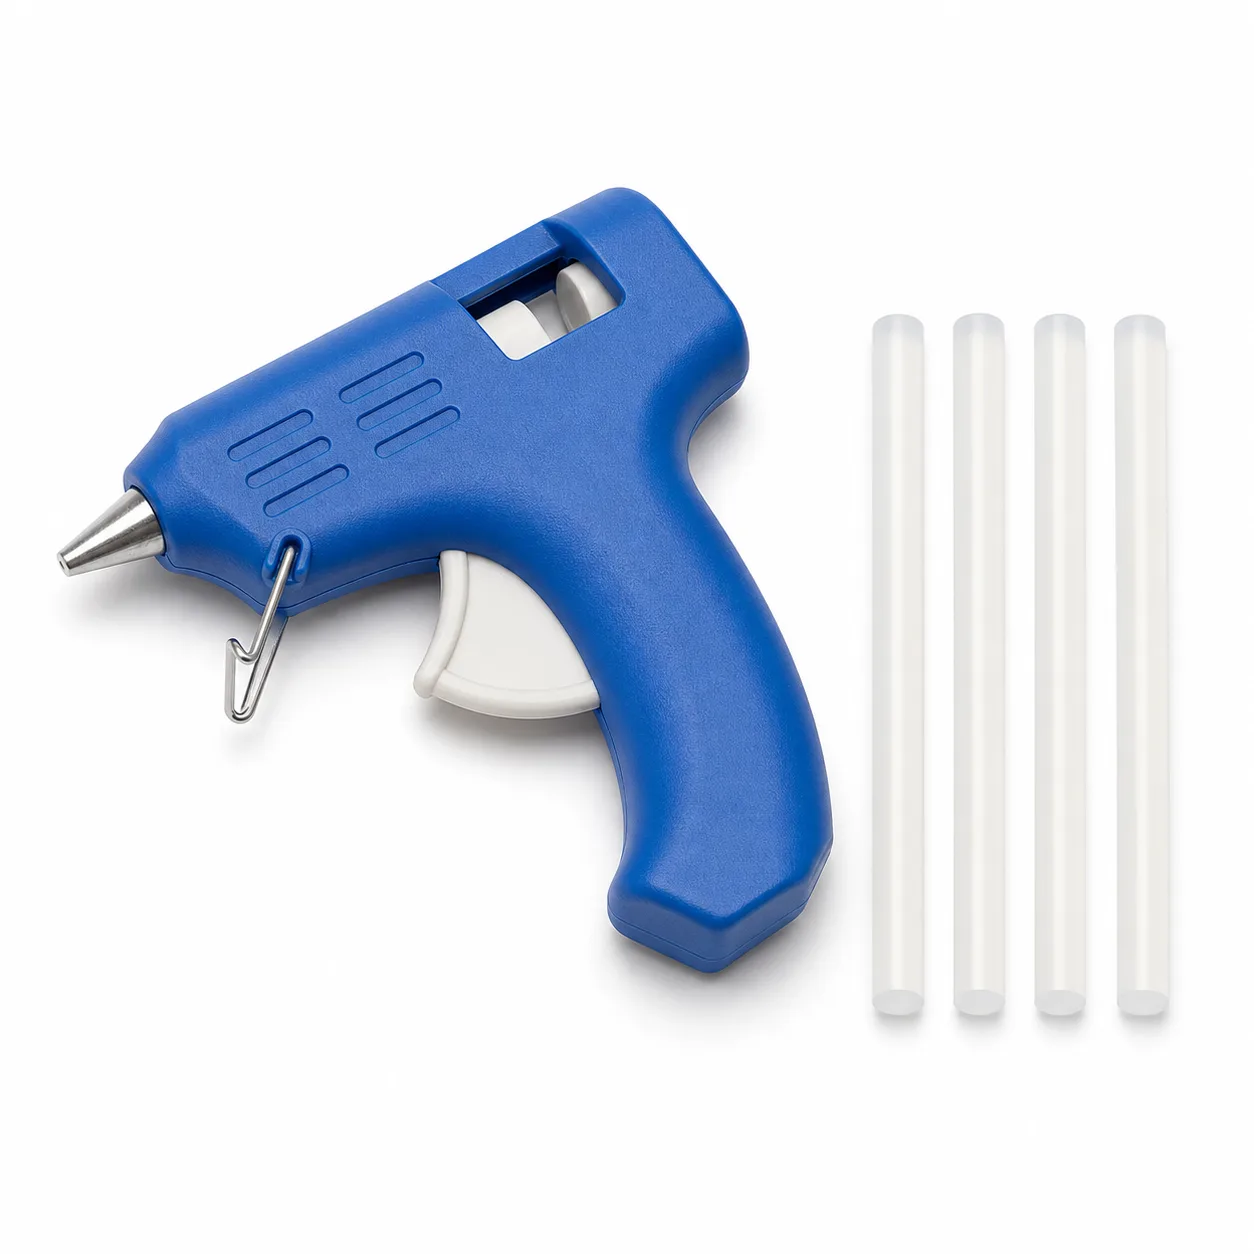
Hot Glue Gun + 4 Silicone Glue Sticks — Fast, Strong Petal Assembly
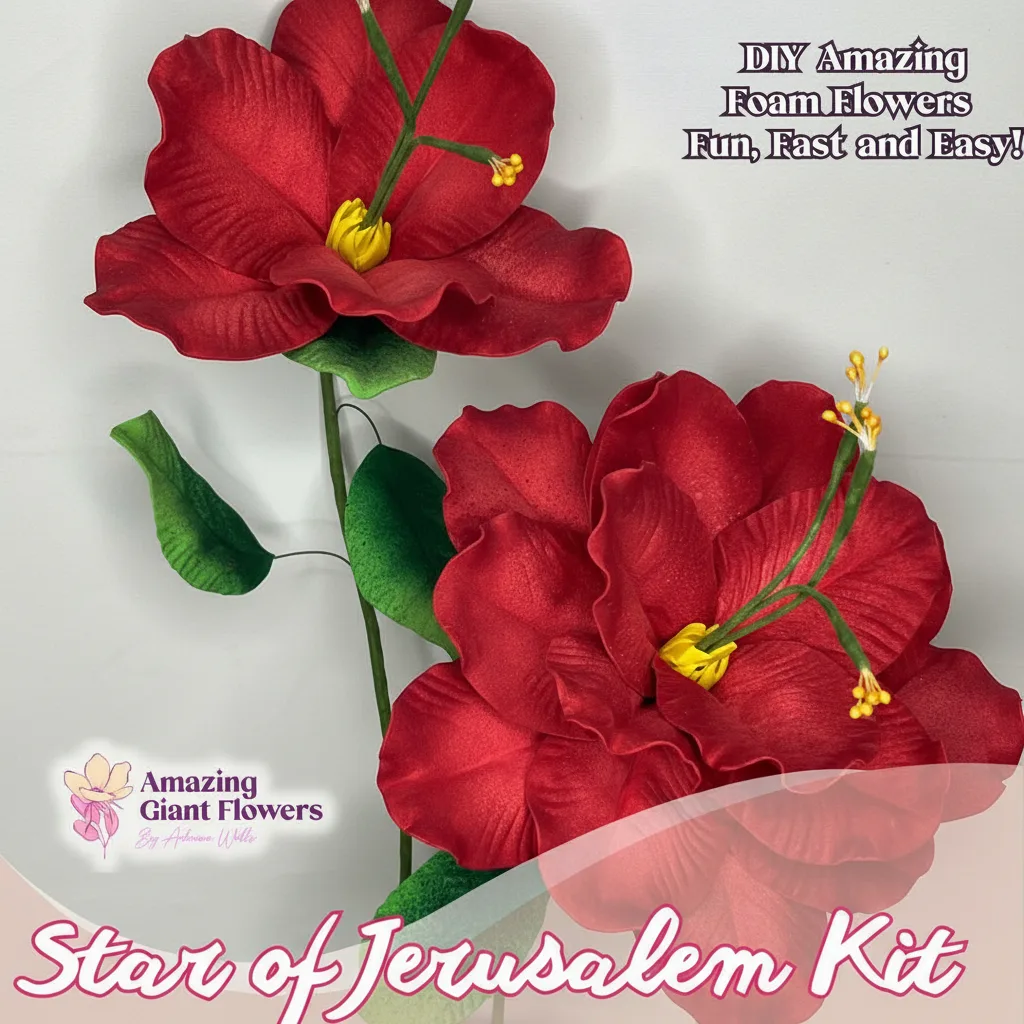
Real Touch Star of Bethlehem Foam Flower Kit — Large Tropical DIY Blooms (Star of Jerusalem) with Golden Pistils, Reusable Mold & Pre-Cut Petals

Written by
Adriana WellsFounder & CEO of Amazing Giant Flowers
Adriana Wells is the founder and creative force behind Amazing Giant Flowers, a Texas-based company specializing in handcrafted giant foam flowers, luxury floral installations, and DIY flower-making supplies.
More about Adriana →Ready to Create Something Amazing?
Browse our collection of giant flower kits and start your next project today.