How to Shape EVA Foam Petals Like a Pro
If you've ever tried to shape EVA foam petals and ended up with something that looked more like a potato chip than a flower petal, you are not alone. I've been there. When I first started making giant flowers, I burned through a whole roll of foam just figuring out the basics — and nobody was around to tell me what I was doing wrong.
Here's what I wish someone had told me from the start: shaping EVA foam is less about brute force and more about understanding how the material responds to heat. Once that clicked for me, everything changed. My petals went from flat and lifeless to lush, curved, and totally convincing.
Whether you're making your first giant flower for a baby shower backdrop or you're a seasoned crafter leveling up your cosplay armor game, this guide is going to walk you through exactly how I do it — tools, techniques, thickness choices, and all the little tricks I've picked up over years of working with this stuff.
Key Takeaways
I get asked all the time — why EVA foam? Why not paper, fabric, or cardstock? And honestly, the answer is simple: nothing else gives you the combination of flexibility, durability, and shapability that EVA foam does.
Paper flowers are gorgeous, don't get me wrong. But they wilt in humidity, tear if someone brushes against them, and you can't really give them that organic, three-dimensional curve that makes a petal look alive. EVA foam? You heat it, shape it, and it holds that curve for years.
If you want a deeper comparison, I actually wrote a whole post on Foam Flowers vs Paper Flowers: Which Is Better for Events? — worth a read if you're still on the fence.
What Makes EVA Foam Special
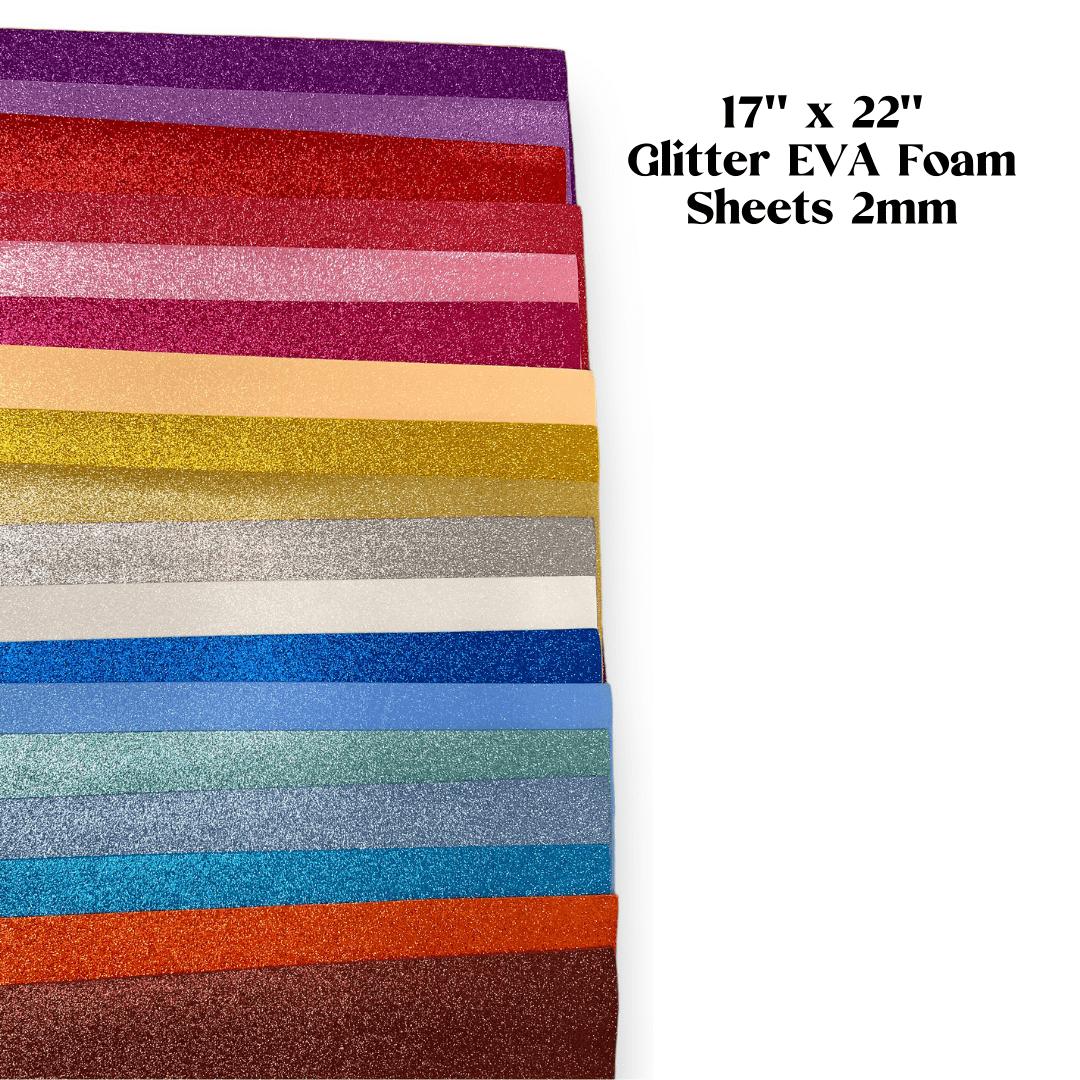
EVA stands for Ethylene-Vinyl Acetate. It's a closed-cell foam, which means it's water-resistant, lightweight, and doesn't absorb paint the way open-cell foams do. That's huge for crafters because it means your painted petals actually look smooth and polished, not splotchy.
It's also heat-moldable. Apply warmth, and it becomes soft and pliable. Remove the heat, and it firms right back up — holding whatever shape you gave it. That's the magic we're going to use today.
This is where a lot of crafters go wrong — they just grab whatever foam they have on hand without thinking about what the project actually needs. Thickness affects how easily the foam curves, how realistic the petal looks, and how sturdy the finished flower is.
Here's how I think about it:
We carry all of these thicknesses in our EVA foam collection — and if you're not sure which to start with, I'd honestly say grab the 4mm and practice on that first.
Let me be real with you: you don't need a ton of fancy equipment. But the tools you DO use make a massive difference. Here's my actual kit.
A heat gun is the single most important tool for shaping EVA foam petals. Not a hair dryer — an actual heat gun. Hair dryers don't get hot enough to properly activate the foam. You want something that reaches at least 300°F.
I go deep on all the heat gun techniques in my post Heat Gun Techniques: Shaping Foam Flower Petals Like a Pro — seriously bookmark that one.
Cutting Tools
You need sharp scissors or a craft knife to cut your petal templates cleanly. Dull scissors drag and distort the foam edges, which makes shaping harder. I also love a cutting mat and metal ruler for straight lines.
For more on cutting technique, check out The Best Way to Cut Foam for Flawless DIY Crafts.
This is my secret weapon. Flower molds let you press warm foam into a pre-shaped cavity and get perfectly consistent petals every single time. No guessing, no wonky curves. Once you use them, you'll never go back to freehand shaping alone.
We have a beautiful selection in our flower molds collection — they work perfectly with our EVA foam.
💡 Pro Tip
Keep a bowl of cold water nearby while you work. If you heat a petal and it curves the wrong way, just dip it in cold water to lock that position — then reheat and reshape. It's like having an undo button.
Step-by-Step: How to Shape EVA Foam Petals
Ok, this is where it gets really fun. Let's actually do this thing.
Start by drawing or printing your petal shape on cardstock and cutting it out. Trace it onto your EVA foam sheet and cut cleanly. Cut all your petals before you start shaping — it keeps your workflow smooth and your heat gun from sitting idle while you're cutting.
For a giant rose, I typically cut 5–6 outer petals (large), 5 middle petals (medium), and 5–7 inner petals (small and tight). Scale everything up from there based on your final flower size.
Hold your heat gun about 3–4 inches from the foam surface and keep it moving in small circles. You'll see the foam start to slightly glisten and soften — that's your cue. Don't hold it in one spot or you'll get bubbles or burn marks.
The whole petal should feel warm and pliable, not just one section. This usually takes 5–10 seconds for 2mm foam, and 15–20 seconds for 6mm.
This is the moment. Work fast — you have about 10–15 seconds before the foam starts cooling and stiffening. Here are the three main shaping techniques I use:
This step is where most beginners mess up. They shape the petal and then let go before it's fully cooled — and it springs back flat. Hold your shape for at least 20–30 seconds, or speed things up with that cold water trick I mentioned.
Once all your petals are shaped, layer them from outer to inner using hot glue. Start with your largest petals and work your way in. Slightly overlap each layer and angle the inner petals upward for that blooming effect.
Then paint, seal, and you're done. If you want tips on painting your foam without it looking chalky, my post A Crafter's Guide To Painting On Foam Core has everything you need.
🌸 Ready to get started?
Browse our EVA foam collection and find your perfect thickness for your next project.
Real talk? If you're making more than one flower — and you probably are — molds are going to save your sanity. Freehand shaping is great for learning and for one-off pieces. But when you need 200 petals for a wedding arch? You need consistency and speed.
Here's how the mold process works:
The result is petal after petal with the exact same curve, depth, and dimension. It's genuinely satisfying. Our flower molds are designed specifically for use with EVA foam, so the sizing and depth are dialed in perfectly.
And if you're building something big like a full flower arch, pair your molds with our freestanding flower kits to make the whole build process so much smoother.
💡 Pro Tip
Work in batches. Heat 3–4 petals in quick succession, then mold them one by one while they're still warm. This keeps your workflow moving without reheating constantly.
Common Mistakes When Shaping EVA Foam Petals (And How to Fix Them)
I've made every single one of these mistakes. You might too — and that's completely fine. Here's how to course-correct.
Mistake #1: Not Enough Heat
The foam feels stiff and cracks slightly when you try to bend it. This means it wasn't warm enough. Always make sure the entire petal is soft before shaping — not just the surface.
Mistake #2: Too Much Heat
You'll see bubbling or the foam starts to warp on its own. Pull the heat gun back immediately. If it bubbles, that petal is unfortunately done — but don't throw it away. Use it as a practice piece to work on your shaping speed.
Mistake #3: Letting Go Too Soon
The petal springs back flat. Hold longer, or use the cold water trick to lock the shape faster. This is the most common beginner mistake and it's totally fixable.
Mistake #4: Skipping the Template Step
Freehand cutting petals sounds faster but it almost never is. Inconsistent petal sizes make assembly look messy. Always use a template — even a rough cardstock one makes a huge difference.
Frequently Asked Questions
Can I use a hair dryer instead of a heat gun to shape EVA foam petals?
Technically yes, but it's going to frustrate you. Hair dryers max out around 140°F, which isn't quite enough to properly activate EVA foam — especially anything thicker than 2mm. You'll spend twice as long heating and get half the results. A heat gun is a worthwhile investment if you plan to make more than one or two flowers.
What's the best EVA foam thickness for giant flower petals?
For most giant flower projects, I recommend 4mm EVA foam. It's thick enough to hold a beautiful curve without being too stiff to shape easily. If you're making very large statement flowers (think 24–36 inch diameter), bumping up to 6mm gives the petals more body and presence.
How do I keep shaped petals from losing their curve over time?
Ready to Create Something Amazing?
Browse our collection of giant flower kits and start your next project today.