Kids' Craft Day: Simple Foam Petals From Molds

If you've ever tried to plan a craft activity for a group of kids and ended up with glitter in your hair and tears at the table, you know the struggle is real. I've been there. What you actually want — what every parent and teacher wants — is something that feels exciting, looks impressive, and doesn't require a PhD to set up. That's exactly where kids craft flowers made from foam molds come in, and honestly? They've become one of my absolute favorite things to share with families.
I started Amazing Giant Flowers because I fell in love with the process of shaping petals by hand. But somewhere along the way, I realized our flower molds weren't just for brides and event designers. They're genuinely perfect for kids. The molds do the hard part — the shaping, the structure, the detail — so little hands can focus on the fun part: pressing, peeling, and watching a petal appear like magic.
Whether you're a mom planning a birthday party craft station, a teacher looking for a hands-on art project, or a homeschool parent who wants something tactile and beautiful, this guide is for you. Let's get into it.
Key Takeaways
Here's the thing about most kids' craft kits: they promise a lot and deliver... fine results. A wonky pom-pom. A lopsided paper butterfly. Kids notice when their creation doesn't look the way they imagined it, and that disappointment is real.
Foam molds change that equation completely. When a child presses a piece of EVA foam into one of our molds, they pull out a petal with actual texture — veins, curves, dimension. It looks like something. It looks beautiful. And that moment of "I made this?!" is everything.
The Confidence Factor
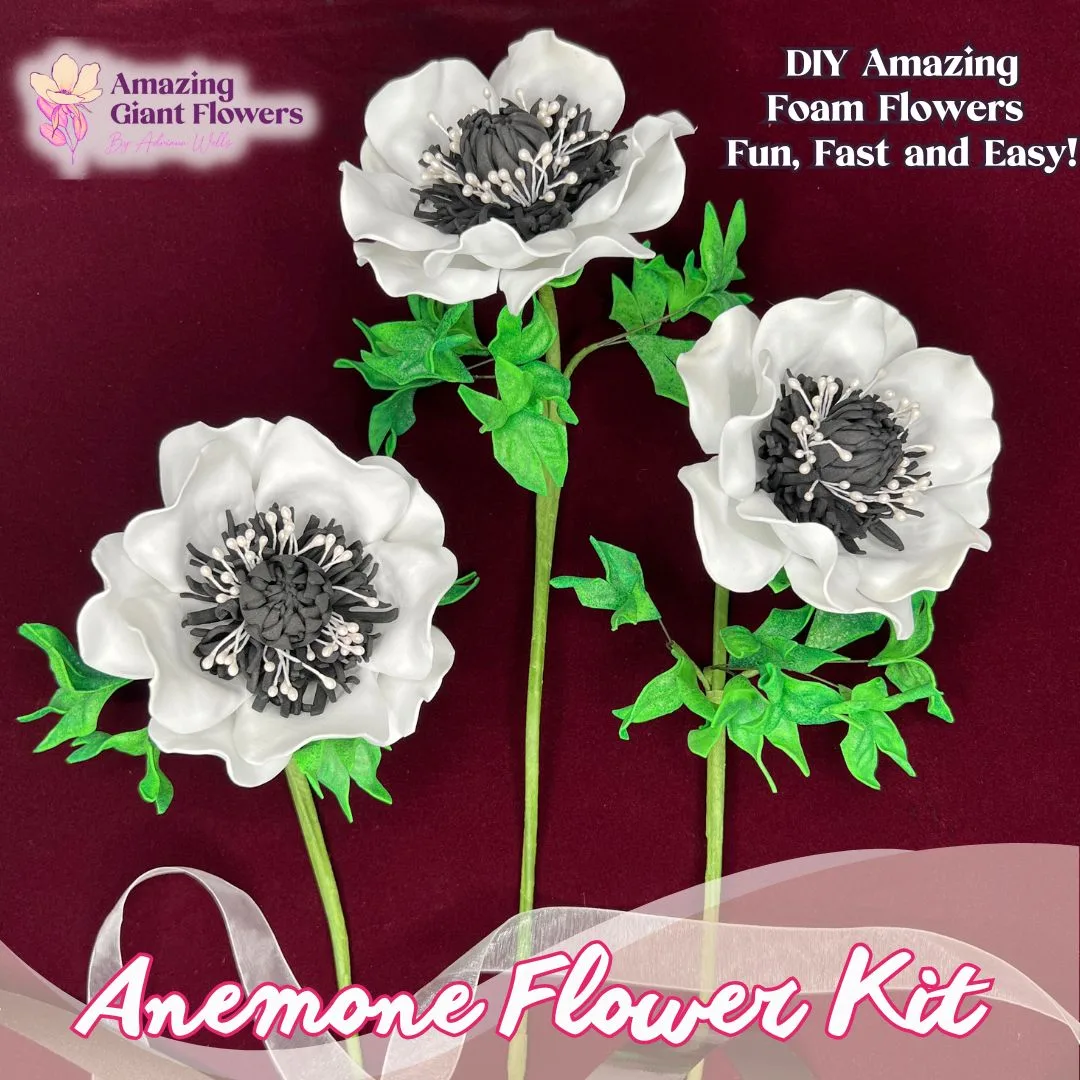
I've watched kids who swear they're "not creative" completely light up when they see their first foam petal. The mold gives them a framework for success. They're not starting from a blank page — they're collaborating with a tool that's designed to make them look good.
That's not cheating. That's smart crafting. And for kids who struggle with fine motor skills or get frustrated easily, it's genuinely empowering.
EVA foam is non-toxic, soft, and flexible. There are no sharp edges in the pressing process. No chemicals. No fumes. The molds themselves are smooth silicone-style forms that little hands can press into without any risk. For classroom settings especially, that safety profile matters enormously.
One of the things I love most about this project is how short the supply list is. You don't need a craft room full of gadgets. Here's the basic setup:
That's genuinely it. You can add pipe cleaners for stems, buttons for centers, ribbon for hanging — but the core project needs almost nothing.
💡 Pro Tip
For classroom settings, pre-cut your foam sheets into rough petal-sized pieces before the kids arrive. It speeds up the session dramatically and lets everyone jump straight to the fun part — pressing and decorating.
Ok, this is where it gets really fun. Let me walk you through the process the way I'd explain it to a group of eight-year-olds — because that's honestly the best way to explain anything.
We have molds for roses, dahlias, sunflowers, magnolias, and more. For kids, I usually recommend starting with a simple rounded petal shape — something like a magnolia or open rose petal. They're forgiving and they assemble beautifully.
If you're working with older kids (10+), the more detailed dahlia molds are incredible. The texture that comes out is genuinely stunning.
Step 2: Cut Your Foam
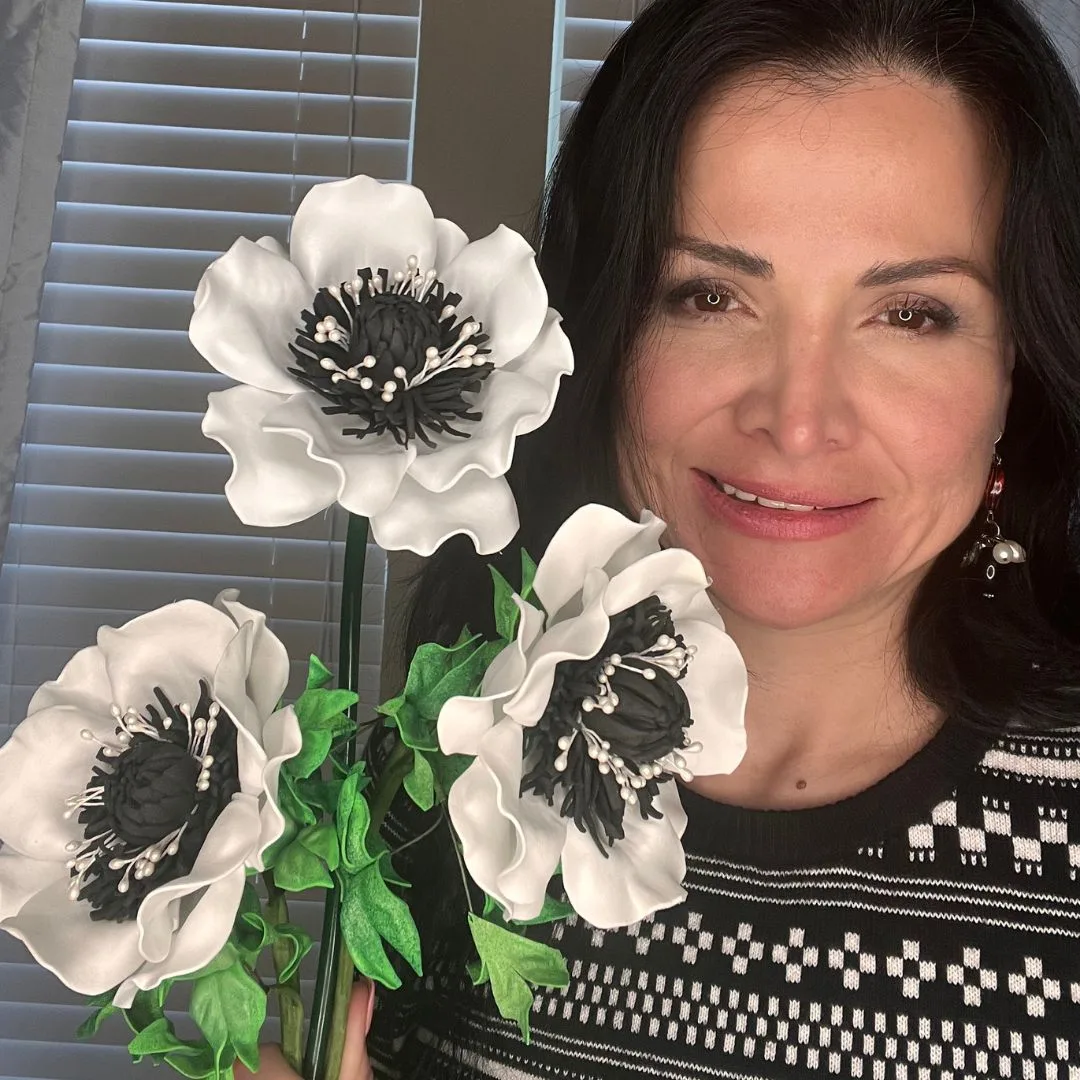
Cut a piece of EVA foam roughly the size of the mold cavity. It doesn't need to be perfect — a little extra foam around the edges is totally fine. Kids can trim it after pressing if needed.
This is the magic moment. Place the foam piece inside the mold, press the two sides together firmly, and hold for about 10-15 seconds. When you open it up, you'll see a petal with real texture and shape pressed right in.
Kids absolutely love this part. There's something deeply satisfying about that press-and-reveal moment. I've seen whole classrooms go completely quiet in concentration — and then erupt in "WHOA" when the petal comes out.
Now the personalization begins. Kids can paint their petals, add ombre effects with two colors, draw patterns with markers, or even sprinkle glitter glue into the texture lines for a magical effect. There's no wrong way to do this part.
Once petals are dry, layer them together from largest to smallest and glue at the base. Add a button, a pom-pom, or a foam circle for the center. Attach to a pipe cleaner stem or glue directly to a card, frame, or headband.
Once you have the basic technique down, the possibilities genuinely explode. Here are some of my favorite ways parents and teachers have used our molds for kids' projects:
If you want to go bigger — like a full classroom backdrop — check out our life-size foam flower kits for a more complete project. And for inspiration on what's possible with foam flowers at events, our post on DIY Giant Flower Backdrop for Photos is full of ideas you can scale down for kids.
I know there are a lot of options out there for flower crafts. Paper folding, fabric cutting, tissue paper layering — I've tried them all. Let me show you how they stack up for a kids' setting:
Real talk? The foam mold method wins for kids almost every time. The combination of ease, safety, and impressive results is hard to beat. And if you're a parent who also bakes, the fact that the exact same mold works for sugar and gumpaste flowers means one purchase does double duty. That's the kind of value I love.
I've talked to a lot of teachers who've used our molds for classroom projects, and I've picked up some seriously good tricks along the way. Here's what actually works:
Set up three stations: cutting → pressing → decorating. Kids rotate through. It keeps the energy moving, prevents bottlenecks at the glue station, and means no one is sitting idle waiting for their turn with a mold.
You don't need one mold per student. One mold for every 3-4 kids works perfectly — they take turns pressing while others are decorating their already-pressed petals. It actually teaches patience and collaboration without anyone noticing that's what's happening.
Always show a finished flower before you start. I cannot stress this enough. When kids see what they're working toward — a complete, beautiful flower — their focus and effort level goes way up. Hold it up, pass it around, let them touch it. Then watch them get to work.
💡 Pro Tip
For large classroom groups (20+ kids), order at least 4-5 molds in different shapes. Mix them up intentionally so the finished display has variety — it looks incredible when every flower is slightly different. Check out our full mold collection to mix and match.
This is where teacher-Adriana comes out. Foam flower crafts can connect to:
One craft, multiple subject connections. That's the kind of efficiency a teacher can actually use.
Ok, I have to mention this because it genuinely surprises people. Our flower molds are double-sided and food-safe compatible, which means the same mold you use for your kid's craft day on Saturday can be used for sugar flowers on a cake on Sunday.
Just wash thoroughly between uses. Gumpaste and fondant press into the molds beautifully — the detail that comes out is bakery-level gorgeous. If you're a baking parent who also does crafts with your kids, this is honestly one of the best investments you can make.
It's a rare thing when one tool serves two completely different creative worlds. But that's exactly what these molds do.
Whether you're planning a birthday party activity, a school project, or just a rainy Saturday at home, kids craft flowers made with foam molds genuinely deliver. The results look impressive, the process is manageable, and kids walk away proud of something they made with their own hands.
Getting Your Supplies
To get started, you'll need EVA foam sheets, your molds, and a way to glue petals together. We recommend 369 glue or a hot glue gun with silicone sticks — both are sold separately in our shop. For shaping and adding dimension to petals, a heat gun, iron, flat grill, or hair styler works beautifully, though for a basic mold-pressing session with younger kids, shaping tools aren't even required.
Orders of $50 or more ship free with standard shipping, and all DIY kits also ship free — so it's easy to stock up for a whole class or party group without worrying about shipping costs.
Frequently Asked Questions
What age is best for kids craft flowers using foam molds?
I generally recommend ages 5 and up for the basic pressing and decorating steps. Younger kids (5–7) do great with simple petal shapes like magnolia or open rose, especially with an adult helping at the glue station.
Older kids (8–12) can handle more detailed molds, more independent gluing, and even light shaping with a hair styler or iron under adult supervision. The activity truly scales with the age group you're working with.
Do I need a heat tool to use the flower molds with kids?
Not at all — and this is one of my favorite things about using molds for kids' projects. The mold does the shaping work for you. You press the foam in, hold for 10–15 seconds, and the texture and curve are already there when you open it up.
If you want to add extra cupping or curl to the petals, a heat gun, iron, flat grill, or hair styler can help — but always with adult hands only. For most kids' craft sessions, skipping the heat tool entirely is the right call.
How many molds do I need for a classroom or group activity?
One mold can realistically serve 3–4 kids at a time when you run a rotation station setup. For a class of 20–25 students, I'd recommend 5–6 molds in a mix of shapes so the finished display has beautiful variety.
The key is keeping kids moving through stations — cutting, pressing, and decorating — so no one is ever just waiting around. With that setup, a single craft session can run smoothly for a surprisingly large group.
What glue should I use when assembling kids craft flowers?
For kids' projects, I recommend a hot glue gun with silicone sticks, with an adult managing the glue gun at a dedicated station. It bonds quickly and holds EVA foam beautifully, which means less waiting and more creating.
If you'd prefer a cold-glue option, 369 glue also works well — it just needs a little more drying time before you move on to the next layer. Both options are available separately in our shop. Either way, keep the glue station adult-supervised and you'll be in great shape.
I started Amazing Giant Flowers because I believe making something beautiful with your hands is one of the best feelings in the world — and watching kids experience that for the first time, holding up a flower they made themselves and beaming with pride, is exactly why I do what I do. I hope this gives you everything you need to make your next kids craft day one they'll talk about for a long time. Happy crafting! 🌸
Shop the supplies
Everything You Need for This Project
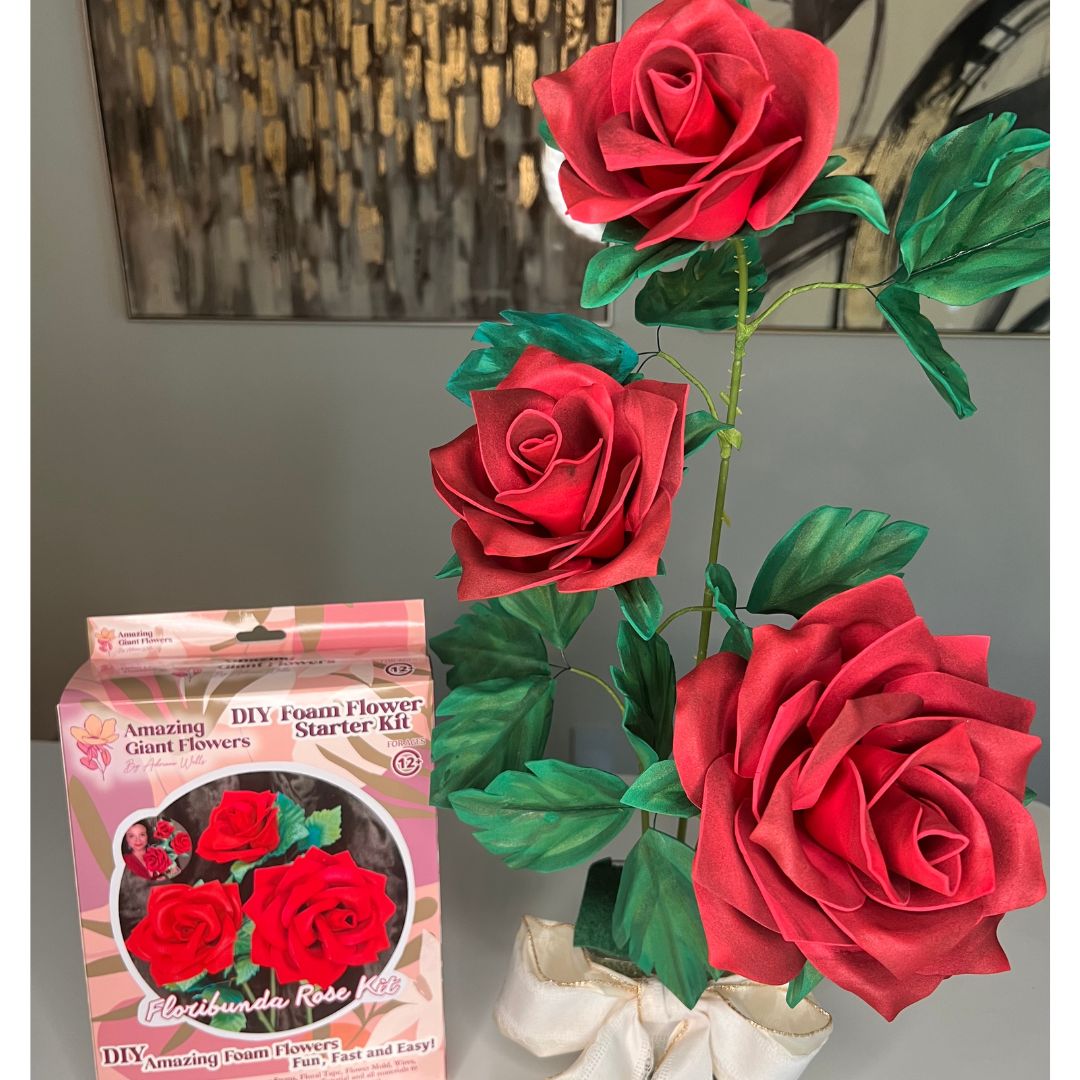
Real Touch Rose Foam Flower Kit — Realistic DIY Roses with 6" Double-Sided Mold & Pre-Cut Petals
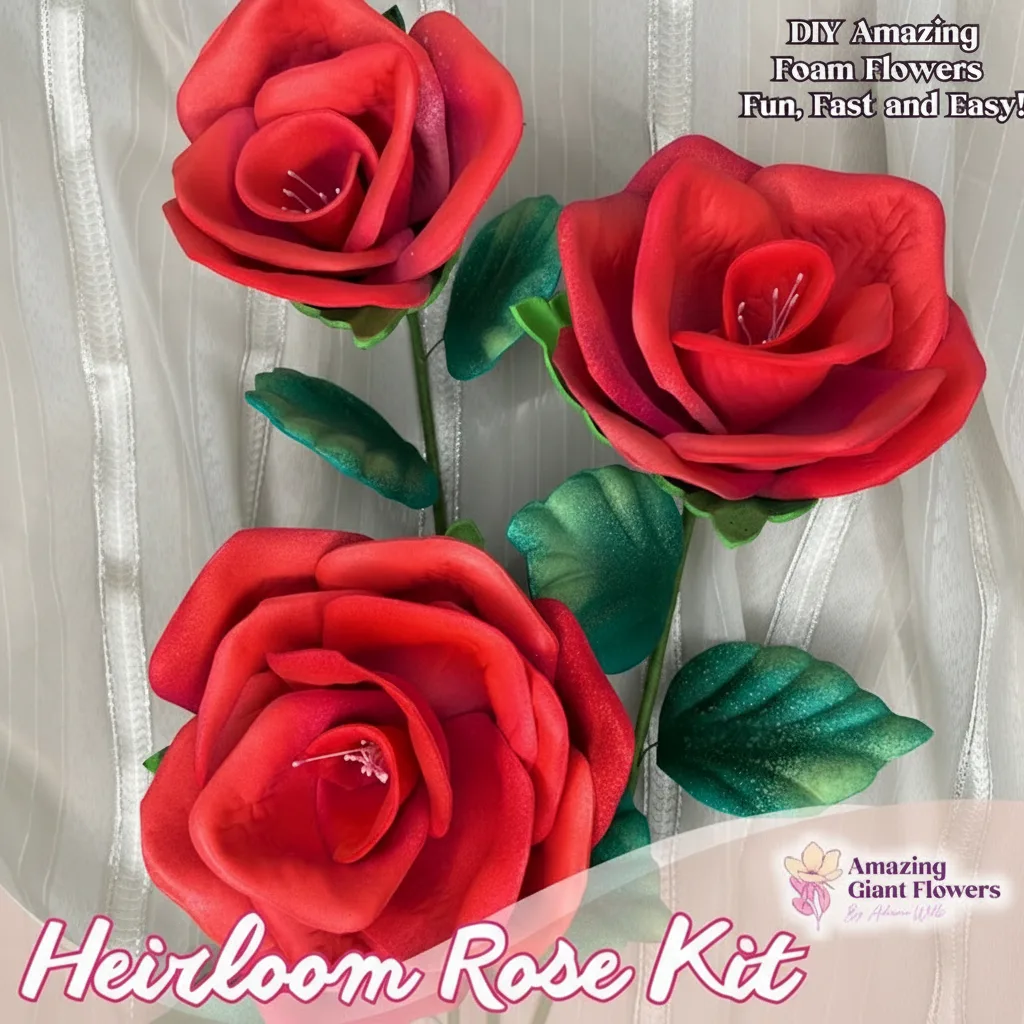
Real Touch Heirloom Rose Foam Flower Kit — 3 DIY Roses (6", 5" & 4") with 2 Reusable Molds, Pre-Cut Petals & Leaves
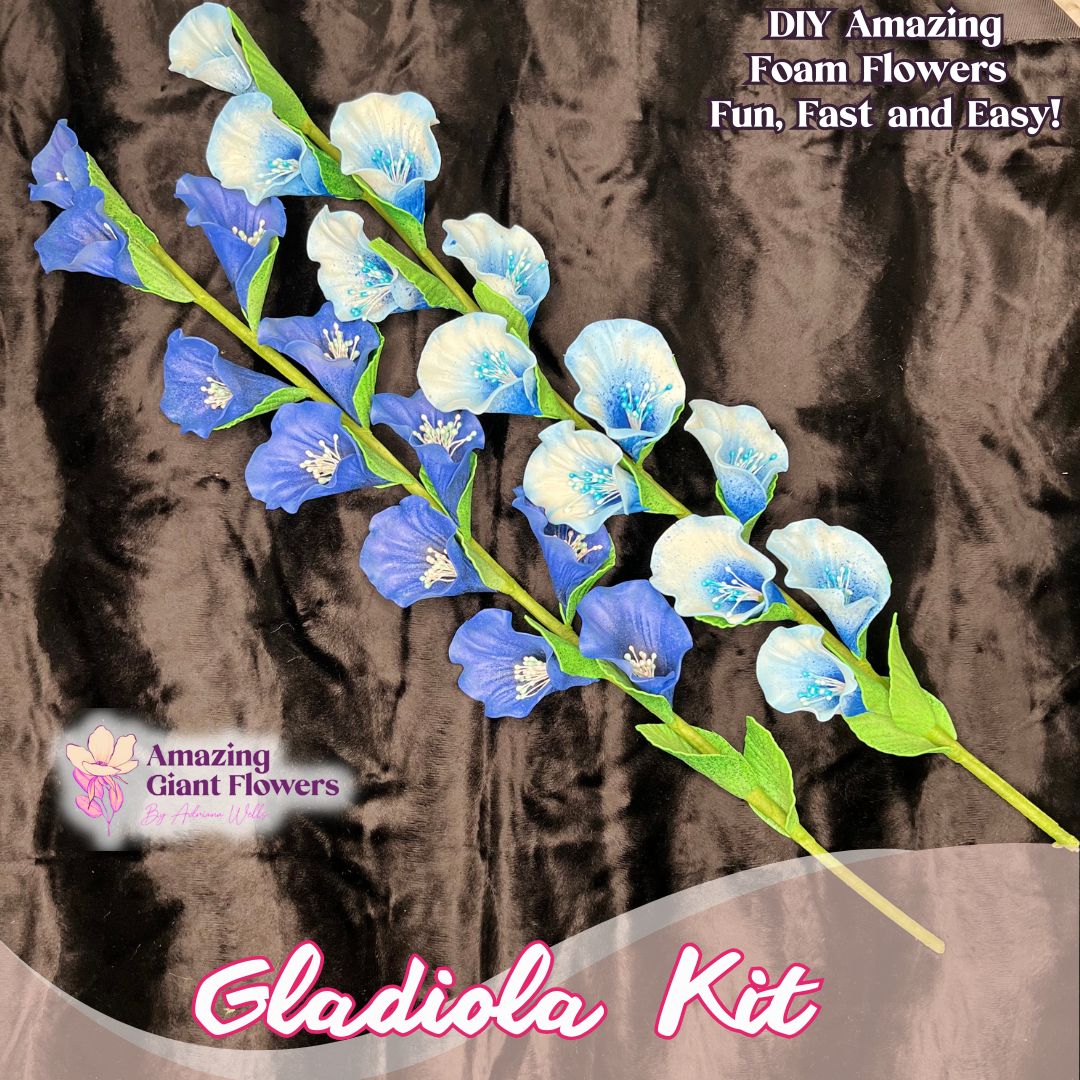
Real Touch Gladiolus Foam Flower Kit (Gladiola) — Two Tall 24" DIY Stems with Reusable Mold, Pre-Cut Petals & Leaves
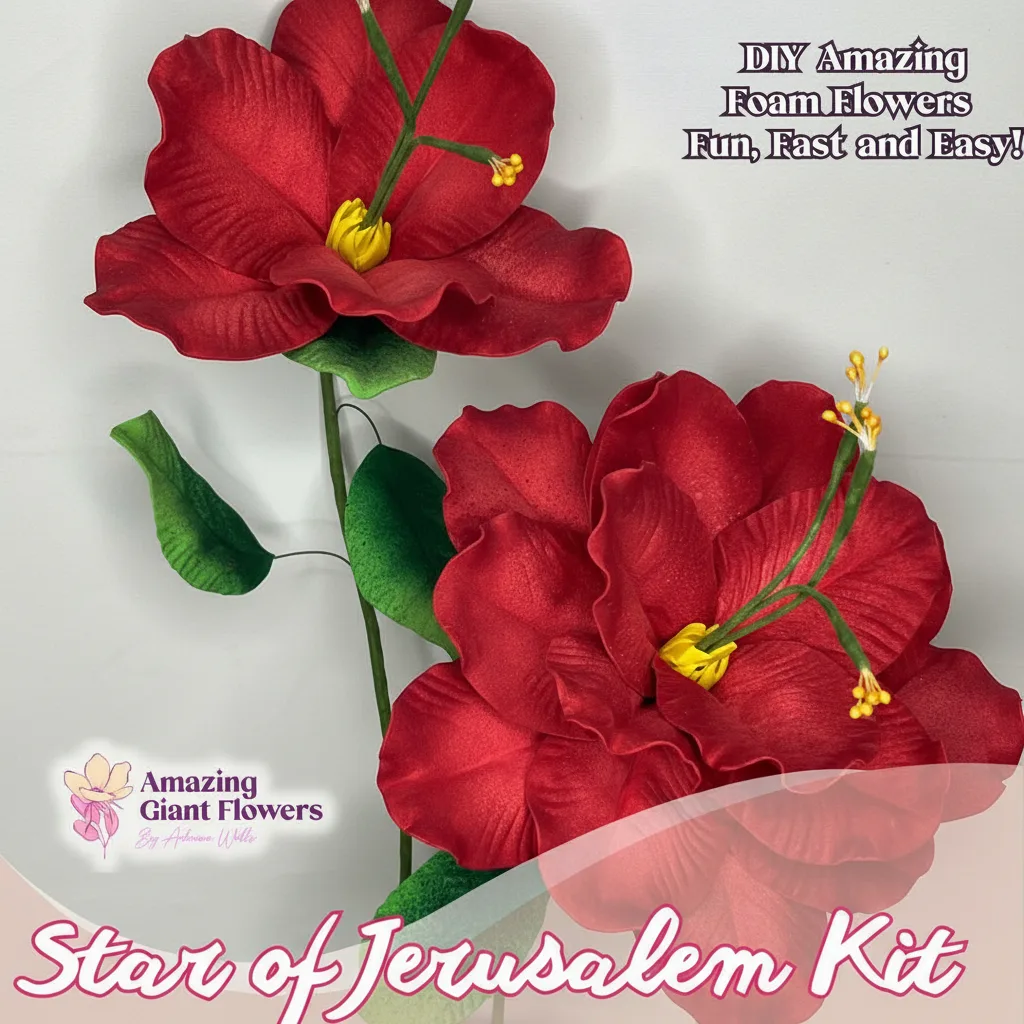
Real Touch Star of Bethlehem Foam Flower Kit — Large Tropical DIY Blooms (Star of Jerusalem) with Golden Pistils, Reusable Mold & Pre-Cut Petals
Ready to Create Something Amazing?
Browse our collection of giant flower kits and start your next project today.