Make 6 Real-Touch Calla Lilies From One Kit
If you've ever tried to find a real touch calla lily that actually looks like the real thing — not waxy, not flat, not obviously fake — you know how hard that search can be. I've been there. I spent years hunting for foam flowers that had that fresh-from-the-garden look, and honestly? Most of what I found was disappointing.
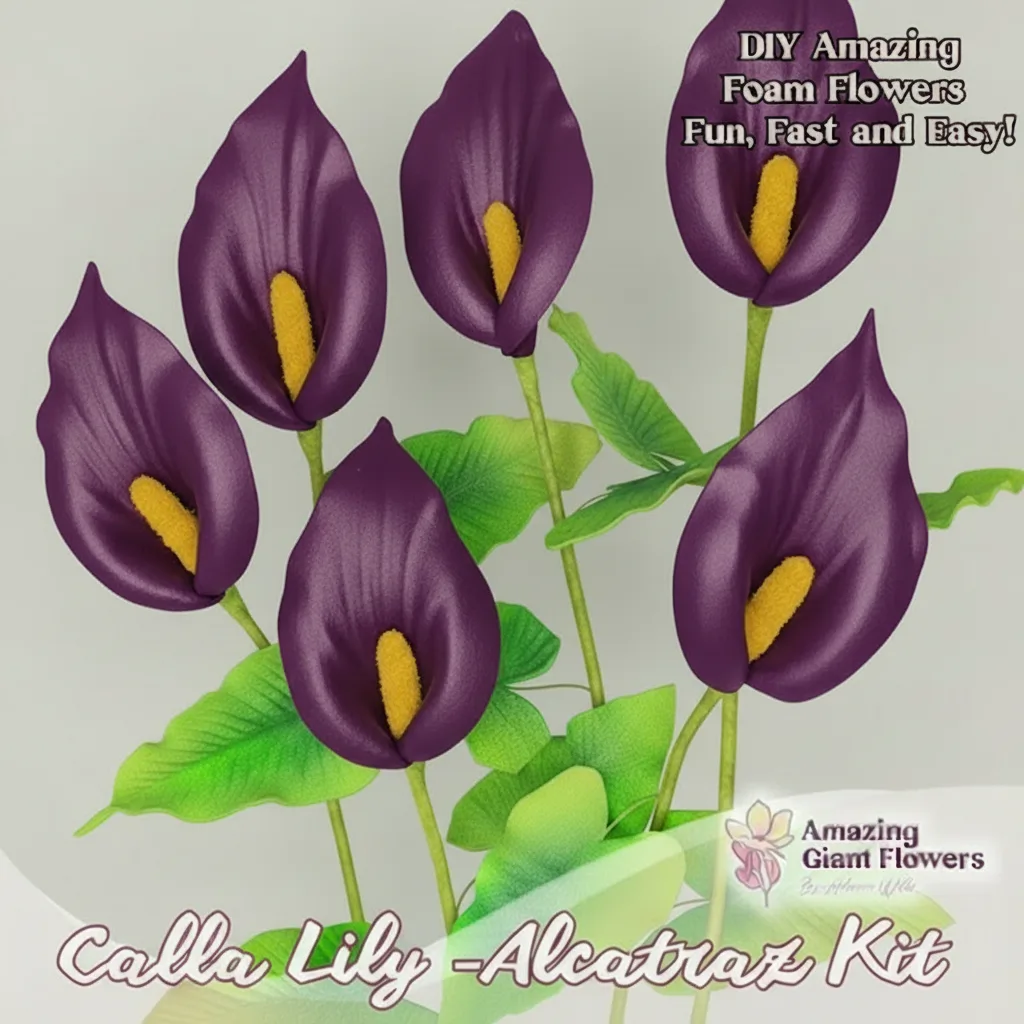
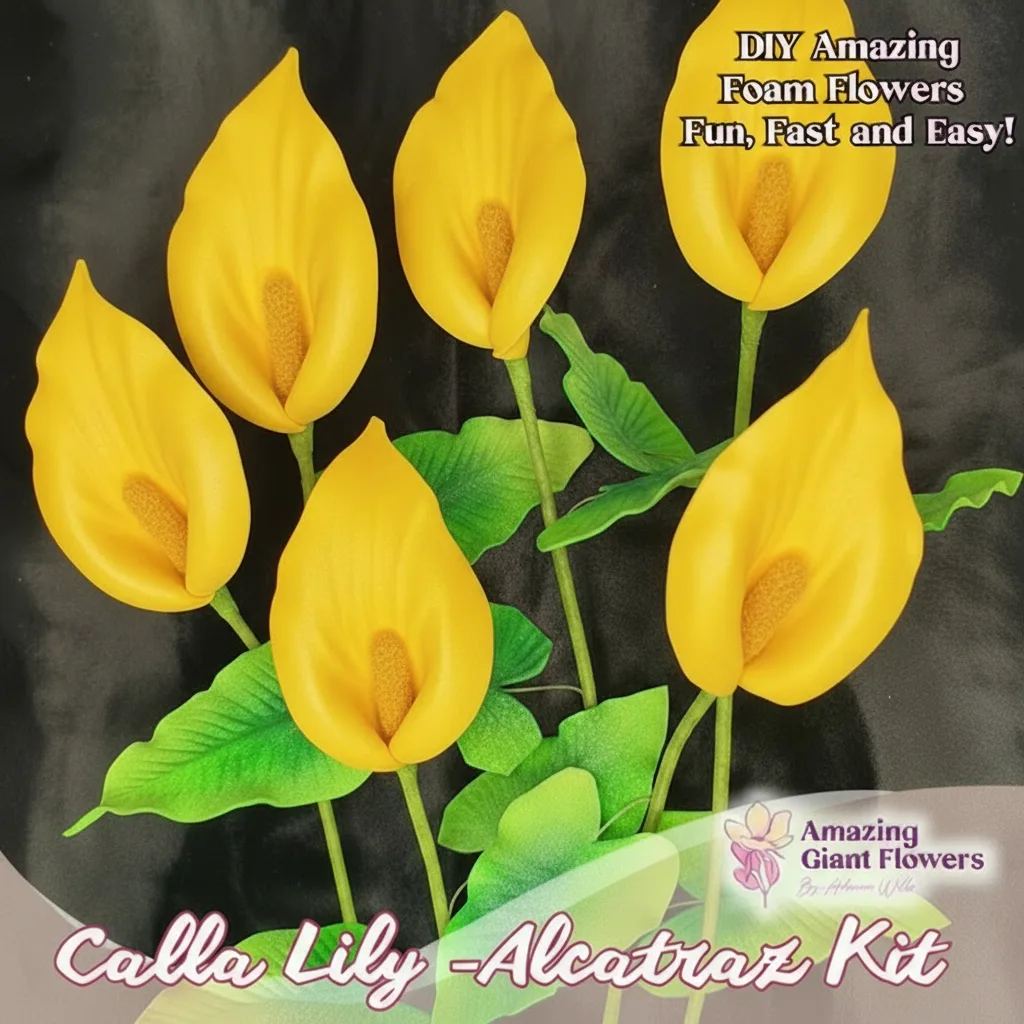
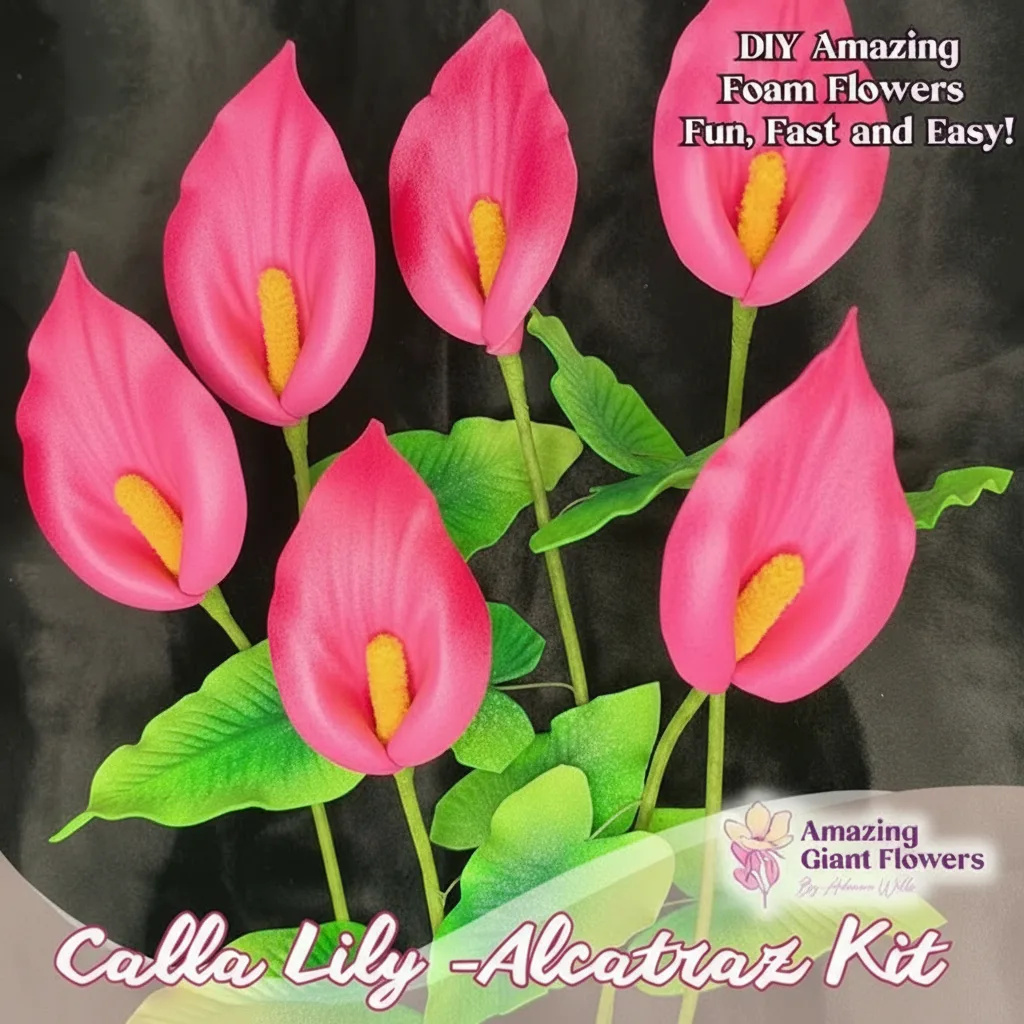
That's exactly why I created our Life-Size Foam Flower Kits. Specifically the Calla Lily Kit. One box. Six stunning, life-size calla lilies with a real-touch finish that makes people do a double-take every single time.
If you're a decor crafter — someone who takes their installations seriously, who wants every arrangement to look intentional and polished — this kit was literally made for you. Let me walk you through everything.
Key Takeaways
Ok, real talk. Calla lilies are one of those flowers that punch way above their weight in decor. They're elegant without being fussy. Minimal without being boring. And that iconic trumpet shape? It photographs beautifully from every angle.
I've used life-size calla lilies in everything from centerpiece displays to full arch installations, and they always land. Every single time someone walks up and tries to touch them to see if they're real. That's the goal, right?
The Problem With Paper and Fabric Alternatives
Here's what I tell crafters who come to me after trying paper flowers first: paper is gorgeous, but it has limits. One splash of water at an outdoor event and your beautiful calla lily is a soggy mess. I love what Lia Griffith does with paper — truly — but for decor that needs to survive real-world conditions, foam wins.
Fabric flowers can be beautiful too, but getting that real-touch finish with fabric requires a level of skill and time investment that most of us just don't have. Our foam vs. paper flower breakdown goes deep on this if you want the full comparison.
EVA foam has a natural flexibility and weight that mimics real petals better than any other material I've worked with. When you shape it with heat, it curves and cups exactly like a real calla lily bloom. The surface takes paint beautifully. And it's completely waterproof.
You can check out our guide to every type of foam for flowers if you want to geek out on the material science. But the short version? EVA foam is the reason our finished lilies look this good.
I want to be super specific here because I know crafters hate vague descriptions. When you open the box, here's what you get:
You'll need a heat gun and some basic adhesive from your craft stash, but everything specific to the flower itself is in the box. Priced between $34.99 and $49.99 depending on the colorway you choose.
This is where it gets really fun. I'm going to walk you through the process so you know exactly what you're getting into before you even open the box.
Each calla lily is essentially one large petal that wraps around the spadix. You'll use your heat gun to warm the pre-cut EVA foam, then press it into the mold. The foam becomes pliable in about 10–15 seconds of heat, and it holds its shape as it cools.
This step is genuinely satisfying. You can feel the foam respond to the heat, and watching it take the shape of a real lily petal is kind of magical. I've done it hundreds of times and it still makes me smile.
💡 Pro Tip
Keep your heat gun moving in slow, even passes — don't hold it in one spot. You want the whole petal surface to warm evenly so it curves uniformly. Our heat gun shaping guide has more detail on technique if you're new to this.
Once your petal is shaped and slightly cooled, you'll wrap it around the spadix insert and secure with adhesive. The natural curl of the shaped foam does most of the work here — it wants to wrap. You're just helping it along.
A hot glue gun works perfectly for this step. Apply a thin line along the edge, press, hold for 10 seconds. Done.
This is the step that takes your lily from "nice craft project" to "wait, is that real?" The pre-cut foam has a smooth surface that takes acrylic paint beautifully. A light wash of white with the faintest blush at the base, or a deep purple-to-white gradient — the options are endless.
If you're new to painting on foam, our crafter's guide to painting on foam is a great starting point. The real-touch finish comes from layering thin washes rather than one thick coat — that's the trick.
Step 4 — Stem and Style
Attach your finished bloom to a stem wire (18-gauge works great) and wrap with floral tape. Now you have a fully poseable, life-size calla lily that you can arrange exactly how you want. Bend the stem. Angle the bloom. Make it look like it just came from a garden.
Six Ways to Use Your Finished Calla Lilies in Decor
One kit, six flowers, endless possibilities. Here's how I've seen crafters use them — and how I use them myself.
- Table centerpieces: Three lilies in a tall vase with some greenery is a complete, sophisticated centerpiece. Two kits gives you a full table setup for a dinner party or wedding.
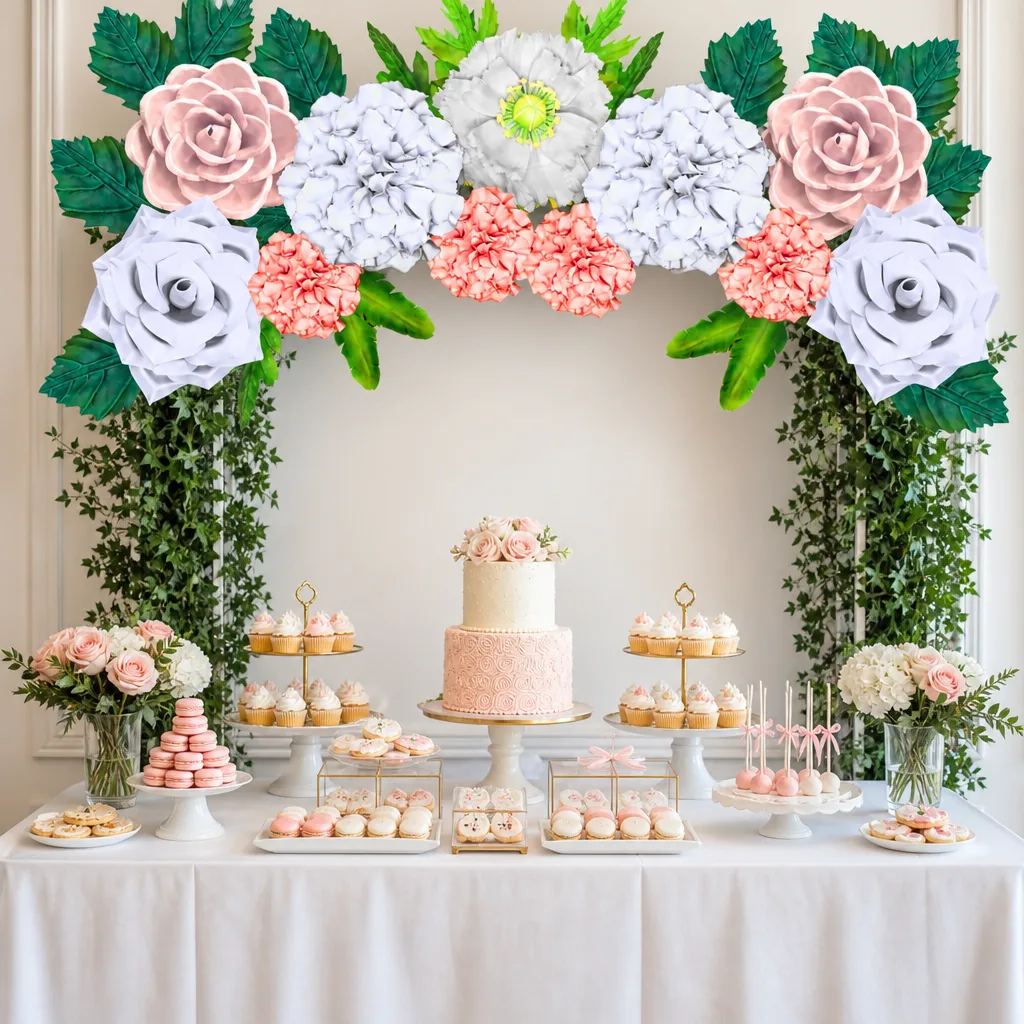
- Arch accents: Calla lilies tucked into a flower arch add a formal, elegant note. Check out our guide to foam flowers for wedding arches for styling ideas.
- Wall installations: A cluster of six life-size lilies against a white wall is genuinely stunning. Simple, architectural, beautiful.
- Backdrop panels: Mix calla lilies with other foam flowers for a layered backdrop that looks like a professional florist installation.
- Bridal shower decor: These are perfect for bridal shower backdrop ideas — elegant, reusable, and they photograph beautifully.
- Retail visual merchandising: I've had boutique owners buy multiple kits to create window displays that stop foot traffic cold.
🌸 Ready to make your six lilies?
Browse our full Life-Size Foam Flower Kits collection and pick your colorway. From classic white to deep burgundy — we have the lily for your vision.
Real Touch Calla Lily Kit vs. The Alternatives
I want to give you an honest comparison here because I think you deserve to make an informed choice. Here's how our kit stacks up against the most common alternatives.
| Option | Cost Per Flower | Durability | Realism | Waterproof | DIY Friendly |
|---|---|---|---|---|---|
| Our Life-Size Foam Kit | $6–$8 | ⭐⭐⭐⭐⭐ Years of use | ⭐⭐⭐⭐⭐ Real-touch finish | ✅ Yes | ✅ Pre-cut + mold included |
| Paper Flower Kits (e.g. Lia Griffith) | $4–$10 | ⭐⭐⭐ 1–2 events | ⭐⭐⭐ Artistic, not realistic | ❌ No | ✅ Yes |
| Fabric/Silk Artificial Lilies (store-bought) | $12–$25 | ⭐⭐⭐⭐ Good durability | ⭐⭐ Often looks cheap | ⚠️ Varies | ❌ No customization |
| DIY Foam From Scratch (no kit) | $3–$6 | ⭐⭐⭐⭐⭐ Years of use | ⭐⭐⭐⭐ Skill-dependent | ✅ Yes | ⚠️ Requires cutting + mold sourcing |
| Fresh Cut Calla Lilies (florist) | $8–$15 | ⭐ 5–7 days only | ⭐⭐⭐⭐⭐ Obviously real | N/A | ❌ No |
The math really does speak for itself. You're getting a fresh-cut-look result at a fraction of the cost of real flowers, with durability that means you can reuse these lilies across dozens of events and projects.
Tips for Getting the Most Realistic Real Touch Calla Lily Finish
I've made a lot of these. Here are the things that actually make a difference between a good lily and a jaw-dropping one.
Vary Your Petal Curl
Real calla lilies don't all look identical. Some are more open, some are tighter. When you're making six from one kit, intentionally vary the curl on each petal. Some tighter, some more open. It makes the finished arrangement look natural and organic rather than mass-produced.
Use a Layered Painting Approach
The real-touch finish really comes alive with paint layering. Start with your base color, let it dry, then add a very thin wash of a slightly different tone. For white lilies, a whisper of cream or pale green at the base is incredibly realistic. Our guide to foam paint finishes has the exact technique I use.
Don't Skip the Matte Sealant
A light coat of matte sealant over your finished lily does two things: protects the paint and eliminates any slight sheen from the foam surface. Real petals are matte. Your foam lily should be too. This one step makes a huge difference.
Bend Your Stems With Intention
Fresh calla lilies have a slight natural curve to their stems. When you attach your blooms to wire stems, give them that gentle arc. It's a small detail that makes the whole arrangement feel alive.
💡 Pro Tip
Ready to Create Something Amazing?
Browse our collection of giant flower kits and start your next project today.